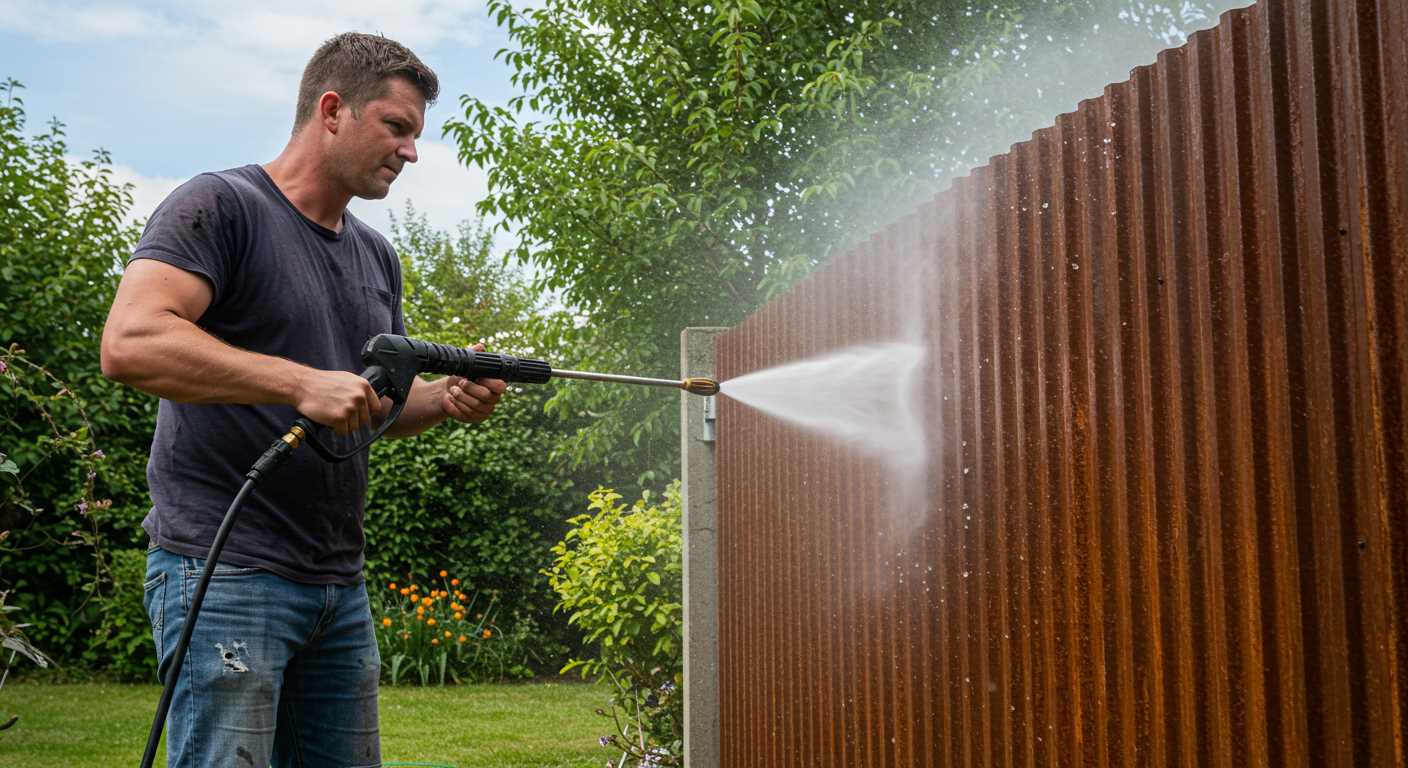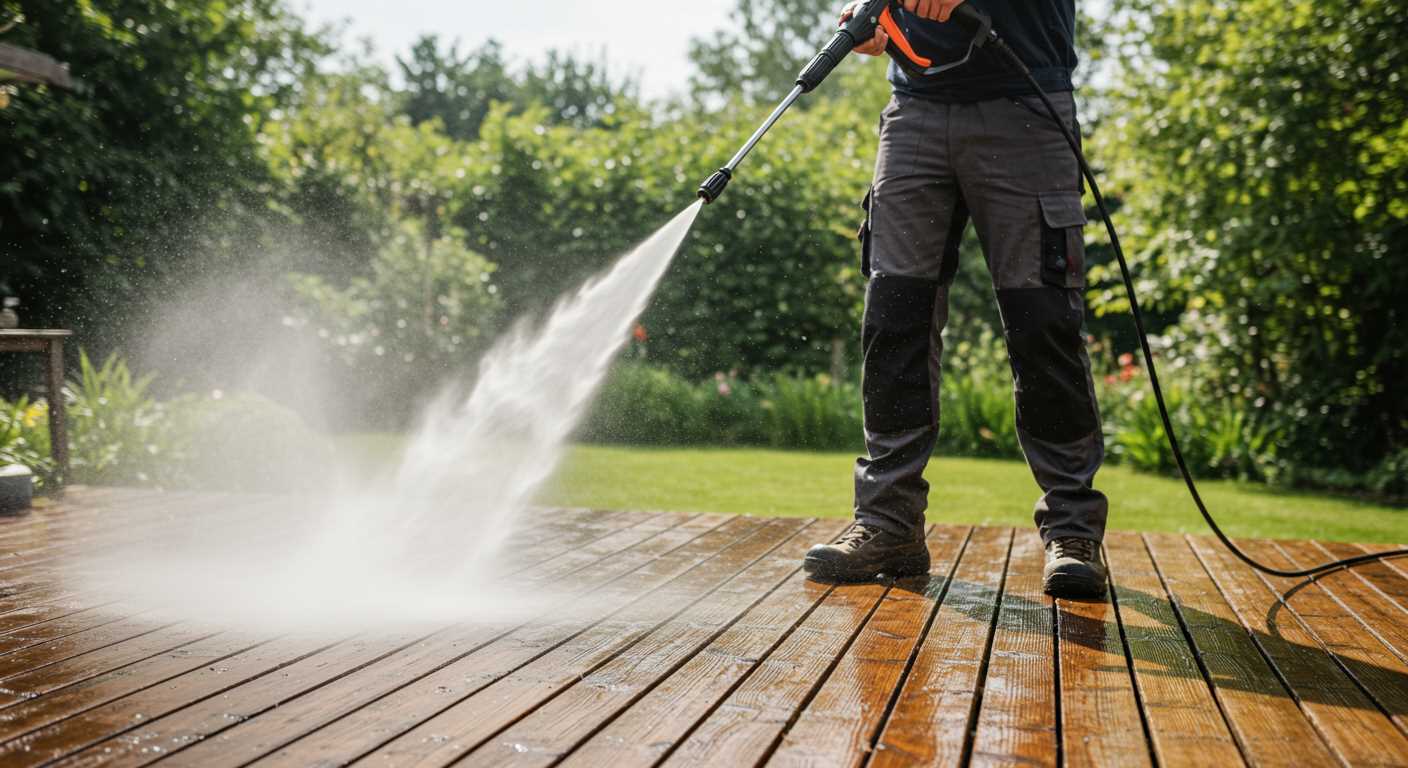


Begin with a gentle approach. Opt for a lower pressure setting when tackling surfaces that have mortar joints. I recall a time when I was cleaning a brick patio and mistakenly cranked up the pressure. The result? A significant amount of mortar was blasted away, leaving unsightly gaps that were not only visually unappealing but also compromised the integrity of the structure.
Another key tactic is to maintain a safe distance. Keeping the nozzle at least 12 inches away from the surface can minimise the risk of displacing any mortar. During my years of testing various cleaning machines, I found that proximity can be deceptive; even a slight adjustment in distance can make a world of difference. I always recommend starting far and gradually moving closer only if necessary.
Using the right nozzle can also make a substantial impact. A wider spray pattern reduces the intensity on any one spot, which helps protect the joints between bricks or stones. I often suggest a fan nozzle for these jobs, as it disperses water more evenly and avoids concentrating force in a way that erodes mortar.
Lastly, consider applying a sealant after cleaning. This not only enhances the appearance of the masonry but also provides an extra layer of protection against future wear. I’ve seen firsthand how a good sealant can prolong the life of mortar joints and keep surfaces looking fresh for years to come.
Understanding the Composition of Pointing
The ideal mixture for mortar used in masonry joints typically consists of sand, lime, and cement. The ratio of these ingredients significantly influences the durability and resilience of the joints. For instance, a classic lime mortar may contain one part lime to three parts sand, providing flexibility and breathability, making it suitable for older structures. In contrast, modern cement-based mortars often follow a 1:1:6 ratio of cement, lime, and sand, yielding a stronger but less flexible joint.
Sand plays a pivotal role in the composition, as its grain size and type can affect the bonding and overall stability. Coarse sand enhances drainage, while fine sand provides a smoother finish. The choice of sand can vary based on the specific environmental conditions and the aesthetic desired. For example, using sharp, angular sand can improve the grip and adherence of the mortar.
Adding additives like plasticisers or water-retaining agents can also enhance the mortar’s workability, making it easier to apply without compromising its strength. These additives can reduce the water content needed, leading to a more robust final product.
Understanding the proportions and types of materials can help maintain the integrity of the masonry work. During maintenance or cleaning, it’s crucial to avoid methods that might disturb this carefully formulated composition. Protecting the integrity of the joints not only ensures structural stability but also preserves the aesthetic appeal of the entire construction.
Choosing the Right Nozzle for Your Pressure Washer
Selecting the appropriate nozzle can significantly impact the outcome of your cleaning tasks. From my experience, the nozzle type directly influences the intensity and spread of the water jet, making it essential to choose wisely.
For delicate surfaces, I recommend opting for a wider fan spray nozzle, typically a 25° or 40° nozzle. These nozzles deliver a gentler spray, which helps in preventing damage to sensitive materials like pointing. I recall a time when I used a 15° nozzle on a brick patio, and it ended up eroding the mortar in some areas, leading to costly repairs.
If you need to tackle more stubborn stains without risking damage, a turbo nozzle can be a great option. It combines the power of a narrow spray with a rotating motion, effectively removing dirt while being less abrasive than a direct jet. Just remember to keep a safe distance from the surface to avoid unintended consequences.
When using a high-powered machine, it’s also crucial to adjust the pressure settings according to the nozzle chosen. Lower pressures can be beneficial, especially with a fan nozzle, allowing for thorough cleaning without jeopardising the integrity of the materials.
For those considering a pressure washer trailer setup, ensure the nozzle selection aligns with your cleaning goals and the surfaces you’ll encounter. It can make a significant difference in achieving desired results while maintaining safety.
Additionally, using the right accessories, such as best garden blowers and vacuums, can complement your pressure washing activities. They can help clear away debris before and after cleaning, ensuring the surfaces remain intact and aesthetically pleasing.
In summary, the right nozzle is crucial for effective cleaning. Always assess the surface and choose accordingly, as it can save you from potential damage and enhance your overall results.
Adjusting Pressure Settings to Protect Pointing
To safeguard your mortar joints while using a high-powered cleaning unit, it’s crucial to fine-tune the pressure settings. Start with a lower PSI–around 1500 to 2000. This range is gentle enough to clean effectively without displacing the mortar.
Steps to Adjust the Pressure
- Begin with the unit set to a lower pressure. If your model allows it, start at 1500 PSI.
- Test the pressure on an inconspicuous area. This will help you gauge the impact before proceeding to visible spots.
- If the results are unsatisfactory, gradually increase the pressure by 100 PSI increments, checking after each adjustment.
- Once you find an effective setting that cleans without damaging, note this for future use.
Additional Tips
- Avoid prolonged focus on a single spot. Keep the nozzle moving to distribute the force evenly.
- Maintain a distance of at least 12 inches from the surface. This distance helps reduce the direct impact on the mortar.
- Use a fan spray pattern instead of a concentrated jet. This widens the cleaning area and lessens the pressure on the joints.
- Always have a brush handy for stubborn stains. Sometimes, manual scrubbing is safer for your masonry.
In my experience, taking the time to adjust the settings not only protects the joints but also enhances the overall cleaning effectiveness. A little caution goes a long way in ensuring your surfaces remain intact and visually appealing.
Maintaining Optimal Distance from the Surface
To safeguard the mortar while cleaning, maintain a distance of at least 30 cm (12 inches) from the surface. This distance allows for thorough cleaning without causing damage. I’ve seen too many instances where users get too close and end up dislodging mortar, leading to costly repairs.
Techniques for Distance Management
- Use a piece of string or a measuring tape to set a physical limit. This helps you gauge how close you are while operating.
- Practice on a less visible area first. This gives you a chance to adjust your technique before tackling more prominent sections.
- Consider using a pressure regulator or a wand with an adjustable length to help maintain the proper distance.
Visual Cues
Pay attention to the spray pattern. If you notice the spray becoming more concentrated, it’s a sign you’re too close. A wider pattern indicates you’re at a safer distance.
I’ve found that using a foam attachment can also help gauge where you are. The foam creates a visual barrier, allowing you to see how far away you need to be to avoid damaging joints.
In my experience, effective distance management not only protects the mortar but also enhances the overall cleaning experience. You’ll achieve better results and extend the lifespan of your surfaces.
Using a Fan Spray Pattern for Gentle Cleaning
The fan spray pattern is my go-to technique for safeguarding joints while still achieving a thorough clean. Instead of a narrow, concentrated jet, a fan pattern disperses water over a wider area, significantly reducing the force impacting any single point. This adjustment is key in preventing damage to your surfaces.
Optimal Nozzle Selection
Choosing the correct nozzle size is critical. A wider nozzle, such as a 25° or 40°, allows for a broader spray, which decreases the intensity of the water striking the surface. I’ve found that using a 40° nozzle can be particularly effective for delicate areas, as it provides a gentle wash without the risk of dislodging mortar. Here’s a quick reference table for nozzle angles and their typical applications:
| Nozzle Angle | Typical Use |
|---|---|
| 0° | Heavy-duty cleaning (not recommended for joints) |
| 15° | For tough stains on hard surfaces |
| 25° | General cleaning on concrete and brick |
| 40° | Light cleaning on delicate surfaces |
Technique Matters
Applying the right technique is equally important. Maintain a consistent distance of at least 2 feet from the surface while cleaning. This distance, combined with the fan pattern, allows the water to diffuse, thereby minimising any potential harm to joints. I often move my wand in a side-to-side motion, keeping it steady and avoiding lingering too long in one spot. This approach not only ensures a thorough clean but also protects the integrity of the masonry.
Incorporating Chemical Cleaners Safely
Always dilute chemical cleaners according to the manufacturer’s instructions. Concentrated solutions can be too harsh, risking damage to the mortar. For instance, I once used a strong bleach solution without proper dilution on a brick surface, resulting in discolouration and weakening of the joints.
Opt for pH-neutral cleaners designed for masonry. They effectively lift dirt without harming the substrate. During a previous project, I switched to a pH-neutral product after realising the acidic cleaner was eroding the pointing. The results were noticeably better, preserving the integrity of the joints.
Test any chemical on a small, inconspicuous area first. This step saved me from a costly mistake when I discovered that a particular cleaner reacted unfavourably with a specific type of stone. It’s a simple precaution that can save a lot of hassle later.
Utilise a spray attachment to apply the cleaner evenly. I learned that using a dedicated applicator helps avoid pooling, which can lead to excessive chemical concentration in certain areas, causing damage. An even application ensures the cleaner works effectively while protecting the surrounding materials.
Always rinse thoroughly after applying any cleaning solution. A thorough rinse prevents residue build-up, which can attract dirt and degrade the joints over time. I’ve seen the difference this makes; surfaces remain cleaner for longer and the pointing stays intact.
When working with chemicals, wear appropriate protective gear. A simple pair of gloves and goggles can prevent irritation and injury. I once neglected this advice and ended up with irritated skin after handling a strong cleaner. It’s a reminder that safety should never be overlooked.
Testing Pressure on a Small Area First
Always begin by selecting a discreet section of the surface to assess the cleaning strength. Choosing an inconspicuous spot allows for observation of the effects without risking visible damage. I recall a time when I tackled an old brick patio. Instead of diving into the main area, I found a corner that was less noticeable and tested various settings there. This approach provided invaluable insights into how the material responded.
Evaluating Results
After applying the cleaning solution, I closely examined the area for any signs of erosion or loosening of the joint material. If the surface showed signs of distress, it was clear that the intensity was too high. I adjusted the settings accordingly, opting for a gentler approach. Remember, the goal is to clean effectively without compromising the integrity of the joints.
Documenting Findings
Keep a record of the pressure levels and nozzle types used during these tests. This documentation serves as a useful reference for future projects. In my experience, having a log helped me avoid repeating mistakes and allowed me to refine my technique. Each surface is unique, and what works for one may not work for another.
Ultimately, this method of cautious experimentation ensures that the cleaning task is completed successfully, preserving the structure while achieving the desired cleanliness.
Regular Inspection and Maintenance of Pointing
Inspecting joints regularly is critical to sustaining their integrity. I recommend checking for cracks or signs of wear at least twice a year. This allows for early detection of any issues that could lead to more significant damage over time. During my years in the industry, I’ve seen how neglecting minor cracks can escalate into substantial repair jobs.
After heavy cleaning, I suggest closely examining the mortar for any dislodged or loose sections. A soft brush can be handy for removing dirt from the joints without causing further harm. If you notice any areas needing attention, consider re-pointing those sections with a suitable mortar mix to match the existing material.
Weather plays a significant role in the longevity of joints. Extreme temperatures, whether hot or cold, can lead to expansion and contraction, causing stress on the material. After particularly harsh weather, take a moment to inspect the condition of the joints. In my experience, a simple visual check can save you from costly repairs later on.
Cleaning agents can also affect the longevity of the joints. Always opt for pH-neutral solutions when cleaning surfaces to avoid chemical damage. I recall a case where a client used an aggressive cleaner that weakened the mortar, leading to its deterioration. Stick to milder options that are less likely to cause harm.
Lastly, a good practice is to keep a maintenance log. Documenting inspections, repairs, and cleaning activities can help you stay on top of necessary upkeep. This approach has proven beneficial in my career, allowing me to track patterns and anticipate future work. By maintaining thorough records, you can ensure your joints remain in excellent condition for years to come.


.jpg)


