
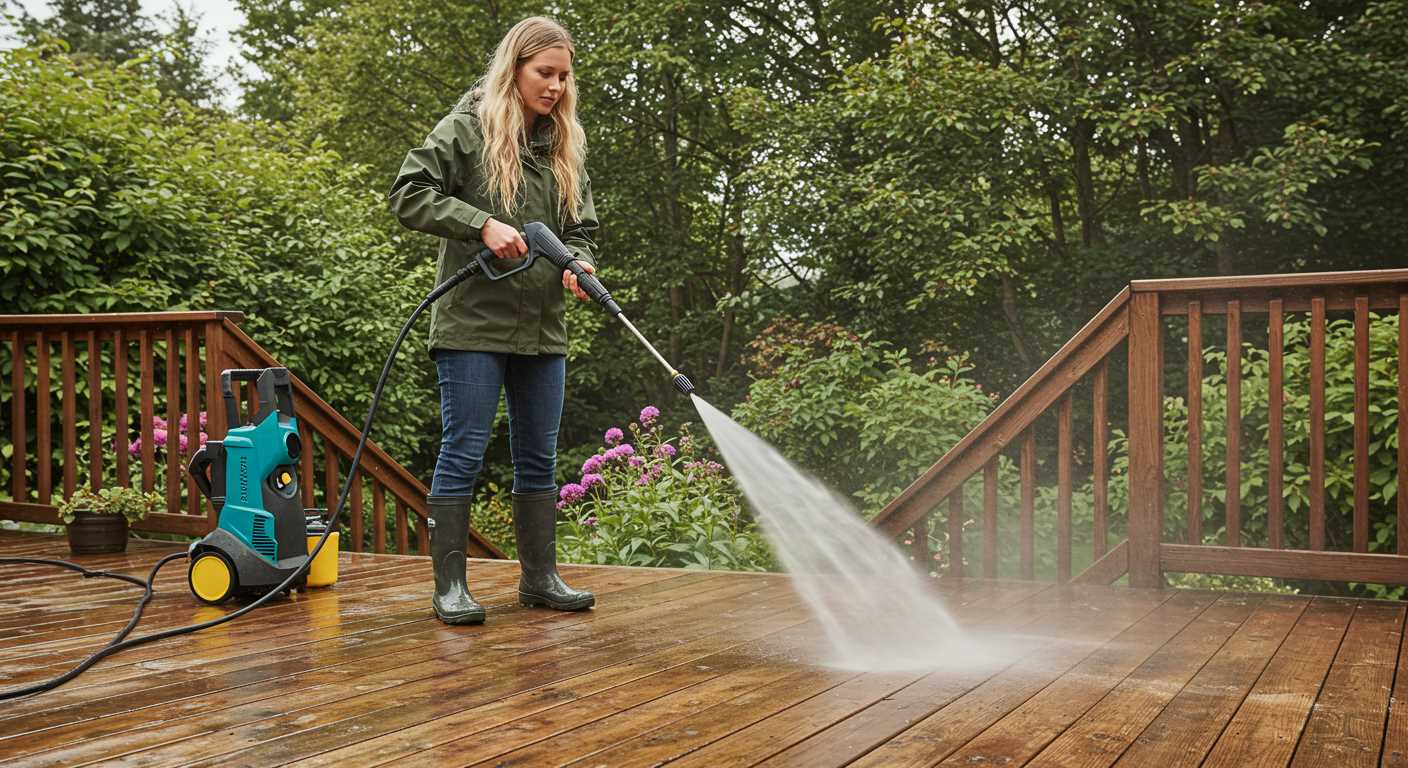


Ensure your machine is ready for operation by filling the detergent tank with the appropriate cleaning solution. A well-chosen detergent not only enhances the cleaning process but also protects the surfaces you are working on. Remember to refer to the manufacturer’s recommendations for the correct type of detergent to use.
Next, connect the water supply securely to prevent leaks. I’ve encountered situations where a loose connection led to frustrating interruptions during cleaning tasks. Always check that the hose is tightly attached to avoid any mishaps. After securing the hose, turn on the water supply and let it flow for a moment to clear any debris that might have accumulated.

Once the water is flowing freely, it’s time to switch on the device. Allow the motor to run for a short period, enabling the water to fill the pump system completely. This step is crucial; I’ve seen many users skip it, leading to operational issues. After a minute or so, squeeze the trigger on the gun to release any air trapped in the system. You should see a steady stream of water, indicating everything is functioning correctly.
Lastly, check the nozzle settings according to the task at hand. Different tasks require different spray patterns. My experience shows that using the wrong nozzle can not only reduce efficiency but also potentially damage surfaces. Once you’ve selected the appropriate nozzle, you’re ready to tackle any cleaning challenge with confidence.
Steps to Prepare Your Kranzle Machine
Begin by ensuring the machine is on a flat surface. Place the unit near a water supply, ensuring the hose is connected tightly to prevent leaks. Always check the water inlet filter for debris; a clean filter is paramount for proper function.
Next, fill the detergent tank if necessary, using the recommended cleaning solution. This will help when you switch to detergent mode later. After securing the tank, connect the high-pressure hose to the outlet. It’s crucial to check the connection for any signs of wear or damage before proceeding.
Water Supply and System Check
Open the water tap fully, allowing water to flow into the machine. Keep the trigger gun closed initially to let the system fill without releasing pressure. You may hear a slight noise as the pump draws in water. Continue this for approximately 30 seconds. This step ensures the system is filled and ready for operation.
Testing the Setup
Once the water is flowing, release the trigger on the gun briefly to let any trapped air escape. Point the nozzle away from yourself and others, then squeeze the trigger to test the pressure. If water flows smoothly, you’re ready to start cleaning. If you notice any irregularities, check the connections and water supply again.
Understanding the Priming Process
Ensure the unit is filled with water before starting. I recall the time I rushed to begin a cleaning task, only to find the machine sputtering due to inadequate water supply. It’s crucial to check the water reservoir and the inlet hose for any blockages. A clear path will facilitate smooth operation.
Next, make sure the water source is reliable. I remember a job where I used a garden tap that was partially turned off; it resulted in poor performance. A strong and uninterrupted flow guarantees that the system can function as intended.
Another key aspect is to inspect the fittings and connections. Loose connections can lead to air intake, which disrupts the flow. During my years in the field, I often found that a quick visual check could save considerable time and frustration later on.
Once everything is set, turn on the water supply first, then activate the motor. This sequence allows the system to fill up adequately. I’ve seen many operators make the mistake of starting the machine without ensuring it’s filled, leading to air locks and inefficient operation.
Listen for any unusual sounds. If you encounter a whirring noise instead of the expected steady hum, it could indicate that air is trapped. A gentle squeeze of the trigger will typically release any air pockets. I’ve found that patience during this step pays off, as it ensures the equipment operates smoothly and delivers optimal results.
After the initial setup, maintain a regular check on the water level throughout the cleaning process. I learned the hard way that running the unit with low water can damage internal components. Keeping an eye on the supply can prevent costly repairs in the future.
By following these steps and paying attention to detail, you can ensure a seamless start every time. Each cleaning session becomes more efficient, allowing you to focus on the task at hand rather than troubleshooting an uncooperative machine.
Gathering Necessary Tools and Materials
Before tackling the task, gather these items to ensure a smooth process:
Required Tools
A flathead screwdriver is handy for any adjustments needed on the unit. A pair of pliers can assist with hose connections, especially if they’re tight or corroded. A bucket will be useful for any excess fluid during the setup. These are the basics, but having a funnel can make pouring fluids much neater, preventing spills and messes.
Materials Needed
You’ll need a high-quality detergent specifically designed for your equipment. Avoid generic soaps as they may cause damage or reduce performance. Water is, of course, a must, and it’s better to have access to a garden hose to ensure a consistent supply. Check the oil level in the motor; if it’s low, have the appropriate oil on hand for topping up. Keeping these materials close at hand will streamline the process, allowing you to focus on the task at hand without interruptions.
Identifying the Priming Procedure for Your Model
Check the user manual specific to your unit. Each model often has unique requirements, and following the manufacturer’s guidelines ensures optimal performance. You can usually find this information in the section detailing setup or initial operation.
Look for a clear indication of any valves that must be adjusted before starting. Some models may have a water inlet valve that needs to be opened or a pressure relief valve that should be engaged to allow air to escape.
Pay attention to the water source. Ensure the hose is connected properly and there are no kinks or blockages. A consistent water flow is crucial for the process to work effectively. I recall a time when I overlooked a small kink in the hose of a friend’s machine. It caused all sorts of headaches until we figured it out.
Listen for sounds during operation. If you hear unusual noises, it may indicate air trapped in the system. In such cases, you might need to run the unit briefly without a nozzle attached to expel any air pockets. This trick has saved me on several occasions when I was troubleshooting a malfunctioning device.
Lastly, observe the pressure gauge, if equipped. A steady increase in pressure indicates that the system is functioning correctly. If the gauge remains static or drops, revisit the above steps to ensure everything is set up properly. It’s these small details that often make the difference in achieving reliable results.
Connecting the Water Supply Properly
For optimal performance, ensure the water supply is securely attached to the inlet. Begin by using a high-quality hose rated for pressure applications, ideally 1/2 inch in diameter. This reduces the chances of kinks that might impede water flow. If your garden hose is long, consider a larger diameter to maintain pressure.
Before connecting, inspect the hose for leaks or damage. A compromised hose can lead to inadequate water flow, affecting the operation of your equipment. Once you’ve confirmed the hose is in good condition, attach it to the water inlet, ensuring a tight fit. Use a wrench if necessary, but avoid overtightening which could damage the fittings.
Water Source Considerations
Make sure the water source provides sufficient flow–ideally, a minimum of 8 litres per minute. If you’re pulling from a static water tank, consider using a submersible pump to maintain consistent flow rates. Always check the local water pressure; anything below 20 psi may result in performance issues.
Pre-Connection Steps
Before connecting the hose, clear any debris from the inlet. A clean entrance allows water to flow freely without obstruction. If your model has a filter, ensure it’s clean and installed correctly. This step is often overlooked but can greatly affect functionality. Once everything is set, you can turn on the water supply and check for leaks at the connection points.
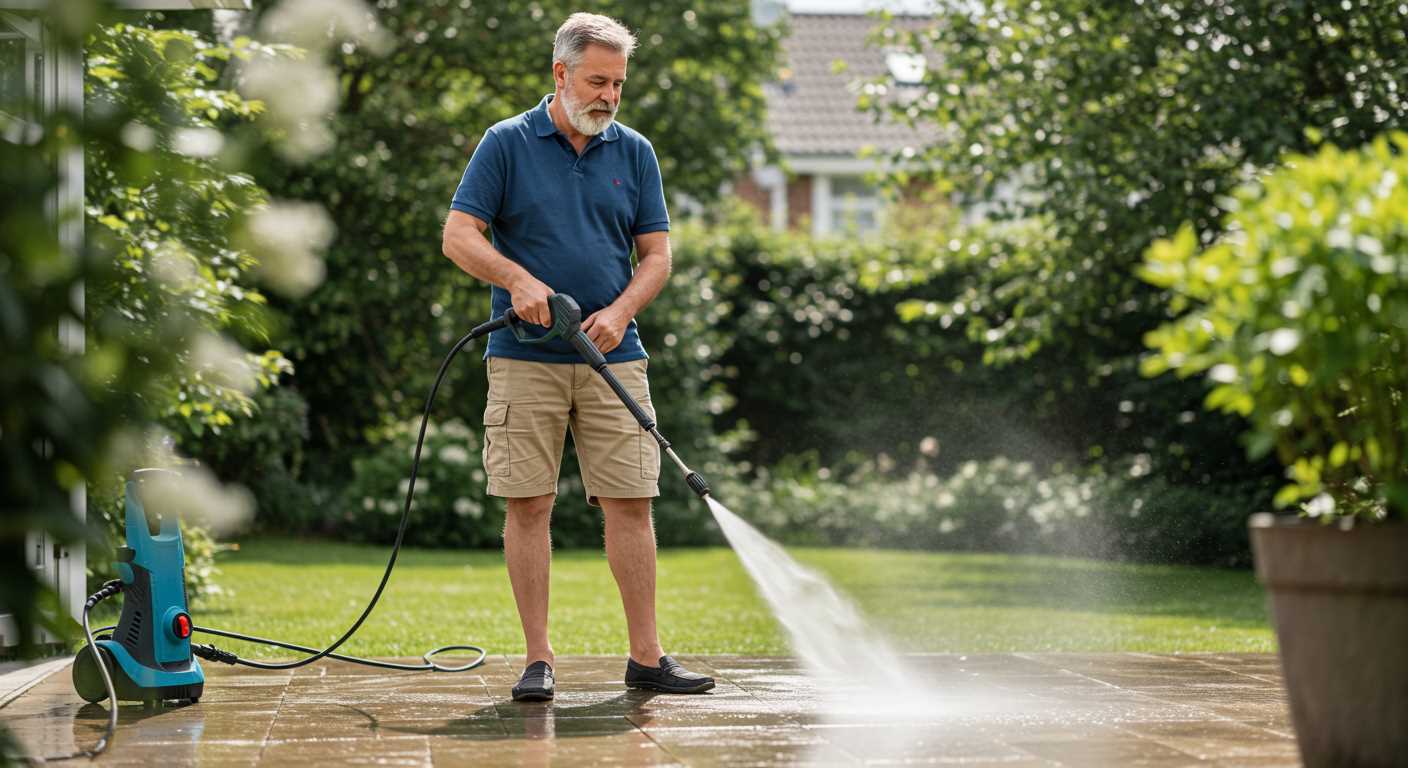
Setting Up the Cleaning Device for Priming
Begin by ensuring the machine is on a flat, stable surface. This prevents any movement during the setup process, which can disrupt the priming cycle. I recall a time when I was working on a particularly stubborn piece of equipment, and a slight incline caused it to lose its suction. Always check your surroundings first.
Next, connect the water inlet hose securely to the water supply. Make sure it’s tightly fitted to avoid leaks, which can hinder the device’s operation. I often recommend using a hose with a filter at the end to prevent debris from entering the system. This little addition saved me from a headache on more than one occasion.
Once the water supply is connected, turn on the water to fill the inlet hose. This helps eliminate any pockets of air that might disrupt the flow. It’s a simple yet effective step. I remember the first time I forgot this and ended up spending extra time troubleshooting an air lock. It’s amazing how a small oversight can lead to bigger issues.
After ensuring the water flows freely, it’s time to check the device’s settings. Adjust the pressure level to a low setting to facilitate a smooth start. This helps in gradually building up the necessary pressure without causing strain on the components. I’ve found that starting low and gradually increasing pressure is the best practice to extend the lifespan of the machine.
| Step | Action |
|---|---|
| 1 | Position the machine on a level surface. |
| 2 | Connect the water inlet hose securely. |
| 3 | Turn on the water supply to remove air pockets. |
| 4 | Set the pressure to a low level. |
Lastly, perform a quick inspection of all connections and hoses. Look for any signs of wear or damage. I’ve learned the hard way that overlooking a small crack can lead to larger complications down the line. Taking a moment for this check can save you from frustration later.
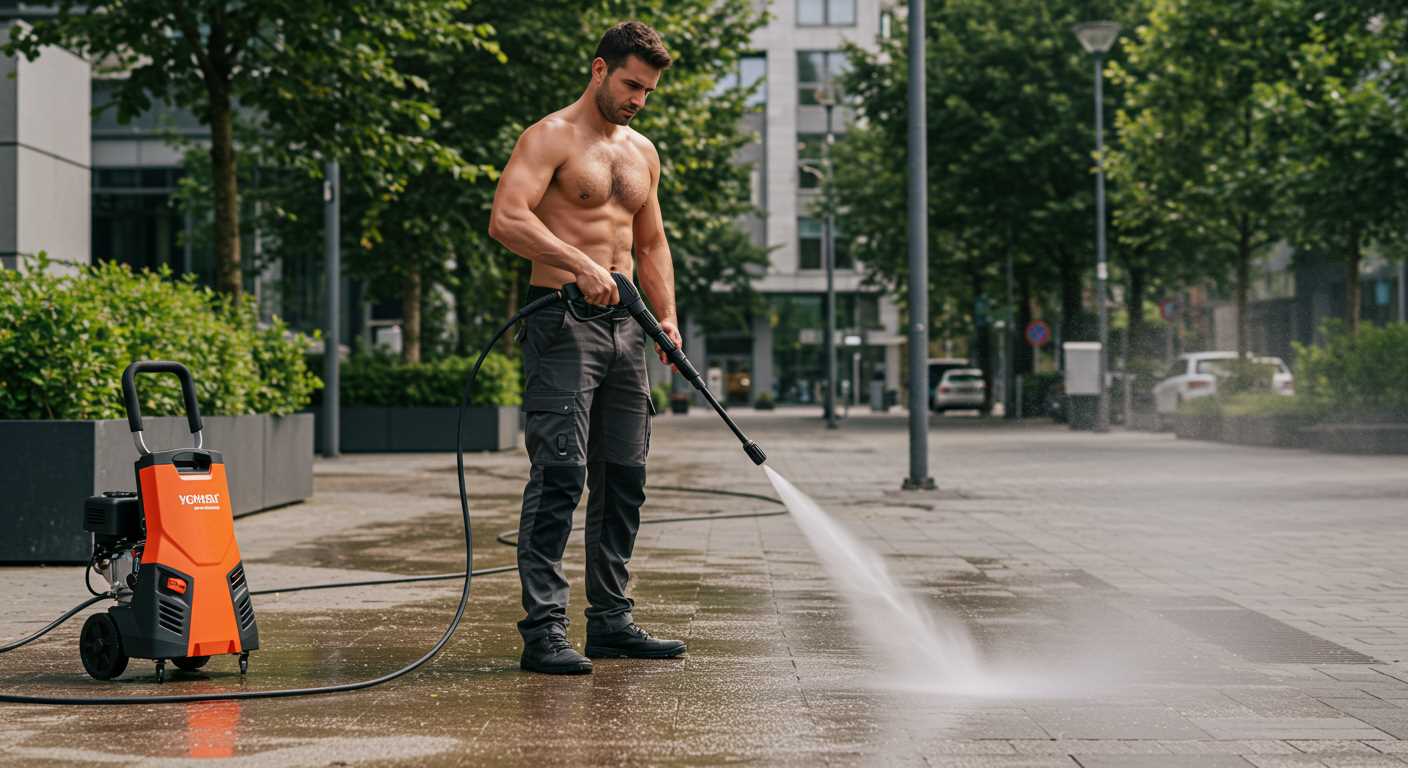
Activating the Pressure Washer for the First Time
To efficiently operate your new cleaning unit, follow these precise steps for activation. This ensures a smooth start without any complications.
- Ensure the water supply is turned on and connected securely.
- Check the oil level in the pump. A well-lubricated pump is crucial for optimal performance.
- Plug the machine into a suitable power outlet. Use a residual current device (RCD) for added safety.
- Engage the safety latch on the gun to prevent accidental discharge.
- Turn the unit’s power switch to the “On” position. You should hear the motor engage, indicating readiness.
As I recall, the first time I activated a similar model, I was overly cautious. I double-checked every connection, ensuring everything was tight. This attention to detail paid off, as the machine started smoothly and performed flawlessly during my first use.
After completing these initial steps, it’s time to test the unit:
- With the trigger gun still engaged, pull the trigger to release any air trapped in the system.
- Once water flows steadily from the nozzle, release the trigger.
- Allow the system to stabilise for a moment before adjusting the nozzle to your desired setting.
During my first experience, I was amazed at how quickly the water pressure surged once I released the trigger. It’s a powerful rush that makes the effort worthwhile. If you notice any leaks or irregular sounds during this process, turn off the power immediately and inspect for issues.
Finally, don’t forget to consult your user manual for specific instructions related to your model. Each unit may have unique features or requirements that can significantly impact your experience.
Monitoring the Water Flow During Priming
Watch for consistent water flow as you engage the system. This is a key indicator of correct setup and operation. If the water stream is intermittent or weak, there could be air pockets affecting the system’s performance.
It’s advisable to use a clear hose for visibility. This allows you to see any bubbles that may indicate air trapped in the lines. If you notice air, it can be beneficial to rotate the pump slightly, which sometimes helps in releasing trapped air.
Keep an eye on the connections. The fittings should be secure and free from leaks. Any dripping or spraying water points to a potential issue that needs addressing before proceeding further.
Listen closely to the sound of the water flowing through the system. A steady hum is ideal, while any unusual noises, such as grinding or chugging, suggest that something is amiss. These sounds can be a clue that the unit is struggling to draw water properly.
After a few moments of operation, if you see a steady stream of water with no bubbles and hear a consistent sound, you can be confident that the system is functioning well. From my experience, taking the time to observe these details can save you from complications later on.
Troubleshooting Common Priming Issues
If you encounter challenges while getting your unit ready for operation, there are specific steps to diagnose and resolve the problems. Here are the most common hurdles and practical solutions based on my experiences.
Inadequate Water Supply
A frequent issue is insufficient water flow. Make sure:
- The hose is free of kinks or blockages.
- The water source is turned on fully.
- There are no leaks in the connections.
Check the inlet filter for debris; a clean filter allows for optimal water intake.
Air Trapped in the System
Air pockets can hinder proper functionality. If you suspect this, follow these steps:
- Run the unit with the trigger gun open until a steady stream of water flows without sputtering.
- Keep the trigger pressed to expel any trapped air effectively.
In some cases, tilting the machine slightly can help release the air.
Faulty Inlet Valve
If water isn’t being pulled in, the inlet valve might be stuck. To address this:
- Inspect the valve for dirt or damage.
- Clean or replace the valve if necessary.
Electrical Issues
For models relying on electric operation, verify:
- The power cord is intact and plugged in.
- The circuit breaker hasn’t tripped.
- The power switch is functioning correctly.
Incorrect Setup
If you’ve set up everything as per the manual but still face issues, double-check:
- The water supply connection is secure.
- The nozzle isn’t blocked.
- All connections are tight and leak-free.
By systematically addressing these areas, you can resolve most priming challenges and ensure your equipment operates smoothly. Each troubleshooting step can save time and avoid frustration, leading to an effective cleaning experience.
Maintaining Your Cleaning Equipment After Priming
Regular upkeep after initial setup ensures longevity and peak performance. After you’ve successfully set up your gear, focus on cleaning the exterior and checking for leaks. A quick wipe-down with a soft cloth can prevent dirt buildup and corrosion. Pay attention to the connections; even minor leaks can lead to more significant issues later.
Inspecting the Components
After the first use, examine hoses and fittings for any signs of wear or damage. Replace any frayed or cracked hoses immediately. I recall a time when I overlooked a small crack, which eventually caused a complete hose failure during a crucial job. It’s also wise to inspect the water inlet filter; a clogged filter can hinder water flow and affect performance. Regular cleaning of this component will save you headaches down the line.
Storage and Seasonal Care
Proper storage is key. If the equipment is not in use, store it in a dry place to avoid moisture buildup. During colder months, consider draining any remaining water to prevent freezing, which can damage the internal components. I always recommend running a bit of pump protector or antifreeze through the system before storing it away for extended periods. This simple step can significantly extend the life of your unit.
For those interested in further enhancing their cleaning experience, understanding the pressure washer pump type can provide valuable insights into efficiency and maintenance practices. Additionally, if you’re curious about other uses of pressure, check out this guide on how to can green beans with a pressure cooker. You might find inspiration for utilising your equipment beyond standard cleaning tasks.
.jpg)


