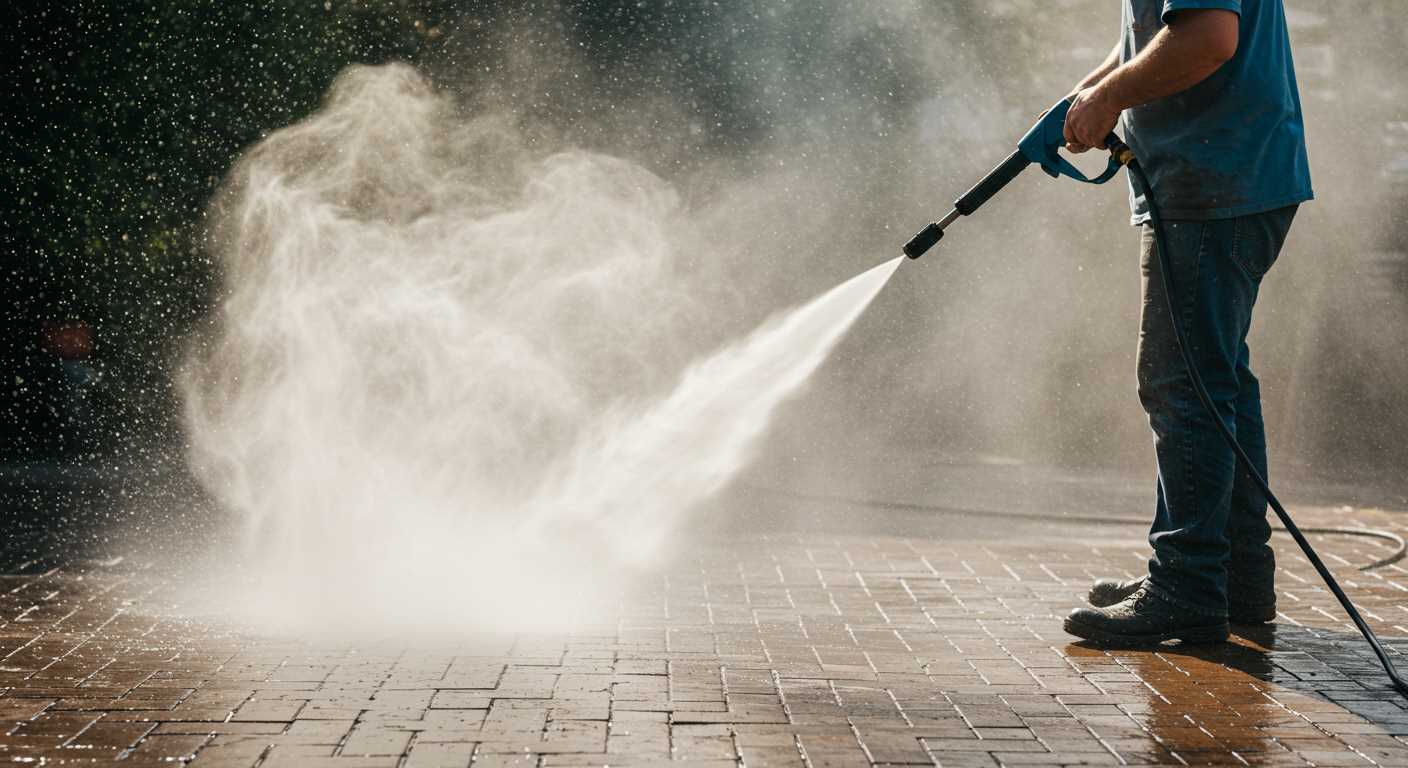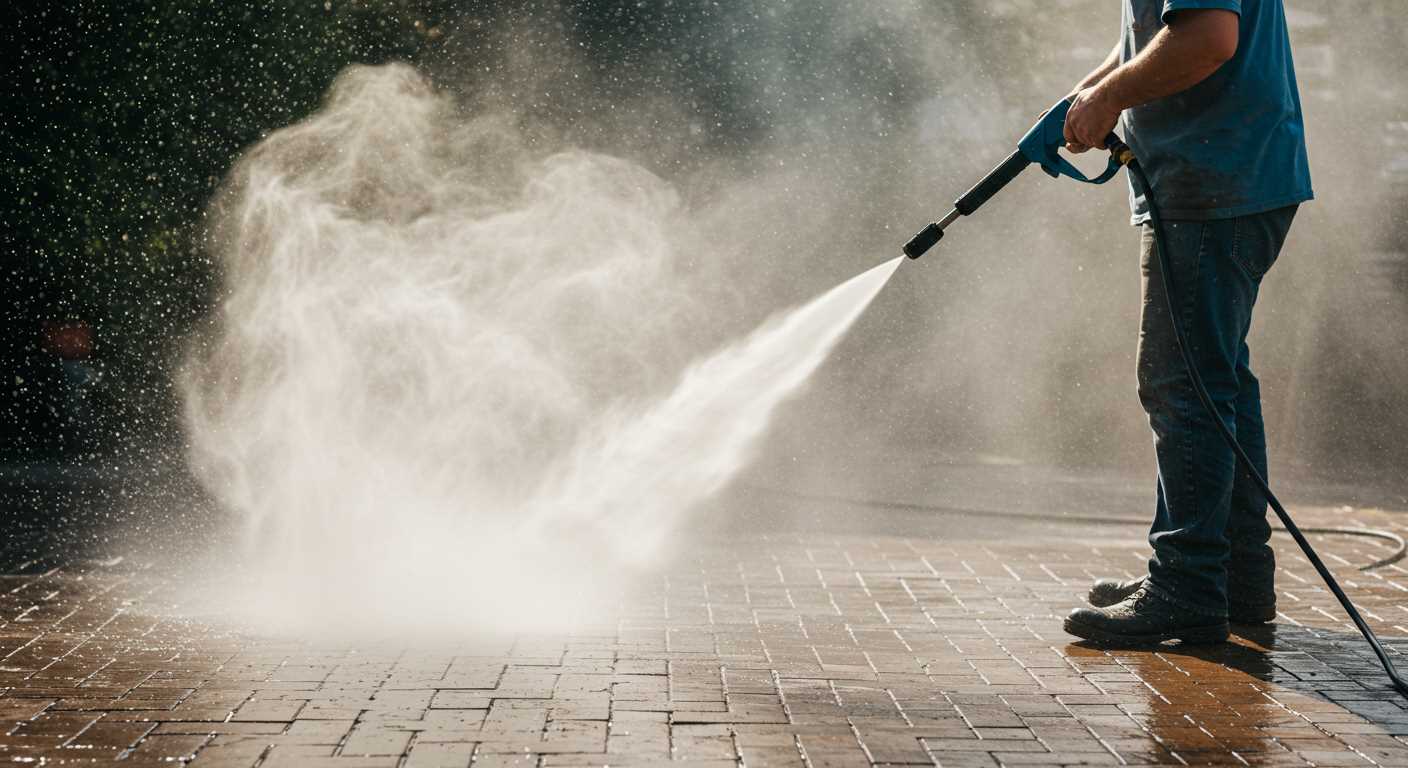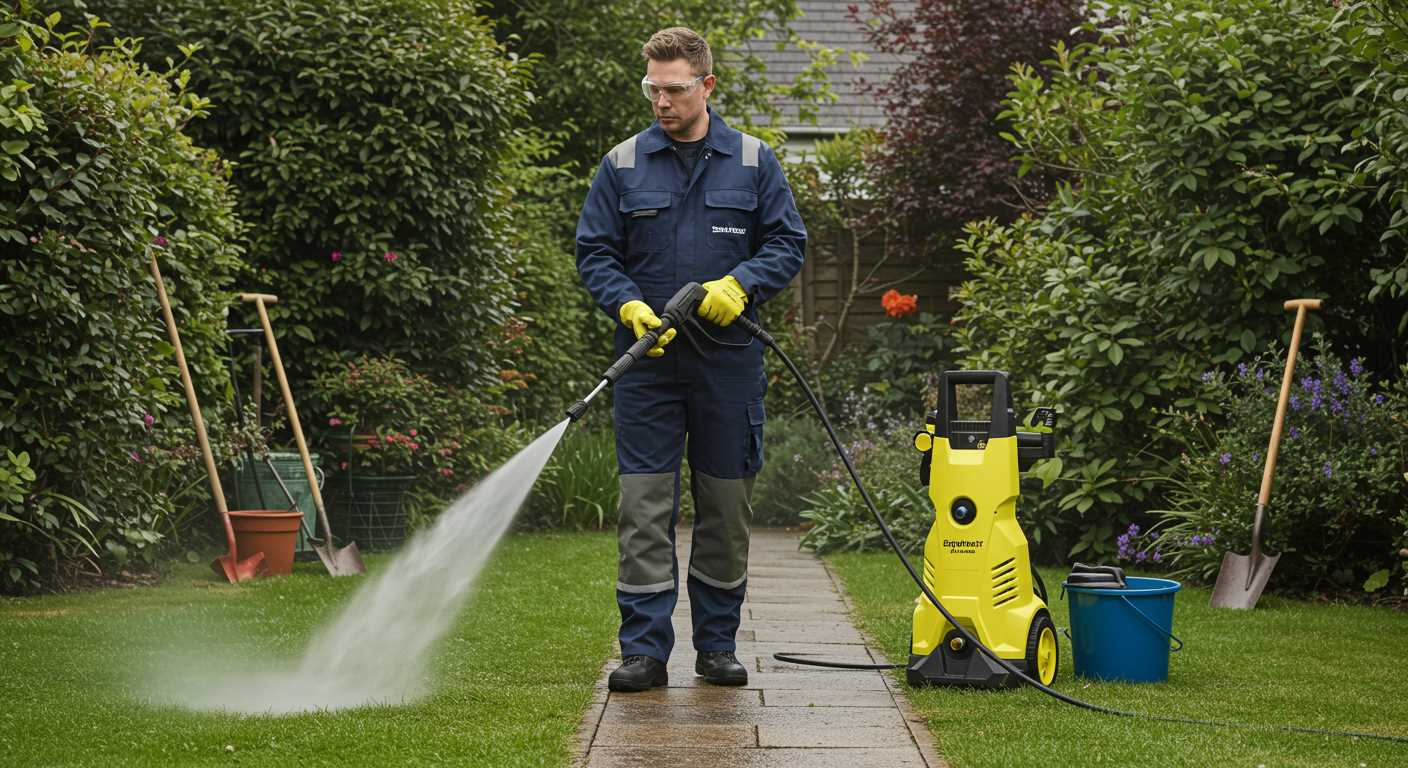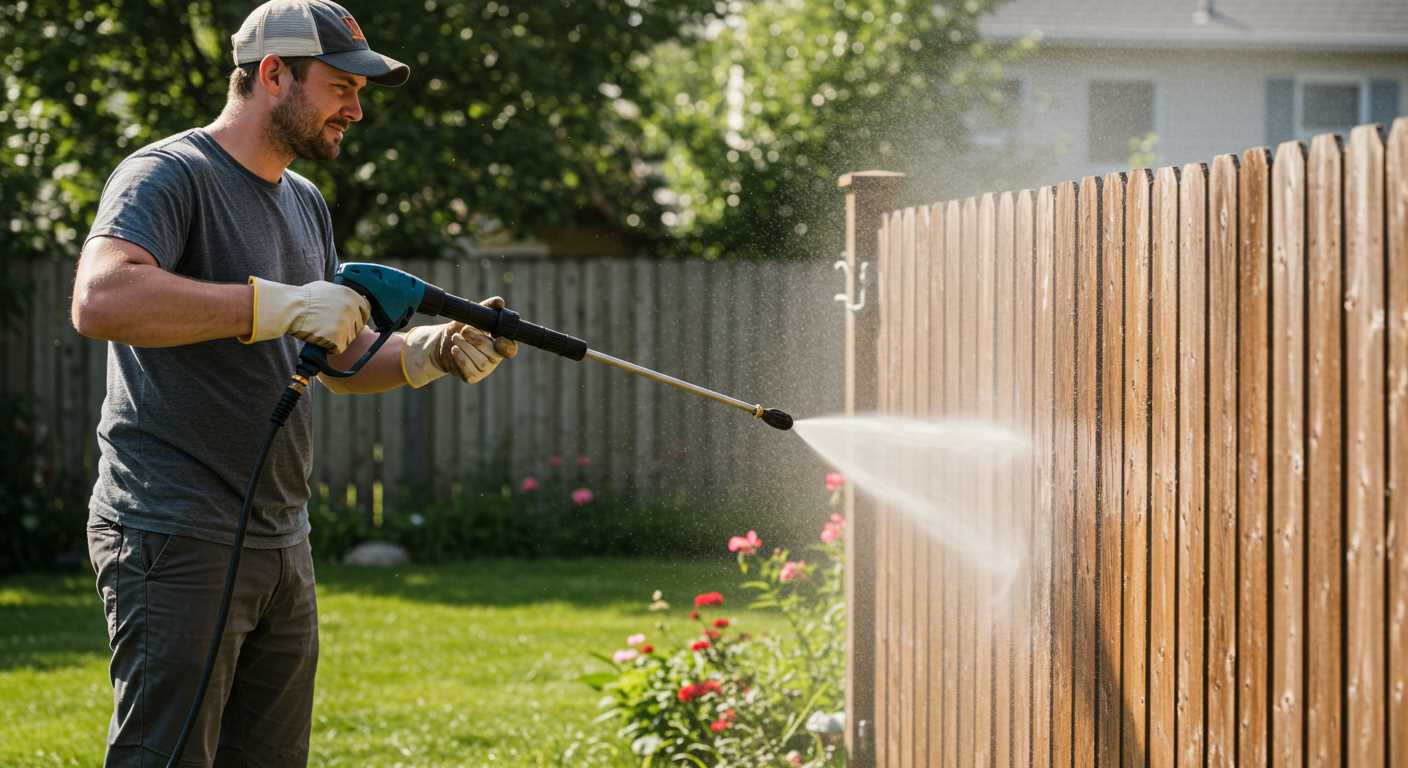


Begin by securing the right equipment. A unit with at least 1500 PSI will handle most tasks effectively. Choose an adjustable nozzle to switch between different spray patterns–this versatility is invaluable. I recall a time when I underestimated the power of a narrow spray; it blasted away dirt I thought was impossible to remove.
Next, prepare the surface. Rinse off loose debris before applying any detergent. A simple pre-rinse can save you time and effort later on. I once skipped this step, only to find that dirt clung stubbornly to the surface. A thorough rinse can make all the difference.
Select a suitable cleaning solution. Always opt for pH-neutral products specifically designed for automotive surfaces. Avoid harsh chemicals that could damage the finish. I learned this the hard way after using a strong cleaner that left streaks on my vehicle. Take the time to read labels; it pays off in the long run.
Apply detergent with a low-pressure setting. This allows the solution to dwell and penetrate grime effectively. I often let it sit for about five to ten minutes but never let it dry. I remember once allowing it to dry, thinking it would be fine–big mistake! The residues were tougher to remove than the original dirt.
Finally, rinse thoroughly using a wide fan spray pattern. Start from the top and work your way down to ensure that all soap is removed. I’ve found that this method not only prevents streaks but also ensures every inch is clean. Don’t rush this step; it’s crucial for a spotless finish.
Effective Techniques for Using a Pressure Cleaner on Your Vehicle
Begin by selecting the right nozzle. A 25-degree or 40-degree nozzle works best for gentle cleaning without damaging the paint. Avoid using a narrow nozzle, as it can strip away protective coatings.
Before starting, ensure the vehicle is cool to the touch. Hot surfaces can trap dirt and cause scratches when cleaned. I remember a time when I rushed the process, and the heat caused more harm than good.
Apply a pre-soak solution to loosen grime and debris. This step reduces the amount of scrubbing necessary later. I often use a foam cannon attachment; it creates a thick layer of suds that clings to the surface, allowing the cleaner to work effectively.
Maintain a distance of about 2 feet from the surface while spraying. This distance helps control the force and prevents potential damage. I once got too close and left a noticeable mark on the paint. It was a harsh lesson learned.
Work from the top down. Start with the roof, move to the windows, and finish with the lower panels. This method prevents dirt from running down onto already cleaned areas. After a few mishaps, I realised this technique saves time and effort.
After rinsing, dry the vehicle with a soft microfiber towel to prevent water spots. I always keep a couple of these towels handy; they absorb moisture effectively and leave a streak-free finish.
Lastly, inspect the vehicle for any missed spots or stubborn stains. Address these areas with a gentle scrub and rinse again. I’ve found that taking the time to double-check ensures a thorough clean and increases satisfaction with the results.
Choosing the Right Pressure Washer for Car Cleaning
Opt for a model with a pressure rating between 1200 and 1900 PSI. This range effectively removes dirt without risking damage to your vehicle’s paint. I’ve seen too many enthusiasts choose machines with excessive power, causing unintended scratches or chips.
Electric vs. Gas
Electric units are quieter and easier to store, making them suitable for residential use. They typically weigh less, which simplifies manoeuvrability. I recall a friend struggling with a heavy gas model on his driveway, while I breezed through my task with a compact electric version. Gas machines, however, offer superior cleaning power, ideal for larger vehicles or those with heavy grime. Choose based on your specific needs.
Accessories Matter
Invest in a rotational nozzle or foam cannon. I once used a foam cannon with a standard unit, and the difference in cleaning efficiency was remarkable. The foam clings to surfaces, loosening stubborn dirt before rinsing. A good set of brushes can also enhance your experience, particularly for intricate areas like wheel wells or grilles.
Preparing Your Vehicle for High-Pressure Cleaning
Before starting the cleaning process, remove any personal items from the interior. This includes electronics, bags, and anything else that could get damaged by water or cleaning agents. I once forgot to take out a small bag and ended up with soaked documents. A little preparation goes a long way.
Exterior Checks
- Inspect for loose parts: Check for items like mirrors, trims, or antennas that may need securing. I had a side mirror detach during a strong spray once, and it was a hassle to reattach.
- Look for scratches: Ensure any existing damage is noted. Water can exacerbate these issues, making them more visible.
- Remove any debris: Clear away leaves, twigs, and dirt from the surface. I often use a soft brush to dislodge stubborn particles before starting.
Setting Up Your Equipment
- Gather your materials: In addition to the cleaning unit, have a suitable detergent, soft brushes, and microfiber cloths ready.
- Connect the hose: Ensure that the water supply is adequate and free of leaks. I learned the hard way when a loose connection delayed my work.
- Choose the right nozzle: A wide-angle nozzle is generally safer for the vehicle’s surface. I prefer using a fan spray to cover more area without causing damage.
Taking these steps helps ensure a smooth and effective cleaning experience. Trust me, a little diligence in preparation saves a lot of trouble down the line.
Selecting the Appropriate Nozzle and Pressure Settings
For optimal results during your vehicle cleaning, the choice of nozzle and pressure settings is paramount. I often recommend starting with a 25-degree nozzle for the initial rinse. This nozzle provides a wide spray pattern, allowing you to cover large areas while still being gentle enough to avoid damaging the paintwork. I recall a time when I used a 15-degree nozzle too early in the process, and the concentrated jet caused minor scratches. Lesson learned!
Nozzle Types
Different nozzles serve various purposes. The adjustable nozzle is versatile, allowing you to switch between spray patterns seamlessly. For stubborn grime, a high-pressure setting with a narrow spray can be beneficial, but always test it on a small section first. A rotating brush attachment can also be useful for tackling tough spots without the risk of marring the surface.
Pressure Adjustments
Pressure settings should align with the condition of your vehicle. For regular maintenance, around 1200 to 1900 PSI is typically sufficient. If you encounter heavy road tar or stubborn mud, consider increasing the pressure slightly, but never exceed 2000 PSI to protect delicate finishes. I once went too high and regretted it, as it led to paint damage that required professional correction. Always err on the side of caution.
Cleaning the Wheels and Tyres First
Focus on the wheels and tyres before tackling the rest of the vehicle. This approach prevents dirt and grime from splashing onto the freshly cleaned surfaces. Start by selecting a high-quality best car wash high pressure spray gun to ensure effective cleaning.
Utilise a dedicated wheel cleaner; it’s formulated to break down brake dust and road grime effectively. Apply the cleaner generously to each wheel and allow it to sit for a few minutes. This dwell time enhances the cleaner’s ability to work on stubborn stains.
Next, use the pressure gun to rinse the wheels from the top down. This method directs the flow of water, ensuring debris is lifted away rather than pushed around. Pay attention to the tyre walls; they often accumulate heavy dirt and should be scrubbed with a stiff brush for optimal results.
Choosing a domestic pressure washer australia model with adjustable pressure settings is beneficial. Lower settings are ideal for delicate finishes, while higher settings can tackle tough grime on tyres. Adjust as necessary based on the level of dirt you encounter.
After rinsing, dry the tyres with a microfiber cloth to prevent water spots and maintain their appearance. This step not only enhances the look but also prepares the tyres for dressing products, ensuring even application.
Applying Soap and Detergent Safely
Start by selecting a pH-neutral soap designed specifically for automotive surfaces. These soaps lift dirt and grime without damaging paint or finishes. I’ve personally found that products labelled as “car wash soap” are often the most reliable. Avoid household detergents; they can strip wax and harm your vehicle’s surface.
Before applying any cleaner, ensure the vehicle is cool to the touch. Direct sunlight can cause soap to dry too quickly, leading to streaks and residue. I recommend choosing a shaded area or waiting until the evening for a more effective clean.
Utilising the Right Technique
Using a foam cannon attached to the sprayer is my go-to method. It creates thick foam that clings to surfaces, allowing the soap to work effectively. Begin by spraying the foam from the bottom up to prevent drips from settling on clean areas. Allow the soap to sit for a few minutes, but never let it dry completely. If you’re using a bucket and sponge, make sure to rinse the sponge regularly to avoid reapplying dirt particles.
Rinsing and Safety Precautions
Once the soap has had time to act, rinse thoroughly from the top down. This ensures that any remaining soap runs off the surfaces rather than pooling. Wear gloves and goggles when handling any cleaning agents to protect your skin and eyes. I’ve had a few close calls where soap splashed back unexpectedly, so don’t underestimate the power of prevention!
Rinsing Techniques to Avoid Damage
Begin by maintaining a safe distance between the nozzle and the surface. Aim for at least 2 feet away to prevent the high-velocity water stream from causing scratches or chipping paint. Adjust your stance and angle to effectively reach all areas without compromising the vehicle’s exterior.
Choosing the Right Angle
Position the nozzle at a downward angle, allowing the water to flow downwards. This technique helps in avoiding water pooling in crevices, which can lead to corrosion over time. Here are some key points to keep in mind:
- Start from the top and work your way down to ensure dirt and grime are effectively removed.
- Use a sweeping motion rather than a concentrated spray on any one spot; this reduces the risk of damage.
- Pay special attention to areas around badges, trims, and seals where water can get trapped.
Monitoring Pressure Levels
Adjusting pressure settings is crucial. Opt for lower pressure when rinsing sensitive areas, such as around mirrors and plastic trims. Here’s what I recommend:
- Set the pressure to a lower setting, around 1000 to 1200 PSI, for delicate surfaces.
- Increase the pressure incrementally for tougher spots, but always test on a less visible area first.
- Consider using a fan spray pattern instead of a direct jet; this disperses the force, reducing the likelihood of damage.
In my experience, observing these techniques not only protects the vehicle but also enhances the overall cleaning process. A mindful approach to rinsing can preserve the finish and keep your vehicle looking its best for years to come.
Finishing Touches: Drying and Waxing Your Vehicle
After rinsing off all the soap and grime, it’s vital to dry your vehicle to prevent water spots. I recommend using a soft, absorbent microfiber towel. This material is gentle on the paintwork and effectively soaks up moisture. Avoid using regular bath towels, as they can scratch the surface. Start from the top and work your way down, ensuring no areas are missed.
Waxing for Protection
Once your vehicle is completely dry, applying a wax layer is the next step. Wax not only enhances the shine but also provides a protective barrier against contaminants and UV rays. Choose a high-quality carnauba or synthetic wax for a long-lasting finish. I’ve found that liquid waxes tend to be easier to apply and buff out compared to paste forms. Use a foam applicator pad to apply the wax in circular motions, covering one section at a time.
Buffing and Final Inspection
After allowing the wax to haze over, buff it off with a clean, dry microfiber cloth. This process not only adds shine but also ensures an even application. Take a moment to inspect your vehicle closely. Check for any missed spots or areas that may need additional attention. Trust me, those little details can make a significant difference in the final look.
| Step | Action |
|---|---|
| 1 | Use microfiber towel to dry |
| 2 | Apply wax with foam applicator |
| 3 | Buff off wax with clean cloth |
| 4 | Inspect for missed areas |
These finishing touches not only enhance the appearance but also protect your investment. It’s worth taking the extra time to ensure your vehicle looks its best and is safeguarded against the elements.


.jpg)


