


Start by disconnecting the unit from the power source and the water connection. This ensures safety while you work. Next, locate the water inlet on your machine; it’s usually near the base. With the inlet exposed, turn on the unit briefly to allow any remaining liquid to flow out. This action can help to ease the release of any gas that may have become trapped within the system.
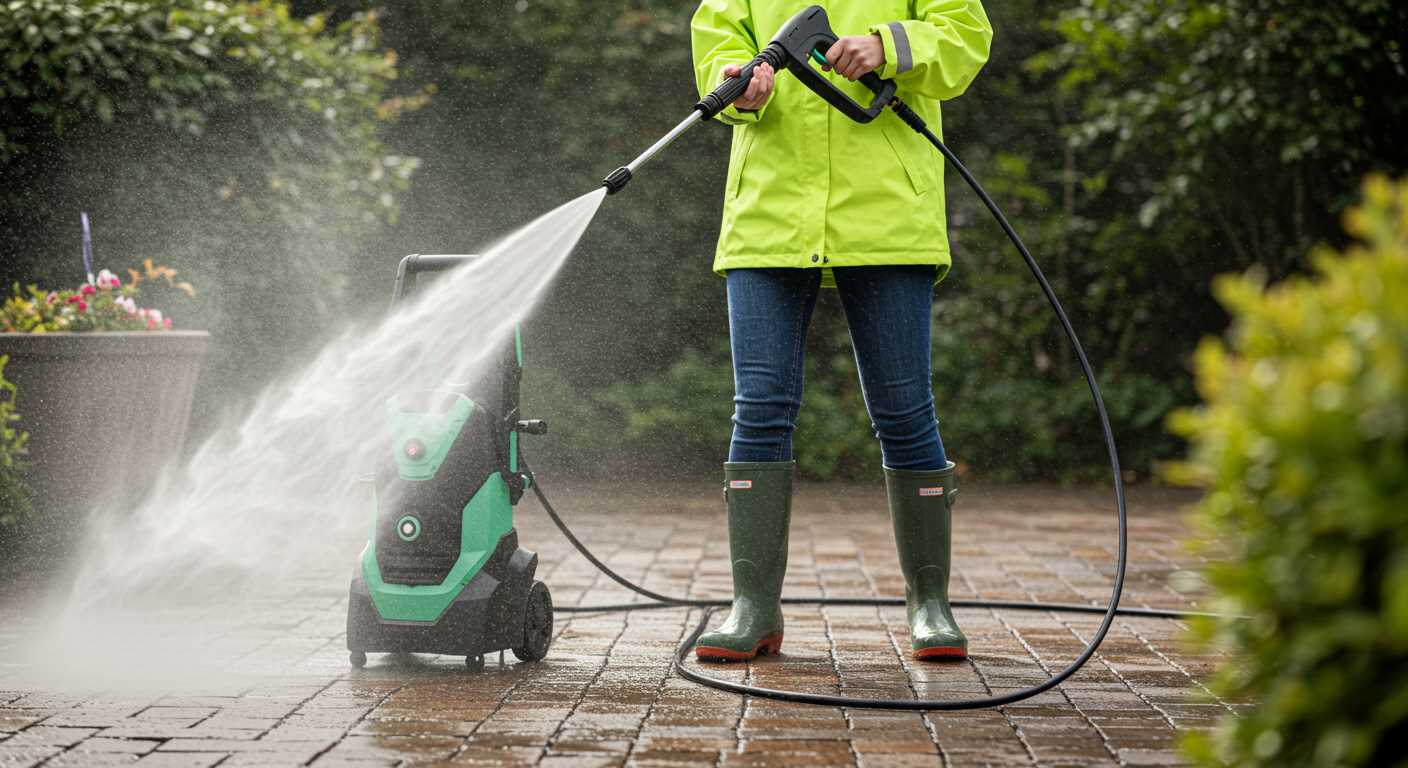
After that, check the nozzle and wand. Remove them and direct the gun towards a safe area where water can flow freely. Pull the trigger on the gun to expel any remaining fluid and gas. Holding the trigger down for a minute or two can significantly help in clearing out any air pockets. You might hear a few noises as the gas escapes, which is perfectly normal.
In my experience, it’s crucial to keep an eye on the water flow. If it sputters or doesn’t come out steadily, there’s a good chance more gas is still present. Reconnect the water supply, turn on the unit, and repeat the trigger-pulling process until you notice a steady stream. This step is essential for optimal performance during future use.
Finally, once you’ve ensured that all gas has been expelled, reattach the nozzle and wand securely. A quick check on the connections can prevent any mishaps while you’re cleaning. Trust me, taking these steps not only enhances performance but also prolongs the lifespan of your equipment.
Steps to Remove Entrapped Gas from Your Cleaning Equipment

Begin by disconnecting the water supply and ensuring that the machine is off. Next, locate the nozzle and remove it carefully. This allows any trapped gas to escape efficiently. After that, reconnect the water supply, keeping the unit elevated to aid the expulsion of residual gas.

Release Excess Pressure
With the machine still off, trigger the gun to relieve any built-up pressure. This step is crucial as it allows any remaining gas to exit through the nozzle. Hold the trigger until water flows freely without spluttering.
Check the Filters
Inspect and clean any filters that may be clogged. A blocked filter can contribute to the issue you’re facing. Ensure all connections are secure, as leaks can also lead to air pockets forming in the system.
If you’re considering a high-performance model, you might want to explore options like the 200 bar machines. They often come with features designed to minimise such problems.
Once you complete these steps, reattach the nozzle, turn on the water supply, and start the machine. Watch for any irregularities in the water flow, as they can indicate lingering issues that may need further attention.
Identifying Air in the Pressure Washer System
Recognising the presence of trapped gas within the unit is crucial for smooth operation. Here are some indicators that suggest your cleaning device may have unwanted gas in its system:
- Inconsistent Pressure: If the output varies significantly during use, it could indicate that gas is interfering with the normal flow of liquid.
- Unusual Noises: Listen for sputtering or chugging sounds. These noises often signal that liquid isn’t flowing properly, potentially due to the presence of gas.
- Reduced Efficiency: If you notice a drop in cleaning power, it could be a sign that the unit isn’t performing optimally because of trapped gas.
- Visible Bubbles: While using the unit, watch for bubbles forming in the liquid stream. This might indicate gas is mixing with the fluid.
In my experience, these signs often crop up after the unit has been left unused for a prolonged period or after a maintenance check. Once I spotted these indicators, I knew it was time to take action.
For instance, I remember one client whose device was sputtering and delivering inconsistent pressure. After a quick inspection, I identified gas trapped in the system. Once we addressed the issue, the performance returned to normal, and the customer was thrilled.
Paying attention to these symptoms can help you maintain your equipment and ensure it operates at peak performance. Regular checks and observations can save you time and prevent bigger issues down the line.
Tools Required for Air Removal Process
To effectively eliminate trapped gas in your cleaning device, you will need a few specific items. First, gather a quality garden hose that fits your model. Ensure it’s in good condition, as any leaks can hinder the process.
Next, a bucket is helpful for collecting any excess fluid that might escape during the procedure. It’s a straightforward way to keep your workspace tidy. A sturdy wrench is also essential for loosening any fittings where gas may be trapped, especially if your unit has a complex design.
Additional Items
A pair of pliers can be handy for gripping stubborn components. If your equipment has a bleed valve, a flathead screwdriver may be necessary to open it. Finally, having a towel or rag on hand will help wipe away any spills, maintaining a clean area.
These tools will make the entire process smoother and ensure you can operate your machine without hiccups. As someone who’s dealt with various models, I can assure you that being prepared with the right equipment makes all the difference.
Steps to Release Air from the Pressure Hose
Firstly, ensure that the machine is turned off and unplugged for safety. Next, locate the high-pressure hose connected to the unit. It’s crucial to disconnect this hose from both the gun and the washer itself.
Loosen the Connection
With the hose detached, carefully loosen the end fitting of the hose that connects to the spray gun. This is where trapped fluid can escape. Be prepared for a small amount of residual water to emerge. This step is key in allowing any remaining fluid to flow out, which helps eliminate any air pockets.
Reattach and Test
Once you’ve loosened the connection and let any fluid out, reattach the hose securely to both ends. Ensure there are no cross-threads or loose fittings. Now, turn the machine back on and engage the trigger on the spray gun. Let it run for a few moments until a steady stream of water flows without sputtering. If you still notice irregularities, repeat the previous steps until the stream is consistent.
Lastly, always check the manufacturer’s manual for specific instructions related to your model, as some units may have unique features that impact this process.
Bleeding Air from the Pump Assembly
Begin by locating the bleed valve on the pump assembly, typically situated near the inlet or outlet ports. This valve allows for the release of trapped fluids and gases within the unit. Ensure the machine is off and disconnected from any power source before proceeding.
- Attach a suitable hose to the bleed valve to direct any expelled liquid safely away from the machine.
- Open the bleed valve gently using a wrench or your fingers, depending on the design. Be cautious, as liquid may escape under pressure.
- Let any excess fluid escape until a steady stream emerges without interruptions. This indicates that any trapped gases are now expelled.
- Once you observe a constant flow, close the valve securely, ensuring it is tightened to prevent leaks.
In my experience, I’ve found that neglecting this step can lead to reduced performance and potential damage to the unit. After completing this process, it’s wise to test the system by turning it on briefly to confirm everything is operating smoothly.
If issues persist, inspecting the inlet filter and ensuring it is clean can also be beneficial. A clogged filter can contribute to pressure fluctuations and may cause similar symptoms. Always keep an eye on the condition of your equipment; regular maintenance can prevent many common problems.
Checking for Air Leaks in Connections
Begin by inspecting all fittings and connectors for any signs of wear or damage. A cracked or worn O-ring can be the culprit for unwanted leaks, so replace it if necessary. During my years in the field, I often found that a simple visual examination would reveal more than expected.
Next, tighten all connections using the appropriate tools. Make sure not to over-tighten, as this can cause further damage. I recall a situation where a colleague’s oversight in this area led to unnecessary downtime and repairs.
Utilise a soapy water solution to check for leaks. Apply it to the joints and listen for hissing sounds or watch for bubbles forming. Any activity here indicates a breach in the system. This method has consistently served me well, providing a quick and effective way to identify issues.
When dealing with quick-connect fittings, ensure they snap securely into place. I’ve experienced instances where connections appeared solid but were not fully engaged. A quick tug can confirm their integrity.
Lastly, if you suspect a more serious issue, consider using a pressure gauge to monitor the system’s performance. Significant drops in pressure could indicate a leak. I learned this the hard way when I overlooked a minor drop, leading to a cascading series of problems that could have been prevented with a simple check.
Testing Your Cleaning Equipment After Air Removal
Once you’ve ensured that all unwanted gas has been eliminated, it’s critical to conduct a thorough examination of your machine. First, check for any abnormal sounds when turning it on. A smooth, consistent hum indicates the unit is functioning correctly, while any unusual noises might signal lingering issues. If you hear rattling or grinding, it could suggest that some components haven’t fully settled into place.
Visual Inspection
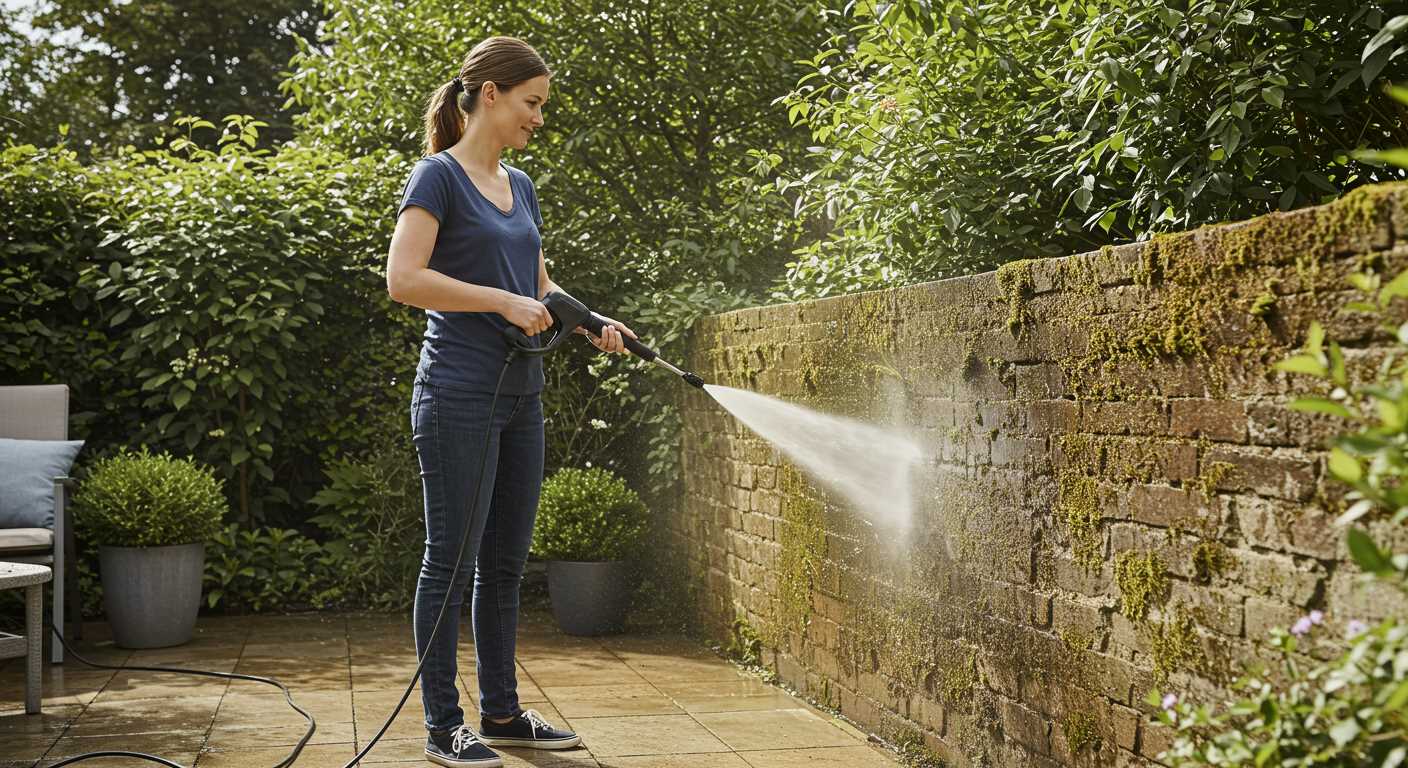
Next, inspect the output stream. Attach your favourite nozzle–perhaps the best car wash nozzle for pressure washer–and activate the system. The flow should be strong and steady. Any sputtering or irregular flow points to remaining air pockets or potential blockages in the hose. Observe the spray pattern closely; it should be uniform without any interruptions.
Testing Performance
After the visual check, run a timed test. Measure how long it takes to clean a specific area or object. This gives you an idea of whether the unit is performing at its expected capacity. If the cleaning time is significantly longer than usual, revisit the connections and pump assembly for any signs of remaining issues. Regularly testing your equipment after maintenance will ensure it operates optimally for years to come.
Preventative Measures to Avoid Air Buildup
Regular maintenance is key to preventing unwanted gas pockets in your cleaning device. A few straightforward practices can significantly reduce the chances of encountering this issue.
First, ensure that all connections are tightly secured. Loose fittings can allow air to enter the system during operation. I remember one instance where I struggled with inconsistent pressure, only to discover that a simple tightening of the hose connection resolved the problem.
Next, use quality hoses and fittings. Cheaper alternatives may not provide the same level of sealing, leading to leaks. Investing in high-grade components can save you time and hassle. I’ve seen firsthand how a durable hose can withstand the rigours of regular use without developing leaks.
Another effective strategy is to flush the system with clean water before storing it. This not only removes debris but also helps to eliminate any residual gas that might have collected. I’ve made it a habit to run clean water through my unit after every use, and it has made a noticeable difference in performance.
Keep your equipment stored in a climate-controlled environment. Extreme temperatures can affect the integrity of seals and hoses, leading to potential leaks. During a particularly cold winter, I learned the hard way that storing my device in an unheated garage resulted in cracked hoses by spring.
Lastly, conduct regular inspections. Look for signs of wear and tear on all parts, especially seals and connectors. If you notice any damage, replace the part immediately. A small crack can lead to significant issues down the line. I’ve saved myself a lot of trouble by making this a routine part of my maintenance schedule.
| Tip | Description |
|---|---|
| Tighten Connections | Ensure all fittings are secure to prevent leaks. |
| Quality Components | Use durable hoses and fittings to minimise issues. |
| Flush System | Run clean water through the unit before storage. |
| Climate-Controlled Storage | Avoid extreme temperatures that can damage parts. |
| Regular Inspections | Check for wear and replace damaged components promptly. |

.jpg)


