


Before you begin, ensure that your machine is off and disconnected from the power source. This simple step prevents any accidental activation while you’re preparing your equipment. Most models come with a dedicated compartment designed for the liquid solution, typically located near the nozzle or in a separate tank. Check your user manual for the precise location.
After locating the compartment, fill it with a suitable mixture according to the instructions on the detergent packaging. It’s crucial to dilute the product correctly; using it in concentrated form can damage the components of your device. I once made this mistake with a powerful degreaser, and it caused significant wear on the seals, leading to costly repairs.

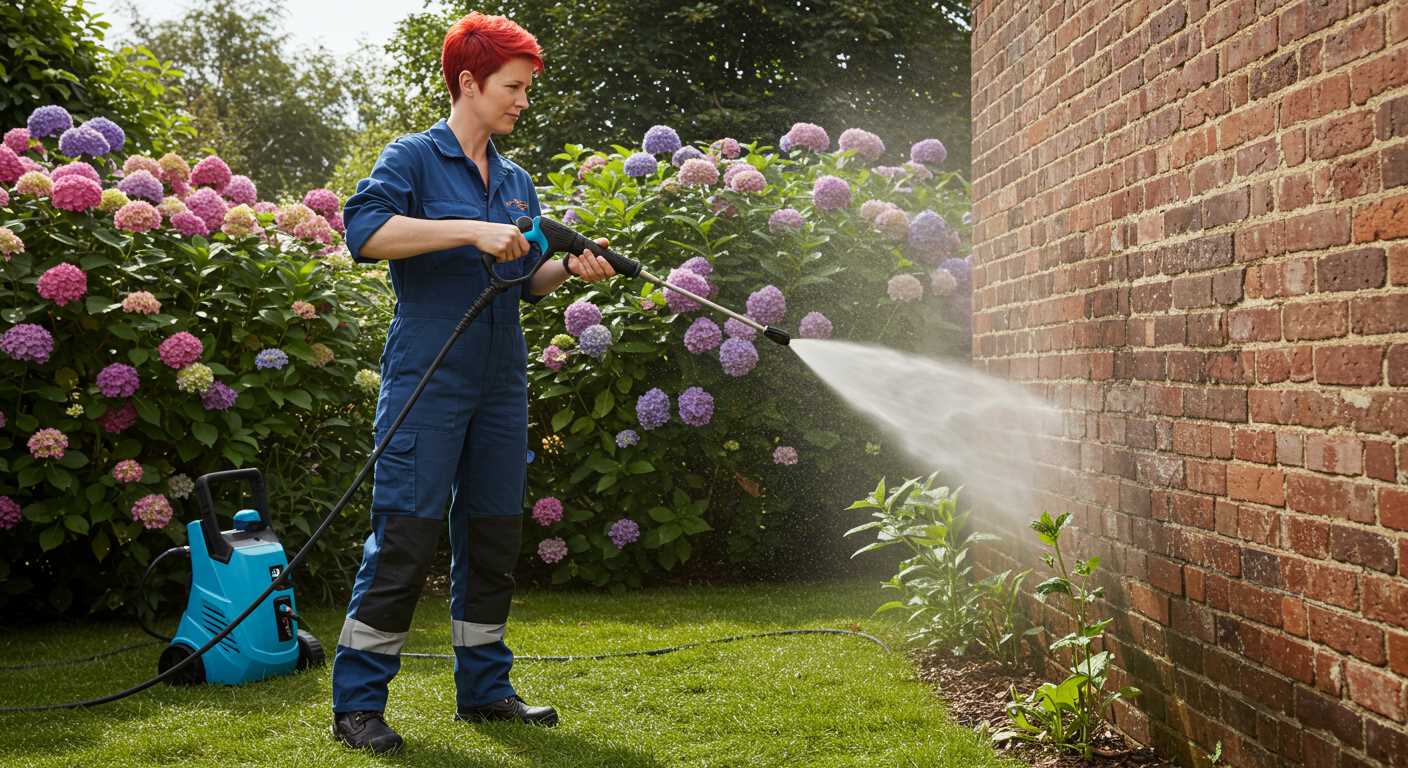
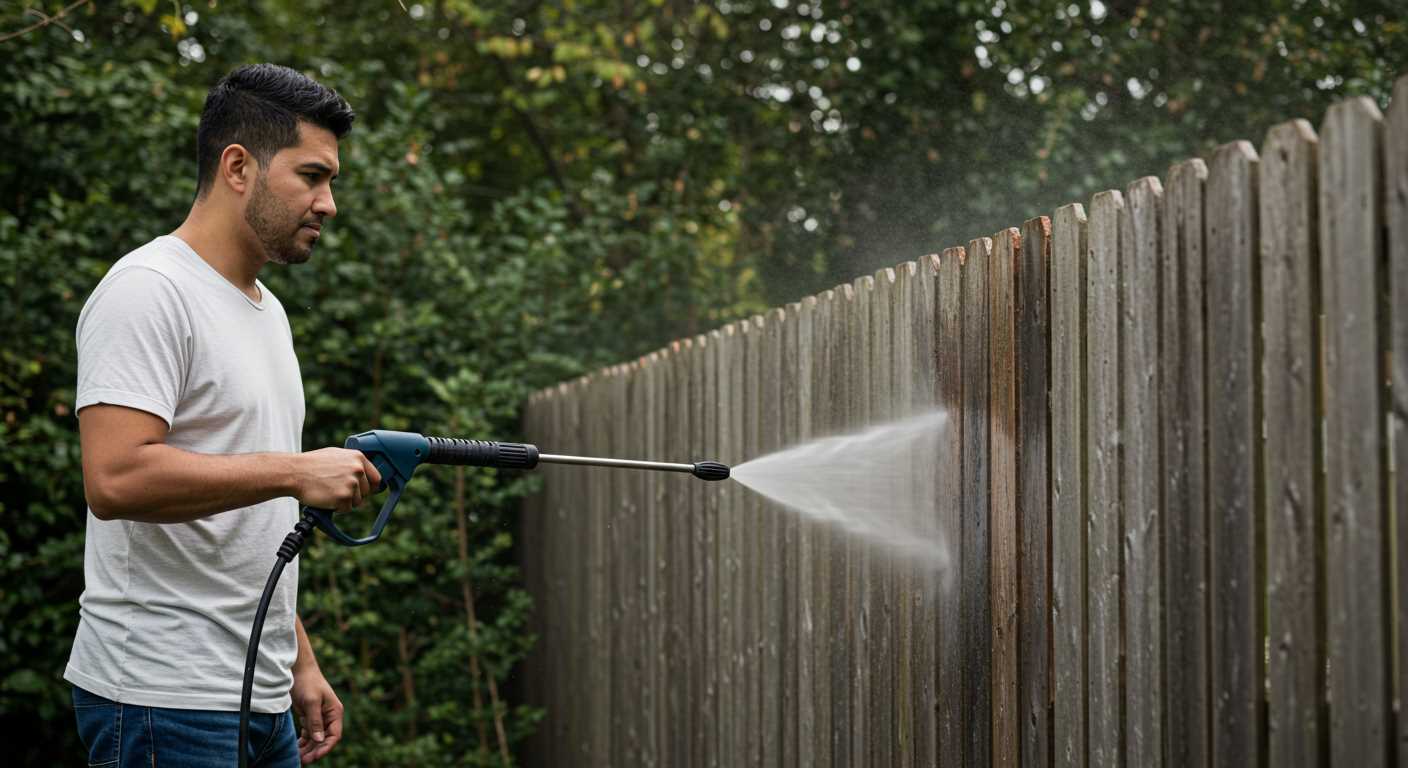
Once the tank is filled, attach the nozzle suited for applying the mixture. I recommend starting with a low-pressure setting to avoid overspray and ensure an even application. During my years in the industry, I found that applying the solution from a distance of about 30 centimetres works best for most surfaces. Allow the detergent to dwell for a few minutes–this helps lift dirt and grime effectively.
Finally, switch to a high-pressure setting to rinse away the solution, ensuring that all residues are thoroughly washed off. This final step not only clears away the dirt but also prevents any potential residue buildup that could affect the performance of your apparatus in the future. I’ve learned that taking these extra moments for preparation and cleanup can extend the life of your gear significantly.
Understanding the Types of Cleaners for Pressure Equipment
Choosing the right solution can significantly enhance the cleaning process. Based on my experience, there are three main categories of products: alkaline, acidic, and neutral cleaners. Each type serves a specific purpose and reacts differently with surfaces and stains.
Alkaline Cleaners
These are ideal for breaking down grease and oily residues. I often use them for cleaning vehicles and machinery. They work by saponifying fats, making them easier to wash away. Just be cautious with sensitive surfaces; always test on a small area first.
Acidic Cleaners
Acidic solutions excel at removing mineral deposits, rust, and hard water stains. On several occasions, I found them invaluable when tackling tiled surfaces and brickwork. They can be potent, so protective gear is a must, and neutralising agents should be on hand to prevent damage to surrounding areas.
Neutral cleaners are gentle and suitable for general cleaning tasks. They lack the aggressive properties of their alkaline and acidic counterparts, making them safe for most surfaces, including painted ones. For regular maintenance, this type can be quite effective.
Incorporating the right cleaner into your routine can elevate the performance of your device. If you’re looking for a robust option, consider a commercial grade pressure washer for optimal results.
Checking your pressure washer’s compatibility with detergents
Before adding any cleaning solution, always check the manufacturer’s specifications. Most brands provide a clear guideline on which substances can be used without causing harm. I recall a time when I overlooked this step and used a harsh chemical that ended up damaging the internal components of my unit. It’s a costly mistake I won’t repeat.
Find the information in the user manual or on the manufacturer’s website. Some models come with specific recommendations for types of detergents, while others may indicate that only certain brands are suitable. For instance, I had a unit that worked best with biodegradable products, which not only cleaned effectively but also protected the environment.
Inspect the detergent tank or injection system. Some machines have built-in systems designed for specific formulas. If yours doesn’t, using the wrong type can lead to clogging or malfunction. A friend of mine had to spend extra on repairs after using a thick solution meant for different equipment. Always ensure the viscosity of the cleaner matches what your model can handle.
Consider the pressure settings. High-pressure settings may require more diluted solutions or lower concentrations. I learned this the hard way after using a concentrated cleaner at full strength, which caused excessive foam and reduced the cleaning efficiency. Adjust the settings as needed for optimal results.
Lastly, test a small area first. This tip saved me from potential disasters on more than one occasion. Applying a new cleaning product on an inconspicuous spot can reveal how your machine interacts with it, preventing any unpleasant surprises during the main job.
Preparing the Cleaner for Use in Your Pressure Washer
Always dilute the detergent according to the manufacturer’s instructions before adding it to your machine. I’ve seen too many people make the mistake of using concentrated solutions directly, which can lead to clogs or damage. For instance, I once had a colleague who didn’t dilute properly and ended up spending hours cleaning out the nozzle. A simple measurement can save you a lot of hassle.
Use a clean container for mixing solutions. Contaminants from previous cleaners can react unfavourably, affecting performance. I recommend keeping separate containers for different types of solutions. This small step ensures your mixtures remain effective and safe for your equipment.
Allow the solution to sit for a few minutes after mixing. This helps it to fully integrate, ensuring an even application when you start working. I’ve noticed that taking this brief pause often leads to better results, especially on tough stains.
Once you’ve prepared your mixture, check the hose and nozzles for any blockages. A quick inspection can prevent interruptions during your cleaning session. I recall a time I started without checking and had to stop mid-job to deal with a clogged nozzle, which was frustrating.
If your model includes different injection systems, ensure you’re using the correct one for the detergent type. I learned this the hard way when I mistakenly used a soap nozzle with a high-pressure setting, resulting in a mess rather than a clean surface. Always consult your user manual for guidance.
After completing the task, rinse the system with clean water to avoid residue build-up. I developed this habit after encountering long-term maintenance issues due to leftover detergent. It’s a small effort that pays off in the longevity of the equipment.
For those looking to invest in a new machine, check out the best portable pressure washers. They often come with user-friendly features that simplify the cleaning process.
Locating the Detergent Tank on Your Pressure Washer
First, check your user manual; it usually contains a diagram indicating the location of the detergent tank. Most models feature a tank either integrated into the body or as a separate, removable container.
Here are some common locations to find the tank:
- Side-mounted tank: Many units have a tank attached to the side of the motor housing. Look for a cap labelled for detergent.
- Rear-mounted tank: Some designs place the tank at the back, easily accessible when you stand behind the machine.
- Integrated system: In certain models, the tank is built into the handle or the lance. A small opening on the lance may indicate where to pour the solution.
- External container: Some high-performance machines require a separate container that connects via a hose. Ensure it’s securely attached before use.
When searching for the tank, ensure the unit is turned off and disconnected from the power source to avoid accidents. If you still can’t find it, visiting the manufacturer’s website or contacting customer service for assistance can be beneficial.
Properly adding cleaner to the detergent tank
First, ensure the detergent container is clean and free of any residue from previous solutions. This prevents unwanted reactions and ensures optimal performance. I always rinse the tank with water before adding a new product.
Next, carefully pour the solution into the tank, avoiding spills. Use a funnel if necessary for precision. I recall a time when I hurried and ended up with a mess that took longer to clean than it would have to pour it correctly. It’s a simple step that saves time later.
Check the manufacturer’s instructions for the correct dilution ratio if you’re using a concentrated solution. Mixing it too strong can lead to damage over time. In my experience, following the guidelines results in better cleaning outcomes and prolongs the equipment’s lifespan.
Once the tank is filled, securely close the lid to prevent any leaks during operation. I learned this the hard way after a session where I found product dripped on the ground, wasting what could have been useful for my task.
Finally, activate the detergent setting on your unit before starting. This ensures that the solution is drawn into the system properly. I’ve often found that double-checking this step avoids frustration when switching between different cleaning modes.
Adjusting the Settings for Optimal Cleaner Application
For maximum efficiency, it’s crucial to fine-tune the settings on your machine. Start by ensuring the nozzle is appropriate for the task. A wider spray angle often helps in evenly distributing the solution, while a narrower angle can concentrate the cleaner for tougher grime. I’ve found that switching nozzles based on surface type can significantly enhance results.
Next, adjust the pressure settings. A lower pressure, typically around 1000-1500 PSI, is suitable for applying detergents. This prevents excessive splattering and ensures the solution adheres to surfaces for effective cleaning. In my experience, cranking the PSI too high can lead to wasting detergent and might even damage delicate surfaces.

Furthermore, consider the application method. Some machines have dedicated soap settings, which automatically mix the detergent with the water. If yours does, ensure that this feature is activated before use. I remember one time I overlooked this, and the application was far less effective. Always test a small area first to see how the mixture performs.
| Setting | Recommended Value | Notes |
|---|---|---|
| Nozzle Type | 25° – 40° | Wider angles for surface coverage, narrower for tough stains |
| Pressure | 1000 – 1500 PSI | Lower settings for optimal detergent application |
| Application Method | Soap setting engaged | Mixes detergent automatically for better results |
Lastly, allow adequate dwell time for the solution on the surface before rinsing. This ensures the cleaning agents have time to break down dirt and stains effectively. A common mistake I’ve seen is rushing this step, leading to subpar results. Patience pays off in cleaning.
Cleaning and maintaining your pressure cleaner after use
Once you’ve finished using your equipment, proper maintenance is crucial for its longevity and performance. Here’s how to ensure everything stays in top shape.
Rinsing the system
Start by running plain water through the machine. This flushes out any remaining detergent and prevents residue buildup. Here’s what to do:
- Disconnect the detergent tank.
- Attach the water supply and switch on the unit.
- Let it run for a few minutes until the water runs clear.
Cleaning the filter and nozzle
Maintaining the filter and nozzle is necessary to avoid clogs that can affect performance. Follow these steps:
- Turn off the equipment and disconnect the water supply.
- Remove the filter located at the water inlet. Rinse it under running water to clear any debris.
- Inspect the nozzle for blockages. Clear any dirt with a pin or a soft brush.
After these steps, check for any leaks or damaged parts. Addressing these issues promptly can save you from bigger repairs down the line.
Finally, store the equipment in a dry place to prevent any moisture-related damage. This simple routine will keep your cleaner running smoothly for years to come.

.jpg)


