


Begin by ensuring compatibility between your foam applicator and the high-pressure cleaner. Most units have a quick-connect fitting, which allows for an easy attachment. If your model requires a specific adapter, check your manual or the manufacturer’s website for guidance. In my experience, having the right adapter can save a lot of time and frustration.
Next, securely connect the applicator to the nozzle of the cleaner. Make sure the connection is tight to prevent any leaks during operation. I recall a time when I underestimated the importance of this step; a loose connection resulted in a messy clean-up and wasted foam. A snug fit ensures that all the cleaning solution is used efficiently on your surface.

After connecting, adjust the pressure settings according to the surface you plan to clean. Softer surfaces require lower pressure to avoid damage. I learned this the hard way while cleaning a delicate car finish; a slight adjustment made all the difference in achieving a spotless shine without any scratches.
Finally, fill the applicator with your chosen cleaning solution, following the manufacturer’s recommendations for dilution. Over-concentration can lead to residue, while too weak a mixture may not provide the desired results. I always keep a measuring cup handy to ensure the perfect mix. Once everything is set up, you’re ready to begin the cleaning process, enjoying the satisfaction of a job well done.
Attaching the Foam Generator to Your Cleaning Unit
Begin with the right adaptor; ensure it fits snugly onto the outlet of your cleaning device. Most units come with a quick-connect fitting, which simplifies this process immensely. If yours doesn’t, you might need to purchase a compatible adaptor separately.
Next, take your generator and align its inlet port with the adaptor you’ve just connected. A firm twist will secure it in place. Listen for a click–this indicates a proper fit. It’s crucial to avoid cross-threading, as that can lead to leaks or damage.
Once attached, check the nozzle settings on the generator. Different nozzles create varying thicknesses of the cleaning solution. If you’re looking for a dense lather, opt for a wider opening. Remember, the goal is to maximise coverage while ensuring the solution adheres effectively to the surface you’re cleaning.
Before you start, verify the solution tank is filled with the appropriate detergent. Always use products designed specifically for these machines to avoid any potential harm. Mixing household detergents can cause issues with your device and may void warranties.
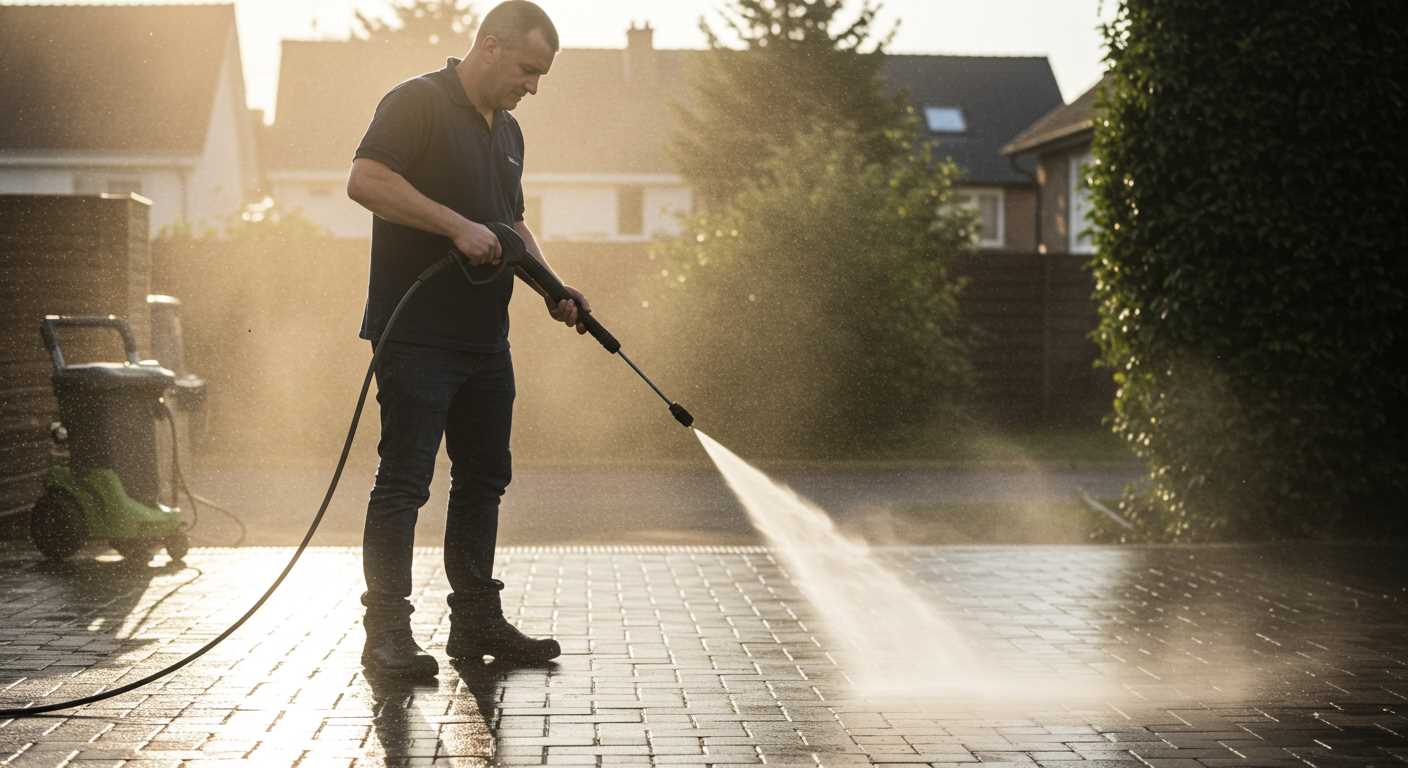
After filling, you’re good to go! Turn on your unit, adjusting the pressure settings as needed. Begin applying the solution from a distance of about 2-3 feet to avoid damage to the surface. Move in sweeping motions for even distribution.
Once finished, disconnect the generator by reversing the attachment steps. Rinse everything thoroughly to prevent residue build-up. Regular maintenance will prolong the life of both your cleaning equipment and the generator.
Choosing the Right Foam Cannon for Your Pressure Washer
The right choice of attachment can enhance your cleaning experience significantly. Selecting a compatible unit begins with understanding the specifications of your washing device.
- Connection Size: Check the inlet size of your machine. Most models feature either a 1/4 inch or a 3/8 inch connection. Ensure the attachment matches this to avoid leaks.
- Flow Rate: Different attachments are designed for varied flow rates. Consider the gallons per minute (GPM) rating of your model to select one that operates efficiently without overwhelming your unit.
- Nozzle Type: Look for adjustable nozzles. They allow you to modify the spray pattern, which is handy for various cleaning tasks, from gentle washing of vehicles to heavy-duty grime removal.
During my years in the cleaning industry, I often encountered customers who overlooked compatibility, leading to frustration and inefficiency. I remember one customer who purchased a popular attachment without checking the flow rate. It delivered too much suds and clogged the machine, resulting in costly repairs.
Consider the material of the attachment as well. A durable plastic option might be lighter and easier to handle, but metal components often provide better longevity. If you plan to use it frequently, investing in a robust model pays off in the long run.
- Price vs Quality: While it can be tempting to opt for the cheapest option, remember that quality often correlates with performance. Balance your budget against the features you need.
- Brand Reputation: Some brands have established themselves through the reliability of their products. Research and read reviews to ensure you’re making a wise investment.
In my experience, a well-chosen attachment can save you time and effort, transforming a tedious chore into a quick task. I recall a colleague who equipped his washer with a high-quality attachment, allowing him to clean his car in half the time compared to using a standard nozzle.
Ultimately, understanding your specific cleaning requirements and matching them with the right tool can enhance your efficiency and satisfaction. Make informed choices to ensure your investment leads to effective and enjoyable results.
Required Accessories for Attaching Foam Cannon
To ensure a seamless connection between your cleaning device and the suds sprayer, a few specific accessories are necessary. First, a high-pressure quick-connect adapter is essential. This piece allows for easy attachment and detachment, saving time when switching between tasks. I’ve often found that investing in a quality adapter prevents leaks and maintains consistent pressure, which is crucial for optimal suds distribution.
Hoses and Connectors
A reliable hose is another key component. Look for one rated for high pressure, ideally with a diameter of 1/4 inch, as it allows for sufficient flow without compromising pressure. I recall a project where a subpar hose kinked under pressure, causing frustration and delays. Ensure that your connectors are compatible with both the cleaning unit and the suds sprayer to avoid any compatibility issues.
Cleaning Solution
Choosing the right cleaning solution is equally important. Many users overlook this, but using a specialised detergent enhances the cleaning process significantly. I recommend looking for pH-balanced products to avoid damaging surfaces while ensuring effective cleaning. If you’re keen on maintaining stainless steel surfaces, check out this how to clean stainless steel the ultimate guide for expert tips.
Step-by-Step Guide to Connect Foam Cannon
Begin by ensuring your cleaning unit is switched off and unplugged. Safety first! Locate the outlet for accessories on your machine; this is usually found near the front or back of the device. Take the connector from your sudsing attachment and align it with the outlet. Firmly push until you hear a click, indicating a secure fit. If your model requires a specific adapter, use it at this stage.
Setting Up the Detergent
Next, fill the container of the sudsing device with your chosen cleaning solution. Check the manufacturer’s instructions for the correct dilution ratio; using concentrated product can yield excessive suds or damage your surfaces. Once filled, ensure the container is tightly sealed to prevent leaks during operation.
Testing the Setup
Reconnect your cleaning unit to a power source and switch it on. Adjust the nozzle on the attached device to the desired spray pattern. Before starting your cleaning task, test the sudsing attachment on a small, inconspicuous area to assess the effectiveness and coverage of the solution. This step helps avoid any surprises on larger surfaces.

Adjusting Pressure Settings for Optimal Foam Application
Start by setting the pressure unit to a lower setting, typically around 1,100 to 1,500 PSI. This range helps create thicker suds and prevents excessive splashing, ensuring a more controlled application. If you notice that the mixture is too thin, gradually increase the pressure, but do not exceed the recommended limits for your specific device and attachment.
Testing the Mixture
Once you’ve adjusted the pressure, it’s time to test the soap mixture. Use a small area to assess how well it adheres to the surface. If the solution runs off too quickly, reduce the pressure again. A good rule of thumb is to observe how the suds stick to the surface; they should cling without dripping excessively.

Fine-Tuning for Different Surfaces
For delicate surfaces, such as paint or glass, lower the pressure further to avoid damage. Conversely, tougher materials like concrete can handle higher settings. Always be prepared to adjust based on the specific cleaning task at hand. Based on my experience, maintaining a balance between pressure and mixture concentration is key to achieving the best cleaning results without compromising the integrity of the surfaces.
Testing the Foam Cannon After Installation
Once everything is securely connected, it’s time to put your new attachment to the test. Start by ensuring you have the right cleaning solution mixed according to the manufacturer’s instructions. The mixture should be consistent but not overly thick, allowing it to flow through the nozzle smoothly.
Here’s how to proceed:

- Turn on your device and set the machine to a low-pressure setting. This helps avoid any damage to surfaces while providing a good coverage of the cleaning solution.
- Attach the spray nozzle that corresponds with the new accessory, usually the widest angle for maximum coverage.
- Begin spraying the solution on a small, inconspicuous area to test for compatibility with surfaces.
- Watch for even distribution and thickness of the foam. If it’s too watery or not adhering well, adjustments may be necessary.
If the initial test seems successful, gradually increase the pressure while observing how the mixture behaves. A short handle pressure washer gun may be useful for better control during testing.
After testing, clean the attachment thoroughly to prevent any residue build-up. Regular maintenance will ensure optimal performance and longevity of your new equipment.
Maintenance Tips for Your Foam Cannon and Pressure Washer
Regular upkeep of your cleaning tool and its accessories ensures they perform optimally. After extensive testing, I’ve found that a few specific practices can make a significant difference in longevity and functionality.
Always rinse out the attachment after use. Leftover detergent can clump and clog nozzles, affecting performance during your next wash. A simple flush with clean water can prevent this issue. Additionally, check all gaskets and seals regularly. Any signs of wear can lead to leaks and reduced pressure, so replace them promptly to avoid further damage.
Store your device in a cool, dry place. Excessive heat or moisture can cause components to degrade more quickly. I’ve seen many users leave their gear outside, only to find that the elements have wreaked havoc on the seals and hoses. A protective cover can go a long way in preserving everything from rust to UV damage.
Every few months, inspect the hose for kinks or abrasions. A damaged hose can lead to pressure loss, which diminishes cleaning effectiveness. If you notice any issues, replace the hose immediately to maintain optimal function.
Cleaning the filter is another critical task. This often-overlooked component can become clogged with debris, hampering water flow. I recommend checking it regularly and cleaning or replacing it as needed to ensure maximum efficiency.
| Maintenance Task | Frequency | Notes |
|---|---|---|
| Rinse attachment | After each use | Prevents clogging |
| Inspect seals | Monthly | Replace if worn |
| Store properly | Year-round | Use a cover |
| Check hose | Every few months | Replace if damaged |
| Clean filter | Monthly | Ensure good flow |
By following these tips, you’ll extend the life of your gear and enhance its performance. Trust me, taking these few minutes for maintenance can save hours of frustration down the line.


.jpg)


