
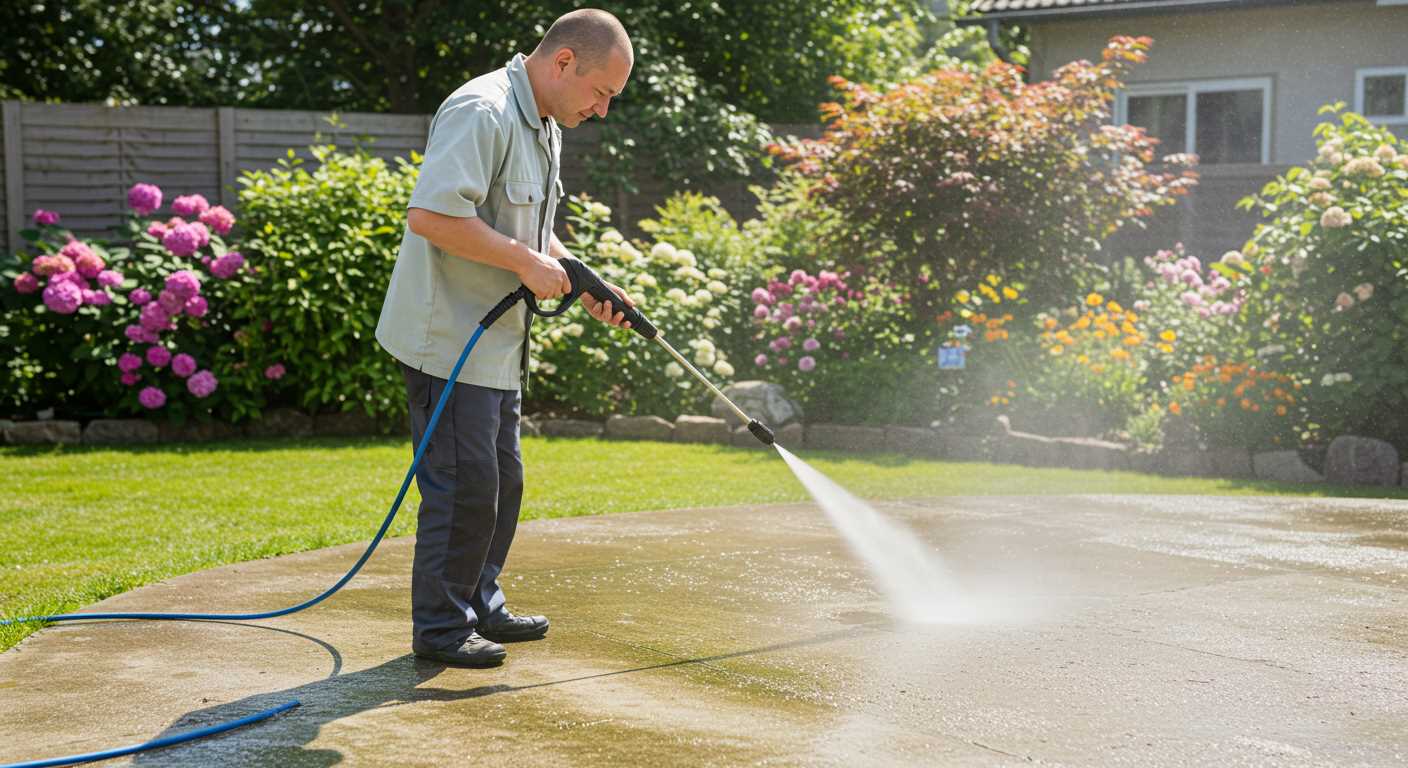


To seamlessly attach the flexible tubing to your cleaning device, begin by ensuring that both parts are clean and free from debris. A quick wipe with a damp cloth can prevent any unwanted blockages or leaks during operation. Next, align the connector of the tubing with the inlet of the machine, ensuring that any locking mechanisms are correctly positioned.
As someone who has worked with a variety of cleaning equipment, I can attest to the importance of checking for a snug fit. I recall a time when I was in a hurry and didn’t double-check the connection; it resulted in a frustrating spray of water in the wrong direction. Take the moment to listen for a click or feel for a secure lock when engaging the components. This simple step can save you from complications down the line.

After securing the connection, remember to inspect the entire length of the tubing for any signs of wear or damage. I’ve seen how a minor crack can lead to significant pressure loss. If everything appears in good shape, you’re ready to move on to the next step of your cleaning task. With everything hooked up properly, you can enjoy the full power of your equipment without any interruptions.
Attaching the Water Supply Line to Your Cleaning Device
Begin with ensuring the water inlet on the machine is clean and free from debris. A quick inspection can save you from leaks later on. Once confirmed, take the end of your supply line and align it with the inlet. Gently push it onto the connector until you hear a click, indicating it’s securely fastened.
Securing the Connection
After attaching, it’s wise to check the connection. Twist the fitting slightly to ensure it’s locked in place. If you notice any movement, disconnect and reattach to confirm a tight seal. A few extra seconds here can prevent any frustrating mishaps during operation.
Testing for Leaks
Once secured, turn on the water supply. Before starting the machine, inspect the connection for any signs of leakage. If water is seeping out, turn off the supply and double-check that the fitting is properly tightened. Making sure everything is leak-free can save you time and ensure a smooth cleaning experience.
| Step | Action |
|---|---|
| 1 | Inspect the water inlet |
| 2 | Align and push the supply line onto the inlet |
| 3 | Twist to secure the connection |
| 4 | Turn on the water supply |
| 5 | Check for leaks |
Choosing the Right Hose for Your Pressure Cleaning Device
It’s critical to select the appropriate tubing to maximise the performance of your cleaning equipment. I’ve encountered numerous situations where the wrong choice led to inefficiencies and frustration. Consider the length first; a longer line can reduce pressure at the nozzle, so aim for a suitable length that meets your cleaning needs without unnecessary excess.
Material Matters

Choosing the right material is equally important. Reinforced plastic or rubber options offer durability and resistance to kinks, which can impede water flow. I’ve seen many users struggle with flimsy materials that wear out quickly, resulting in leaks. Investing in a robust product pays off in the long run.
Fittings and Compatibility
Compatibility with your cleaning unit is paramount. Ensure the fittings match the connectors on your device. I once made the mistake of assuming a universal fit would work, only to spend hours seeking the correct adapter. Double-check specifications before purchasing to avoid this headache.
Lastly, for those tackling tough jobs like cleaning solid wood floors, consider checking out this how to clean solid wood floors complete guide for tips on maintaining surfaces after pressure cleaning.
Preparing the Pressure Washer for Hose Attachment
Before connecting your cleaning accessory, ensure the machine is powered off and unplugged. A simple step, but it prevents any accidental activation while you work. Once safely powered down, check the water supply; it should be clean and free from debris. I recall once using a dirty water source, which led to clogs and performance issues. Always attach the water source securely to avoid leaks during operation.
Next, inspect the quick-connect fitting on the unit. Dust and grime can accumulate, so a quick wipe with a clean cloth ensures a solid connection. I’ve encountered situations where a poor connection caused pressure drops; a clean surface can save you from frustration later.
Verify that the machine’s nozzle is suitable for the task at hand. Different nozzles create varying spray patterns; selecting the right one will significantly enhance your cleaning efficiency. I often change nozzles when switching from a wide area to a more concentrated spray for stubborn stains. This small adjustment can make a world of difference.
Finally, ensure all connections are tight and secure. Loose fittings can lead to leaks, reducing performance and efficiency. I’ve seen many users overlook this step, leading to unnecessary downtime. A quick check can save you time and hassle later on.
Locating the Hose Connection Point
Identify the connection point on your unit by examining the front panel. You’ll find a threaded outlet designed for the attachment of a water supply line. It’s typically positioned towards the bottom of the device, making it easily accessible.
Steps to Locate the Connection
- Ensure the unit is powered off and disconnected from any power source.
- Look for a label or diagram on the device that indicates the water inlet.
- Inspect the front or lower section where the water line is meant to attach.
Additional Tips
- Check for any protective caps or covers that may need to be removed before connecting.
- Keep the area around the connection clear for easy access and visibility.
- If you have the manual handy, refer to the diagrams provided for precise guidance.
After locating the connection point, you can proceed with the attachment of your water supply line smoothly. Knowing exactly where to connect saves time and ensures a hassle-free setup.
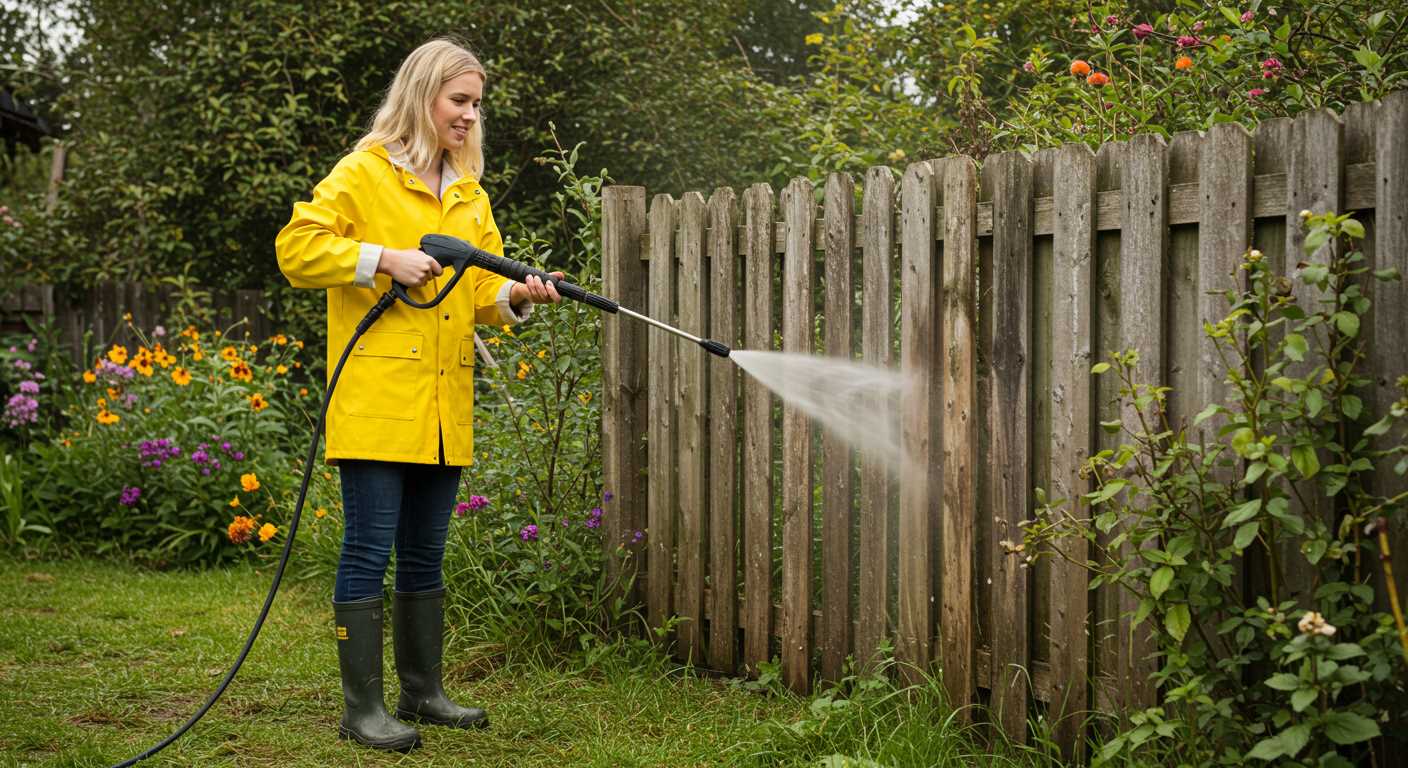
Attaching the Hose to the Pressure Washer
Align the connector on the end of the tubing with the inlet port on the unit. Ensure the locking mechanism is in the correct position before pushing the connector firmly into the port. You should hear a noticeable click indicating it’s secured. If it feels loose, pull it out and try again, ensuring no debris is obstructing the connection.
Twisting and Securing
Once the connector is in place, twist the locking collar clockwise until it’s tightly fastened. This step is crucial to prevent any leaks during operation. Regularly checking this connection is a good practice, as vibrations during use can sometimes loosen fittings over time.
Testing for Leaks
After securing everything, turn on the water supply without starting the motor. Check for any signs of leaks at the connection. If water is seeping out, turn off the supply and recheck the attachment. Adjust as necessary until you achieve a leak-free setup. This simple test can save you from potential water waste and ensure optimal performance during use.
Securing the Hose for a Leak-Free Connection
To ensure a leak-free fit, always inspect the connectors for any debris or damage before attaching them. A clean and undamaged surface will significantly reduce the risk of leaks. I remember a time when I rushed through this step and ended up with water spraying everywhere during use. Lesson learned!
When connecting the tubing, make sure to tighten the fittings by hand. Avoid using tools, as over-tightening can cause damage. A snug fit is all that’s needed. In my experience, hand-tightening is usually sufficient, and it prevents stripping the threads.
Using Thread Seal Tape
If you encounter persistent leaks, consider applying thread seal tape to the male threads of the connection. This can provide an extra layer of protection against leaks. Wrap the tape around the threads a few times, ensuring it’s not too thick, as this can make it difficult to tighten properly.
Regular Maintenance Checks
After every few uses, check the connections again. Wear and tear can occur over time. I’ve seen hoses develop tiny cracks that weren’t visible at first glance. Keeping an eye on your connections can save you from unexpected messes during your next cleaning task.

Checking for Proper Installation of the Hose
After securing the attachment, the next step is to ensure everything is correctly positioned. A quick inspection saves time and prevents mishaps during operation. Here’s what to do:
Visual Inspection
- Verify that the connector is fully engaged. Look for any gaps between the fitting and the machine.
- Check for visible damage on the connection point. Cracks or wear can lead to leaks.
- Ensure that the attachment is straight and not kinked, as this could affect water flow.
Testing for Leaks
- Before turning on the unit, turn on the water supply to the system.
- Observe the connection point for any signs of water seeping out.
- If you notice any leaks, turn off the water and reconnect the attachment properly.
In my experience, taking these extra minutes for a thorough check can save you from unexpected interruptions during cleaning tasks. On one occasion, I skipped this step, leading to a frustrating leak that not only wasted water but also created a mess that needed cleaning up. Always ensure that the connection is secure before starting your work.
Maintaining the Hose for Longevity
Regular cleaning after each use is paramount. I often recommend rinsing the tubing with clean water to remove soap residue or debris that can accumulate during operation. This simple step can significantly extend the life of the material and keep it flexible.

Storage Tips
Always store the tubing in a cool, dry place, away from direct sunlight. I learned the hard way that leaving it exposed can cause premature wear and tear. A dedicated storage reel can prevent kinks and twists, which can lead to leaks over time.
Inspecting for Damage
Before connecting, I always conduct a thorough inspection for any cracks or abrasions. Even small imperfections can lead to major leaks. If I find any, I replace the segment immediately to avoid further issues. Keeping spare sections on hand has saved me time and hassle more times than I can count.
Troubleshooting Common Hose Attachment Issues
If you encounter difficulties while connecting your water line, begin by inspecting the connectors. Ensure they are free from debris and damage. A common problem I’ve seen is a misalignment of the fitting. Adjust it gently, and you might find it fits perfectly without excessive force.
Next, check the seals. Worn or cracked seals can lead to leaks. I recommend replacing them if they show signs of wear. During my years of testing, I found that a small investment in quality seals can save a lot of hassle down the line.
Another frequent issue is inadequate tightening. Some users hesitate to apply enough pressure when securing the connection. Use a wrench to tighten it slightly, but avoid overtightening as this can cause damage. I once had a situation where a slight twist was all it took to resolve a persistent leak.
Don’t overlook the water supply. Insufficient flow can affect performance. Ensure your source is robust, especially if you’re using a pressure washer for well water. Sometimes, the issue lies not with the equipment but the water supply itself.
Lastly, inspect for kinks. A twisted or pinched line can restrict water flow, leading to performance issues. If you notice any bends, straighten them out to restore optimal operation. A quick check around the area where you’re working can save you a lot of time and frustration.

.jpg)


