
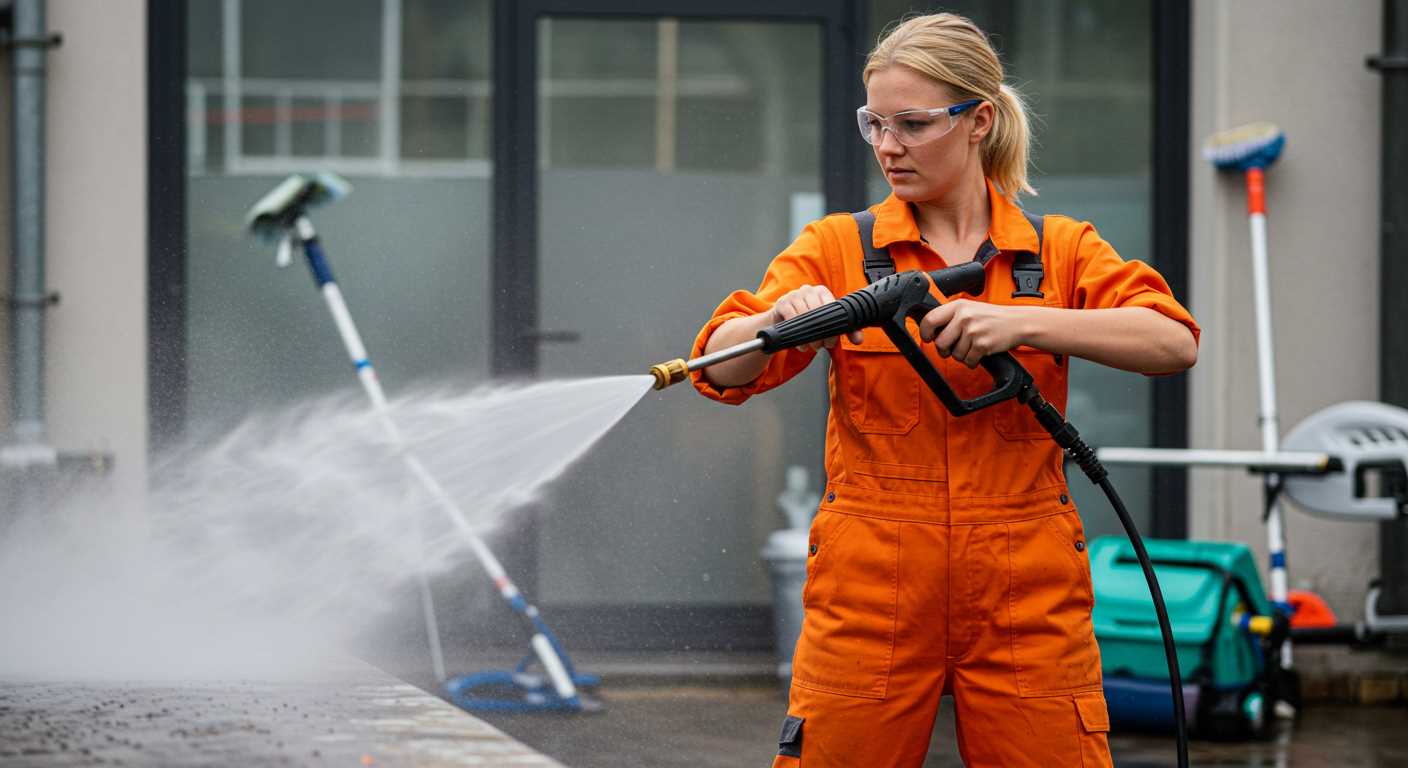


Begin by ensuring your cleaning device is completely powered off and disconnected from the water supply. This simple step can save you from mishaps and ensure a seamless experience. Grab the right attachment for your task; whether it’s a wide spray for rinsing off surfaces or a narrow jet for stubborn stains, choosing wisely makes all the difference.
Align the connector on the attachment with the fitting on the device. A firm push is all it takes to secure it in place. Some models may require a slight twist to lock it securely, so keep an eye out for that. It’s a straightforward process, but I’ve seen many overlook these small details, leading to leaks or decreased performance.
After securing the attachment, give it a gentle tug to ensure it’s fastened properly. In my years of experience, I’ve learned that checking connections can prevent unexpected interruptions during cleaning. Once you’re confident it’s attached correctly, reconnect the water supply, power on the machine, and you’re ready to tackle any cleaning challenge ahead.
Always remember to switch between attachments as needed, and keep a close eye on wear and tear. Regular maintenance will prolong the life of your equipment and improve its performance. Happy cleaning!
Attaching the Spraying Tip to Your Cleaner
To begin, ensure the device is completely powered off and disconnected from the mains supply. This step is critical for safety. Grab the correct spraying tip based on the task at hand; each tip offers a different spray angle and pressure, suited for specific cleaning needs.
Firmly grasp the end of the lance where the tip will attach. Align the holes of the tip with the corresponding slot on the lance. A slight push should allow the tip to slide into place until you hear a satisfying click, indicating it’s secured. If it doesn’t click, double-check the alignment and try again.
Once attached, give the tip a gentle tug to confirm it’s locked in. If it feels loose, remove it and reattach using the previous steps. After securing, inspect for any wear or damage. A worn tip can lead to uneven spraying and reduced performance.
After ensuring everything is properly connected, reconnect your machine to the power source. Before starting, test the setup by briefly turning on the cleaner without aiming at anything sensitive. This quick check ensures everything is functioning correctly.
In my experience, taking a moment to verify that the attachment is secure can save a lot of hassle later. I recall a time when I rushed through this step, and the tip detached mid-cleaning, causing a mess and wasting time. A little patience goes a long way.
Identifying the Correct Nozzle for Your Pressure Washer
Choosing the right attachment is paramount for achieving desired results. I recall a time when I mistakenly used a wide spray attachment on a delicate surface, which led to damage. Here are key points to consider:
- Understanding Spray Angles: Attachments typically come in various angles, ranging from 0° to 40°. A narrow angle focuses power for tough stains, while a wider angle covers larger areas gently.
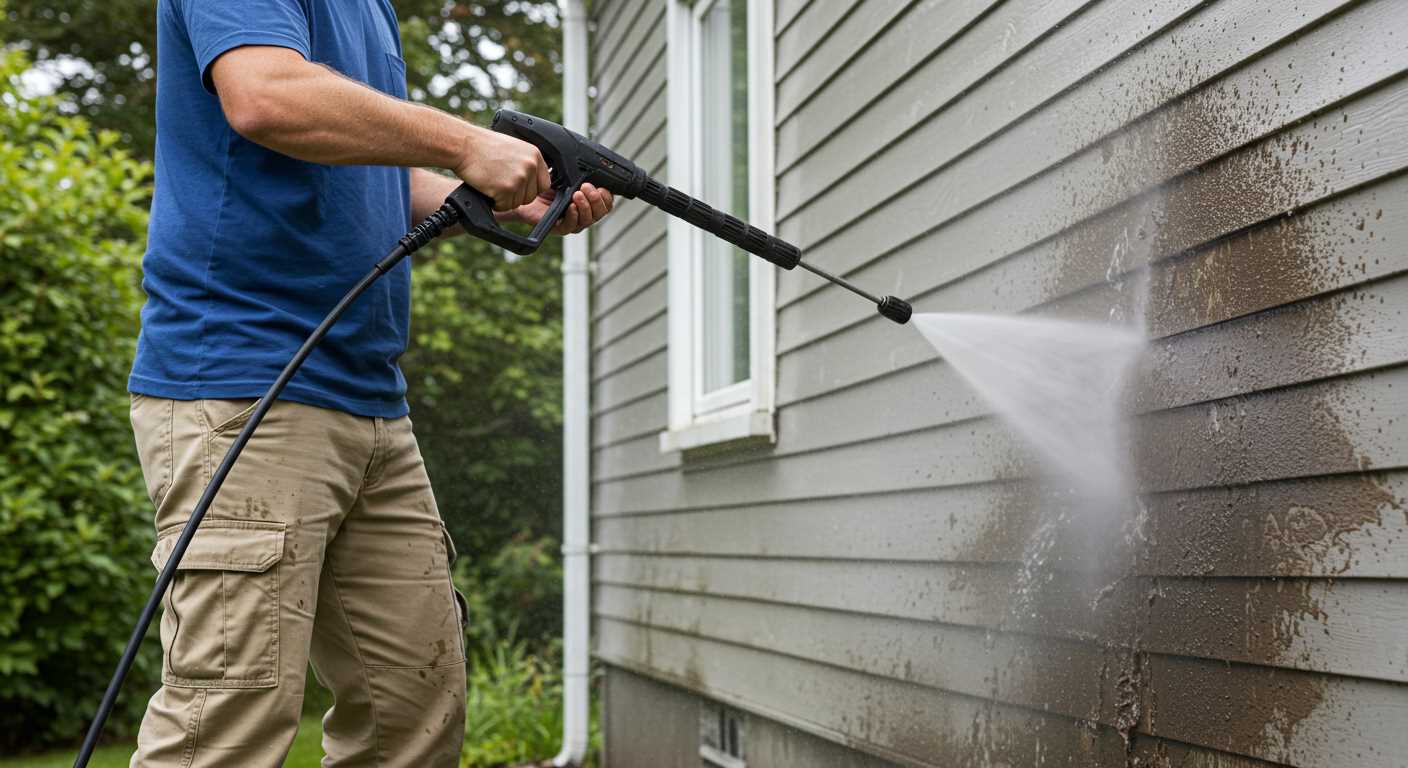
- Material Compatibility: Different surfaces require specific attachments. For example, a surface cleaner is ideal for patios, while a gentle spray works best on vehicles.
- Cleaning Tasks: Identify the task at hand. For stubborn grime on concrete, a zero-degree attachment can be effective. Conversely, for washing cars, a 25-degree option is safer.
- Manufacturer Guidelines: Always check the user manual. Manufacturers often provide recommendations for compatible attachments to ensure optimal performance.
- Testing: If unsure, test on a small, inconspicuous area first. This can prevent potential mishaps and help gauge the effectiveness of the chosen tool.
Remember, the right attachment not only enhances cleaning efficiency but also prolongs the life of your equipment. Don’t rush the selection; take time to match the tool with the task.
Preparing the Pressure Cleaning Equipment for Nozzle Attachment
Before attaching the attachment, ensure the unit is powered off and completely disconnected from any electrical source. This step prevents accidental activation and ensures safety. Once the machine is off, inspect the connection point for any debris or damage. A clean, undamaged surface is crucial for a secure fit.
Steps for Preparation
Follow these specific steps to get everything ready:
| Step | Action |
|---|---|
| 1 | Disconnect the equipment from the power supply. |
| 2 | Check the attachment point for any dirt or obstructions. |
| 3 | Inspect the attachment for any signs of wear or damage. |
| 4 | Clean the connector area with a damp cloth if necessary. |
| 5 | Ensure all safety features are engaged before proceeding. |
Final Checks
Verify that the hose is properly connected to the machine. This step ensures a steady flow during use. If you’re using accessories, consider exploring additional options like Karcher pressure washer accessories to enhance performance. Once everything is secured and checked, you’re ready for the next step. Remember, attention to detail at this stage makes all the difference in achieving optimal results.
Aligning the Nozzle with the Wand
To ensure optimal performance, align the attachment at a slight angle before securing it. This prevents damage to both components and facilitates an easier connection. I often find that a small twist while inserting helps guide the fitting into place smoothly.
Once you have the attachment poised correctly, push firmly but gently until you hear a click. This sound indicates that the connection is secure. I’ve seen others struggle with leaks simply because they didn’t align the parts properly. Trust me, a snug fit is essential for effective cleaning.
After the click, give the assembly a gentle tug to confirm it’s firmly in place. If it feels loose, detach and try again, ensuring there are no obstructions or debris that might interfere with a tight seal. I recall a time when I overlooked this step; the result was a frustrating spray pattern that made the task much more difficult.
Always remember to check the orientation of the spray pattern. Different attachments offer various angles and widths, and aligning them correctly with your wand will enhance your cleaning efficiency. I’ve often adjusted the angle during operations to tackle stubborn grime, which can make a significant difference in results.
Securing the Nozzle in Place
To ensure the attachment remains stable, first confirm that the locking mechanism is fully engaged. Depending on the model, this could involve twisting the attachment until it clicks or pressing a release button to secure it. I remember a time when I was using a new machine, and I didn’t check this step; the attachment came loose mid-task, creating quite a mess.
After securing it, give the wand a gentle tug to check for any play. If there’s movement, re-examine the connection point and make adjustments as needed. I’ve seen many users overlook this, which often leads to unnecessary interruptions during cleaning.
Additionally, inspect the attachment for any debris or damage. Any obstruction can hinder a proper fit. I once had a client who struggled with their equipment because they didn’t notice a small piece of dirt lodged in the connection. A quick clean resolved the issue and saved them from frustration.
If your model features a secondary safety latch, ensure it’s engaged. This extra layer of security can prevent accidental disconnections, especially in high-tension situations. I’ve always found that taking these small precautions can save a lot of hassle in the long run.
Finally, before starting your work, do a quick test run with a light spray to ensure everything is functioning as intended. I’ve had instances where the attachment seemed secure, but a brief test revealed a loose fit. Addressing this right away can save time and enhance safety during operation.
Testing the Nozzle Connection
After attaching the attachment to the lance, it’s crucial to test the connection to ensure everything is functioning properly. Begin by turning on the machine at a low setting. This helps to prevent any sudden bursts of water that could lead to accidents or damage.
Steps for Testing
- Check for any leaks at the joint. If you notice water seeping from the connection, turn off the machine immediately and recheck the attachment process.
- Stand at a safe distance and gradually increase the pressure. This allows you to observe how well the accessory performs under different conditions.
- Activate the trigger and monitor the spray pattern. A consistent and even spray indicates a secure fit.
- Listen for any unusual noises. If you hear hissing or rattling, stop the unit and reassess the connection.
Final Adjustments
- If you find any issues during testing, reattach the component, ensuring it aligns correctly with the wand.
- Once everything appears secure, perform a quick test on a small area to evaluate the cleaning power.
- Always keep an eye on the water flow during this test. Fluctuations can signal that the accessory isn’t seated properly.
Through years of hands-on experience, I’ve learned that a meticulous approach in this phase can save time and ensure effective cleaning. Ensuring a proper fit not only enhances performance but also extends the lifespan of the equipment.
Maintaining Nozzles for Longevity
Regular upkeep of your spray attachments is paramount for extending their lifespan. After every use, rinse the tips with clean water to remove any detergent residue or debris. This simple step prevents clogs that can hinder performance and lead to premature wear.
Storage Practices
Store your tips in a cool, dry place, away from direct sunlight. Exposure to heat can warp the plastic components, affecting the spray pattern. I’ve seen many attachments rendered useless simply because they were tossed into a damp shed. A dedicated storage container with compartments can keep everything organised and protected.
Periodic Inspection
Inspect the attachments regularly for signs of damage, such as cracks or chips. Even minor imperfections can impact the effectiveness. If you notice any issues, replace the affected part immediately to maintain optimal functionality. Trust me; I’ve had attachments that worked perfectly until a tiny crack led to a frustrating spray pattern that ruined an entire cleaning session.
For those seeking high-quality units, check out the best commercial pressure washers. They often come with durable attachments designed for extended use.
Pay attention to the fitting mechanism as well. A loose connection can cause leaks and reduce pressure. Regularly tighten and clean the threads, ensuring a snug fit every time you attach the tool.
.jpg)


