
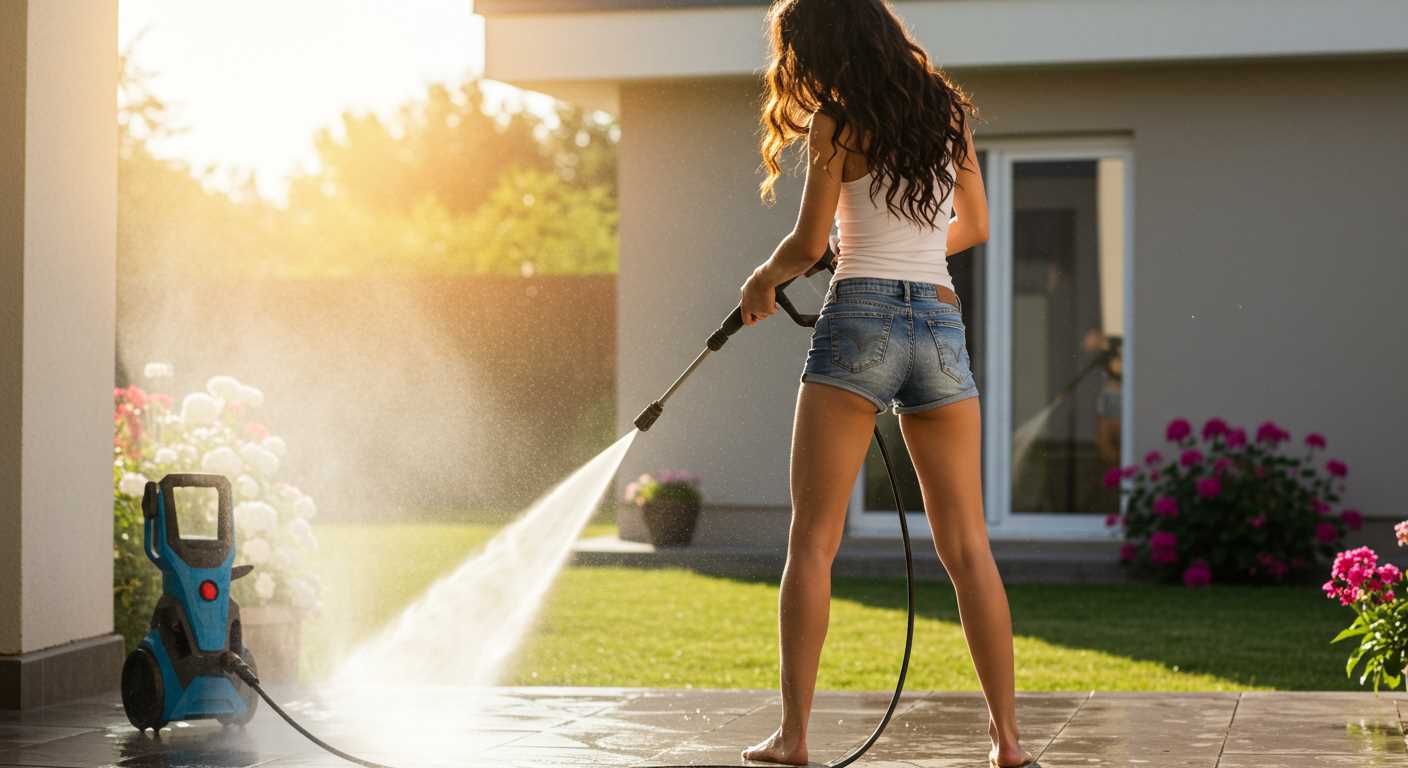


Start with inspecting the nozzle. Selecting the right size can significantly impact the intensity of the blast. For instance, a smaller nozzle creates a narrower spray, increasing the force of the water, making it perfect for tough stains. I once had a stubborn oil stain on my driveway; switching to a narrower nozzle transformed my cleaning experience.
Next, check the water supply. Ensure you have a steady and adequate flow. Low flow rates can hinder performance. I had an experience where my system struggled due to a partially closed valve. It was only after I adjusted the valve that I noticed the difference. A consistent water supply not only enhances cleaning efficiency but also protects the unit from overheating.
Regular maintenance of your equipment is crucial. Clean filters and hoses prevent blockages that can reduce power. I recall a time when my machine was underperforming, and after a thorough clean, it felt like I had a brand new machine. Keeping your equipment in top condition ensures optimal performance.

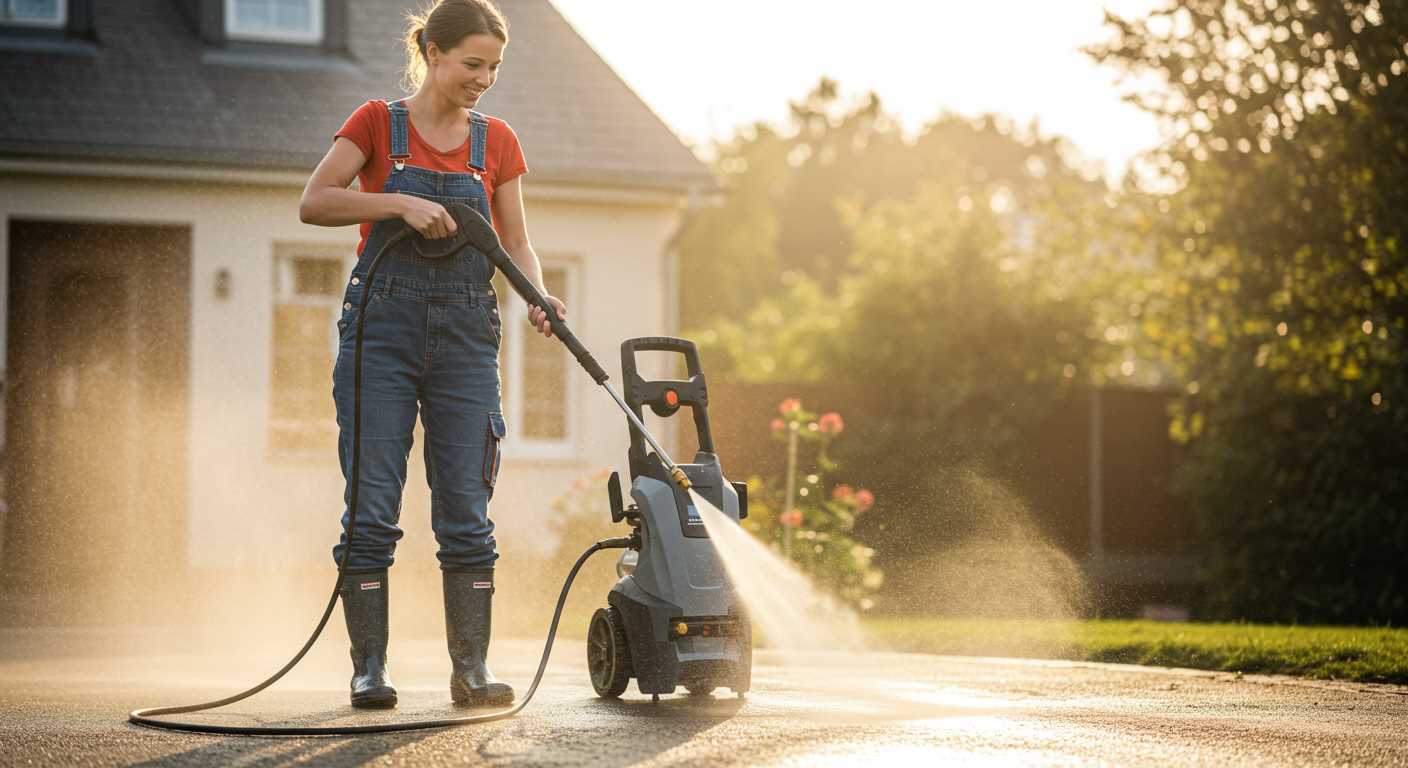
Consider using a more powerful unit if you frequently tackle heavy-duty jobs. I upgraded my model after realising that my old one couldn’t handle the demands of larger tasks, and the difference was remarkable. A higher PSI rating allows for more versatility, accommodating various cleaning needs.
Lastly, incorporate detergents wisely. Using the right cleaning agents can enhance the effectiveness of the water jet. I’ve tested several products, and some worked wonders on specific grime types. Just remember to follow the manufacturer’s guidelines to avoid any damage to your equipment.
Boosting Your Cleaning Power
To enhance the force of your cleaning device, start by checking the nozzle. A narrower nozzle can concentrate the stream, increasing the impact on surfaces. I recall a time when I switched to a 15-degree nozzle while cleaning my patio; the results were remarkable, making the grime disappear effortlessly.
Next, inspect the hose for kinks or blockages. A clear and straight hose ensures maximum flow. During one of my early days, I faced a frustrating slowdown due to a tangled hose, which I later realised was impacting performance. Keeping the hose in good condition is a game changer.
Maintenance Matters
Regular maintenance is key. Clean the filter and check for any signs of wear on seals and gaskets. I learned the hard way that neglecting these small parts can lead to significant drops in performance. Replacing worn-out components can breathe new life into your device.
Choosing the Right Equipment
Consider investing in a high-quality electric model, particularly if you’re working on delicate surfaces like vinyl siding. I found an excellent electric pressure washer for vinyl siding that dramatically improved my cleaning efficiency, making the task much more manageable.
Checking and Replacing the Nozzle for Higher Pressure

Inspect the nozzle regularly. A clogged or damaged nozzle can significantly reduce the force of the stream. When I worked with various models, I noticed that even minor blockages could diminish performance. If you spot any debris, a simple cleaning with water or a soft brush usually does the trick.
Choosing the Right Nozzle
Different nozzles deliver varying spray patterns. A narrower nozzle, for instance, concentrates the flow, resulting in a more intense jet. I recall a time when a client was struggling to clean stubborn stains; switching to a 0-degree nozzle transformed their experience. However, be cautious–using too narrow a nozzle can strain the machine.
Replacing the Nozzle
If cleaning doesn’t resolve the issue or if you’ve identified wear and tear, consider replacing the nozzle. Always opt for a compatible replacement that matches your equipment specifications. During my years, I found that keeping a few different types on hand allowed for quick adjustments based on the task at hand. It’s a small investment that yields noticeable results.
In conclusion, regularly checking and replacing the nozzle can significantly enhance the cleaning efficiency of your equipment. With the right nozzle in place, you’ll notice a marked difference in performance, making your cleaning tasks much easier and quicker.
Adjusting the Unloader Valve Settings
Begin by locating the unloader valve on your equipment, typically situated near the outlet of the pump. This valve is crucial for regulating the flow of water and maintaining optimal performance. A simple twist of the adjustment screw can elevate the output, but precision is key.
Using a screwdriver, gradually turn the adjustment screw clockwise to increase the force. Monitor the gauge closely while making minor adjustments, as excessive tightening can lead to equipment strain or damage. It’s wise to test the setting at intervals, ensuring you don’t exceed the manufacturer’s recommended specifications.
In my experience, fine-tuning this component has proven effective in achieving desired outcomes. I recall a situation where a customer faced persistent issues with inadequate cleaning results. After adjusting the unloader valve, the difference was apparent; the customer was impressed with the newfound efficiency.
Always remember to return the setting to its original position if you notice any irregularities or if the machine sounds abnormal. Regular maintenance and adjustments can prolong the lifespan of your equipment and enhance performance significantly.
Inspecting and Cleaning the Water Filter
Always check the water filter first. A clogged filter can significantly hinder the device’s performance. Regular inspection ensures optimal flow and maintains the efficiency of your equipment.
To clean the filter, follow these steps:
- Turn off the equipment and disconnect it from the power source.
- Locate the water filter, typically found where the hose connects to the machine.
- Remove the filter carefully. It may require a gentle twist or pull.
- Inspect for debris, sediment, or mineral buildup.
- Rinse the filter under running water to remove any blockages. A soft brush can help dislodge stubborn particles.
- Reinstall the filter securely after cleaning.
In my experience, neglecting this step can lead to reduced effectiveness and even damage over time. I recall a time when I ignored a dirty filter, and it resulted in a frustrating cleaning session that took twice as long. Keeping it clean allows for a smoother operation and better outcomes.
For enhanced cleaning, consider using the best car wash liquid for pressure washer. This can also help in maintaining the integrity of your system while achieving remarkable results.
| Filter Maintenance Steps | Frequency |
|---|---|
| Inspect filter for debris | Every use |
| Clean filter | Every month |
| Replace filter if damaged | As needed |
By keeping the water filter clean, you not only extend the life of your equipment but also enhance the overall cleaning experience. A little maintenance goes a long way.
Upgrading the Pump for Increased Performance
One of the most effective methods to boost the output of your cleaning unit is to upgrade its pump. Switching to a higher-capacity pump can significantly enhance the water flow and intensity, making it easier to tackle tough jobs. From my experience, selecting a pump that matches the specifications of your unit is crucial. An incompatible pump can lead to damage or reduced efficiency.
Choosing the Right Pump
Look for pumps that provide a higher gallons per minute (GPM) rating. For instance, if your current model has a pump delivering 2 GPM, consider a replacement that offers 2.5 GPM or more. Brands like AR and General Pump are known for their reliability and performance. Always check the compatibility with your motor; a pump that requires more horsepower than your motor can supply will not perform optimally.
Installation and Maintenance Tips
Once you have your new pump, proper installation is key. Ensure all connections are tight to prevent leaks. I recommend using Teflon tape on threaded connections for an airtight seal. After installation, run the unit for a few minutes and monitor for any unusual noises or vibrations. Regular maintenance of the pump, including checking seals and lubricating moving parts, will prolong its lifespan and maintain high performance.
In my years working with various models, I’ve seen that a well-maintained pump can consistently outperform a neglected one, regardless of its initial quality. Investing in a quality pump upgrade can transform the way you clean and deliver the results you expect.
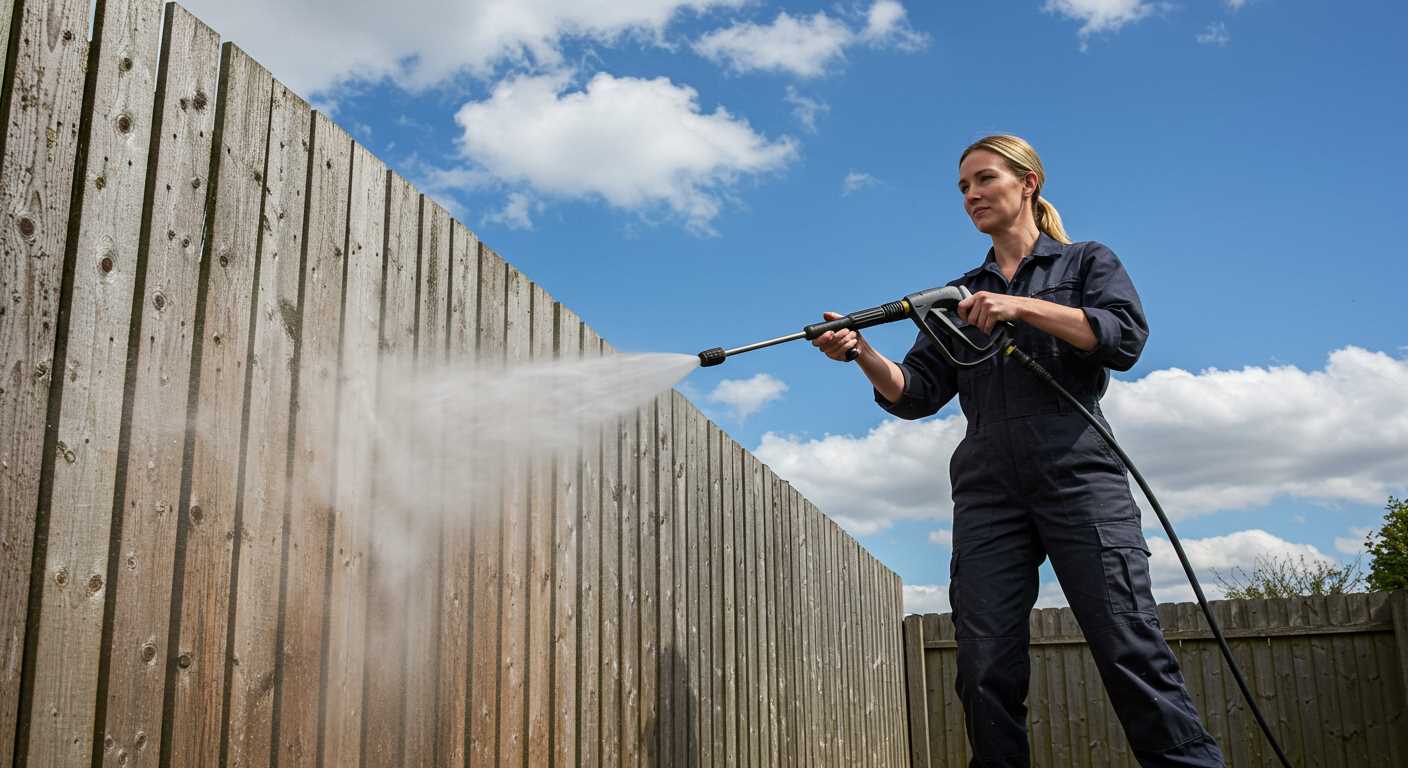
Ensuring Proper Hose and Connection Specifications
Utilising the right hose and connections significantly impacts the efficiency of your equipment. Start by checking the diameter of your hose. A thicker hose allows for greater water flow, which can enhance the cleaning capability of your equipment. I’ve seen instances where users stuck with a narrow hose, limiting performance and causing frustration.
- Diameter: For optimum performance, aim for a hose diameter of at least 1/4 inch for residential models and 3/8 inch for commercial models.
- Length: Keep the hose as short as possible. Longer hoses lead to pressure drop. I once had a client who used a 100-foot hose and noted a significant decrease in water force at the nozzle.
- Material: Choose a high-quality, reinforced hose that can withstand high pressure and prevent kinks. I’ve found that rubber hoses often outperform cheaper plastic alternatives.
Next, examine the connections. Ensure that all fittings are tight and leak-free. A small leak can reduce the water flow and ultimately decrease the cleaning performance. I’ve encountered many units that had low output simply due to worn-out O-rings or improperly secured connections.
- Fittings: Use compatible connectors that match the hose and machine specifications. Mismatched fittings can lead to leaks and inefficiencies.
- Quick Connects: Consider using quick connect fittings for ease of use. They can save time during setup and prevent wear on threaded connections.
Regular maintenance of hoses and connections is also crucial. Inspect for wear and replace any damaged sections promptly. During one seasonal check, I found several hoses that had developed cracks and were adversely affecting performance. A proactive approach can save you time and enhance your cleaning power.
.jpg)


