


Begin by gathering essential tools: a torque wrench, screwdrivers, and a replacement seal kit. Over the years, I’ve encountered countless units that lost efficiency due to worn seals and gaskets. A simple replacement can restore functionality and extend the lifespan of your unit significantly.
Next, disassemble the housing with care. It’s crucial to remember the order of components as you remove them; I often photograph each step to avoid confusion later. This method has saved me from unnecessary headaches when I’ve tackled similar tasks in the past.

Inspect each part meticulously. Look for signs of wear, particularly on the valves and pistons. A common issue I’ve noticed is the accumulation of debris. Regular cleaning of these components can prevent many performance issues down the line. If you spot any damaged pieces, don’t hesitate to replace them. Investing in high-quality replacements is always worth it.
After replacing the necessary components, reassemble the unit carefully, ensuring all bolts are tightened to the manufacturer’s specifications. I’ve learned that overlooking this step can lead to leaks and potential failures during operation. Finally, perform a test run to confirm everything operates smoothly. Trust me, there’s nothing quite like the satisfaction of hearing that powerful burst of water again!
Rebuilding a High-Pressure Cleaning Equipment Component
Start by gathering all necessary tools: a socket set, screwdrivers, pliers, a torque wrench, and a clean workspace. You’ll also need replacement seals, O-rings, and bearings specific to your model. Ensure you have everything on hand before disassembly.
Remove the outer casing first, taking care to keep track of screws and components. I recommend using a magnetic tray to avoid losing small parts. As you take apart the assembly, inspect each part for wear or damage. I once missed a small crack in a housing that led to leaks later. It’s these tiny details that can make a big difference.
Next, take out the internal components. Pay close attention to the orientation of each piece. I often take photos during this step, which helps immensely during reassembly. Clean all parts using a degreaser, ensuring that no debris remains. Residue can cause issues down the line.
Replace all seals and O-rings. I learned the hard way that using old ones can lead to leaks. The right size is crucial; consult the manual or parts diagram for specifics. When installing new bearings, make sure they fit snugly but can still rotate freely. A misaligned bearing can create unnecessary friction.
As you reassemble, tighten each component to the specified torque settings. This ensures that everything is secure without risking damage to the casing. I’ve seen too many units fail because bolts were either over-tightened or left loose.
After reassembly, run a test cycle without water to check for unusual noises or vibrations. This step can save you a lot of headaches later on. If everything sounds good, proceed to connect it to a water source and check for leaks under pressure. If you spot any, don’t hesitate to disassemble and adjust the seals.
Finally, keep a maintenance schedule in mind. Regular checks can prolong the life of your equipment significantly. I’ve always found that a bit of preventive care goes a long way in avoiding future mishaps.
Identifying Common Pump Issues
Start by checking for unusual noises. A grinding or rattling sound often indicates internal wear or a loose component. It’s wise to inspect the pump head and bearings for damage or misalignment.
- Leaking Seals: If you notice water pooling under the unit, the seals might be compromised. Look closely at the O-rings and gaskets. Replacing these can resolve minor leaks.
- Pressure Fluctuations: Inconsistent pressure may signal a blocked nozzle or a malfunctioning unloader valve. Clear any debris from the nozzle and ensure the unloader is operating smoothly.
- Pulsating Flow: A pulsing spray typically arises from air trapped in the system. Bleeding the air from the hoses can solve this issue. Ensure all connections are tight.
- Overheating: If the pump is running hot, check for adequate water flow. A clogged filter can restrict flow, leading to overheating. Clean or replace the filter as needed.
Monitor the performance regularly. A drop in efficiency often points to wear in the piston or cylinder. If you hear a hissing sound, this could indicate a pressure loss due to a worn-out packing seal.
- Check the inlet and outlet connections for blockages.
- Inspect the drive mechanism for signs of wear or misalignment.
- Look for any signs of corrosion on metal parts, which can weaken the structure.
Addressing these issues promptly can prolong the life of your equipment. Experience has shown me that many problems can be traced back to lack of maintenance, so a regular inspection routine is beneficial.
Gathering Necessary Tools and Materials
Start by acquiring a few basic tools that will make the task smoother. A set of screwdrivers, both flathead and Phillips, is a must-have. I remember the first time I attempted to take apart a high-pressure unit; I spent far too long searching for the right screwdriver. Additionally, a socket set will be invaluable for removing bolts securely and efficiently.
Materials to Consider
Next, focus on the materials you’ll need for the overhaul. Replacement seals and O-rings are crucial; these small components often wear out and can lead to leaks. I recommend sourcing high-quality rubber or urethane seals that can withstand pressure. You might also consider getting a new filter if the existing one is clogged or damaged. In my experience, neglecting to replace a worn filter can lead to more significant issues down the line.
Cleaning Supplies
Don’t forget about cleaning supplies. A degreaser will help you clear away old lubricants and grime, making it easier to inspect each part. I often keep a toothbrush handy for scrubbing hard-to-reach areas. Finally, a good lubricant is essential for reassembly; a silicone-based product works wonders. Remember, keeping everything clean and well-lubricated not only prolongs the life of your unit but also ensures optimal performance.
Disassembling the Pressure Washer Pump
Begin with a stable work surface. It’s crucial to have a clean and organised area to avoid losing components. Lay down a large cloth to catch any small parts that may drop.
First, disconnect the unit from any power source and remove the water supply. Safety is paramount; ensure there’s no residual pressure in the system. You can release any remaining pressure by squeezing the trigger on the gun.
Next, identify the screws or bolts securing the casing of the unit. Use the appropriate screwdriver or socket wrench to remove these fasteners. Keep them in a small container labelled for easy reassembly later.
Once the casing is off, carefully inspect the internal components. Take pictures as you go; this will help jog your memory when it’s time to reassemble. Note the orientation and position of each part, especially the seals and gaskets, as they need to be replaced in the same alignment.
Proceed to remove the main shaft or rotor, depending on your model. Gently pull it out while ensuring no other parts are inadvertently dislodged. If you encounter resistance, double-check for any additional screws that may be hidden under grime or debris.
Next, examine the valves and pistons. These components are often the culprits when performance issues arise. Carefully detach them, taking care not to damage any surrounding seals. If you notice wear or deformation, it’s time for a replacement.
After disassembly, clean each part thoroughly. Use a soft brush and a suitable cleaning solution to remove any dirt or scale build-up. Avoid harsh chemicals that could damage the components. Rinse with water and allow them to dry completely before proceeding.
Finally, once everything is disassembled and cleaned, you’ll have a clear view of what needs attention. This stage sets the foundation for a successful restoration, allowing you to replace worn parts and ensure everything functions smoothly in the future.
Inspecting Pump Components for Wear
Begin with a thorough examination of the housing. Look for cracks or any signs of fatigue. A damaged casing can lead to leaks and reduced performance. Inspect the seals and O-rings; these are often the first to degrade. If they feel brittle or show any cracks, they need replacing. A good tip is to always have a few spares on hand, as they can wear out quickly.
Valves and Pistons
Next, focus on the valves and pistons. Check for scoring or excessive wear. The pistons should glide smoothly without any resistance. If you notice any roughness, it’s a sign they need attention. Valves should open and close freely; any sticking indicates contaminants may have caused damage. Give them a thorough clean with a suitable solvent, and replace them if they don’t function properly.
Connecting Components
Lastly, don’t overlook the connecting components. Inspect the drive shaft for any signs of wear or bending. A misaligned shaft can cause vibrations that lead to further damage. Check the bearings for smooth rotation; any grinding noise or roughness means they should be replaced. It’s better to address these issues now than to face larger problems down the line.
Replacing Seals and O-Rings
Begin with selecting high-quality replacements that fit your specific model. In my experience, using OEM parts significantly reduces the chance of future leaks and issues. Once you have the correct seals and O-rings, clean the grooves thoroughly to remove any debris or old lubricant.
When installing new O-rings, apply a light coat of lubricant to ensure a proper seal and ease of installation. This step is often overlooked, but it prevents tearing during assembly. For seals, check the orientation; they usually have a specific side that faces outwards. Incorrect positioning can lead to immediate failure.
After replacing the seals, reassemble the components carefully. Take your time to ensure everything aligns perfectly. Misalignment can lead to pressure loss or leaks, which is something I’ve encountered more times than I’d like to admit. Once everything is back together, conduct a leak test before returning the unit to service.
Consider investing in a pressure washer pump protector to extend the lifespan of your equipment. This simple addition can safeguard against wear and tear, especially in challenging conditions.
Cleaning and Reconditioning Internal Parts
Begin by thoroughly cleaning all internal components using a soft brush and a suitable solvent. I’ve often found that a mix of warm water and dish soap works wonders for removing grime. Pay special attention to areas where debris may accumulate, such as around the valves and piston. A toothbrush can be especially handy for getting into those tight spots.
After cleaning, inspect each piece for signs of damage or wear. I recall a time when I missed a tiny crack in a valve housing, which led to ongoing issues. It’s crucial to check for any imperfections that could impact performance. If you spot any damage, it’s better to replace that component than to risk further complications down the line.
Next, consider reconditioning any components that are still in good shape but need a little TLC. For instance, a light sanding can restore the smooth surface of pistons and cylinders. This process helps ensure optimal sealing and reduces wear. Just be gentle; over-sanding can lead to further issues.
Once cleaned and inspected, lubricate moving parts with a light machine oil. This step can significantly enhance performance and prolong the lifespan of the machinery. I always apply a thin layer to ensure smooth operation without attracting excessive dirt.
Lastly, ensure all parts are completely dry before reassembly. Moisture can lead to rust and other problems, which I learned the hard way. Allow everything to air dry fully, or use a clean cloth to wipe down surfaces before putting everything back together. Taking these steps will help ensure a reliable and efficient operation.
Reassembling the Pressure Washer Pump
Start with a clean, flat surface to ensure all components can be easily accessed and organised. Lay out each part in the order they were removed, which will help prevent any confusion later.
Begin by placing the new seals and O-rings into their respective grooves within the casing. Ensure they sit evenly to avoid future leaks. Apply a small amount of lubricant to the seals to facilitate easier assembly and help create a tight seal.
Next, insert the internal components. Pay attention to the orientation of each part; many have specific alignment markers. For example:
- Align the check valve correctly to ensure it operates smoothly.
- Position the pistons in their respective cylinders, ensuring they slide freely.
Once the internal parts are in place, gently place the casing cover back on. Use the screws or bolts removed during disassembly, tightening them in a crisscross pattern to ensure even pressure distribution. This method reduces the risk of warping the casing.
Check the assembly for any misaligned components before securing them completely. A quick visual inspection can save a lot of time later. If everything looks correct, proceed to reattach the inlet and outlet hoses. Ensure all connections are tight; use pliers if necessary, but be cautious not to overtighten.
Finally, refill the unit with the appropriate fluid, following manufacturer specifications. Before starting the motor, turn the unit on briefly without pressure to ensure the system is primed and free of air pockets. Once satisfied, test run it at a low setting to confirm everything operates smoothly.
In my experience, taking these careful steps during reassembly not only extends the life of the equipment but also enhances performance significantly. Skipping any part of this process often leads to issues down the line, which can be quite frustrating.
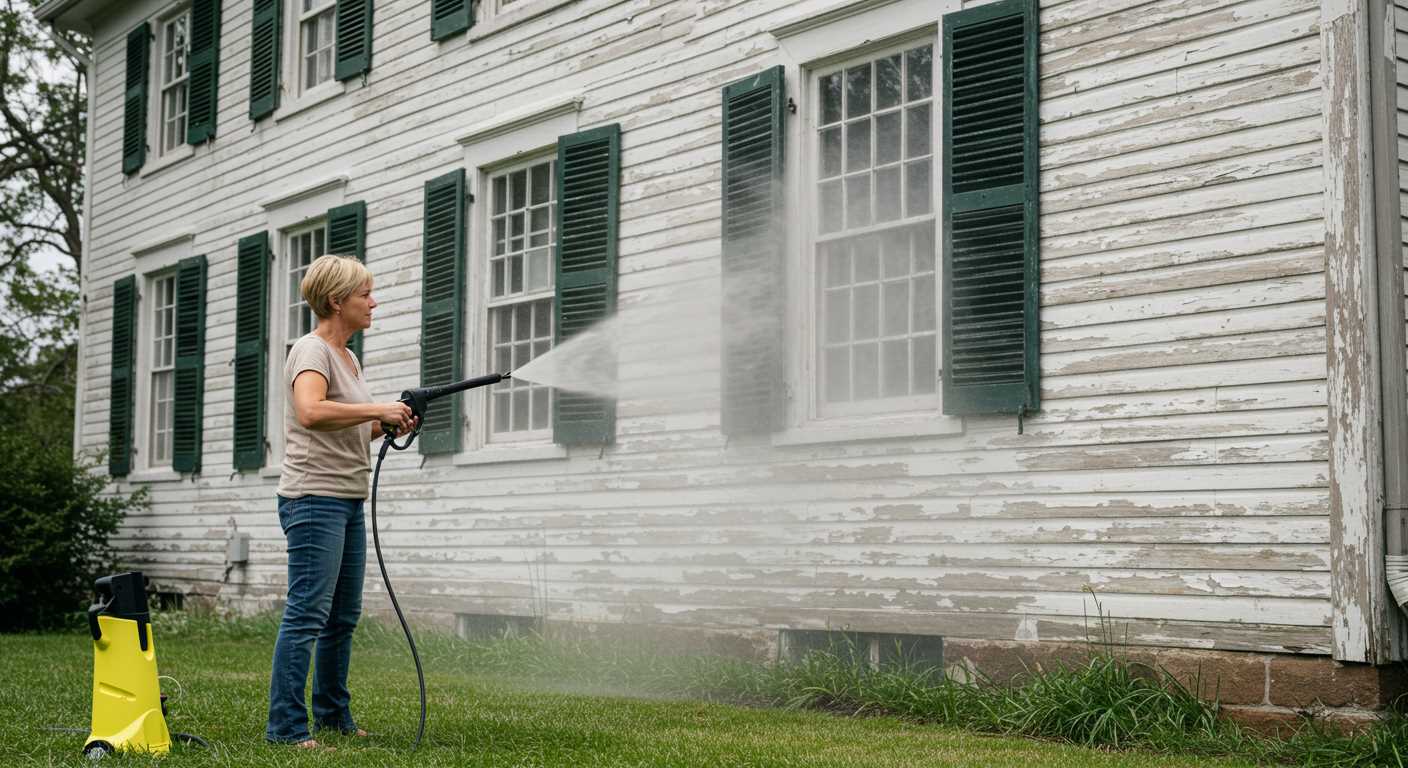
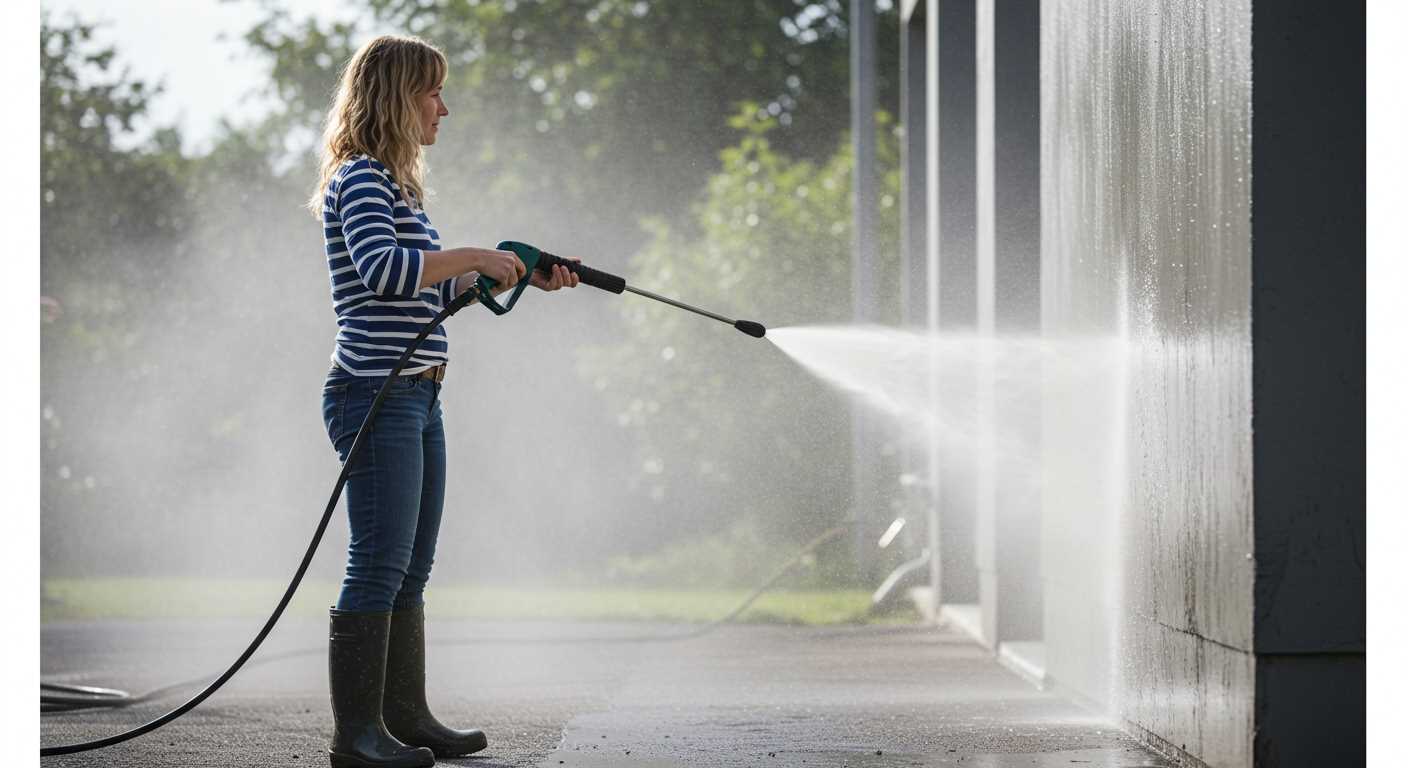
Testing the Rebuilt Unit for Functionality
Begin by connecting the unit to a water supply. Ensure all fittings are tight to prevent leaks. Next, turn on the water and check for any signs of leakage around the seals and connections. This initial step is crucial; any leaks can indicate improper assembly or worn seals.
Once water is flowing without leaks, plug in the motor and activate the machine. Listen for unusual noises such as grinding or rattling, which can indicate internal issues. A smooth, consistent sound suggests everything is functioning as it should.

Next, observe the water flow. It should be steady and powerful. If the stream is weak or pulsating, it may signal air trapped in the system or worn internal components. If you encounter this, consider bleeding the system by releasing pressure at the trigger until a steady flow returns.
Test the pressure by adjusting the nozzle settings. You should experience a noticeable difference in spray pattern and force. If there’s no change, inspect the nozzle for clogs or damage. A clean, properly functioning nozzle is essential for optimal performance.
Finally, run the unit for a few minutes. Monitor for overheating or any signs of distress. After the test run, allow the machine to cool down and perform a final inspection for leaks or unusual wear. This thorough check ensures that the unit is ready for regular use.
Maintaining Your Washing Device Components Post-Rebuild
After completing the refurbishment of your cleaning apparatus, prioritising maintenance is crucial to extend its lifespan and ensure optimal performance. Regularly check and change the oil to keep the internal mechanics lubricated and functioning smoothly. I often recommend using a high-quality oil specifically designed for these machines, as it reduces friction and wear on moving parts.
Routine Checks
Establish a schedule for inspecting the seals and O-rings. I’ve seen too many devices fail due to overlooked wear on these components. Replace any that show signs of cracking or deterioration. A small investment in replacement parts can save you from significant costs down the line.
| Maintenance Task | Frequency |
|---|---|
| Oil Change | Every 50 hours of use or every 3 months |
| Seal and O-Ring Inspection | Monthly |
| Filter Cleaning | After every 10 uses |
| Hose Inspection | Before each use |
Storage Tips

When not in use, store your equipment in a dry, cool place. Avoid leaving it outside, as weather elements can cause damage. I often recommend draining the system to prevent any residual water from freezing or causing corrosion. Additionally, consider wrapping the hoses to prevent kinks and ensure longevity.
Remember, just as a digital camera uses pixels for capturing clarity, your apparatus needs attention to detail for peak performance. Regular maintenance will keep your equipment in top shape, ready for every cleaning task ahead.
.jpg)


