


First off, gather your tools: a socket set, screwdrivers, a torque wrench, and some sealant. Trust me, having everything at your fingertips makes the process smoother. I remember my first attempt; I spent ages searching for tools, which only added to my frustration. So, don’t make the same mistake I did!
Next, disconnect the unit from the power source and water supply. Safety comes first. I once learned the hard way that even a small mistake can lead to a shocking experience. Remove the outer casing carefully to avoid damaging any clips or screws. Keeping track of each step is crucial; I often used a small container to store screws and parts as I disassembled components.

Once you’ve accessed the interior, check for any visible damage. Look for cracks or wear on seals and O-rings. On one occasion, a simple worn-out seal was the culprit behind my machine’s failure. Replacing it was a game changer, and I had my device running like new again. Don’t forget to clean any debris or build-up in the inlet and outlet areas to ensure optimal performance.
After replacing any damaged parts, reassemble everything in the reverse order. Take your time with the torque settings; I’ve had my share of mishaps from over-tightening screws. A gentle hand goes a long way. Once it’s all back together, conduct a test run without water to check for leaks. That initial moment of turning it on after repairs is always nerve-wracking. If all goes well, reconnect the water supply and power, and watch it spring back to life.
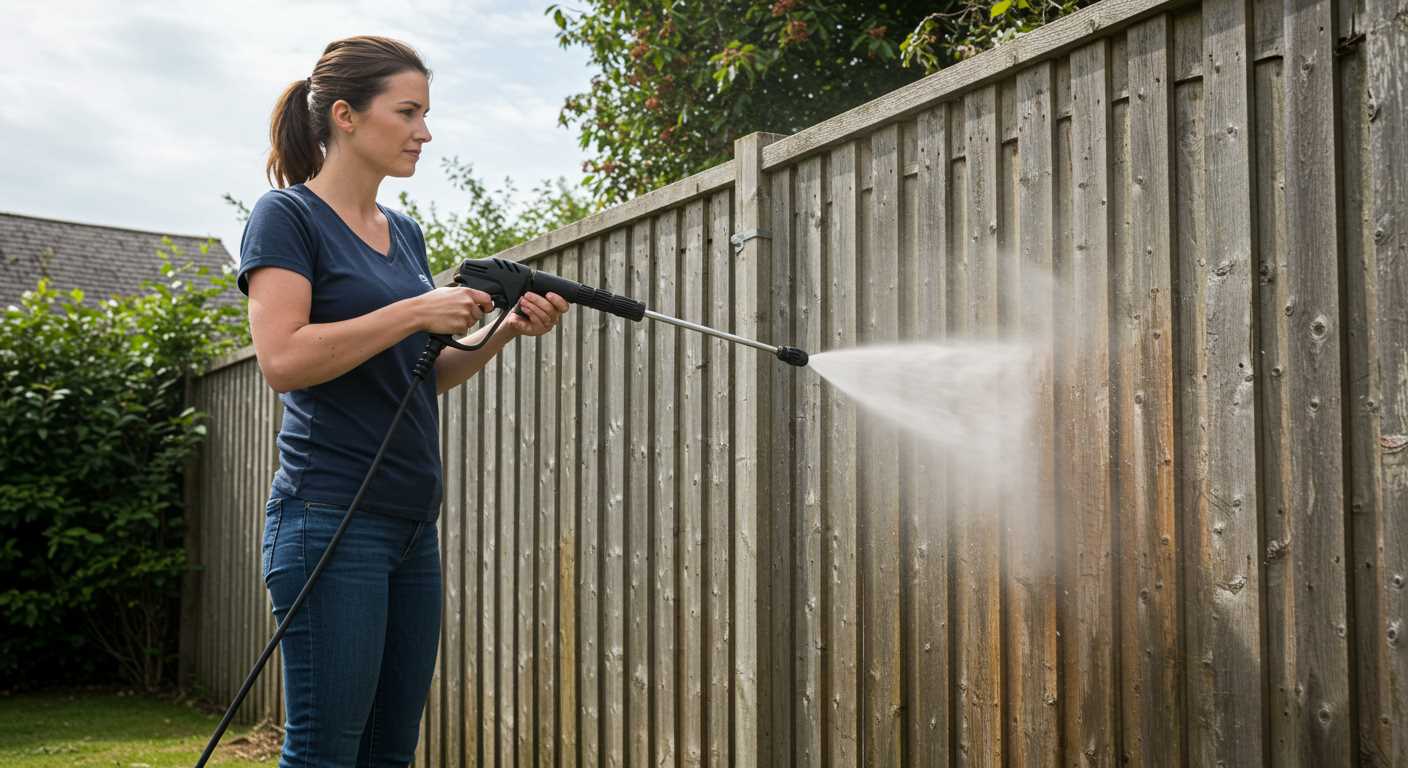
Steps to Restore Your Cleaning Device
Begin with disassembling the unit. Use a suitable screwdriver to remove screws, keeping track of their locations. I often use a magnetic tray to avoid losing small parts. Once opened, inspect the interior for wear and tear. Look for cracks in the casing or any signs of leakage, as these can lead to reduced performance.
After inspection, clean all components thoroughly. A mixture of warm water and mild detergent works wonders for removing grime. For stubborn deposits, a soft brush can help. Pay special attention to the seals and gaskets; replacing these is often key to achieving optimal functionality.
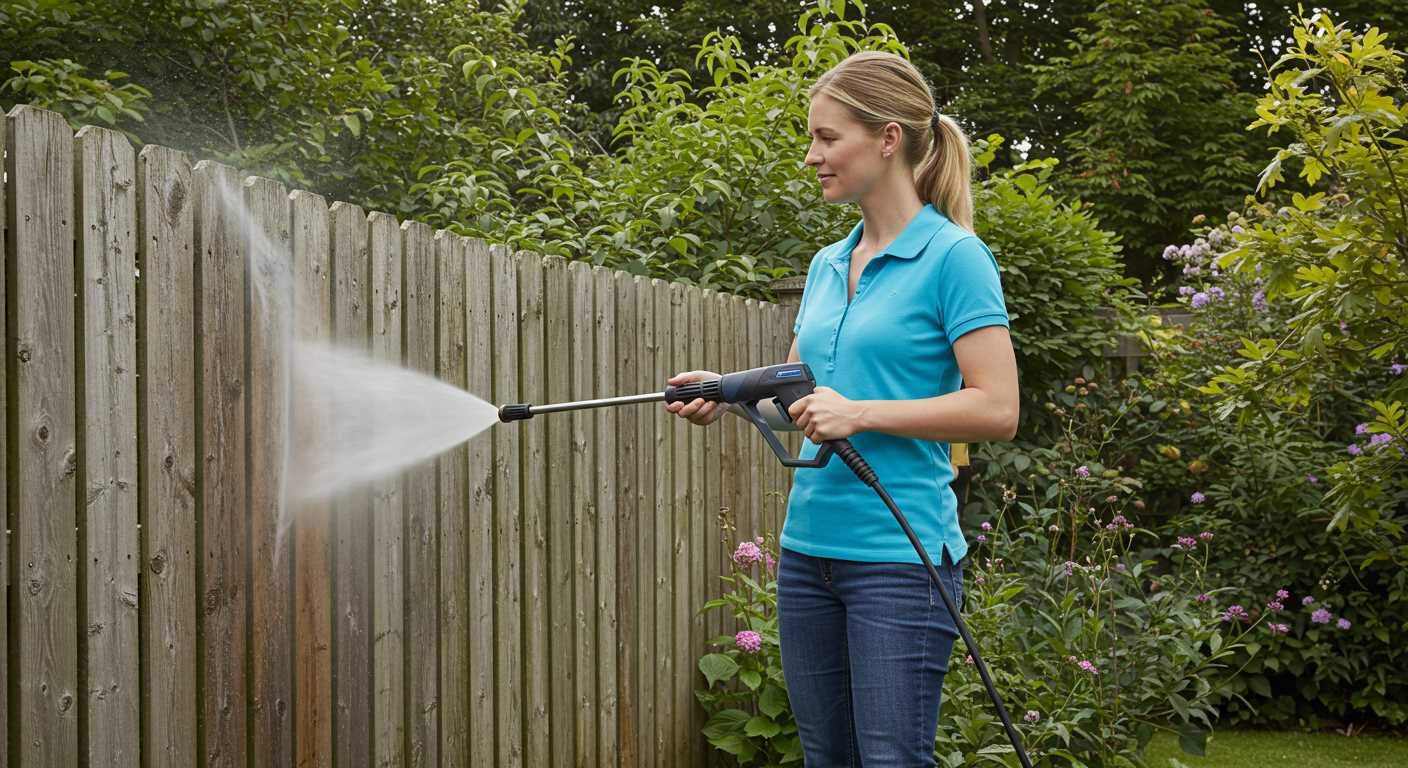
Reassembly and Testing
Reassemble the device carefully, ensuring all parts fit snugly. I advise using a little silicone grease on the gaskets to enhance their sealing properties. Once reassembled, connect the machine to a water source and test it without a nozzle first. Check for leaks and listen for unusual sounds. If everything runs smoothly, attach your preferred nozzle and try out the cleaning power.
For those considering a new model, I recommend looking into a corded electric pressure washer. They offer reliability and performance that can make your tasks easier and more enjoyable.
Identifying Common Pump Issues
Start with inspecting for leaks. If you notice water pooling beneath the unit, check the seals and connections. A worn-out O-ring or a loose fitting often causes this issue. Replace any damaged parts to restore proper function.
Next, listen for unusual noises. A grinding or rattling sound usually indicates a problem with the internal components. In my experience, this often means worn bearings or a damaged impeller. Disassembly and a thorough inspection will help pinpoint the source of the noise.
Pay attention to pressure output. If you’re experiencing a significant drop, the issue could stem from clogged nozzles or a malfunctioning pressure regulator. Cleaning the nozzles may improve performance, but if that doesn’t work, consider replacing the regulator.
Check for overheating. If the motor feels excessively hot during operation, it might indicate a blockage in the water intake or a problem with the cooling system. I’ve found that clearing any debris from the inlet often resolves this issue, allowing for better airflow and cooling.
Monitor the pulsing of the water stream. If the flow is inconsistent, it could be due to air trapped in the system. Bleeding the system can help eliminate the air pockets, resulting in a steady flow.
Lastly, inspect the pressure gauge. If it’s not functioning correctly, you may not get an accurate reading of the pressure levels. A faulty gauge can lead to either underperformance or damage to the device. Replacing the gauge is a straightforward fix that can save you from bigger issues down the line.
Gathering Necessary Tools and Parts
Before diving into the repair project, ensure you have the right tools at hand. A set of screwdrivers, both flat-head and Phillips, is fundamental. You’ll also need a socket set for removing bolts and nuts, preferably in metric sizes, as many components will require this type. Don’t forget a pair of pliers for gripping and pulling stubborn parts.
Gathering replacement components is equally crucial. Start with seals and O-rings, as these often wear out and lead to leaks. Look for high-quality replacements to ensure longevity. Additionally, check for any damaged valves or pistons that may need replacing. It’s wise to have a spare set on hand since these parts can be subject to wear and tear.
Consider a torque wrench if you’re dealing with any bolts that require specific tightening. This tool helps maintain the integrity of the assembly, preventing future issues. A clean workspace is vital too; having a bench or table where you can lay out tools and parts will streamline the process.
Finally, don’t underestimate the importance of a good manual or service guide for reference. It can provide insights on part numbers and assembly instructions, saving time and reducing error. With these tools and parts gathered, you’re set for a smooth and efficient repair session.
Disassembling the Pressure Washer Pump
Begin disassembly by ensuring the unit is unplugged and depressurised. Disconnect any hoses attached to the device, allowing for easier access to the inner components.
Use a suitable screwdriver to remove the screws securing the casing. Take care to note their sizes and locations, as this will aid in reassembly later. Gently lift the casing off, exposing the internal parts.
Next, carefully detach the inlet and outlet valves. These components are typically held in place by small clips or screws. Use pliers or a wrench if necessary, but avoid excessive force to prevent damage. Keep all hardware together for reference.
- Identify and label each part as you remove it.
- Take pictures or make sketches to track the assembly order.
Once the valves are removed, focus on the diaphragm or piston assembly. If your model features a diaphragm, you may need to unscrew it gently. On models with a piston, look for retaining clips or screws that hold it in position.
After dislodging these components, inspect them for wear or damage. If any parts seem worn, make a note to replace them during reassembly. Cleaning each part with a suitable solvent will ensure optimal performance.
Finally, remove any seals or gaskets. These often wear down and can lead to leaks if not replaced. Pay attention to their placement; you’ll need to install new ones in the same position during reassembly.
Once everything is disassembled, ensure that you have a clean workspace to organise the parts. This will make it easier to identify what you need to fix or replace when you begin putting everything back together.
Inspecting Components for Wear and Damage
Begin with a careful examination of the cylinder head and valves. Look for any signs of corrosion or pitting, which can lead to leaks or reduced performance. I once encountered a unit where a small crack in the valve seat caused a significant drop in pressure. Replace any damaged parts immediately to prevent further issues.
Checking the Seals and O-Rings
Inspect the seals and O-rings for brittleness or deformation. These components are crucial for maintaining pressure and preventing leaks. In my experience, even minor wear can lead to major problems. I recommend replacing all rubber components if they show any signs of age.
Evaluating the Connecting Rod and Plunger
Next, assess the connecting rod and plunger for wear. Look for scoring on the surfaces; this can indicate improper lubrication or contamination. A worn plunger can lead to decreased efficiency and should be replaced. It’s advisable to keep spare parts handy, especially if you frequently use your equipment. And don’t forget to clean the interior thoroughly before reassembly; debris can cause further damage.
For optimal cleaning results, consider using the best chemical for pressure washing concrete. This will enhance the performance of your device and extend its lifespan.
Replacing Seals and O-Rings
Start by gathering the correct replacement seals and O-rings. These components are often the culprits behind leaks and reduced performance. Make sure to have the part numbers from your manual, or take the old seals to a hardware store for a precise match.

Once you have the replacements, clean the seating areas thoroughly. Use a non-abrasive cleaner to remove any residue or old lubricant. A clean surface ensures a proper seal and prevents future leaks.
Next, carefully remove the old seals and O-rings. A flat-head screwdriver can help, but be cautious to avoid scratching the housing. If a seal is particularly stubborn, soaking it in warm soapy water can loosen it up without damaging the surrounding area.
Before installing the new components, apply a light layer of silicone grease. This not only aids in the installation but also helps to prolong the life of the seals by reducing friction and wear. Place the new O-ring or seal into its designated groove, ensuring it’s seated evenly all around.
After installing all the new components, double-check everything is aligned correctly. Misalignment can lead to leaks, so take your time here. Once satisfied, reassemble the housing and tighten all screws to the manufacturer’s specifications. Don’t overtighten, as this may damage the seals.
Before testing, let the assembly sit for a few minutes to ensure the seals settle properly. Then, reconnect to the water source and power up the machine, observing for any signs of leakage. If everything is sealed correctly, you’re ready to enjoy efficient performance once again.
Reassembling the Pump Properly
Align components accurately to prevent misfitting. Start with the cylinder casing, ensuring that any locating pins are in place. Secure the seals precisely during assembly to avoid leaks. Here’s a checklist to follow:
- Clean all parts with a suitable solvent before reassembly.
- Lubricate seals and O-rings lightly with a compatible grease to ensure a snug fit.
- Carefully place the pistons back into their respective chambers, ensuring they move freely.
While reattaching the end cover, check for any gaps. A tight fit is crucial to maintain pressure. Use a torque wrench to tighten bolts to the manufacturer’s specifications, which ensures that components remain secure under operation.
Before reattaching the inlet and outlet connectors, inspect the threads for damage. If any are worn, it may be wise to replace them to avoid future leaks. Once everything is in place, double-check alignment and secure all fastenings.
Finally, conduct a test run with water to check for leaks. If you notice any drips, it’s essential to disassemble those sections and inspect the seals and fittings again. A little extra care at this stage saves time and hassle later on.
Testing the Pump After Rebuild
After completing the assembly of the cleaning device’s motor, it’s time to check if everything is functioning as it should. Begin by filling the reservoir with clean water and ensuring that all connections are secure to prevent leaks during testing.
Next, connect the unit to a power source. Turn it on while keeping an eye on the output. Watch for steady water flow without interruptions. This is a key indicator that the internal mechanisms are operating smoothly. Listen for unusual noises; grinding or rattling can signal misalignment or loose components.
It’s wise to use a pressure gauge to monitor the output pressure. If the reading is significantly lower than the manufacturer’s specifications, this could indicate issues such as air leaks or blockages. Here’s a simple table to help you keep track of the pressure readings:
| Pressure Setting (Bar) | Expected Output (Bar) | Status |
|---|---|---|
| 100 | 90-100 | Pass |
| 120 | 110-120 | Pass |
| 150 | 140-150 | Pass |
| 100 | Below 90 | Fail |
| 120 | Below 110 | Fail |
| 150 | Below 140 | Fail |
If you encounter low pressure, inspect the inlet filter and hoses for clogs. These components can easily accumulate debris, affecting flow. Ensure all seals are correctly seated to avoid leaks, which can also lead to pressure drops.
After a thorough check, run the equipment for about 10 minutes without load. This allows the motor to warm up and any remaining air to escape from the system. Continue monitoring for leaks and pressure stability during this period.
Once satisfied with the test, it’s prudent to conduct a final inspection. Look for any signs of water pooling or moisture around connections, which could indicate future issues. If everything checks out, congratulations! You’ve successfully restored the functionality of your cleaning machine.
.jpg)


