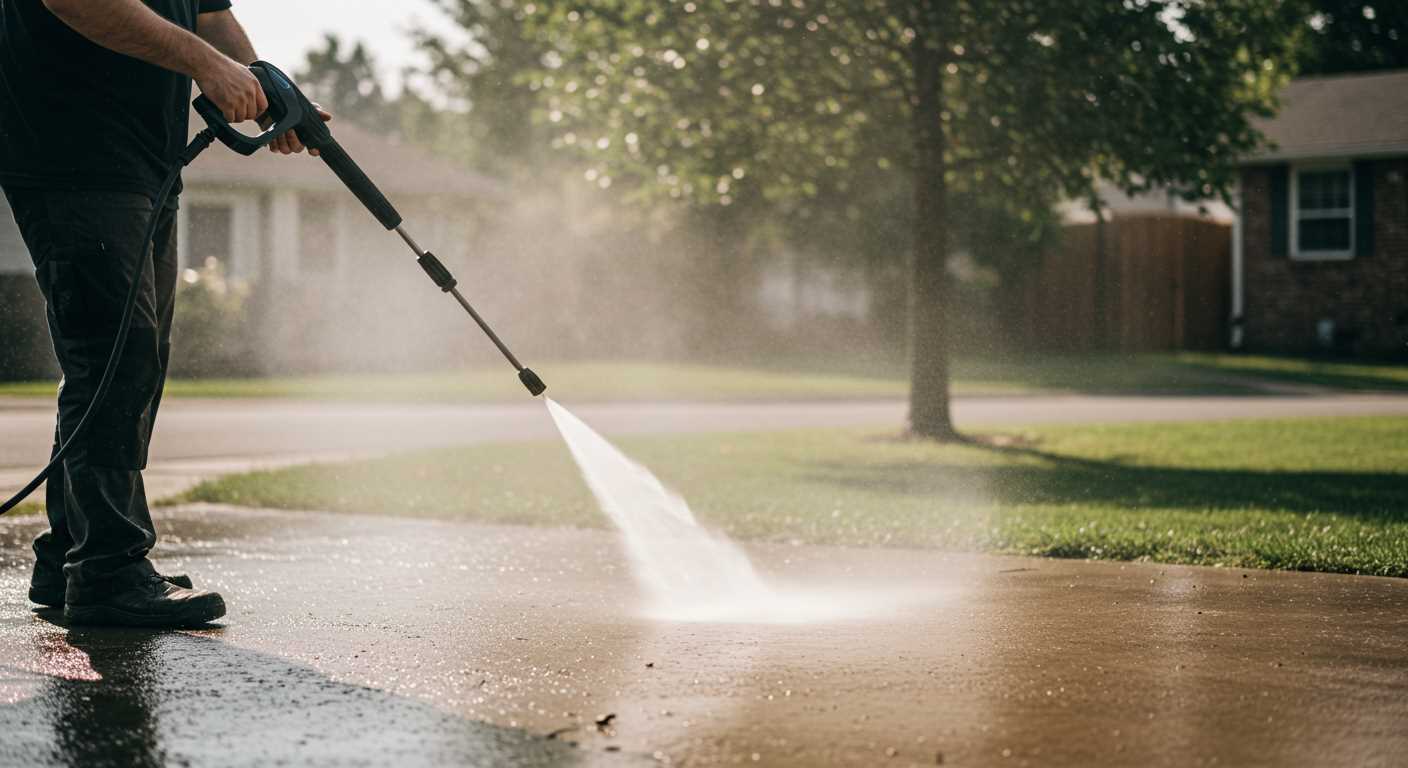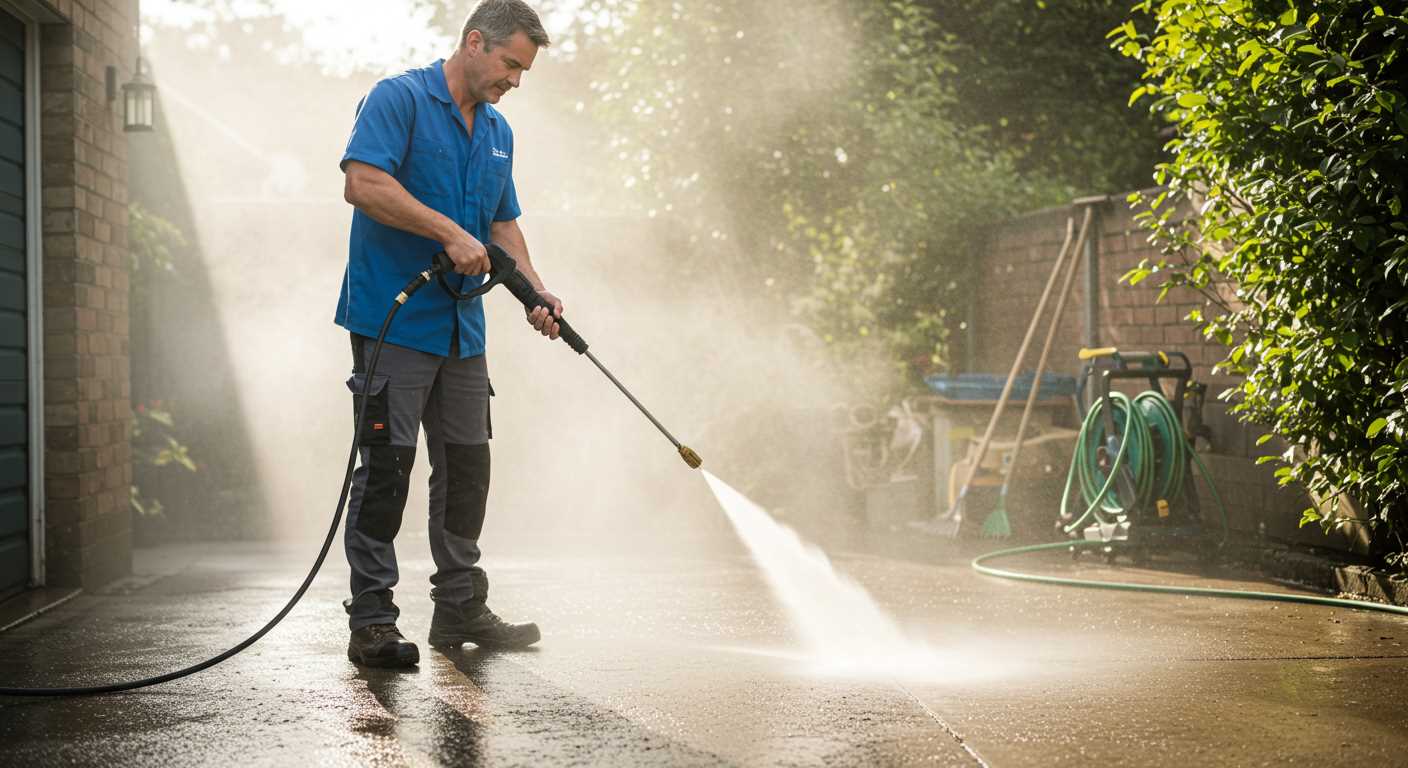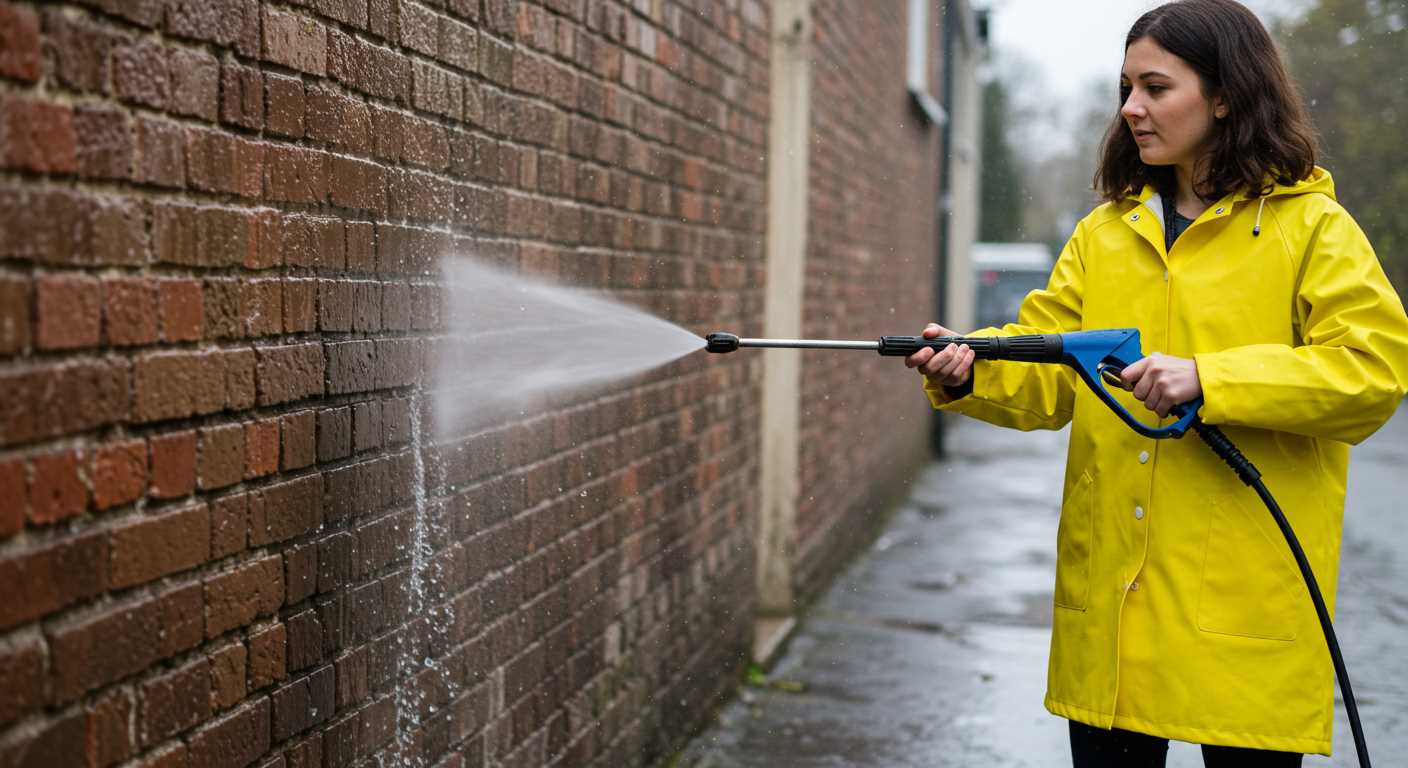


Choosing the right nozzle can significantly lower the sound level during operations. A wider spray angle often leads to reduced noise, as it allows the motor to work less hard while still delivering effective cleaning. I’ve tested various nozzles, and I found that the 25-degree or even the 40-degree options work wonders for both noise reduction and cleaning efficiency.
Another approach is to invest in sound-dampening accessories. I remember fitting a rubber mat under my machine, which not only protected the surface beneath but also absorbed some of the vibrations. It’s a simple yet effective method that can make a noticeable difference. Additionally, consider placing your unit on a softer surface like grass or gravel instead of concrete, as this can further minimise sound reflection.
Regular maintenance cannot be overlooked. Keeping the motor and pump in top condition ensures they operate smoothly without unnecessary strain, which can contribute to noise. I’ve experienced how a clean filter and well-lubricated parts can lead to a quieter and more pleasant cleaning experience. Every little detail counts when it comes to minimising sound pollution during your outdoor tasks.
Lastly, time your cleaning sessions wisely. Early mornings or late evenings might not be the best times for using high-powered equipment, especially in residential areas. I’ve found that mid-morning or early afternoon slots are ideal, as they help maintain a peaceful neighbourhood while you tackle your outdoor projects.
Best Techniques for Minimising Sound from High-Pressure Cleaning Equipment
Invest in sound-dampening materials to line the area around your cleaning station. Acoustic foam panels or heavy curtains can significantly absorb sound waves, creating a quieter environment during use.
Maintenance Tips
Regular upkeep of your machine plays a crucial role in sound levels. Ensure:
- All components are lubricated according to manufacturer recommendations.
- Filters and nozzles are clean and free from blockages, as obstructions can increase operational noise.
- Hoses are in good condition; damaged hoses can create unwanted vibrations.
Using Accessories Wisely
Consider using noise-reducing attachments such as mufflers designed specifically for high-pressure units. These can effectively dampen sound without sacrificing performance. Additionally, opting for a larger spray nozzle can allow for lower pressure settings, which helps in lessening the decibel output while still achieving effective cleaning results.
Lastly, if you’re recording or filming while cleaning, be mindful of your equipment. For instance, a digital camera memory card is 1 4 full can impact your audio quality. Ensure proper settings are adjusted to account for background sounds.
Choosing a Quieter Pressure Washer Model
Opt for electric units instead of gas-powered ones. In my experience, electric models operate at a significantly lower decibel level. For instance, many electric devices are rated around 75-80 dB, while gas units can soar above 90 dB. A notable example is the Sun Joe SPX3000, which offers solid performance without the excessive racket.
Look for brands that highlight noise reduction features. Some manufacturers design their products with sound-dampening technology. For example, the Greenworks GPW1501 incorporates such mechanisms, allowing for quieter operation while maintaining cleaning efficiency. These models are increasingly common and worth considering.
Check the specifications for motor type and power. Brushless motors tend to operate more quietly than traditional brushed motors. The Karcher K5 Premium, for instance, utilises a brushless motor, which results in a more pleasant user experience. This subtle shift in motor design can make a noticeable impact on sound levels.
Pay attention to the pump type as well. Axial pumps often produce more noise compared to triplex pumps. If you’re after a quieter option, I recommend looking into models with triplex pumps, like the Simpson Cleaning MSH3125-S. These units not only reduce sound but also extend the lifespan of the machine.
Consider the design and materials used. Some pressure cleaners come with additional insulation or soundproofing materials. This feature can be a game-changer for those sensitive to sound. An example is the Ryobi RY142300, which has been noted for its lower operating volume due to enhanced construction.
| Model | Type | Noise Level (dB) | Notable Features |
|---|---|---|---|
| Sun Joe SPX3000 | Electric | 75 | Dual detergent tanks |
| Greenworks GPW1501 | Electric | 80 | Sound-dampening technology |
| Karcher K5 Premium | Electric | 78 | Brushless motor |
| Simpson Cleaning MSH3125-S | Gas | 90 | Triplex pump |
| Ryobi RY142300 | Electric | 79 | Enhanced insulation |
Lastly, read user reviews focusing on sound levels. Real-world experiences can provide insights that specifications may not convey. I often found that customers highlighted noise levels as a key factor in their satisfaction. Choosing the right model based on these insights makes a significant difference.
Installing Sound-Reducing Accessories
One of the most effective ways to lessen the racket from your cleaning device is by attaching sound-absorbing components. I’ve personally experimented with several accessories that can make a significant difference.
Sound Dampening Mats are a straightforward addition. These mats can be placed under the machine to absorb vibrations, which in turn decreases the overall sound output. I recall using a thick rubber mat under my own unit, and it noticeably lessened the clattering sounds when the engine revved up.
Enclosures are another option. Building or purchasing a soundproof box designed to fit around your equipment can contain a lot of that disruptive sound. I once constructed a simple enclosure with soundproofing foam on the inside. While it required some effort, the reduction in volume was impressive. Just ensure there’s adequate ventilation to prevent overheating.
Hoses with Sound Dampening Technology can also help. These hoses are designed to minimise the vibrations that occur during operation. I swapped out a standard hose for one of these models, and it made a noticeable difference during use, particularly when working on larger jobs.
Lastly, consider sound barriers. If you’re operating in a residential area, placing portable barriers around your workspace can help muffle the sound. I’ve used heavy blankets hung on a frame, which created a buffer zone that absorbed a lot of the commotion.
Integrating these accessories not only makes your cleaning sessions more pleasant for you but also for your neighbours. With a bit of investment and effort, you’ll find that quieter operation is within reach.
Utilising Noise Barriers During Operation
Implementing noise barriers is a practical approach to minimising sounds while operating cleaning equipment. I discovered this technique during a project where excessive sound levels were an issue in a residential area. By strategically placing barriers around the work zone, we noticed a significant drop in auditory disturbances.
Types of Barriers
Consider using materials such as thick plywood, acoustic panels, or even bales of hay. In one instance, I used plywood sheets to create a makeshift enclosure. This setup not only dampened the sound but also offered some protection from the wind. Acoustic panels, though a bit pricier, can provide superior sound absorption. They’re especially useful in more permanent installations.
Placement Strategies
Position barriers at a distance that maximises their effectiveness. Ideally, they should be placed between the equipment and the noise-sensitive areas. I often recommend creating a semi-circle around the equipment, ensuring that the barriers are tall enough to block the direct line of sound. In my experience, a height of at least 2 metres works well, depending on the machine’s specifications.
Additionally, ensuring that the barriers are not too close to the equipment is crucial. If they are too near, the sound may bounce back and amplify the disturbance. A few feet distance can create a buffer zone that significantly helps in sound reduction.
Using these techniques allows for a quieter environment during operation, making it more pleasant for both the operator and those in the vicinity. In my time, I’ve seen this simple adjustment transform a noisy task into a manageable one, enabling us to work efficiently without upsetting the neighbours.
Adjusting Operating Techniques for Less Noise
Operating the equipment with a gentler touch can significantly minimise sound levels. I’ve found that adjusting the angle of the nozzle can make a difference; tilting it slightly away from hard surfaces often reduces the intensity of the spray and, consequently, the racket produced. Experimenting with distances while keeping the nozzle at a wider angle can also lessen the decibel output.
Maintaining a Consistent Distance
Keeping a consistent distance from the surface being cleaned is crucial. When I was working on a project involving an old patio, I realised that getting too close amplified the sound. Staying about two feet away from the surface not only made the job quieter but also improved the cleaning efficiency, as the spray had more room to disperse before hitting the surface.
Timing Your Work Wisely
Choosing the right time for tasks can also impact the overall experience. I often schedule outdoor cleaning during the middle of the day when ambient noise from traffic and other activities is higher. This way, the sound from the equipment blends into the background rather than standing out. Additionally, if you’re in a residential area, avoiding early mornings or late evenings can help maintain good relations with neighbours while you work.
Maintaining Equipment for Optimal Sound Levels
Regular maintenance is paramount for minimising sound output. A well-kept machine operates quieter and more efficiently. Start with checking the engine oil and replacing it as per the manufacturer’s schedule. Dirty oil can cause excessive friction, leading to louder operation.
Inspect and clean the air filter regularly. A clogged air filter restricts airflow, forcing the engine to work harder, which typically results in increased noise levels. I remember once ignoring this step during a busy season. The increase in sound was noticeable, and a simple clean made all the difference.
Pay close attention to the pump. Ensure it is lubricated correctly. A well-lubricated pump runs smoother and quieter. If you hear unusual sounds, check for wear and tear on seals and gaskets. Replacing them promptly can prevent further damage and unwanted sounds.
Vibration is another contributor to sound levels. Tighten any loose screws, bolts, or fittings on your equipment. I once encountered a situation where a loose bolt on the frame caused vibrations that amplified the noise. Fixing it resulted in a significant drop in sound.
| Maintenance Task | Frequency | Impact on Sound |
|---|---|---|
| Oil Change | Every 50 hours | Reduces friction, lowers sound |
| Air Filter Cleaning | Every 25 hours | Improves airflow, decreases noise |
| Pump Lubrication | Every 50 hours | Ensures smooth operation, quieter |
| Check for Loose Parts | Before each use | Minimises vibrations, lowers output |
Replace worn hoses and nozzles as well. Damaged components can create a rattling sound and reduce efficiency. I’ve seen machines with frayed hoses produce unpleasant sounds, and a simple change restored their quiet operation.
Lastly, store your equipment properly when not in use. Keeping it in a dry, clean space protects it from rust and damage, which can impact performance and sound levels over time. I have found that a well-maintained machine not only operates quieter but also lasts longer, saving money in the long run.
Using Foam or Soundproofing Materials
In my experience, incorporating foam or soundproofing materials can significantly enhance the quietness of your cleaning tasks. I’ve tested various options and found that these materials are quite effective in minimising disruptive sounds.
Here are some practical approaches I’ve utilised:
- Acoustic Foam Panels: These panels can be placed around the area where the equipment operates. Their design absorbs sound waves, preventing them from bouncing off hard surfaces.
- Soundproofing Mats: Laying down thick mats under the machine helps to dampen vibrations. I’ve used rubber mats that not only reduce noise but also provide stability, preventing the unit from shifting during use.
- Foam Insulation: Encasing the motor and pump in foam insulation can diminish sound transmission. Ensure it’s heat-resistant and allows for proper ventilation.
Another effective method involves constructing a soundproof enclosure. This can be as simple as building a wooden frame and lining it with soundproofing material. Just make sure there’s enough airflow to prevent overheating.
In my projects, I’ve often found that combining these materials yields the best results. For instance, a mix of acoustic panels on the walls and soundproof mats on the floor created a noticeable difference in my work environment. It’s a simple investment that pays off in comfort and concentration.
Finally, always keep in mind the importance of regular maintenance on your equipment. Well-maintained machinery tends to operate more quietly, and using sound-dampening materials can help prolong its life.
Timing Your Pressure Washing Activities Wisely
Choose early mornings or late afternoons for your cleaning sessions. During these times, ambient sound levels are generally lower, allowing you to mitigate disturbances to neighbours. I remember one Saturday I started at 7 am, and while the sun was just rising, the streets were quiet. The task felt less intrusive, and I finished well before the neighbourhood became active.
Weekdays vs. Weekends
Consider scheduling your cleaning chores on weekdays, especially if you live in a densely populated area. Many people are at work, which means less potential for complaints. On one occasion, I tackled my outdoor tasks on a Wednesday and was pleasantly surprised by how many fewer interruptions I faced compared to weekend projects.
Seasonal Factors
The time of year also plays a role in your cleaning schedule. Spring and autumn are ideal; the weather is mild, and people tend to spend less time outdoors. I’ve found that planning around holidays can yield better results as well. Most folks are away or preoccupied, giving you a window to work without drawing attention.
Lastly, if you’re considering a small gas pressure washer, plan its use during less busy hours to keep the peace in your community. It’s all about finding that balance between getting the job done and maintaining harmony with those around you.
Considering Electric vs. Gas Pressure Washers
Opt for an electric model if peace and quiet are high on your list. My experience has shown that these units operate significantly quieter compared to their gas counterparts, making them ideal for residential areas. During a neighbourhood clean-up, I used an electric pressure cleaner, and my neighbours appreciated not being disturbed while they relaxed in their gardens.
Performance and Applications
Gas machines typically deliver more power, which is great for heavy-duty tasks like stripping paint or cleaning large surfaces. I remember tackling a massive driveway with a gas unit, and while it was efficient, the racket was something else. If you’re doing minor jobs, however, an electric cleaner often suffices, especially with the right attachments. I’ve had success using electric models for car washes and patio cleaning, which kept the noise to a minimum while still achieving excellent results.
Portability and Storage
Another consideration is portability. Electric units are generally lighter and more compact. I found moving my electric cleaner around the garden much easier than lugging a gas unit, which often required additional fuel and maintenance. If you have limited storage space, the smaller footprint of electric machines is a definite advantage. I’ve stored mine in a cupboard, freeing up garage space for other tools.


.jpg)


