
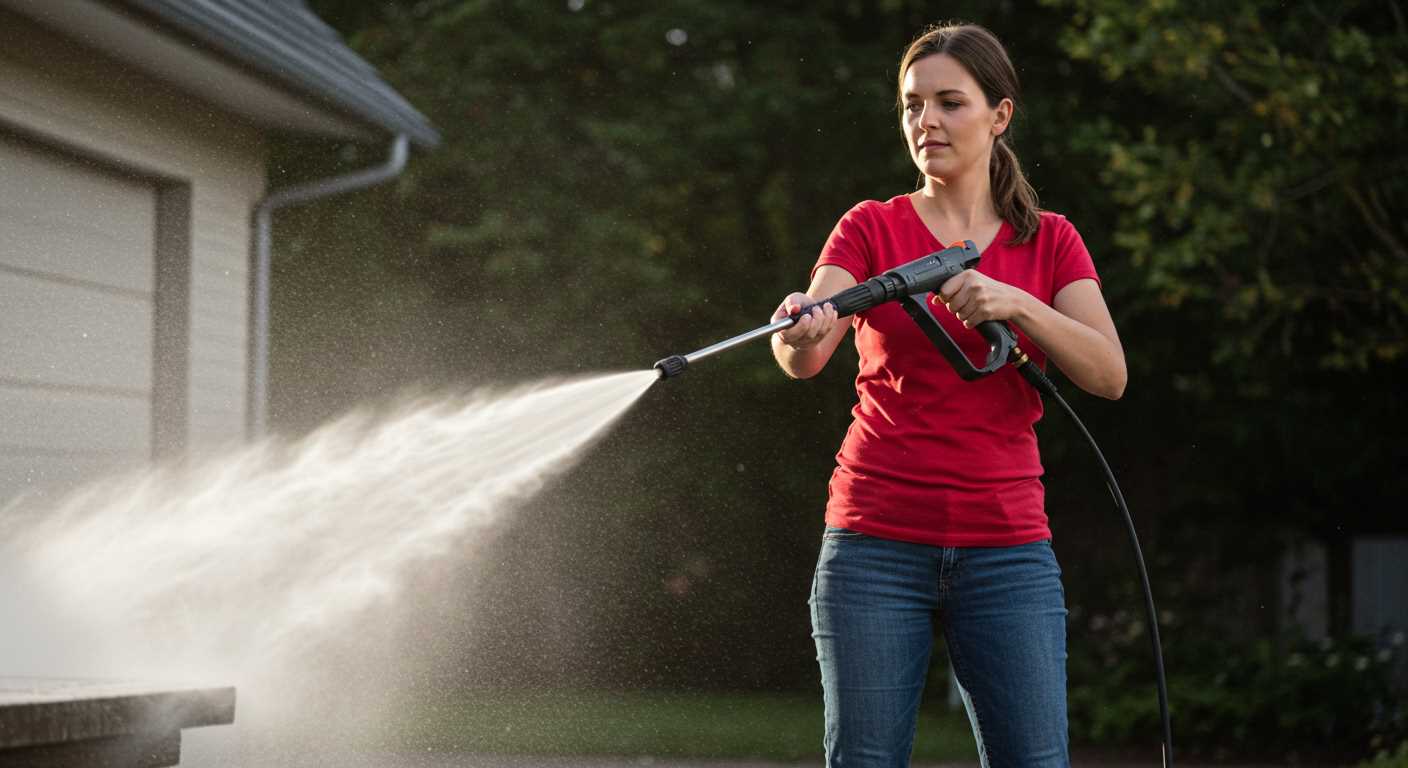

If you find yourself needing to access the suction element of your cleaning device, begin by ensuring the unit is completely powered down and disconnected from any water supply. This step is fundamental for your safety and to prevent any accidental damage during the process.
Next, locate the section housing the suction component, which is usually situated at the base of the machine. You might need to refer to your user manual for specific details, as designs can vary across models. With a screwdriver, carefully detach the cover, taking note of any screws or clips that might be holding it in place. I’ve often encountered stubborn covers that require a gentle twist to dislodge.

Once exposed, grasp the suction element firmly and pull it straight out. Be mindful of any debris that may have accumulated, as this can affect performance. During my years in the field, I discovered that many users overlook this simple step, leading to reduced efficiency over time. After extraction, it’s advisable to inspect the component for wear and tear; replacing it could significantly enhance the performance of your appliance.
Reassembling the unit is straightforward. Position the suction element back into its designated spot and secure the cover with screws or clips. Always double-check that everything is tightly fastened before reconnecting the water supply or powering up the device again. Maintaining this component will ensure your cleaning tasks are handled with optimal efficiency.
Steps to Extract the Water Intake Screen
First, ensure the unit is disconnected from power and water supply. This is a crucial step to avoid accidents. Next, locate the water inlet where the hose attaches. You’ll typically find the mesh screen inside this opening.
Gather Your Tools
Having the right tools on hand makes the task smoother:
- Flathead screwdriver
- Soft brush or cloth
- Bucket or container to catch any residual water
Extraction Process
- Using the flathead screwdriver, gently pry off the cover, if applicable. Some models might have a simple twist-off cap.
- Carefully pull out the screen. It should come out with a slight tug. Be cautious not to damage any surrounding components.
- Inspect the screen for debris or clogs. If you notice any build-up, a soft brush or cloth can help clear it away.
- After cleaning, reinsert the screen, ensuring it fits snugly in place. Replace any covers you removed.
Periodically checking and maintaining this component can greatly enhance the lifespan and performance of your equipment. It’s a small effort that pays off in the long run.
Locating the Filter on Your Karcher Pressure Washer
Begin by inspecting the unit’s body. Most models feature a dedicated compartment for the strainer, typically positioned near the water inlet. This placement is intentional, ensuring easy access for maintenance.
Steps to Identify the Filter Location
- Check the user manual for diagrams specific to your model. This resource often provides clear illustrations.
- Look for a cylindrical or mesh component near the hose connection. This is commonly where the mesh screen resides.
- If your device has a removable tank, examine inside. Some designs incorporate the strainer as part of the tank assembly.
- Inspect around the base of the inlet valve. Manufacturers often place it in this vicinity to facilitate regular cleaning.
Common Model Variations
Different models may have unique configurations. For instance, the compact models often integrate the screen within the water inlet, while larger units might feature a separate housing unit. If you encounter difficulty locating it, consider consulting online forums or user groups dedicated to your specific model.
- For older variants, the filter may be secured with screws–take care to have the right tools handy.
- On newer releases, a simple twist-off mechanism might be in place, allowing for quick access.
Remember, ensuring the cleanliness of this component is critical for optimal functioning. Regular checks will prevent clogs and maintain performance.
Gathering the Necessary Tools for the Task
Before you start tackling the task at hand, it’s crucial to gather the right tools. Having everything ready will streamline the process and save you from unnecessary interruptions. From my years of experience, I’ve learned that being prepared makes a significant difference.
Essential Tools
Here’s what you’ll need:
| Tool | Purpose |
|---|---|
| Screwdriver | For removing securing screws on the device. |
| Pliers | To grip and pull out the component when necessary. |
| Bucket | To catch any residual water or debris during the process. |
| Soft Cloth | For cleaning parts and ensuring no dirt is left behind. |
| Safety Gloves | To protect your hands from sharp edges or grime. |
Optional Tools
While not always necessary, these can be handy:
- Socket Set – Useful for loosening bolts if needed.
- Lubricant – In case any parts are stuck and need extra help.
Having these tools on hand allows for a smoother experience. It’s a small investment of time to gather them, but it pays off in making the task less daunting. Trust me; I’ve been there, and it’s far easier to work efficiently with everything right at your fingertips.
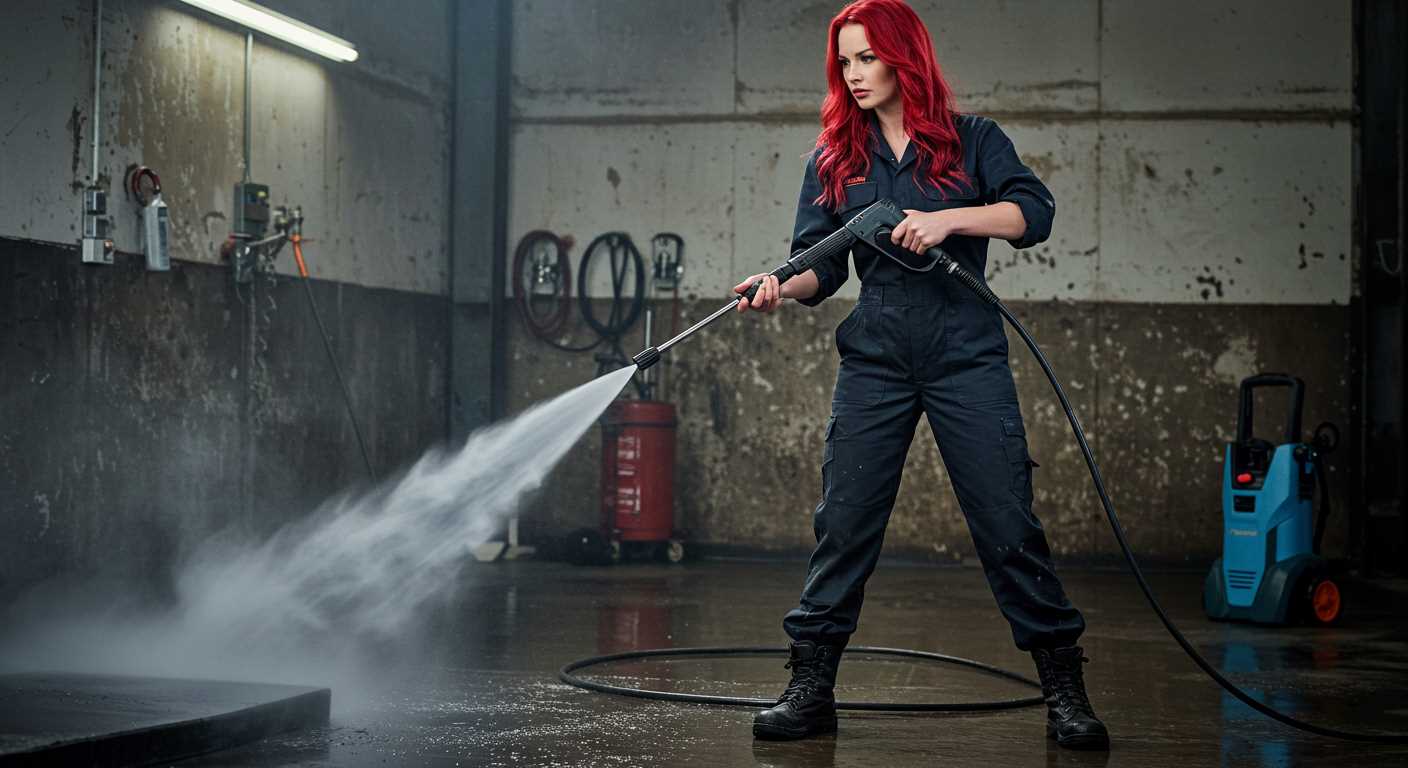
Step-by-Step Guide to Safely Removing the Filter

Begin by ensuring the machine is completely powered off and unplugged. This eliminates any risk of accidental activation during your task. Next, use a suitable flathead screwdriver to gently pry off any protective cover that conceals the necessary components. Pay attention to the way the cover is attached, as this will be helpful when reassembling.
Disconnecting the Water Supply
Before proceeding, detach the water supply hose. This will prevent any water from leaking during the process. Have a towel handy to catch any residual water that may escape. After the hose is disconnected, inspect the area for any debris or build-up that could obstruct the path. A clean workspace makes the job much easier.
Accessing and Extracting the Component
Locate the component you wish to access. Carefully grip it and twist counterclockwise. If you encounter resistance, don’t force it; instead, check for any securing clips or additional screws that may be holding it in place. Once free, inspect it for wear or damage. If you’re looking for the best tools to maintain your equipment, consider checking reviews for a pressure washer for cleaning cars.
After the component is out, clean the area thoroughly before replacing anything. This will ensure optimal performance when you put everything back together. Always refer to your user manual for specific details related to your model for best results.
Cleaning and Inspecting the Filter for Damage
After securing the component, it’s crucial to give it a thorough cleaning. Rinse with warm water to remove any visible debris, ensuring that both the interior and exterior are clear. A soft brush can help dislodge stubborn dirt, but be careful not to scratch any surfaces. If the grime is particularly persistent, a mild detergent can be used. Just remember to rinse well afterwards to avoid any residue.
Once clean, inspect the component closely for any signs of wear or damage. Look for cracks, tears, or deformities that could affect performance. Pay attention to the sealing surfaces; any irregularities can lead to leaks. If you find any significant damage, it’s advisable to replace the part rather than risk inefficiency or further issues down the line.
For routine maintenance, I recommend checking this component every few months, especially if you frequently use the machine. Keeping it in good condition not only extends its lifespan but also ensures optimal operation. For those who clean items like non-removable cushions, similar care and diligence apply. For more tips on maintaining cleanliness, check out this step-by-step guide.
Reinstalling the Filter and Testing the Pressure Washer
After cleaning the component and ensuring it’s free from debris, reinstall the part by aligning it correctly with the housing. It should fit snugly without forcing it. If there’s a retaining clip or screw, secure it to ensure stability.
Final Checks and Testing
Before powering on the unit, double-check all connections. Ensure that hoses and fittings are tight, and there are no leaks. With everything in place, turn on the water supply and start the machine without the nozzle attached. This allows you to observe if any water escapes from the connections, indicating potential issues. Once satisfied, attach the nozzle and test the equipment at low pressure first. Gradually increase the pressure to ensure it operates smoothly and efficiently.
Post-Use Maintenance
After using the equipment, always inspect the component again for any signs of wear or damage. Regular checks will prolong its lifespan and maintain performance. Keeping an eye on this part is crucial, as it directly affects the overall effectiveness of the unit.
FAQ:
What tools do I need to remove the filter from a Karcher pressure washer?
To remove the filter from a Karcher pressure washer, you typically need a few basic tools. A flathead screwdriver can be useful for prying off any covers or securing clips. Additionally, having a pair of pliers might help if the filter is tightly fitted or requires a bit more grip. It’s also a good idea to have a soft cloth or rag on hand to clean any debris around the filter area before removal.
How can I tell if the filter in my Karcher pressure washer needs to be cleaned or replaced?
Signs that your Karcher pressure washer filter may need cleaning or replacement include reduced water flow, unusual noises during operation, or if you notice debris or sediment in the water being expelled from the machine. If the water pressure seems lower than usual, it could indicate that the filter is clogged. Regular inspection is recommended, especially after extended use or if you’ve used the washer in dirty environments.
Are there any specific steps I should follow to safely remove the filter from my Karcher pressure washer?
Yes, there are specific steps to follow for safe removal of the filter. First, ensure the pressure washer is unplugged and disconnected from the water supply. Next, locate the filter, which is usually found near the water inlet. Use your screwdriver to gently remove any screws or clips holding the filter in place. Carefully pull out the filter, taking care not to damage any surrounding components. After removal, inspect the filter for damage and clean it thoroughly before reinstallation.
What should I do if I can’t remove the filter from my Karcher pressure washer?
If you’re having difficulty removing the filter, first ensure you have followed all the necessary steps and that the pressure washer is completely powered down. If the filter is stuck due to debris or corrosion, try gently wiggling it while pulling. If it still won’t budge, consider soaking the area with a lubricant, such as WD-40, to loosen any grime. If you continue to face issues, referring to the user manual or contacting Karcher customer support may provide additional guidance tailored to your specific model.
.jpg)
.jpg)


