


Start by ensuring that the unit is entirely cooled down and disconnected from any power source. Safety comes first; take the time to wear gloves and goggles to protect yourself from any potential splashes or debris during the process.
Next, gather the tools you’ll need: a socket set, pliers, and a flathead screwdriver. Each model may vary, but I’ve found that having these basic tools on hand simplifies the task. Lay everything out for easy access, which can save you a lot of time and hassle.

To begin the disassembly, locate the securing bolts that hold the assembly in place. Carefully unscrew these fasteners, ensuring not to strip them. I remember the first time I tackled this task; I rushed and ended up damaging the threads. Taking your time will prevent similar mishaps. Once the bolts are out, gently wiggle the device free from its housing, paying close attention to any attached hoses or connectors.
As you proceed, be mindful of any residual fluid that may escape. I recommend using an old towel or a drip pan beneath the area to catch any spills. This small precaution can save a lot of cleaning later on!
Steps for Detaching the Engine Component
Begin by ensuring safety: disconnect the spark plug to prevent accidental starting. Next, place the machine on a stable surface and secure it to avoid any movement during the process.
Gather Necessary Tools
- Socket wrench set
- Adjustable spanner
- Screwdriver set
- Pliers
- Container for residual fluid
Disconnection Procedure
- Locate and detach the high-pressure hose. Use a wrench for stubborn fittings.
- Identify the inlet and outlet connections. Unscrew these with the appropriate tools.
- Remove any mounting bolts securing the assembly to the frame. Keep these in a safe place for reassembly.
- Carefully lift the assembly away from the main unit. Ensure no hoses or wires are still attached.
- Inspect the area for any remaining connections that may need attention before full removal.
Cleanup any spills and check for wear on the seals and hoses. If you’re planning to install a new component, take this opportunity to clean the mounting area thoroughly.
Gather Necessary Tools and Safety Gear
Before diving into the task, ensure you have the following tools ready: a socket set, adjustable wrench, screwdrivers (both flat and Phillips), and pliers. A torque wrench can come in handy for reassembly if specifications require precise tightening. If you have a workbench or a sturdy surface, it’s beneficial to have it cleared for an organised workspace.
Safety Equipment
Safety goggles are a must to protect your eyes from any debris. Heavy-duty gloves will shield your hands while working with sharp components and prevent slips. A dust mask is advisable if you’re working in a dusty environment or if any cleaning agents are involved. Lastly, wear non-slip footwear to maintain stability during the process.
Additional Considerations
Having a container nearby for any small parts or fasteners will help prevent loss. Consider a magnetic tray for easy access. Keep a towel or rag handy to wipe away any spills or leaks. This preparation will make the task smoother and safer, allowing you to focus on the job at hand.
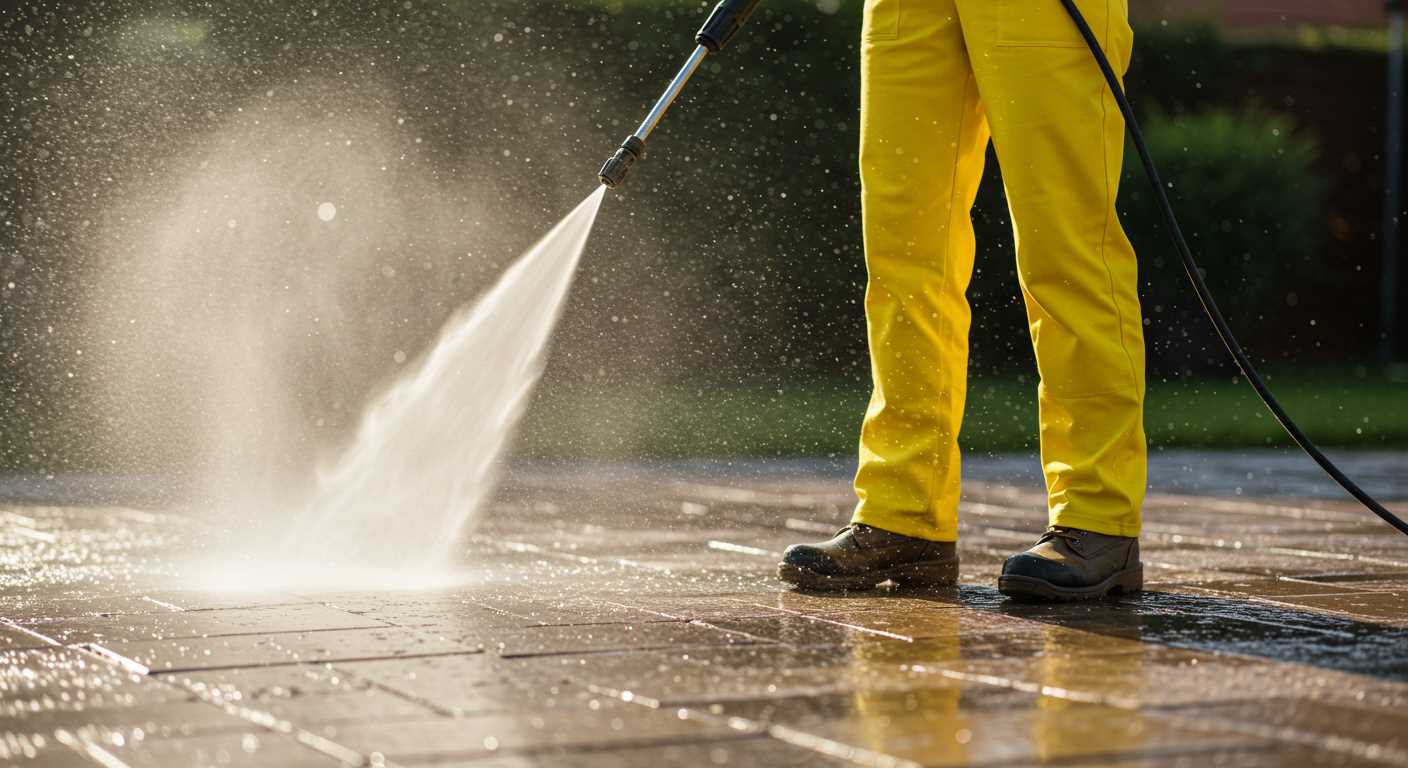
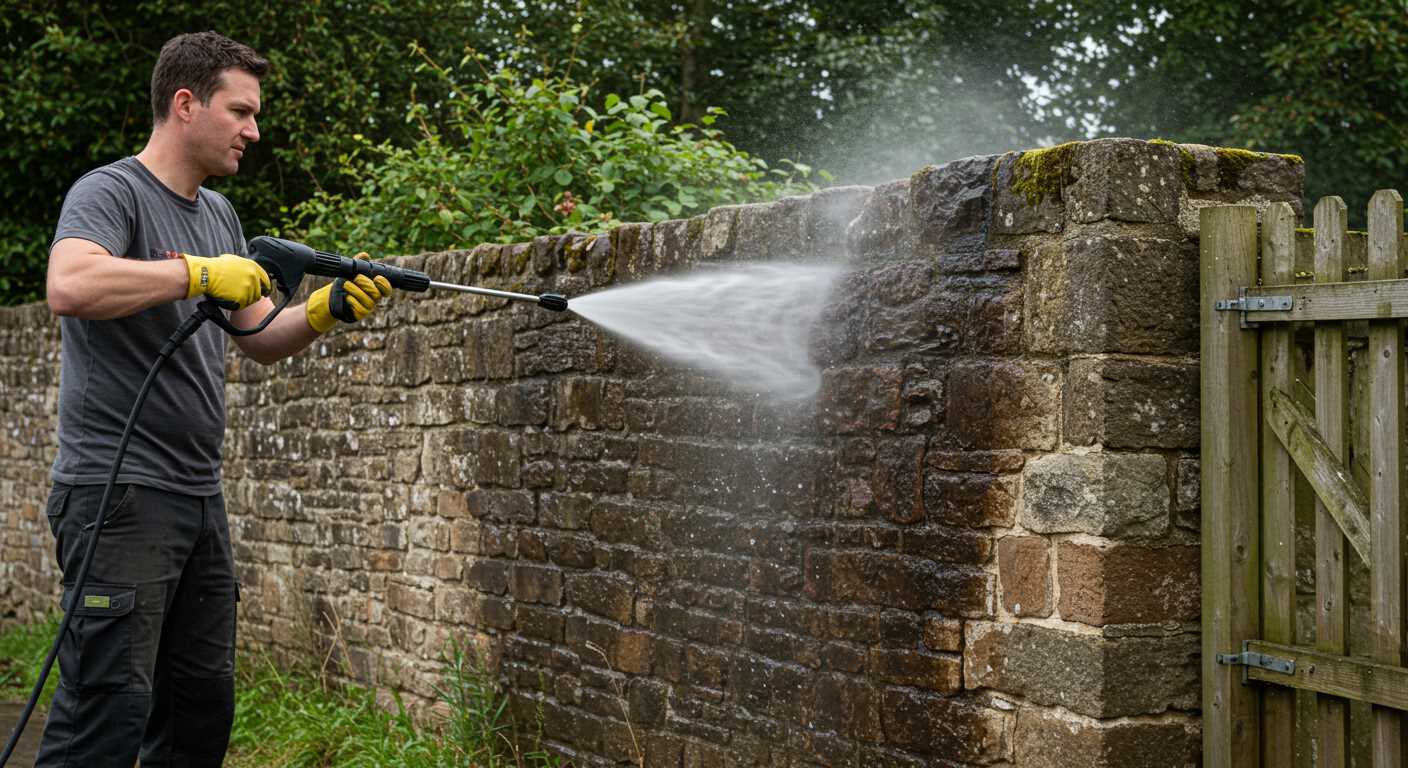
Disconnect Water and Fuel Lines Safely
Before detaching any hoses, ensure the equipment is turned off and cooled down. Start by shutting off the water supply to prevent any unwanted sprays. I always keep a bucket handy under the water connection to catch any residual water that may spill when disconnecting the hose.
For the water line, use a pair of adjustable pliers to loosen the connector. Gently twist the fitting counterclockwise while holding the hose in place. Avoid excessive force; if it’s stuck, a little penetrating oil can help. Once loose, carefully detach the hose and let any remaining water drain into the bucket.
Next, focus on the fuel line. First, ensure the fuel tank is empty. If it isn’t, siphon out the fuel or run the machine until it stalls. Once the tank is empty, locate the fuel line clamp. Use a flathead screwdriver to slide the clamp away from the fitting. Gently twist and pull the fuel line off the connector. Fuel can spill, so have rags ready to catch any drips and prevent spills on your workspace.
Always check for wear or damage on hoses and connectors before reassembly. This not only ensures safe operation but can save you from future headaches. Properly disposing of old fuel and handling hoses carefully can prevent mishaps, something I’ve learned from experience. It’s all about maintaining a clean work environment and ensuring safety throughout the process.
Remove the Pump Mounting Bolts
To detach the motor-driven assembly, focus on the mounting bolts securing it to the frame. Use a socket wrench or a spanner that fits the bolt heads snugly. If the bolts are rusted or corroded, a penetrating oil can make the task easier. Apply the oil and let it sit for a few minutes before attempting to loosen them.
Steps to Follow
1. Identify the number of bolts and their locations: Typically, there are four to six bolts holding the unit in place. They may be located at the corners of the assembly.
2. Position your tools: Arrange your wrench or socket set for easy access. A ratchet can speed up the process.
3. Loosen the bolts: Turn counter-clockwise. If they resist, try tapping the wrench lightly with a hammer to break the rust seal without damaging the bolt head.
Common Issues and Solutions
If a bolt breaks or strips, you might need a bolt extractor. Keep a set on hand as it can save time and frustration. After removing the bolts, keep them in a secure location for reassembly.
| Tool | Purpose |
|---|---|
| Socket Wrench | For loosening the mounting bolts |
| Penny Oil | To assist with rusted bolts |
| Hammer | To tap the wrench if bolts are stiff |
| Bolt Extractor | For removing stripped or broken bolts |
Detach the Pump from the Engine
Before starting, ensure that the power source is completely disconnected. This is critical for safety. Begin by locating the bolts securing the pump to the engine. Depending on the model, these may vary in size and length, so having a selection of ratchets and sockets is advisable.
Once you’ve identified the correct tools, follow these steps:
- Loosen each bolt gradually, working in a criss-cross pattern. This prevents any strain on the pump or engine.
- After all bolts are loose, carefully remove them. Place them in a container to avoid misplacement.
- Gently lift the pump off the engine. Be cautious of any remaining connections or hoses that may still be attached.
If you encounter resistance while lifting, double-check for any hidden screws or clips that could be holding the assembly in place. It’s not unusual to find parts that might seem insignificant but are crucial for securing the components together.
After detaching, inspect the mounting surface for any debris or damage. A clean surface is vital for the reinstallation of a new unit, especially if you’re considering an upgrade, such as a pressure washer for old patio.
For those looking for portability, exploring best cordless pressure washers could be beneficial. They offer flexibility while maintaining effective cleaning power.
Inspect and Clean Components Before Reinstallation
After detaching the motor component, take a moment to examine all parts meticulously. Look for wear, corrosion, or any signs of damage. Pay close attention to seals and gaskets; they often wear out over time and can lead to leaks if not replaced.
Utilise a soft brush and a mixture of warm soapy water to clean any dirt or debris from the exterior surfaces of the components. For tougher grime, a non-abrasive cleaner can work wonders. Just ensure that you avoid any harsh chemicals that could damage the parts.
Inspect the inlet and outlet ports thoroughly. Any obstructions here can significantly affect performance. A thin wire or compressed air can help clear out any blockages. Ensure that these areas are pristine before reinstalling everything.
After cleaning, dry all components completely with a clean cloth. This prevents moisture from causing rust or other issues once everything is reassembled. If you notice any parts that seem questionable, consider replacing them to avoid future complications.
Lastly, recheck all nuts and bolts for tightness before putting everything back together. Loose fittings can lead to operational inefficiencies or even damage during use. A meticulous approach here saves time and effort in the long run.

.jpg)


