


First, ensure the device is turned off and unplugged. Safety is paramount. I’ve seen too many mishaps occur simply because someone overlooked this step. Once you’re certain it’s off, locate the connection point where the pipe meets the cleaning tool. This is usually a threaded or quick-release fitting.
Next, if you’re dealing with a threaded connection, grasp the pipe firmly and turn it counter-clockwise. Sometimes, these connections can be tight, especially after repeated use. If you encounter resistance, a gentle twist while pulling can help. Just be cautious not to apply too much force, as you don’t want to damage the threads.

In instances of a quick-release fitting, look for a mechanism that typically involves a push or pull action. I remember the first time I struggled with one of these; I was so focused on the pipe that I didn’t notice the release lever. A quick press or slide should free the attachment without much hassle.
Once detached, inspect the connection points for any debris or damage. This is a good habit I developed over the years to ensure longevity and optimal performance of the equipment. Treat your tools well, and they will serve you generously.
Procedure for Detaching the Line from the Cleaning Equipment
First, ensure that the device is completely powered off and disconnected from the electrical source. Safety is paramount. Next, you’ll need a firm grip on the connection point. Look for the quick-connect coupling or threaded connector, depending on your model.
Steps to Follow
1. If your model has a quick-connect mechanism, pull back the collar while gently pulling the line out. This requires a bit of finesse; don’t force it. If it resists, check for any locking mechanisms that may need disengagement.
2. For threaded connections, use a wrench for leverage if necessary. Turn counterclockwise to unscrew the connection. Always hold the body of the equipment steady while doing this to avoid any unwanted movement.
Maintenance Tips
After detaching, inspect the connectors for any dirt or debris. A clean connection ensures optimal performance when reconnecting. Lubricate the threads lightly with silicone grease to make future detachments easier.
| Type of Connection | Method | Tools Required |
|---|---|---|
| Quick-connect | Pull collar back and detach | None |
| Threaded | Unscrew counterclockwise | Wrench (optional) |
Identify the Hose Connection Type
Understanding the connection type is key to a hassle-free detachment process. Most units feature either a quick-connect or threaded fitting. Identifying which one your equipment uses will save you time and frustration.
Quick-Connect Fittings
Quick-connect fittings allow for easy attachment and detachment. You’ll notice a mechanism that resembles a collar or sleeve. Simply depress the collar while pulling the connector apart. Having worked with various models, I’ve found that ensuring the collar is fully disengaged is crucial; otherwise, it may lead to damage.
Threaded Fittings
For threaded connections, look for a screw-on type. It requires unscrewing the fitting in a counter-clockwise direction. Be cautious; over-tightening can cause wear over time. I recall a time when I stripped the threads on a unit because I didn’t pay attention to the torque applied. Always hand-tighten for a secure fit without excess force.
| Connection Type | Method of Disconnection | Common Issues |
|---|---|---|
| Quick-Connect | Depress collar and pull apart | Potential collar damage if not fully disengaged |
| Threaded | Unscrew counter-clockwise | Stripped threads from overtightening |
Identifying the connection type will streamline the process and prevent mishaps. Take a moment to inspect your setup before proceeding.
Gather Necessary Tools for the Task
Before tackling the disconnection process, ensure you have everything you need at hand. This not only speeds up the task but also reduces the chances of mishaps. Here’s a list of items you should gather:
- Adjustable Wrench: A reliable tool for loosening various fittings, especially if they are tightly secured.
- Screwdriver Set: Depending on the model, you may need either Phillips or flathead screwdrivers for specific connections.
- Bucket or Towel: To catch any residual water or pressure build-up that may escape during disconnection.
- Safety Goggles: Protect your eyes from any unexpected sprays while working.
- Gloves: A sturdy pair helps prevent any injuries from sharp edges or slippery grips.
Additionally, having a best air compressor for duct cleaning can be beneficial for clearing out any debris that may have accumulated in the fittings, ensuring a smooth disconnection.
By preparing these tools beforehand, you’ll find the process more straightforward and efficient. It’s always best to have everything ready to avoid interruptions once you start.
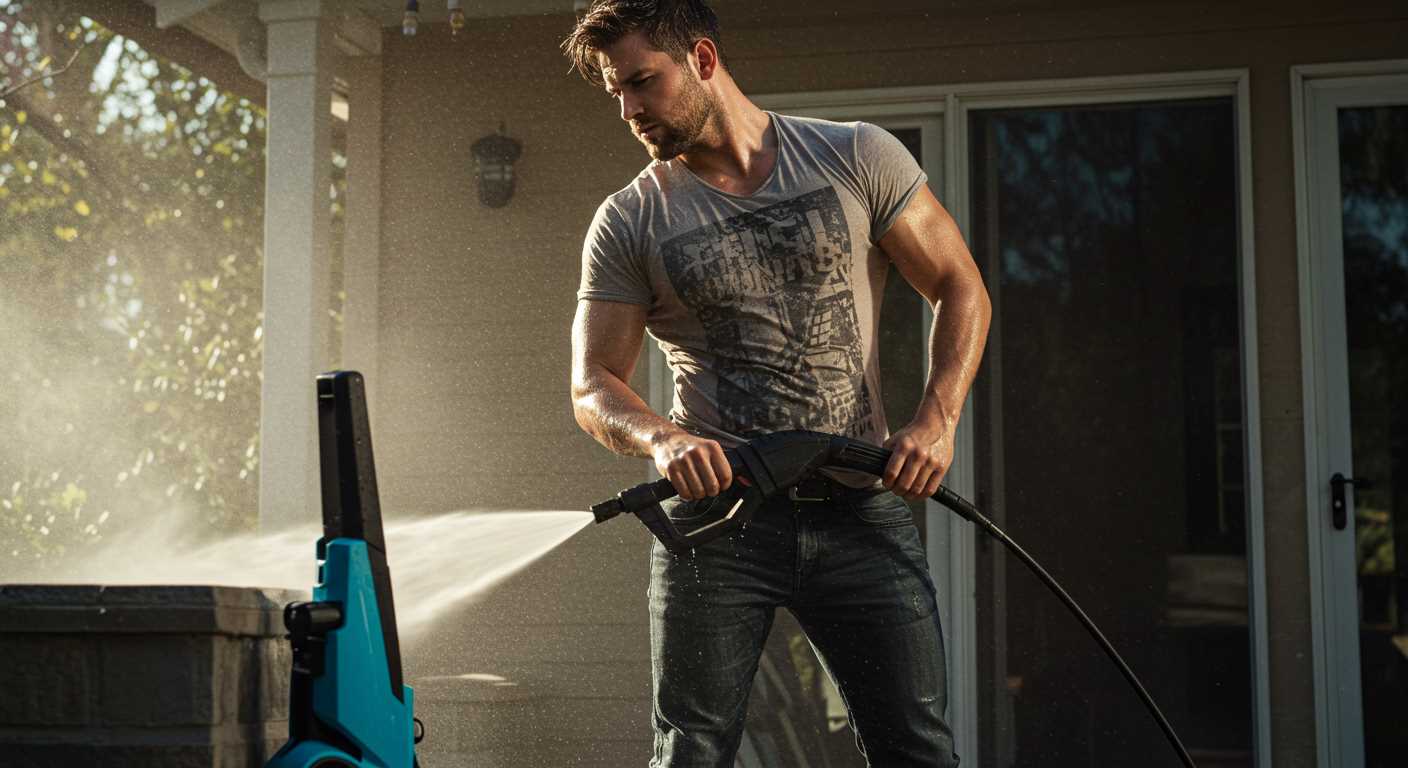
Turn Off Pressure Washer and Release Pressure
First, locate the power switch on your machine and turn it off. This step is critical to ensure safety while handling the device. After turning off the unit, unplug it from the electrical source to eliminate any risk of accidental activation.
Next, to release trapped fluid, point the outlet away from yourself and others, then squeeze the trigger on the handle. Hold it for a few seconds until the water stops flowing. This action relieves any remaining pressure in the system, making it safe to proceed with detaching the attachment.
In my experience, I’ve seen many users forget to release the pressure before attempting to disconnect components, leading to messy situations and potential injuries. Always treat the equipment with respect, as the force of the water can be startling if not managed properly. After completing these steps, you’ll be ready to tackle the next phase with confidence.
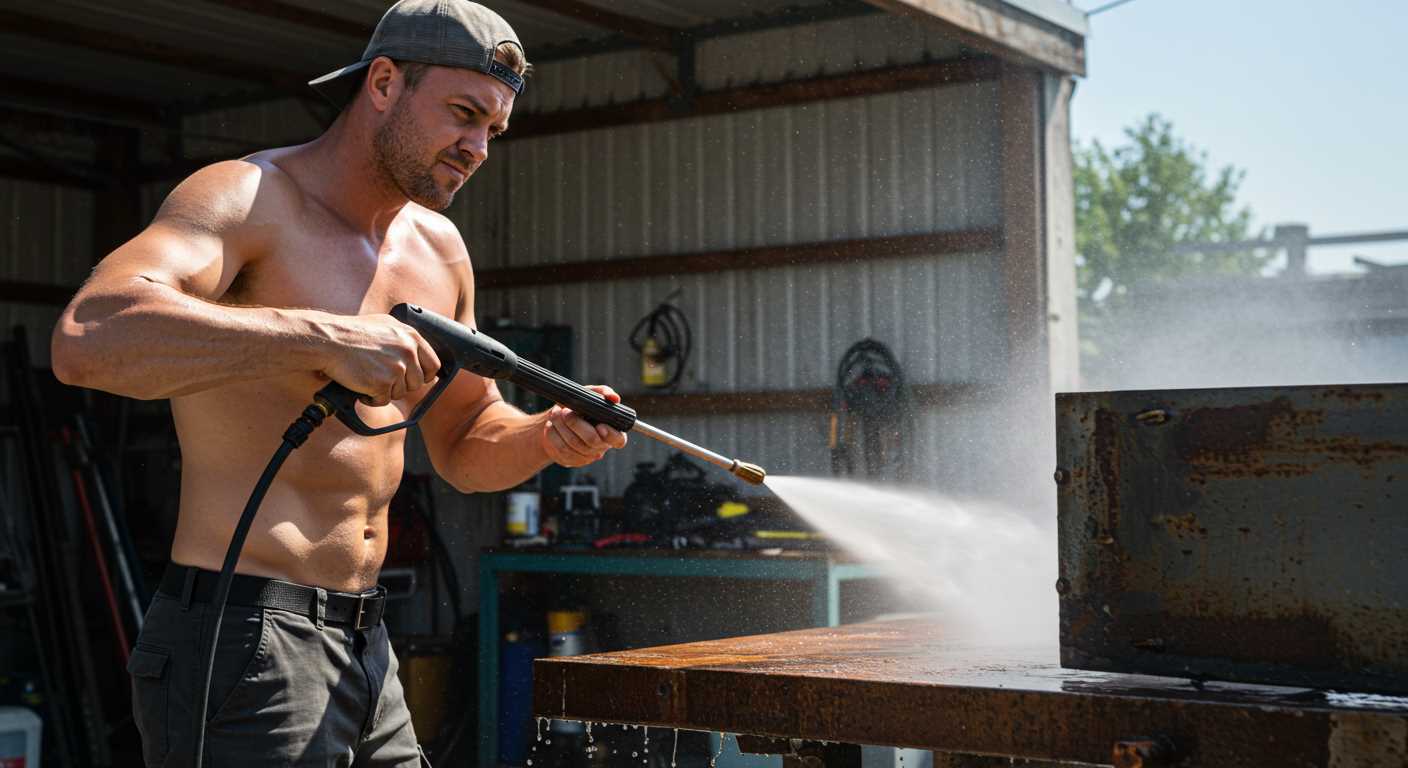
Locate the Hose Attachment Mechanism
Check the rear of the cleaning device where the tubing connects to the trigger assembly. Often, there’s a quick-release lever or a collar that needs to be disengaged. In many models, you may find a simple push-and-twist mechanism that allows for easy disconnection. Familiarise yourself with this part before proceeding.
Some devices incorporate a threaded connection, requiring you to turn the fitting counter-clockwise to detach it. Make sure to assess whether your model uses a bayonet fitting or a screw-type connection. I recall a time when I struggled with a particularly stubborn attachment, only to realise I was trying to twist it when it needed a firm push to release. It’s these little details that can save you a lot of frustration.
Once you’ve identified the connection type, inspect the area for any locking mechanisms or safety features. Occasionally, there are additional buttons or levers that must be engaged to facilitate a safe disconnection. Always ensure these are released before attempting to detach the tubing.
Keep an eye out for any signs of wear or damage around the attachment point. A cracked or worn fitting can complicate the process and lead to leaks later on. I’ve seen many users overlook this aspect, leading to more significant issues down the line. Make it a habit to periodically check the condition of these connections to ensure hassle-free operation.
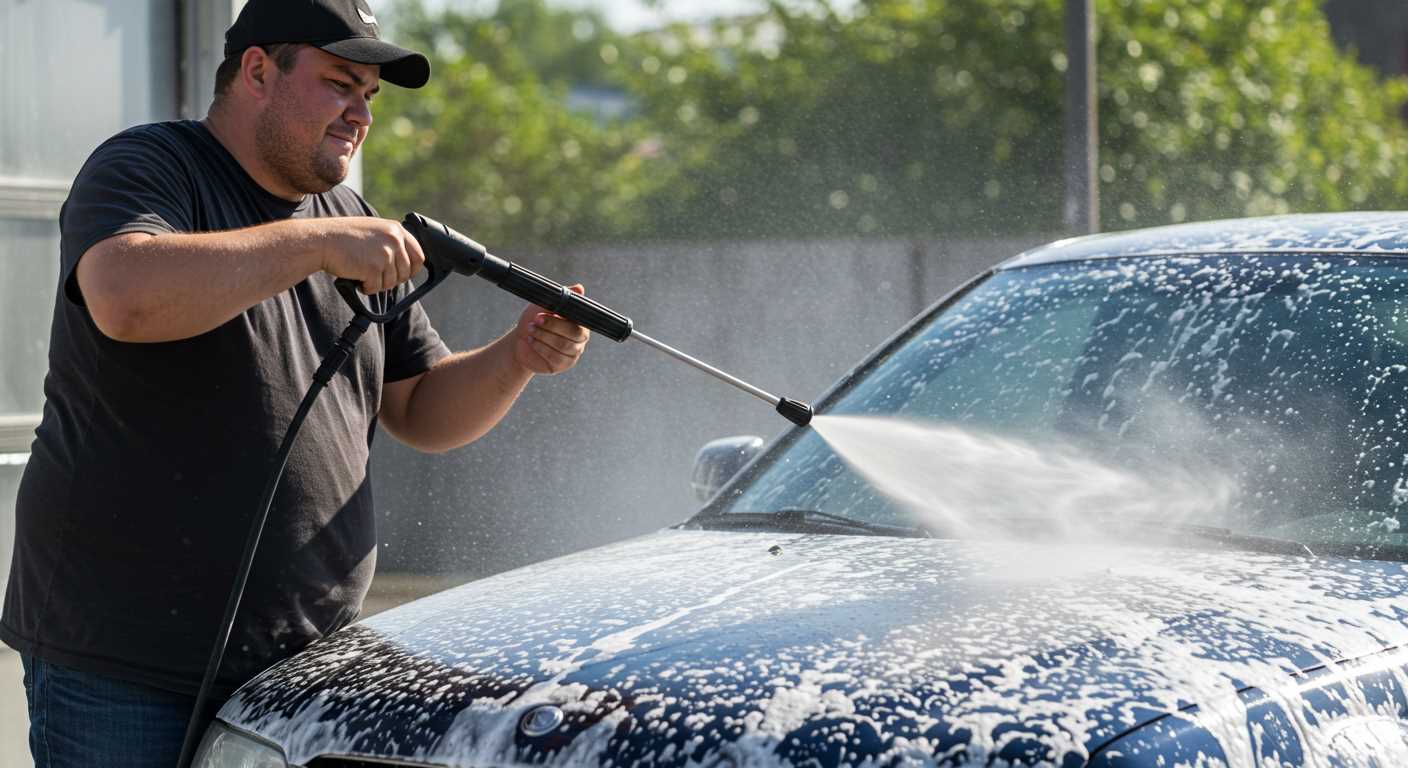
Use Appropriate Technique to Disconnect the Hose
To detach the tubing effectively, ensure you grasp the connection firmly. A gentle twist while pulling can help ease any stubborn attachments. If the connection is secured with a locking mechanism, you must disengage it by pressing down or sliding it, depending on the design.
Steps for Safe Disconnection
- Hold the handle of the sprayer with one hand.
- With the other hand, grip the connector where it meets the sprayer.
- Apply slight pressure while twisting to release any built-up tension.
- If applicable, press the locking tab or button to disengage the lock.
Avoiding Damage
- Never yank or pull forcefully, as this may damage the fittings.
- Inspect for debris or dirt that could obstruct the connection before attempting to disconnect.
- Ensure your hands are dry to maintain a solid grip and prevent slipping.
After successfully detaching, store your equipment properly to maintain its condition. If you’re looking for a reliable model for agricultural tasks, consider checking out a pressure washer for tractors. They often come with robust connections designed for frequent use.
Inspect the Hose and Gun for Damage
Before diving into the disconnection process, thoroughly check both the flexible tube and the trigger mechanism for signs of wear or damage. I recall a time when I overlooked a small crack on a high-pressure line, which led to a messy situation. Look for frays, cuts, or bulges in the material. If any defects are spotted, it’s wise to replace the affected part to avoid further complications.
Examine Connection Points
Pay close attention to the areas where the flexible line attaches to the trigger assembly. Corrosion or looseness can indicate potential problems. I once encountered a unit where the connection was so rusted that it took considerable effort to detach. Regular inspection can prevent such issues, saving you time and hassle in the long run.
Check for Blockages
Clear any debris or blockages that may have accumulated around the inlet or outlet. A swift inspection can reveal clogs that might not be immediately obvious. On one occasion, I found a small piece of dirt lodged in the trigger, causing a significant drop in performance. Keeping these areas clean ensures optimal function and longevity for your equipment.
Securely Reattach Hose if Needed
Ensure the connector is clean and free from debris before reattaching. A dirty connection can lead to leaks or pressure loss. Align the fitting properly and push it onto the attachment point, making sure it’s seated correctly.
Twist and Lock Mechanism
If your setup utilises a twist and lock mechanism, align the grooves and rotate the fitting until it clicks into place. This sound indicates a secure fit. Give it a gentle tug to confirm that it’s locked in and won’t come loose during operation.
Quick-Connect Fittings
For quick-connect systems, simply push the fitting into the socket until you hear a click. To disconnect, pull back the collar while gently pulling the fitting away. Always check the seals for wear; replacing them can prevent leaks and ensure optimal performance.
After reattachment, it’s prudent to run the unit at low pressure for a few minutes. This test allows you to identify any issues before ramping up to full pressure, ensuring everything is functioning correctly.
.jpg)


