
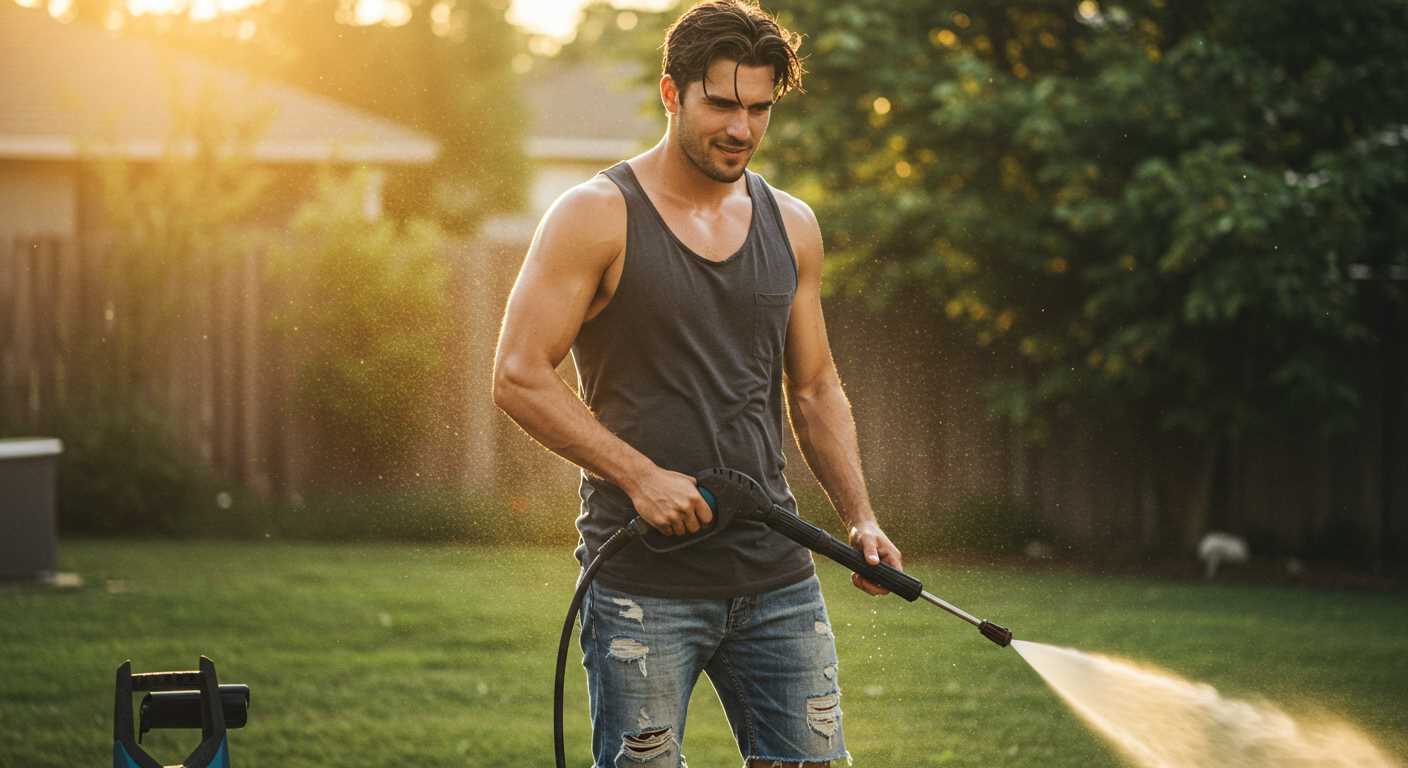


Begin by ensuring the unit is powered down and unplugged. Safety first! Next, locate the quick-connect fitting, typically situated at the end of the accessory line. This mechanism is designed for simple release; just pull back the collar while gently pulling the accessory line away from the main unit. It should slide out without any resistance.
Occasionally, stubborn connections may require a bit more finesse. If you encounter a tight fit, a slight twisting motion while pulling can help ease the line free. Be cautious and avoid using excessive force, as this might damage the fittings. A quick inspection of the connection points can also reveal any debris or grime that could be hindering the disconnection process.
Once you’ve successfully detached the line, take a moment to clean the connection points with a soft cloth. This simple step can prevent future complications and ensure a smooth experience next time. Maintaining these components is just as critical as the usage itself, prolonging the lifespan of your equipment.
Steps for Detaching the Tube from Your Cleaning Equipment
To detach the tube, first ensure the unit is powered off and disconnected. Locate the connection point where the tube meets the machine. This is often secured with a quick-release mechanism or a threaded connector. If it’s a quick-release, simply press the tab or lever and pull the tube away from the unit. For threaded connections, turn the connector counterclockwise until it’s free. Keep a cloth handy to wipe away any residual water that may leak during this process.
Maintenance Tips Post-Detachment
Once the tube is detached, inspect both the connector on the machine and the tube itself for any signs of wear or debris. Clean the connectors with a soft brush or cloth to prevent future clogs or leaks. Regular maintenance will extend the life of your equipment. If you’re looking for additional cleaning tips, check out this guide on how to clean an old aquarium glass.
Reattaching the Tube
When it’s time to reattach, align the connectors properly. If it’s a quick-release, insert the tube until you hear a click. For threaded connections, align and turn clockwise until secured. Always test the connection by gently pulling on the tube to ensure it’s secure before powering on the machine again.
Identifying the Hose Connection Points
Understanding where to detach the tubing is key for any maintenance task. Here’s how to pinpoint the connection locations effectively.
- Water Inlet: This is typically located at the rear of the unit. It’s where the water supply connects to the machine. Look for a threaded connector; this is where the intake line attaches.
- Outlet Port: Found at the front, this is where the high-pressure line connects. It’s essential to locate this point as it ensures you’re working on the right end.
- Quick-Connect Couplings: Many models feature these at both ends of the tubing. They allow for swift attachment and detachment. Familiarise yourself with how to operate these couplings, as they may vary slightly by model.
During my time in the field, I often encountered users confused by the different types of fittings. It’s worth noting that some connections might require a slight twist or push to disengage, while others may need a simple pull. Always check for any locking mechanisms that might be in place.
Using proper tools can also help in identifying and accessing these points. A flathead screwdriver can assist in loosening stubborn connections, while pliers can help grip and turn tight fittings. If you’re struggling, don’t hesitate to consult the user manual for specific diagrams related to your equipment.
- Visual Inspection: Take a moment to visually assess the connections. Look for any signs of wear or damage that might indicate a need for replacement.
- Testing for Leaks: After identifying the connections, it’s wise to do a quick test. Reconnect everything and run the unit briefly to check for leaks; this ensures that all connections are secure.
Experience has taught me that a little attention to detail can save a lot of time and hassle in the long run. Knowing exactly where to look and how to handle the connections will make maintenance activities significantly smoother.
Preparing the Equipment for Hose Disconnection
Before tackling disconnection, ensure that the device is completely powered down. Unplug the unit or switch off the motor to eliminate any risk of accidental activation. After that, relieve any built-up pressure by squeezing the trigger on the spray gun. This step is crucial; it prevents a sudden burst of water when you start working on the connections.
Check for Residual Water
Inspect the connections for any remaining water. It’s wise to have a towel or a small bucket handy to catch any drips. This not only keeps your workspace dry but also helps avoid any slip hazards.
Gather Necessary Tools

Having the right tools will make the process smoother. A pair of pliers or a wrench may be required to loosen stubborn fittings. If you have them, a pair of gloves can provide better grip and protection. Keep these items close at hand to streamline your workflow.
Techniques for Detaching the Hose Safely
Start by ensuring the machine is completely powered off and disconnected from any water supply. This prevents any accidental discharges during the process.
Utilise the appropriate tools for the job. A pair of pliers can be helpful for loosening tight connections, but be careful not to apply too much force, as this can damage the fittings. If the connection is stubborn, a gentle twist may help loosen it.
When tackling a stubborn fitting, try applying some lubricant around the joint. This can ease the separation process and reduce the risk of damage. Allow it to sit for a few minutes before attempting to detach again.
Maintain a firm grip on the attachment while twisting gently. This ensures you have control and prevents slipping, which could lead to injury. It’s also wise to position yourself so that you’re not straining your back or arms during this task.
After the connection is released, inspect the fittings for any wear or damage. This can help prevent future issues when reattaching. If you notice any cracks or excessive wear, consider replacing the parts to ensure optimal performance.
For those who struggle with low water supply situations, investing in a pressure washer for low water pressure can make a significant difference in your cleaning tasks.
Inspecting the Hose and Connection After Removal
Once the flexible tubing is detached, it’s crucial to check for any signs of wear or damage. Start by examining the exterior for cracks, abrasions, or bulges. These issues can affect performance and lead to leaks during operation. If you notice any irregularities, consider replacing the part entirely.
Assessing Connection Points
Next, inspect the connectors at both ends. Look for debris or corrosion that may hinder a secure fit. A clean connection ensures optimal functionality when you reattach the tubing. If there’s any buildup, wipe it down with a cloth and a mild cleaning solution to prevent future complications.
Testing for Leaks
After cleaning the connections, reattach the tubing temporarily to run a quick test. Turn on the unit and monitor the area around the connections for leaks. If you spot any moisture, it’s time to address the issue further. Tightening the fittings or replacing worn seals can often resolve minor leaks.
Storing the Hose Properly for Future Use
After disconnecting the tubing, it’s crucial to store it correctly to ensure longevity and performance. Start by coiling the line loosely to prevent kinks, which can damage the internal structure. I recommend using a figure-eight pattern for coiling, as this method reduces stress on the material.
Consider using a dedicated storage reel or hanger; these keep the tubing organised and free from tangles. If you lack space, a simple hook mounted on a wall works well. Avoid placing heavy objects on top of the coiled line, as this can cause permanent deformities.
Before storing, make sure the line is completely dry. Moisture can lead to mildew or degradation over time. If needed, wipe it down with a clean cloth to eliminate any residual moisture. I’ve seen many people overlook this step, only to face issues down the line.
In addition, keep the assembly away from direct sunlight and extreme temperatures, which can affect the material’s integrity. A cool, dry place is ideal. I’ve always found that a storage area in a garage or shed, away from the elements, works best.
Lastly, consider a periodic inspection of the tubing while it’s stored. This allows you to catch any cracks or wear before the next use. A small effort now can save you from significant headaches later on.
FAQ:
What tools do I need to remove the hose from a Ryobi pressure washer?
To remove the hose from a Ryobi pressure washer, you typically don’t need any special tools. All you need is your hands to unscrew or disconnect the hose from the pressure washer and the spray gun. If the connection is tight, a pair of pliers can help, but be cautious not to damage the fittings.
Is there a specific technique for disconnecting the hose without causing damage?
Yes, when disconnecting the hose, ensure that the pressure washer is turned off and unplugged. Start by releasing any remaining pressure within the system by pulling the trigger on the spray gun. Then, carefully twist and pull the hose from the connection points. If it feels stuck, check for any locking mechanisms that may need to be disengaged before attempting to pull it off.
Can I remove the hose while the pressure washer is still connected to the water source?
It is advisable to disconnect the hose only after turning off the water supply and releasing the pressure from the system. Keeping the water source connected may cause water to spray unexpectedly when you disconnect the hose, which could lead to injury or mess. Always prioritise safety by ensuring the unit is depressurised first.
What should I do if the hose is stuck and won’t come off?
If the hose is stuck, try gently twisting it while pulling to break any seal that may have formed. If that doesn’t work, inspect the connection for any clamps or locking mechanisms that may need to be loosened. If the hose is still resistant, applying a small amount of lubricant around the connection point can help ease the removal process. Always avoid using excessive force, as this might damage the fittings.
How often should I disconnect and check the hose of my Ryobi pressure washer?
It is a good practice to disconnect and inspect the hose regularly, ideally after each use. This allows you to check for any signs of wear, leaks, or damage. Additionally, disconnecting the hose helps to prevent kinks and prolongs the lifespan of both the hose and the pressure washer. If you notice any issues during your inspection, consider replacing the hose as needed.
How do I remove the hose from my Ryobi pressure washer?
To remove the hose from your Ryobi pressure washer, first ensure that the machine is turned off and unplugged for safety. Locate the quick-connect fitting where the hose attaches to the pressure washer. You will typically need to press the release button or pull back the collar on the fitting to disconnect the hose. Gently pull the hose away from the machine. If the hose is stuck, check for any debris or buildup that might be causing the issue. Once detached, inspect the hose for any damage before storing it away.
.jpg)
.jpg)


