
.jpg)


.jpg "How to remove nozzle from bosch pressure washer")
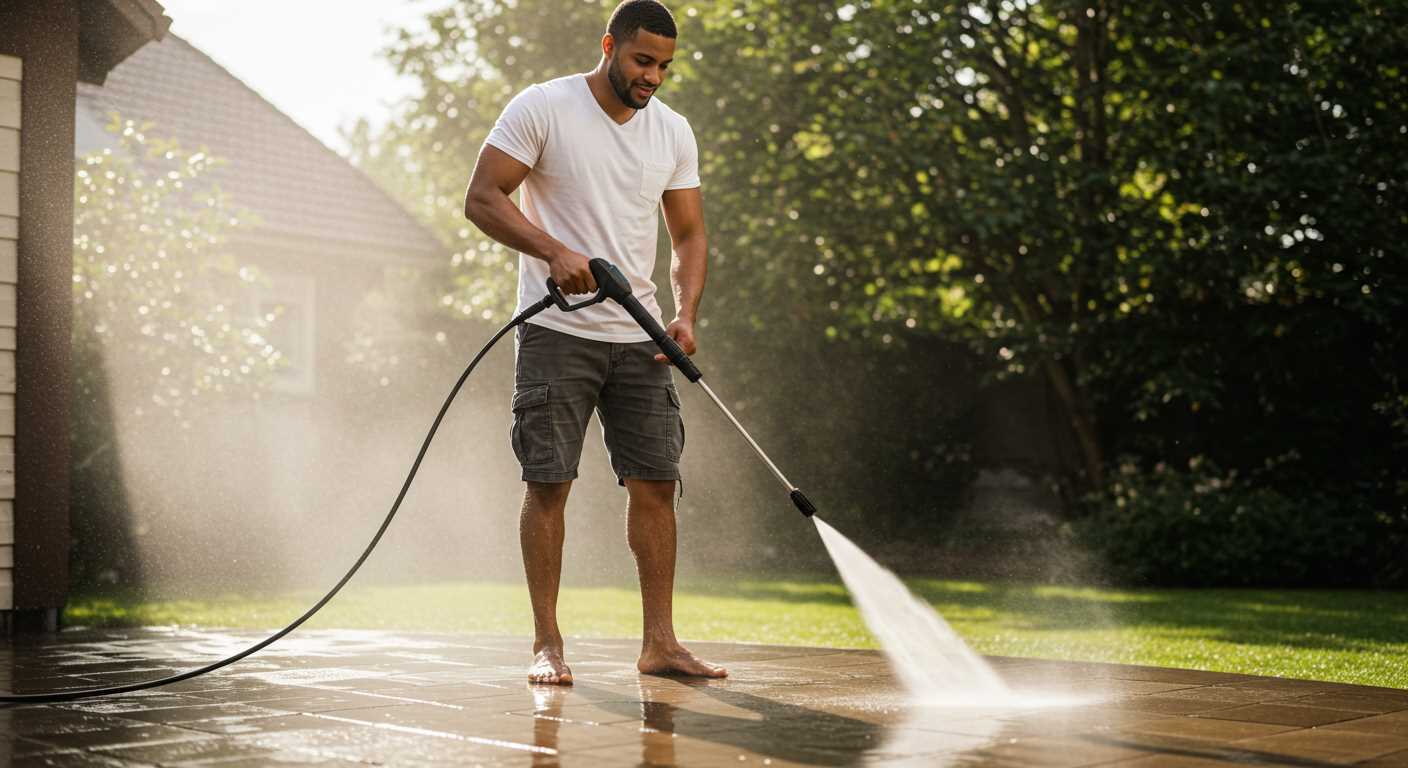
Begin by ensuring that the device is powered off and disconnected from any power source. Safety first! Once you have confirmed this, locate the attachment point of the spray accessory. Most models feature a simple twist or click mechanism that holds the component in place.
With one hand, securely grip the main body of the machine to prevent any movement. With your other hand, grasp the attachment and rotate it counterclockwise. If it feels stuck, applying a bit of gentle pressure while twisting can often help break the seal. In my experience, sometimes a gentle wiggle while turning does the trick, especially if it hasn’t been detached in a while.

If the accessory remains stubborn, check for any locking mechanisms or buttons that may need to be pressed to release it. Occasionally, manufacturers include safety features to prevent accidental detachment. Familiarising yourself with your specific model’s features will save you time and frustration. I recall a time when I spent far too long on a model because I overlooked a small release latch, a simple mistake that anyone can make!
After successfully detaching the accessory, inspect both the attachment and the connection point for dirt or debris. Keeping these areas clean will ensure smoother operation next time and prevent any potential damage. Regular maintenance is key; I’ve seen many users overlook this step and end up facing bigger issues down the line.
Removing the Tip from Your Bosch High-Pressure Cleaner
To detach the tip, grip the handle firmly, ensuring a secure hold. Rotate the attachment counterclockwise until it loosens. If it feels stuck, apply a little more torque, but avoid excessive force to prevent damage to the threads.
Once the attachment is free, inspect the connection point for any debris or residue that might have caused sticking. Regular cleaning here can prevent future issues. If you frequently switch between different tips, consider using a silicone lubricant on the threads to ease removal.
After you’ve successfully detached the tip, it’s a great opportunity to clean it thoroughly. A gentle brush can help remove any built-up grime. If you’re planning to use detergents next time, selecting the best pressure washer soap and detergent will enhance performance and maintain your equipment in prime condition.
Always refer to the manufacturer’s guidelines for any specific instructions related to your model. Keeping your tools in good working order ensures longevity and reliability.
Understanding the Different Types of Nozzles
Choosing the right attachment can significantly impact your cleaning tasks. I’ve had my fair share of experiences with various types, and it’s clear that each serves a unique purpose. Here are some common types you’ll encounter:
Fan Spray
The fan spray is one of the most versatile options available. It spreads water over a wider area, making it ideal for cleaning larger surfaces such as driveways or decks. I often use this type when I need to remove dirt quickly without focusing too much pressure on a single spot, which could potentially damage delicate surfaces.
Rotary or Turbo Nozzle
This attachment is designed for heavy-duty tasks, combining a powerful jet with a rotating motion that enhances cleaning efficiency. I recall using a rotary nozzle on a particularly stubborn oil stain on my garage floor. The combination of high pressure and the spinning action made quick work of the mess, saving me a lot of time and effort.
Using the right attachment not only optimises cleaning results but also prolongs the life of your equipment. Each type has its own strengths, and understanding these can lead to more effective cleaning. After countless projects, I’ve learned to match the nozzle to the specific task at hand for the best results.
Gathering Necessary Tools for Nozzle Removal
Before attempting this task, gather the right tools to ensure a smooth experience. You’ll need a few items that can make the process easier and safer. Here’s a quick list of what you should have on hand:
Recommended Tools
| Tool | Purpose |
|---|---|
| Adjustable Wrench | To grip and twist any stubborn connections. |
| Screwdriver Set | To loosen any screws securing attachments. |
| Pliers | To provide extra grip if needed. |
| Protective Gloves | To keep your hands safe from any sharp edges. |
| Bucket | To catch any water that may escape during the process. |
During my time as a consultant, I found that having these tools ready made all the difference. On a particularly rainy day, I recall struggling with a stubborn attachment that just wouldn’t budge. The adjustable wrench proved invaluable, allowing me to apply the right amount of torque without damaging the components. Always keep your tools organised to avoid unnecessary delays and frustration.
Safety First
Make sure to wear protective gloves. They not only safeguard against sharp edges but also provide a better grip. I remember a time when I almost lost my grip on a slippery connection. The gloves saved me from potential injury. Always prioritise safety to ensure an efficient work session.
Powering Off Your Bosch Pressure Washer Safely
Always switch off the unit before disconnecting any accessories. This simple act prevents accidents caused by unexpected activation. After finishing your task, locate the power switch and turn it to the ‘off’ position. Unplugging the device from the electrical source is equally important. This ensures that no power is supplied during maintenance or attachment changes.
Drain Any Remaining Water
After shutting down, relieve any residual pressure in the system. Activate the trigger gun while keeping it pointed away from yourself and others. This action allows any remaining water to escape, preventing potential splashes or mishaps during the next phase.
Store Components Securely
Once everything is powered down and drained, gather the hoses and other parts. Neatly coil the hoses to avoid kinks and store attachments in a designated area. This not only prolongs their life but also keeps your workspace tidy and ready for the next use.
Locating the Nozzle Release Mechanism
Identifying the release mechanism is a straightforward task. It’s typically located near the end of the lance where the spray attachment connects. This part often features a lever or button that needs to be engaged to facilitate the detachment.
Visual Inspection
Begin with a close examination of your equipment:
- Check for any markings or icons indicating where the mechanism is.
- Look for a lever that may need to be pushed or pulled.
- Observe if there’s a button that requires pressing to activate the release.
Consulting the Manual
If the mechanism isn’t apparent, refer to the user manual. This document provides detailed diagrams and instructions specific to your model, ensuring clarity on locating the release feature.
In my experience, I’ve found that sometimes the mechanism can be slightly stuck due to debris or grime. A gentle cleaning around the area often helps in ensuring smooth operation. Regular maintenance can prevent such issues and prolong the life of your equipment.
Steps to Remove the Nozzle Properly
First, ensure the unit is entirely powered down. Disconnect the power cord from the electrical outlet, and if it’s equipped with a battery, make sure to remove it. This eliminates any chance of accidental activation during the process.
Next, grasp the attachment firmly with one hand while stabilising the gun with the other. This grip allows you to exert the necessary pressure without risking damage to the components. Press the release mechanism, commonly located at the base of the attachment, while simultaneously pulling the accessory away from the gun. If you encounter resistance, check for any locking features that might need to be disengaged before proceeding.
Once the accessory is detached, inspect the connection points for any debris or wear. Cleaning these areas ensures a snug fit for the next attachment and prolongs the life of your equipment.
If you plan to switch to a different attachment, align it with the connection point and push it in firmly until you hear a click or feel it lock into place. Always double-check that it is secured before use to prevent any mishaps during operation.
Finally, store the removed accessory in a dry, safe place to avoid damage. Proper maintenance of these components is key to ensuring longevity and optimal performance of your cleaning equipment.
Cleaning the Nozzle and Connection Area
To maintain optimal performance, attention to the cleaning of the spray tip and its connection area is crucial. After detaching the tip, inspect it for any debris or blockages. I often found that even small particles could significantly impact the spray pattern. A gentle rinse with warm water typically does the trick. If stubborn dirt remains, a soft brush can help dislodge it without damaging the components.
For the connection area, it’s advisable to wipe it down with a damp cloth. This step prevents build-up that could lead to future attachment issues. I recall a time when neglecting this area led to persistent leaks during operation. Regular cleaning can save you from unnecessary hassles down the line.
Occasionally, mineral deposits can form, especially if you use hard water. In such cases, a mixture of vinegar and water can be effective. Soak the affected parts for a short period, then rinse thoroughly. This method kept my equipment operating smoothly during my years in the industry.
Lastly, after cleaning, always ensure everything is completely dry before reattaching. Moisture can lead to corrosion over time, compromising the equipment’s lifespan. Taking these steps can help maintain the efficiency of your cleaning tool and extend its functionality for years to come.
Reattaching or Replacing the Nozzle After Removal

To securely attach or swap out the attachment after taking it off, ensure the connection point is clean and free of debris. Align the new or existing piece with the connector on the lance. You should hear a click when it locks into place, confirming a tight fit.
Steps for Reattachment
- Inspect the connector for any damage or wear.
- Align the new attachment with the connector, ensuring it’s positioned correctly.
- Push firmly until you hear a click, indicating it’s locked.
- Give it a gentle tug to confirm it’s securely attached.
Replacing with a Different Type
If opting for a different style, such as a rotating or turbo type, ensure compatibility with your model. Each type offers unique spray patterns suitable for various tasks, enhancing versatility.
- Check specifications to confirm compatibility.
- Follow the same steps for secure attachment.
- Consider Karcher pressure washer accessories for additional options.
After securing the attachment, it’s wise to run a quick test. Activate the equipment briefly to ensure everything functions properly and there are no leaks. A proper connection is crucial for effective cleaning, preventing any mishaps during use.

.jpg)


