
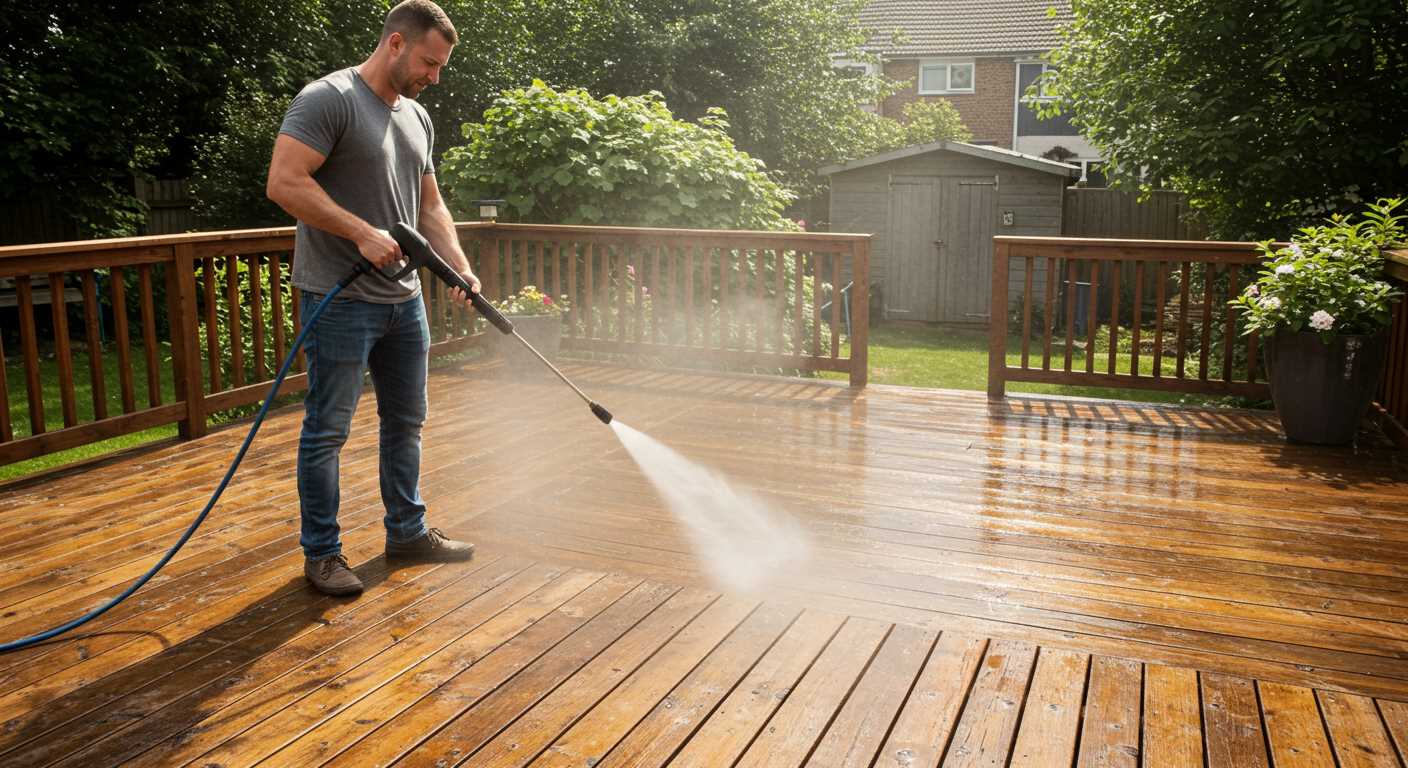


For those looking to tackle stubborn coatings on hard surfaces, employing a high-pressure device can yield remarkable results. My experience reveals that starting with a nozzle that offers a narrow spray pattern is key. This focused stream delivers the force necessary to lift the unwanted material without damaging the underlying surface.
Before beginning, ensure the area is clear of debris and obstacles. I recall a time when I overlooked this step and ended up battling tangled hoses and scattered tools, which only added to the frustration. A clean workspace not only promotes safety but also enhances productivity.
Adjusting the pressure settings is another crucial aspect. While it might be tempting to crank it up to maximum, I’ve found that a balanced approach often works best. Too much force can lead to surface damage, while too little may not be effective. A moderate level usually strikes the right balance, allowing you to effectively strip away layers while preserving the integrity of the substrate.

Don’t forget to maintain a consistent distance from the surface. Keeping the nozzle about 12 to 18 inches away ensures that the force is distributed evenly. During one of my early projects, I got too close and ended up creating unwanted grooves. This taught me the importance of maintaining the right distance for optimal results.
Lastly, consider using a suitable cleaning agent if the situation calls for it. Sometimes, a little extra help can make the job significantly easier. I’ve had great success with eco-friendly solutions that complement the power of the equipment, making the task not only more effective but also safer for the environment.
Effective Techniques for Eliminating Coatings on Hard Surfaces
Begin with a high-quality unit that delivers at least 3000 PSI. This level of force is necessary to adequately tackle stubborn layers. I recall a job where a friend tried using a lower-powered model, and it simply couldn’t cut through the thick coating. Upgrade your equipment if you find yourself in a similar situation.
Utilise a 25-degree nozzle for a balanced approach, allowing for both power and control. I’ve found that this size strikes the right balance, avoiding damage while still being effective. Always hold the nozzle at a 45-degree angle to the surface. This technique helps in lifting the coating rather than driving it deeper.
Pre-Treatment and Technique
Prior to starting, pre-treat the area with a suitable chemical solution designed for lifting coatings. Apply it generously, let it sit for the recommended time, and then start your machine. I once missed this step and ended up spending twice as long on the task. The right pre-treatment can significantly reduce your workload.
Work in small sections, roughly 4 square feet at a time. This method allows for better control and ensures that the solution has time to work effectively. I’ve observed that rushing through larger areas often leads to uneven results and additional passes.
Post-Cleaning Care
After clearing the surface, rinse thoroughly. I’ve seen remnants left behind because people hurried this step. Use a wide spray pattern to ensure all residues are washed away. Then, allow the surface to dry completely before applying any new finishes or sealants. This prevents future adhesion issues and ensures a clean result.
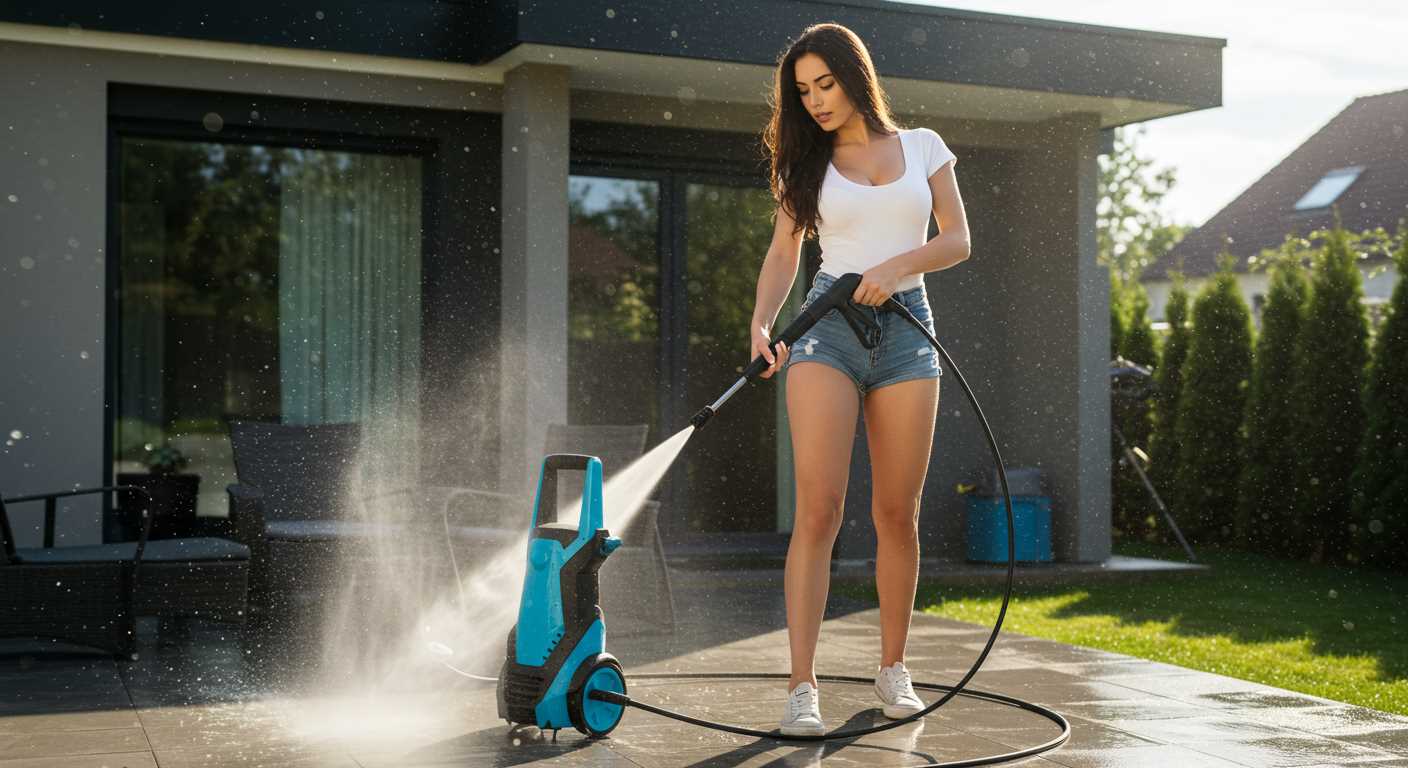
Choosing the Right Pressure Washer for the Job
For removing stubborn coatings, selecting a unit with a minimum of 3000 PSI is critical. This power level effectively blasts away residues embedded in surfaces without excessive effort or time. I once attempted a project using a lower-rated model, and it was a frustrating experience – I spent hours without achieving the desired results. After switching to a more robust machine, the task became significantly easier.
Flow Rate Matters
A higher flow rate, ideally 2.5 GPM or more, complements the pressure. This combination maximises the cleaning action, allowing the liquid to penetrate and loosen the material efficiently. During one of my tests, I discovered that while PSI is important, the GPM really makes a difference. The two together create a powerful cleaning force that can tackle even the toughest jobs.
Consider Accessories
Investing in the right nozzles and attachments can enhance performance. A 15-degree nozzle is perfect for tougher spots, while a wider angle, like 25 degrees, works well for larger areas. I remember a time when I overlooked the nozzle choice, and it led to uneven cleaning. Switching to the appropriate nozzle transformed my approach, ensuring that every inch received the necessary attention.
Always opt for a unit that offers versatility. Models with adjustable settings allow for fine-tuning depending on the task at hand. I’ve found that being able to switch between pressures not only saves time but also protects delicate surfaces from damage. Choosing wisely saves both energy and resources in the long run.
Preparing the Concrete Surface Before Washing
Ensure the area is free of any items that could obstruct cleaning. Move furniture, potted plants, and other obstacles away from the surface. This clarity allows for a thorough job and saves time.
Next, inspect the surface for any cracks or damage. If you notice any, it’s a good idea to fill them in before starting. I remember a job where I skipped this step, and the high-pressure water ended up widening the cracks, causing more issues down the line.
Cleaning the Surface
Begin by sweeping the area to eliminate loose dirt and debris. A broom or leaf blower works well for this. Once the surface is clear, consider using a degreaser or a specialised cleaning solution to tackle any stubborn stains. Apply it according to the manufacturer’s instructions, and let it sit for the recommended time.
Safety Precautions
Always wear protective gear, including safety goggles and gloves. Concrete can produce flying debris, and safety should be a priority. Additionally, check the surrounding area for potential hazards, such as electrical outlets or water sources.
| Preparation Step | Description |
|---|---|
| Clear the Area | Remove all obstacles from the surface. |
| Inspect for Damage | Look for cracks and fill them if necessary. |
| Sweep the Surface | Eliminate loose dirt and debris. |
| Apply Cleaning Solution | Use a degreaser to tackle stubborn stains. |
| Wear Safety Gear | Protective goggles and gloves are a must. |
| Check Surroundings | Ensure area is free from hazards. |
Selecting the Appropriate Nozzle for Paint Removal
Choosing the right nozzle is critical for achieving optimal results. I’ve found that using a 15-degree or 25-degree nozzle often works best for tackling stubborn coatings. The 15-degree nozzle delivers a concentrated stream, perfect for tough spots, while the 25-degree option provides a wider spray, which is useful for larger areas.
Another aspect to consider is the material of the nozzle. A rotating turbo nozzle can be particularly effective, as it combines the power of a narrow jet with the coverage of a wider one. I’ve used these types of nozzles in various projects, and they significantly sped up the process without damaging the surface underneath.
| Nozzle Type | Angle | Best For |
|---|---|---|
| 15-Degree | 15° | Stubborn coatings |
| 25-Degree | 25° | Larger areas |
| Turbo Nozzle | Variable | Versatile applications |
Always test the nozzle on a small, inconspicuous area before proceeding. This approach helps ensure that you don’t inadvertently cause any damage. Additionally, using the correct pressure setting is vital; I recommend consulting a resource like how many bar do i need for my pressure washer for guidance on optimal pressure levels.
Adjusting Pressure Settings for Optimal Results

Begin with a lower setting, around 1000 to 1500 PSI. This prevents damage to the surface, especially if it’s older or more porous. Gradually increase the pressure if necessary, but do it cautiously.
- Test Area: Always start on a small, inconspicuous section. This allows you to gauge how the surface reacts without risking visible damage.
- Types of Paint: Different paints require varying pressures. Latex paints can often be tackled with lower settings, while more resilient oil-based coatings may need upwards of 2000 PSI.
- Distance Matters: Maintain a distance of 12 to 24 inches between the nozzle and the surface. Closer distances can increase the risk of damage, while too far may reduce efficacy.
- Surface Condition: If the area is heavily soiled or has multiple layers of coating, consider starting at a higher pressure. Monitor the results, adjusting as necessary.
In my experience, finding the sweet spot takes a bit of experimentation. I recall a project where I started too high, resulting in etching on the surface. Lesson learned: it’s better to be cautious and methodical.
- Begin with the lowest pressure setting.
- Test a small area to assess effectiveness.
- Gradually increase pressure based on results.
- Adjust the distance as needed for optimal cleaning.
Keep in mind that optimal pressure settings can vary significantly based on the specific washer model. Familiarise yourself with the user manual to understand the capabilities of your equipment. Each unit has its nuances, and knowing them can significantly improve your results.
Finally, don’t overlook the importance of a quick clean-up afterwards. A gentle rinse with lower settings can help clear any residual debris from the surface, leaving it looking pristine.
Using Detergents and Chemicals Safely
Always opt for eco-friendly solutions. During my time in the cleaning equipment industry, I found that biodegradable detergents effectively tackled stubborn residues without harming the environment. It’s crucial to read labels carefully. Look for products specifically designed for exterior surfaces, ensuring they won’t damage the substrate beneath the coating.
Personal Protective Equipment
Prioritise safety by wearing appropriate gear. I recommend gloves, goggles, and a mask to avoid inhaling fumes or coming into contact with harsh substances. One experience stands out: I neglected gloves once and regretted it when my skin reacted to a strong cleaner. Protecting yourself is paramount.
Proper Disposal of Chemicals
Dispose of any leftover solutions responsibly. Many local authorities have specific guidelines for chemical disposal. I’ve encountered situations where improper disposal led to significant fines. Always check your local regulations to avoid any repercussions. A little diligence goes a long way in maintaining safety and compliance.
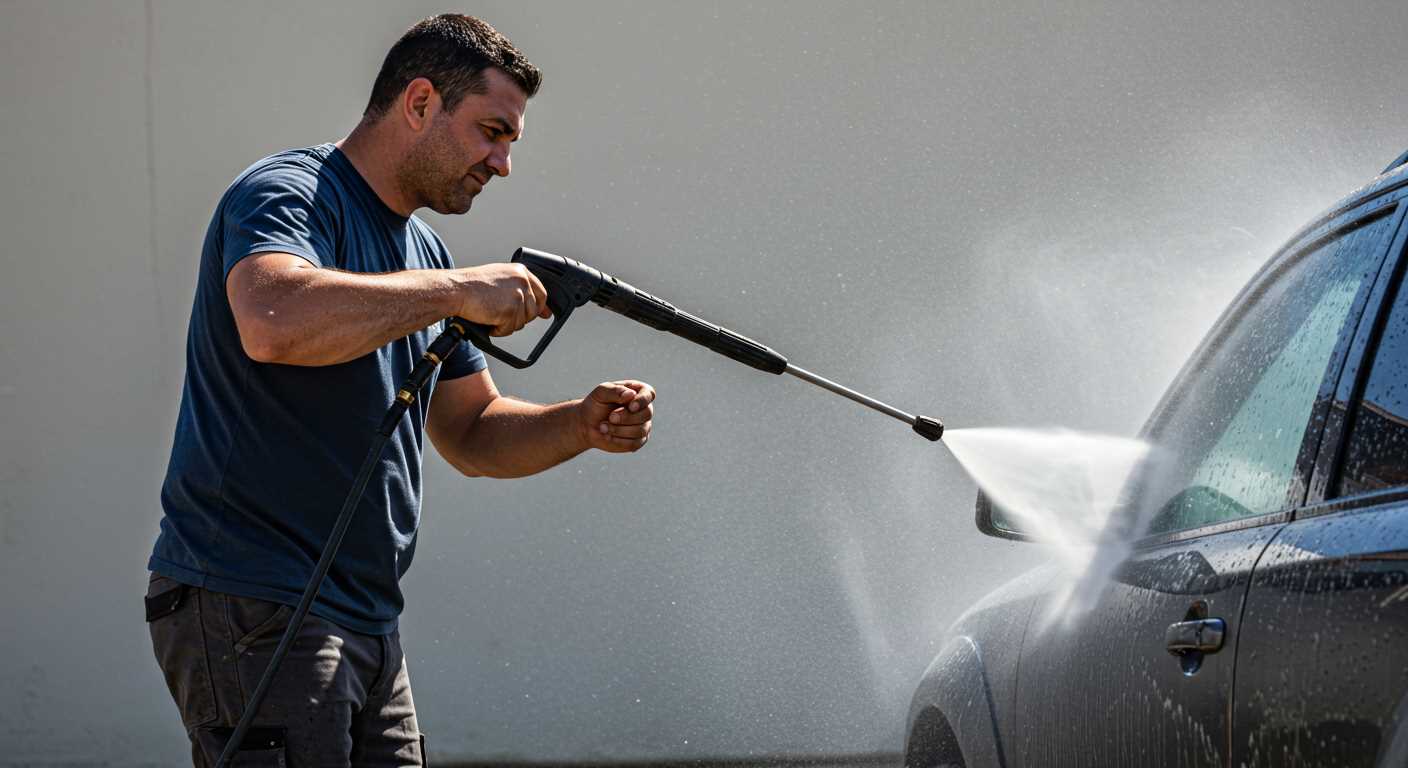
Techniques for Targeted Paint Removal
Utilise a sweeping motion when directing the water stream. This prevents concentrated force in one area, reducing the risk of damaging the underlying surface. I’ve found that moving in a systematic pattern, such as left to right or top to bottom, ensures thorough coverage and maximises efficiency.
Adjust the distance between the nozzle and the surface. Keeping it around 12 inches allows for a balanced approach, ensuring the force effectively dislodges the coating without causing pitting. If you notice stubborn areas, gradually reduce the distance while maintaining a steady hand to avoid gouging.
Incorporate a back-and-forth method for particularly tough spots. This approach allows for better penetration and aids in breaking the bond between the surface and the unwanted material. I once tackled an extensive job where this technique significantly cut down the time needed.
Consider the angle of the spray. A 45-degree angle often yields the best results. This angle helps in lifting the material away from the surface rather than forcing it deeper into the pores. Remember to keep the nozzle moving to prevent any potential damage.
For larger areas, working in sections can be beneficial. This helps to focus on one part thoroughly before moving on, ensuring no area is overlooked. I’ve had great success with this method, especially when dealing with extensive coatings.
Don’t hesitate to combine techniques. Using a detergent suited for the task can enhance your results. I recall using a specialised cleaner on a particularly stubborn job, which made a significant difference in the effectiveness of the washing process.
After achieving the desired results, ensure thorough rinsing of the surface to remove any residual chemicals or loose debris. This step is crucial for preparing the area for whatever comes next, whether it’s sealing or simply allowing it to dry. For those curious about maintaining cleanliness in other contexts, check out how to clean an empty fish tank.
Protecting Surrounding Areas During the Process
Cover surrounding plants and delicate surfaces with heavy-duty tarps or plastic sheeting to prevent any potential damage. Secure the edges with weights or tape to ensure they stay in place during the operation. I’ve had instances where a sudden gust of wind sent a tarp flying, exposing a flower bed to unintended overspray. Always double-check that everything is adequately covered before starting.
Use of Barrier Methods
Consider using boards or other barriers to shield nearby surfaces that could be affected by debris or water pressure. A simple wooden plank can act as a divider, directing the spray away from areas you want to protect. I recall a project where a make-shift barrier saved my neighbour’s driveway from a rogue stream that could have caused some serious damage.
Water Management
Control the runoff by planning your approach. Start from the highest point of the surface and work your way downwards, ensuring that water flows away from sensitive areas. Employing a wet/dry vacuum can be a lifesaver for managing excess water and keeping the workspace tidy. I learned this the hard way after a particularly messy job left my shoes soaked and my workspace chaotic. Having a plan for the water flow makes a significant difference.
Post-Cleaning Care for Concrete Surfaces
After completing the cleaning process, it’s crucial to focus on maintaining the integrity of your surfaces. Here are several steps to ensure longevity and prevent future issues:
- Inspect the Surface: Check for any remaining residues or damage. This assessment helps in identifying areas that may need further attention or sealing.
- Rinse Thoroughly: After the project, a thorough rinse with water eliminates any lingering chemicals or debris. Ensure all cleaning agents are washed away to avoid potential deterioration.
- Allow to Dry Completely: Give the surface ample time to dry. Moisture can lead to mould growth or weaken the concrete if sealing is applied too soon.
- Sealing: Consider applying a good quality sealant. This protects against stains and weather damage, extending the life of the surface. Make sure to choose a sealant compatible with your specific type of substrate.
- Regular Maintenance: Implement a routine cleaning schedule. Light cleaning every few months can prevent heavy build-up, making future tasks much simpler.
- Monitor for Cracks: Regularly check for cracks or chips. Early detection allows for timely repairs, preventing larger issues down the line.
- Use Appropriate Cleaning Solutions: For future cleanings, select solutions that are safe for sealed surfaces. Avoid harsh chemicals that may degrade the sealant.
In my experience, taking these steps after a thorough clean leads to better results and reduces the need for frequent heavy-duty cleaning. By maintaining your surfaces, you’ll enjoy their appearance and functionality for years to come.
Common Mistakes to Avoid When Using a Pressure Washer
Using a high-pressure cleaning system can be effective, but several pitfalls can hinder the process or even cause damage. Here’s what to watch out for:
- Neglecting Safety Gear: Always wear protective eyewear and gloves. I once had a close call when a small piece of debris struck my leg due to not using appropriate gear.
- Using Too High Pressure: Starting with the maximum setting can lead to surface damage. I recall a time when I stripped the top layer off a patio because I didn’t adjust the pressure first.
- Inadequate Surface Preparation: Skipping the cleaning of loose dirt before starting can result in poor results. I learned this the hard way after spending hours only to find stubborn residue remained.
- Poor Nozzle Selection: Using the wrong nozzle type can either underperform or cause harm. I’ve had success switching between nozzles based on the task, ensuring I choose the right one each time.
- Ignoring Distance: Keeping the nozzle too close can damage surfaces. I’ve found that maintaining a distance of at least 12 inches typically yields the best outcomes.
- Overlooking Chemical Use: Not mixing or applying detergents properly can lead to ineffective cleaning. I’ve become cautious about reading instructions thoroughly after a failed attempt on a stubborn stain.
- Failing to Test a Small Area: Always test on a less visible spot first. I’ve regretted not doing this, resulting in unexpected damage on a visible surface.
- Forgetting to Protect Surroundings: Not covering nearby plants or furniture can cause unintended damage. I’ve had to replace several items due to neglecting this step.
- Using Too Much Water: Excessive water can lead to pooling and potential issues. I’ve learned to manage water flow better to avoid creating a mess.
- Not Cleaning Equipment Afterwards: Failing to clean the system after use can lead to clogs. I always take a few extra minutes to ensure everything is in good condition for the next job.
Avoiding these common blunders can lead to a much smoother and more successful cleaning experience. Each project teaches something new, so being mindful of these tips can save time and effort.
.jpg)


