
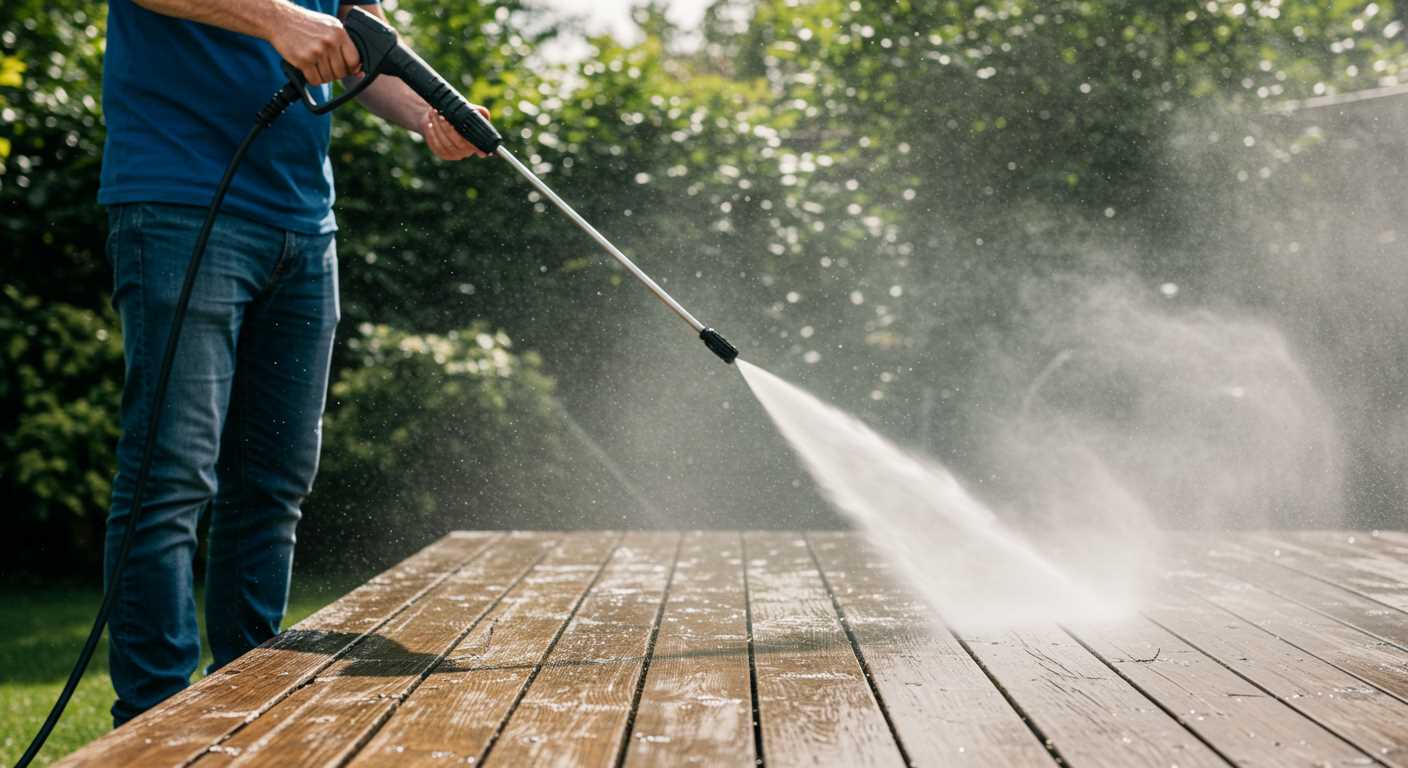


Begin with a high-quality concrete cleaner that targets mineral deposits and discolouration. I recall using a specific formula that worked wonders on my driveway, effectively lifting stubborn stains. Apply the cleaner liberally, ensuring it saturates the affected area thoroughly.
After allowing the solution to sit for the recommended time, grab a stiff-bristle brush. I’ve often found that scrubbing in a circular motion not only helps break down the residue but also rejuvenates the surface texture. Remember, the key is to apply consistent pressure without damaging the concrete.
For those tough spots that resist standard methods, consider a diluted muriatic acid solution. My experience showed that mixing one part acid with ten parts water can yield impressive results. Always wear protective gear, as safety should be a priority when handling such substances. Rinse the area thoroughly after application to neutralise the acid and prevent further damage.
Finally, don’t underestimate the power of sealing your concrete once the cleaning process is complete. A good sealant can prevent future discolouration and keep your surfaces looking fresh. I’ve seen significant improvements in longevity and appearance after implementing this step.
Eliminating Pressure Cleaner Residue on Concrete

Start with a solution of warm water and mild detergent. Apply it generously over the affected areas using a soft-bristle brush. This method allows for the loosening of any stubborn residue without risking further damage to the surface.
After scrubbing, rinse thoroughly with clean water. A garden hose with a spray nozzle works well for this task. Ensure that all soap is washed away, as any leftover residue can attract dirt and create new issues.
If stains persist, consider using a concrete cleaner specifically designed for tough stains. Apply the cleaner according to the manufacturer’s instructions, giving it adequate time to work before scrubbing again.
For deeper-set discolouration, a mixture of baking soda and water can be effective. Create a paste and apply it to the stained areas. Let it sit for about 15 minutes before scrubbing with a brush.
If all else fails, a commercial pressure cleaner residue remover might be necessary. Choose a product that is safe for concrete surfaces and follow the guidelines for application. Always test on a small, inconspicuous area first to ensure compatibility.
Finally, sealing the concrete after cleaning can help prevent future staining. Choose a high-quality concrete sealer to provide a protective layer, making it easier to maintain the surface in the long run.
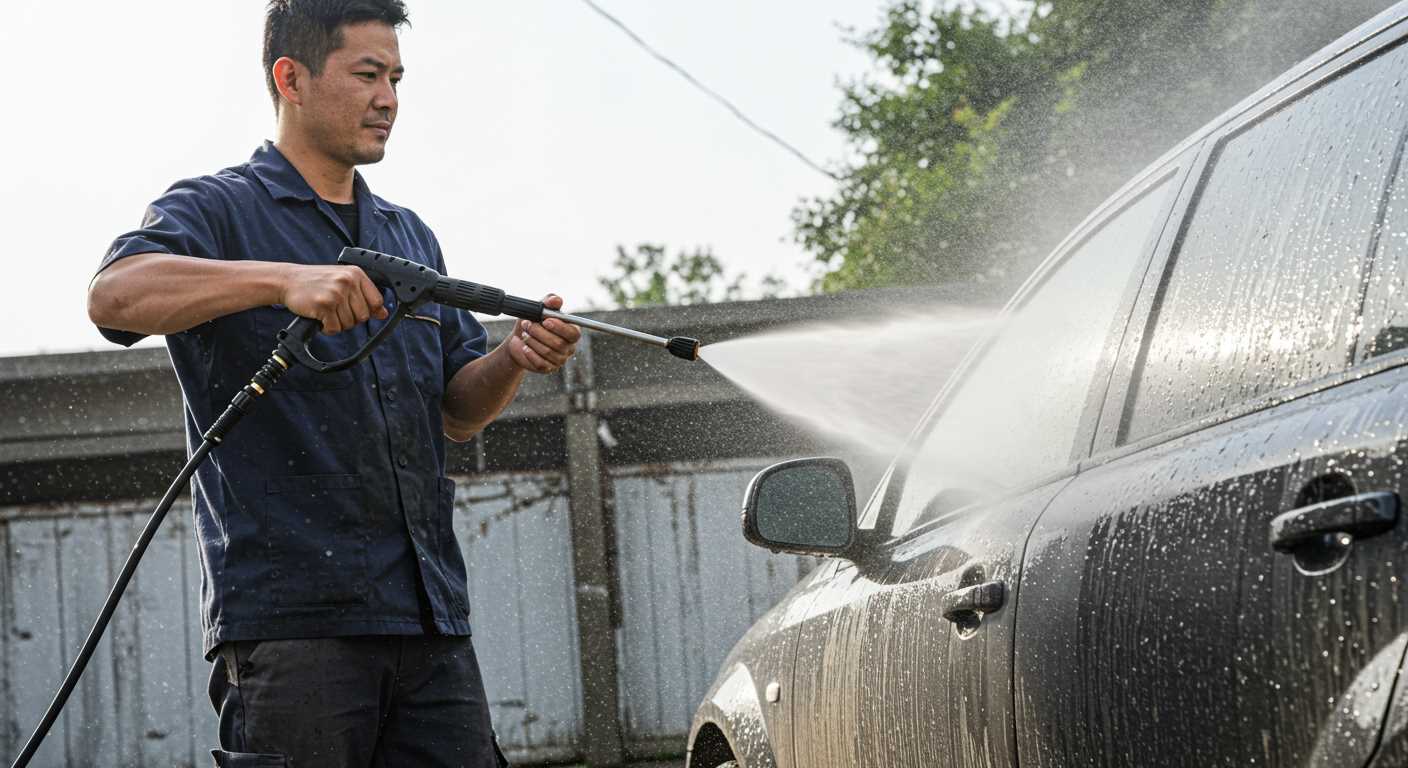
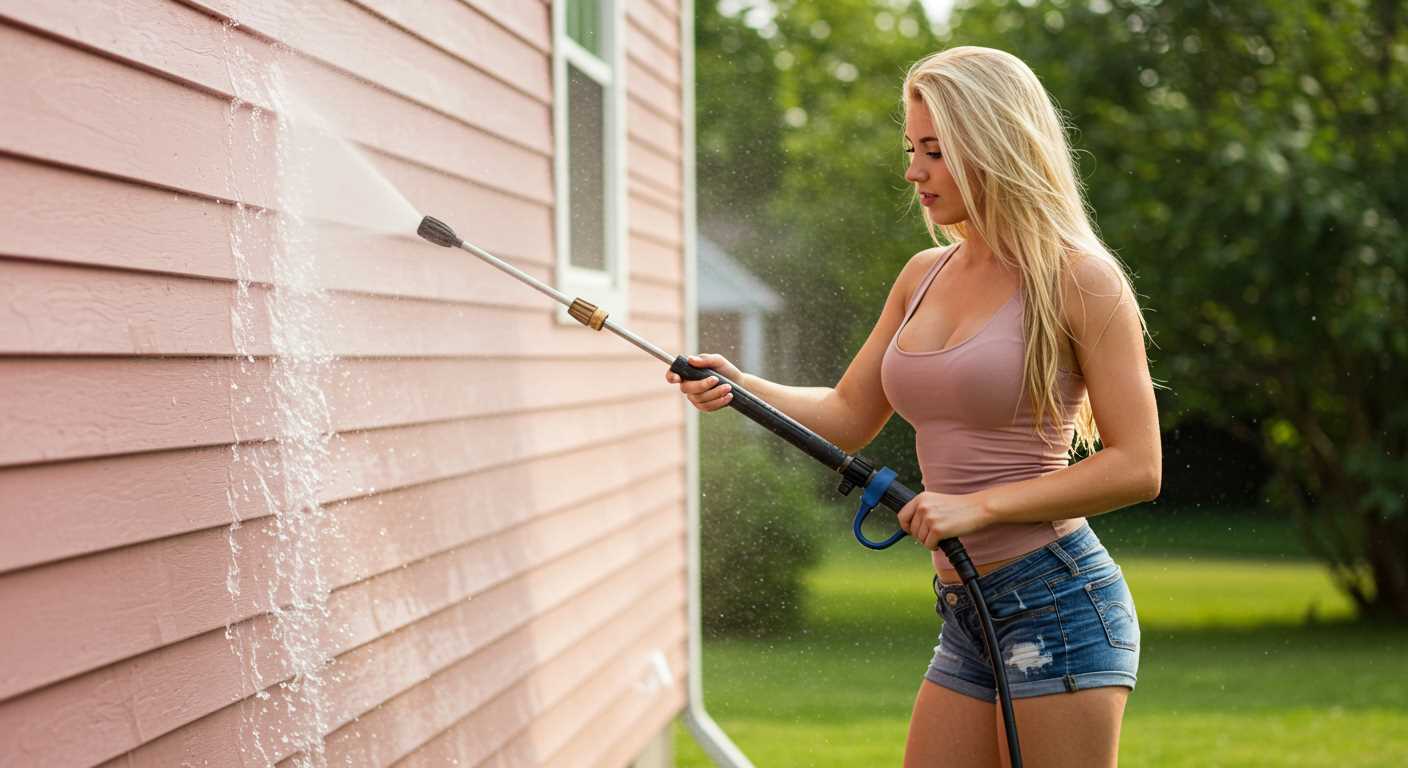
Identifying the Type of Marks Left by Pressure Washers
Begin by observing the appearance of the blemishes on your surface. If you see white, chalky lines, these are often caused by mineral deposits left behind after cleaning. This typically happens when water contains high levels of minerals, which can be more pronounced on porous surfaces.
Next, look for streaks or uneven patterns. These usually indicate inconsistent technique during the cleaning process, where some areas received more attention than others. This can create a patchy look that’s quite noticeable. If the pattern appears circular or spiral, it might suggest that the nozzle was held too close to the surface, causing concentrated abrasion.
If you notice deep gouges or scratches, this indicates excessive force or incorrect nozzle selection. A narrow, high-pressure stream can damage softer materials, leading to these noticeable imperfections. Compare the depth and width of these marks to determine the severity of the damage.
Pay attention to discolouration as well. If some areas appear darker or lighter than others, this could be due to the removal of surface sealants or treatments. In such cases, reapplication of a protective coating may be necessary to restore uniformity.
Lastly, consider the texture of the surface. If it feels rough or uneven in certain spots, this may signal that a combination of pressure and improper technique has compromised the integrity of the material. Understanding these nuances will help you effectively address the issues at hand.
Gathering Necessary Cleaning Supplies and Tools
Start with a sturdy broom or a leaf blower to clear any debris from the surface. This step prevents dirt from mixing with cleaning solutions, ensuring a more effective clean. A stiff-bristle brush is also handy for scrubbing stubborn stains.
For tackling the discolouration, a suitable cleaning solution is key. I often recommend a mix of water and a mild detergent or a dedicated concrete cleaner. Always check the manufacturer’s guidelines to ensure compatibility with your surface.
Protective gear is non-negotiable. Wear gloves and safety goggles while working with chemicals to safeguard your skin and eyes. If you’re sensitive to fumes, consider a mask for added protection.
To apply your cleaning solution effectively, a spray bottle or a garden sprayer will do the trick. For larger areas, a mop with an attached scrub pad can speed up the process. If you have access to a rotary scrubber, that can save time and energy.
Don’t forget to have a garden hose ready for rinsing. A pressure sprayer attachment can assist in rinsing away residues if you prefer a more forceful approach.
Lastly, if you need extra reach for your tools or equipment, a reliable extension cord for pressure washer will keep everything powered up without hassle.
| Supply/Tool | Purpose |
|---|---|
| Broom/Leaf Blower | Clear debris |
| Stiff-bristle Brush | Scrub stubborn stains |
| Cleaning Solution | Remove discolouration |
| Protective Gear | Safety while cleaning |
| Garden Hose | Rinse surface |
| Extension Cord | Power tools |
Prepping the Concrete Surface for Cleaning
Begin by inspecting the area for loose debris and dirt. Sweeping the surface thoroughly is crucial to prevent scratching during the cleaning process. A broom or a leaf blower can help eliminate dust and larger particles.
Next, examine the concrete for any stains or discolouration that may need special attention. Identifying these areas early allows for targeted treatment, ensuring better results. If you spot oil or grease spots, applying a degreaser and letting it sit for a while can help lift these stubborn stains before the main cleaning.
For optimal results, wetting the surface lightly can prevent dust from flying around while you work. This step also prepares the concrete for any cleaning solutions you might use later. Ensure that the area is free of standing water, as this can hinder the effectiveness of the cleaning agents.
- Clear the area of furniture and obstacles to ensure full access.
- Use a garden hose to dampen the surface lightly.
- Prepare any cleaning solutions according to the manufacturer’s instructions.
Finally, consider the equipment you’ll use. An air compressor can be invaluable for cleaning tight spots or removing debris from textured surfaces. For those interested, the best air compressor for computer cleaning can serve as a great reference for selecting the right machine.
With these preparations in place, you’ll be ready to tackle the cleaning effectively and efficiently, ensuring a refreshed surface once complete.
Applying Cleaning Solutions to Target Stains
For effective stain elimination, I recommend using a tailored cleaning solution. For grease or oil stains, a degreaser is your best ally. Apply it directly to the stained area, letting it sit for about 10-15 minutes to break down the residue. After the wait, scrub the area with a stiff-bristle brush, then rinse thoroughly with water.
In cases of rust, a mixture of white vinegar and baking soda works wonders. Combine equal parts of both, apply the paste to the rusted spots, and let it sit for 30 minutes. Scrubbing with a brush afterwards will help lift the stain. Rinse well to remove any residue.
For organic stains like leaves or dirt, an oxygen bleach solution can be effective. Mix oxygen bleach with warm water according to the package instructions, apply it, and allow it to sit for 20-30 minutes. This gentle yet powerful cleaner helps to brighten the concrete while breaking down organic matter.
Don’t forget to wear gloves and eye protection when handling these chemicals. I once had a colleague who neglected to wear safety gear while using a strong chemical, and it resulted in a minor mishap that could have been avoided. Always put safety first!
After applying your chosen solution, a thorough rinse is crucial to prevent any residues from causing further discolouration. Using a garden hose with a nozzle attachment helps ensure even coverage, washing away all traces of the cleaning agent and revealing the true condition of your surface.
Using a Scrub Brush for Stubborn Marks
For those persistent blemishes that resist standard cleaning methods, a scrub brush can be your best ally. I recommend selecting a brush with stiff bristles to tackle tougher residues effectively. When I faced similar challenges, I opted for a long-handled scrub brush, which provided both leverage and the ability to apply more pressure without straining my back.
Before you start scrubbing, ensure the surface is damp. This helps prevent the bristles from just sliding over the stains. I usually spray a bit of water on the area to soften the grime. Then, apply your chosen cleaning solution directly to the spot. A mix of vinegar and baking soda works wonders for many types of discolouration. After letting it sit for a few minutes, grab your scrub brush and get to work.
Use a circular motion while scrubbing, concentrating on the areas that seem particularly resistant. I found that this technique not only helps lift the stains but also prevents any damage to the surface underneath. It’s crucial to rinse frequently, as this can help you see your progress and ensure that the cleaning solution isn’t left to dry on the surface.
After scrubbing, rinse the area thoroughly with clean water. If any discolouration persists, you might need to repeat the process a couple of times. In my experience, persistence pays off; some stains require a bit more elbow grease than others, but the results are usually worth it.
Sealing Concrete After Cleaning to Prevent Future Stains
Applying a high-quality sealant is the key step after finishing your cleaning tasks on paved surfaces. This not only protects against unwanted blemishes but also enhances the appearance of the surface. Choose a sealant designed specifically for your type of material–whether it’s textured, smooth, or coloured. In my experience, acrylic or polyurethane sealers work wonders for most applications.
Selecting the Right Sealant
Before you start, inspect your surface for any existing damage. If you notice cracks or chips, repair them first. Once the surface is prepped, consider the climate in your area. For example, in regions with heavy rainfall, a penetrating sealer can prevent moisture damage. I once used a topical sealer in a humid environment, and it resulted in flaking after a year. Always read product labels for guidance on application and drying times.
Application Techniques
When ready to apply, use a roller or a sprayer for even coverage. Start at one corner and work your way out to avoid stepping on freshly sealed areas. I recall a time when I rushed this step and ended up with footprints embedded in the sealant. Allow adequate drying time as specified, usually 24 hours, before placing any furniture or heavy items back on the surface. To maintain longevity, plan to reseal every couple of years, especially after harsh weather conditions.
.jpg)


