


Firstly, ensure the equipment is turned off and disconnected from the power source. Safety should always be your priority. A simple act of inspecting the connection point can save you from unnecessary hassle. Often, these fittings can be stubborn, but a gentle twist while pulling can help release the attachment smoothly.
Utilising a pair of gloves can provide better grip and protect your hands from any sharp edges. If you notice that the spray head is stuck, applying a small amount of lubricant can assist in loosening it. Just a few drops around the base can work wonders, allowing for easier dislodgement.
In my experience, it’s common for debris or dirt to accumulate in the connecting areas. A quick clean with a cloth can help prevent this issue before it escalates. Always check for any signs of wear or damage to the attachment, and if you encounter any stubborn blockages, don’t hesitate to use a tool like pliers, but be cautious not to apply too much force.
After successfully detaching the spray head, store it in a dry place to prolong its lifespan. Maintaining your equipment is just as crucial as using it effectively. Trust me, a little care goes a long way in keeping your cleaning gear in top shape for future tasks.
Steps for Detaching the Nozzle from Your Cleaning Equipment
First, ensure the device is switched off and disconnected from the power source. This is crucial for safety before attempting any adjustments. Grip the nozzle firmly and twist it counterclockwise. If it feels stuck, applying a bit of lubricant can help ease the process. Allow a few moments for the lubricant to penetrate before retrying.
In some models, there’s a release button or lever located at the base of the nozzle. Press this while turning counterclockwise to facilitate a smoother disconnection. If the attachment is still resistant, check for any debris or buildup that might be causing the obstruction. Cleaning the area around the connection point can often resolve the issue.
Dealing with Stubborn Attachments
Occasionally, you’ll encounter an attachment that simply won’t budge. In such cases, it can be beneficial to gently heat the nozzle with a hairdryer. The expansion from the heat can help loosen any grime or corrosion. Remember to keep the heat source at a safe distance to avoid damaging any components.

Reassembly Tips
Once you’ve successfully detached the nozzle, inspect both the nozzle and the lance for any signs of wear. Before reattaching, clean the threads to ensure a secure fit. When reassembling, twist the nozzle clockwise until it’s snug, but avoid overtightening as this could lead to damage.
Identifying the Type of Nozzle on Your Ryobi Pressure Washer
First, check the colour of the tip. Different colours correspond to various spray patterns and pressure levels. For instance, a white tip typically signifies a wide fan spray, ideal for rinsing surfaces, while a red tip indicates a narrow, high-pressure jet suitable for tough stains. The colour coding is a quick way to identify the intended use of the attachment.
Next, examine the shape and size of the connector. Most attachments use a quick-connect system, allowing for easy swapping. Measure the diameter of the connection point; this can help match with compatible accessories. A standard size is often around 1/4 inch, but confirming this can save time and effort.
Also, take note of any markings on the nozzle itself. Some models have numbers or symbols indicating the pressure rating. If you have the user manual, it’s worth referring to it, as it usually contains detailed specifications on the types of tips compatible with your machine.
| Tip Colour | Spray Pattern | Common Use |
|---|---|---|
| Red | Narrow jet | Heavy stains, graffiti removal |
| Yellow | 15-degree fan | Concrete, brick cleaning |
| Green | 25-degree fan | Decks, patios |
| White | 40-degree fan | Washing cars, delicate surfaces |
| No Colour | Soap nozzle | Applying detergent |
Lastly, check for any compatibility markings on the unit itself. Some models might have a specific nozzle system that only works with particular attachments. Understanding these details ensures you choose the right accessory for your cleaning tasks, enhancing your overall experience.
Gathering Necessary Tools for Nozzle Removal
Before tackling the task, ensure you have the right equipment on hand. A pair of pliers is often necessary for gripping and twisting stubborn attachments. A flathead screwdriver can assist in prying off any stuck components without damaging them. Additionally, a soft cloth will help prevent scratches on the surface of your machine.
If you’re dealing with a particularly tight fit, consider using a lubricant spray designed for metal components. This will ease the process, making it smoother and less time-consuming. Always keep a clean towel nearby to wipe off any excess spray after application.
For those who frequently work with cleaning devices, investing in a pressure washer with brass pump can enhance durability and performance, reducing the need for frequent repairs or replacements.
Lastly, if you’re planning to clean your vehicle after the nozzle task, having the best car wash shampoo for pressure washer will ensure optimal results. Preparing these items beforehand will streamline your workflow and make the entire process more enjoyable.
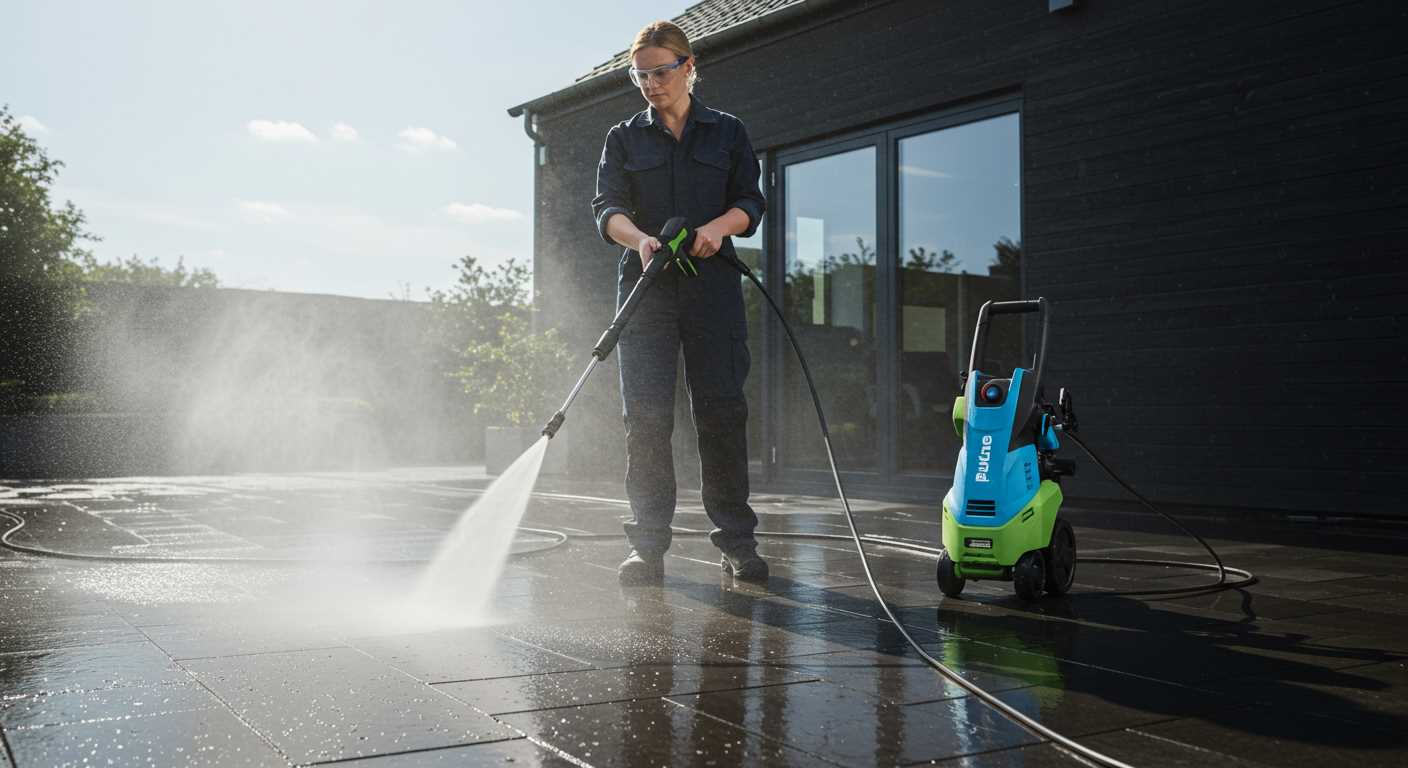
Powering Off and Preparing Your Pressure Washer
Ensure the machine is switched off before any maintenance. Disconnect the power supply by unplugging the cord from the outlet. If your unit is gas-powered, turn off the fuel valve and remove the spark plug wire. This simple action prevents accidental starts while you’re working.
Next, relieve any remaining pressure in the system. Locate the trigger gun and squeeze the trigger to release built-up pressure. Keep it held down for a few seconds to ensure all the pressure is gone. This step is critical for your safety and to avoid any unwanted spray during nozzle changes.
Cleaning and Maintenance
Once the power is off and the pressure released, inspect the equipment for debris or dirt. Wipe down the exterior with a clean cloth. Pay special attention to the area around the attachment point where the spray tip connects. Removing dirt and grime will help maintain the integrity of the fittings and ensure a snug fit for the new accessory.
Finally, check the hose for any kinks or damage. If you spot any issues, it’s wise to address them before proceeding with any attachments. A well-maintained unit not only performs better but also lasts longer. Trust me; I’ve seen too many people overlook this step, leading to frustrating experiences down the road.
Locating the Nozzle Release Mechanism
To effectively detach the spray attachment, first pinpoint the release mechanism. Most models feature a simple lever or button located near the base of the lance. This design allows for easy access when you need to switch attachments quickly.
Identifying the Mechanism
- Examine the area where the lance connects to the body of the equipment.
- Look for a small latch or release button, often marked with a symbol or label.
- Ensure the unit is powered off and pressure is relieved before attempting to interact with the mechanism.
Testing the Release
After locating the mechanism, gently press the button or pull the lever. You should feel a slight give, indicating it’s ready for use. In some cases, a twist action might be required – turn the attachment counterclockwise while pressing the release to detach it smoothly.
In my experience, ensuring that the attachment is free of debris or grime can aid in the release process. If it feels stuck, a quick wipe down can often make a world of difference. Always remember to handle these components with care to avoid any inadvertent damage.
Techniques for Safely Detaching the Nozzle
To effectively detach the attachment, grip it firmly while simultaneously pressing the release button or lever, depending on your model. This combined action ensures a smooth disengagement without damaging the mechanism.
In my experience, if the fitting seems stubborn, apply a small amount of lubricant to the connection point. Allow it to soak for a few minutes. This can help ease the process. Avoid using excessive force, as this may lead to breakage.
When working with attachments that have a threaded connection, turn counterclockwise to loosen. Make sure to keep an eye on any seals or O-rings during this process; they can often come loose and may require replacement later.
For those attachments that are secured with a locking pin or similar device, ensure you fully disengage the pin before attempting to pull the attachment away. This can often be overlooked, leading to frustration.
After completing the detachment, inspect the area for any debris or buildup that might hinder future connections. Regular maintenance can save time and hassle later on.
Inspecting the Nozzle and Wand After Removal
Once you’ve detached the attachment, a thorough examination is essential. Start by checking the tip for any signs of wear or damage. A cracked or clogged opening can severely affect performance. Use a flashlight to inspect the inner surfaces for debris or mineral buildup. If you notice blockages, a soft brush or a toothpick can help clear them without causing scratches.
Evaluating the Wand
Next, inspect the wand itself. Look for any dents, bends, or cracks; these can compromise the integrity of the equipment. Pay attention to the connection point where the wand meets the main unit. A loose or damaged fitting can lead to leaks during operation. Ensure the O-rings are intact and free from tears. Replacing worn O-rings can prevent water loss and improve the seal.
Cleaning and Maintenance Tips
Routine cleaning after each use can prolong the lifespan of both the attachment and wand. Rinse them with fresh water to remove any soap residue or grime. For stubborn dirt, a mild detergent can be used, followed by a thorough rinse. Allow everything to dry completely before reassembling to prevent rust or corrosion. Regular inspections and cleanings will keep your tools in optimal condition for future tasks.
Reattaching or Replacing Nozzles on Your Ryobi Pressure Washer
After you’ve successfully detached the attachment, the next step is reattaching or substituting it with a different one. Here’s a straightforward guide that I found helpful over the years.
Before you attach a new piece, examine the end of the wand for any dirt or debris. A clean connection ensures a proper fit and reduces the risk of leaks. If you notice any buildup, wipe it down with a clean cloth.
- Align the connection point on the wand with the opening of the attachment. Make sure the locking mechanism aligns as well.
- Push the attachment firmly onto the wand until you hear a click or feel it lock securely in place. This indicates that it’s correctly fitted.
- For those opting for a different attachment, select one that corresponds to your cleaning task. Each nozzle serves a distinct purpose, from wide sprays for gentle cleaning to concentrated jets for tougher grime.
Once attached, give it a gentle tug to ensure it’s secure. This little check can save you from unexpected disconnections during use.
After ensuring everything is snug, it’s time to test the setup. Reconnect your equipment to the water source and power it on. Start with a low-pressure setting to verify that the attachment functions correctly before escalating to higher pressures.
In my experience, keeping a few different types of attachments on hand can make a world of difference. Whether it’s for washing a car or tackling a patio, having the right tool ready for the job is key. If you find that the attachment isn’t performing as expected, consider replacing it with a new one, ensuring it matches the specifications of your equipment. This way, you’ll maintain optimal performance and avoid potential damage.
Remember to store your attachments properly after use. Keeping them in a dry, safe place helps prolong their lifespan and ensures they’re ready for the next cleaning task.
FAQ:
How do I safely remove the nozzle from my Ryobi pressure washer?
To safely remove the nozzle from your Ryobi pressure washer, first ensure the machine is turned off and unplugged from the power source. Next, relieve any pressure in the system by squeezing the trigger on the spray gun. Once the pressure is released, locate the nozzle at the end of the spray wand. Depending on the model, you may need to twist or pull the nozzle to detach it. If it feels stuck, check for any locking mechanism or debris that may be causing the issue. Cleaning the nozzle area can also help facilitate easier removal.
What tools do I need to remove the nozzle from my pressure washer?
Typically, no special tools are required to remove the nozzle from a Ryobi pressure washer. Most nozzles can be removed by hand. However, if the nozzle is stuck, you might consider using a pair of pliers for additional grip. Ensure you cover the nozzle with a cloth to prevent scratching it. Always refer to your user manual for specific instructions related to your model.
Can I remove the nozzle while the pressure washer is still in use?
No, you should never attempt to remove the nozzle while the pressure washer is in use. Doing so poses a risk of injury due to high-pressure water spray. Always turn off the machine, unplug it, and relieve the pressure by squeezing the trigger on the spray gun before attempting to remove the nozzle. This ensures your safety and prevents damage to the equipment.
What should I do if the nozzle is stuck and won’t come off?
If the nozzle is stuck, first ensure that the pressure washer is turned off and unplugged. Try gently twisting or pulling the nozzle to see if it will come loose. If it remains stuck, inspect the area for any debris or build-up that might be causing it to jam. You can also spray a little lubricant around the base of the nozzle and let it sit for a few minutes. If it still won’t budge, consulting the user manual for your specific model might provide additional tips or troubleshooting steps.
Is there a specific technique for attaching a new nozzle to my Ryobi pressure washer?
Yes, when attaching a new nozzle to your Ryobi pressure washer, first ensure the machine is off and unplugged. Align the nozzle with the spray wand, making sure the connection points match up. Firmly push the nozzle into place, and if applicable, twist it to lock it in securely. Give the nozzle a gentle tug to ensure it is properly attached before starting the machine. Always refer to the user manual for model-specific instructions.
.jpg)


