


Begin by disconnecting the power supply to your cleaning unit to ensure safety. Once that’s done, locate the pressure relief mechanism; it’s usually positioned near the pump. You’ll need a wrench to loosen the fittings. Make sure to have a container ready to catch any residual water or fluid that may leak during this process.
Next, carefully unscrew the component from its housing. If it’s stuck, applying a penetrating oil can help ease the removal. Be cautious not to apply excessive force, as this could damage the surrounding parts. Once loosened, gently pull it free, ensuring that any attached springs or seals are not lost in the process.

During my years of working with cleaning devices, I’ve seen many users overlook the importance of inspecting the seals and springs for wear. If these components appear damaged, it’s wise to replace them to prevent future issues. After you’ve successfully extracted the mechanism, clean the area thoroughly before installing a new unit or reassembling the current one.
Removing the Pressure Relief Component from Your Washer
First, ensure the unit is completely powered down and disconnected from any power source. This is crucial for your safety. Next, locate the pressure relief component, typically found near the pump assembly. Use a socket wrench to carefully unscrew the fastening bolts. Take care not to strip the threads, as this can lead to complications when reassembling.
Once the bolts are loose, gently wiggle the assembly to dislodge it from its seating. It may require a bit of finesse, as older models can have components that are stuck due to mineral deposits or wear. If you encounter resistance, applying a bit of penetrating oil around the joints can help ease the process.
After successfully detaching the assembly, inspect the O-ring and seals for any signs of wear or damage. Replacing these components during reinstallation can prevent leaks and ensure optimal performance. Clean the mounting area thoroughly before placing the new or refurbished assembly back into position.
Secure the component with the bolts, tightening them evenly to avoid any misalignment. Finally, reconnect the power and water supply, and perform a test run to ensure everything is functioning as it should. Regular maintenance checks can extend the lifespan of your equipment significantly, so make this a part of your routine care. Trust me, it’s worth the effort!
Identify the Correct Unloader Valve Model
To ensure compatibility with your cleaning machine, check the model number of your device. This is typically found on the data plate, which is often located on the side or rear of the unit. Note that different models may require specific replacement parts.
- Look for the model number in the manual or on the manufacturer’s website.
- Compare your model against a list of compatible components online.
- Visit forums or user groups dedicated to your machine for shared experiences.
When sourcing a replacement, consider the type of attachment and fitting required. Some connectors may vary, affecting the installation process.
- Gather all necessary tools before starting the task.
- Examine the existing component for any identifying marks or numbers.
- Consult your local supplier or online store to find the exact match.
For maintenance, using the best car wash soap for electric pressure washer can prolong the life of your equipment and keep it functioning optimally.
In my experience, keeping a spare on hand can save time during unexpected breakdowns. Always check for compatibility before purchasing to avoid any hassles during installation.
Gather Necessary Tools for Removal
Before starting the disassembly, ensure you have the following tools at your side:
- Socket set: A socket wrench set will allow you to tackle the bolts with ease. Look for a range of sizes, as different models may require various socket dimensions.
- Adjustable wrench: This tool is handy for gripping and turning components that are difficult to reach with a socket set.
- Screwdrivers: A Phillips and flat-head screwdriver will help remove screws that secure the assembly in place.
- Pliers: Needle-nose pliers can assist in pulling out stubborn parts or gripping small components.
- Thread seal tape: Having some on hand is useful for reassembling parts to prevent leaks after installation.
- Container for small parts: Keep screws and small components organised to avoid losing them during the process.
Safety Gear
Don’t forget to wear gloves and safety goggles. Protecting your hands and eyes is essential, especially when working with tools and potentially sharp components.
Additional Considerations
For those considering purchasing a new unit, this pressure washer for pavement might be a great option, providing powerful cleaning capabilities.
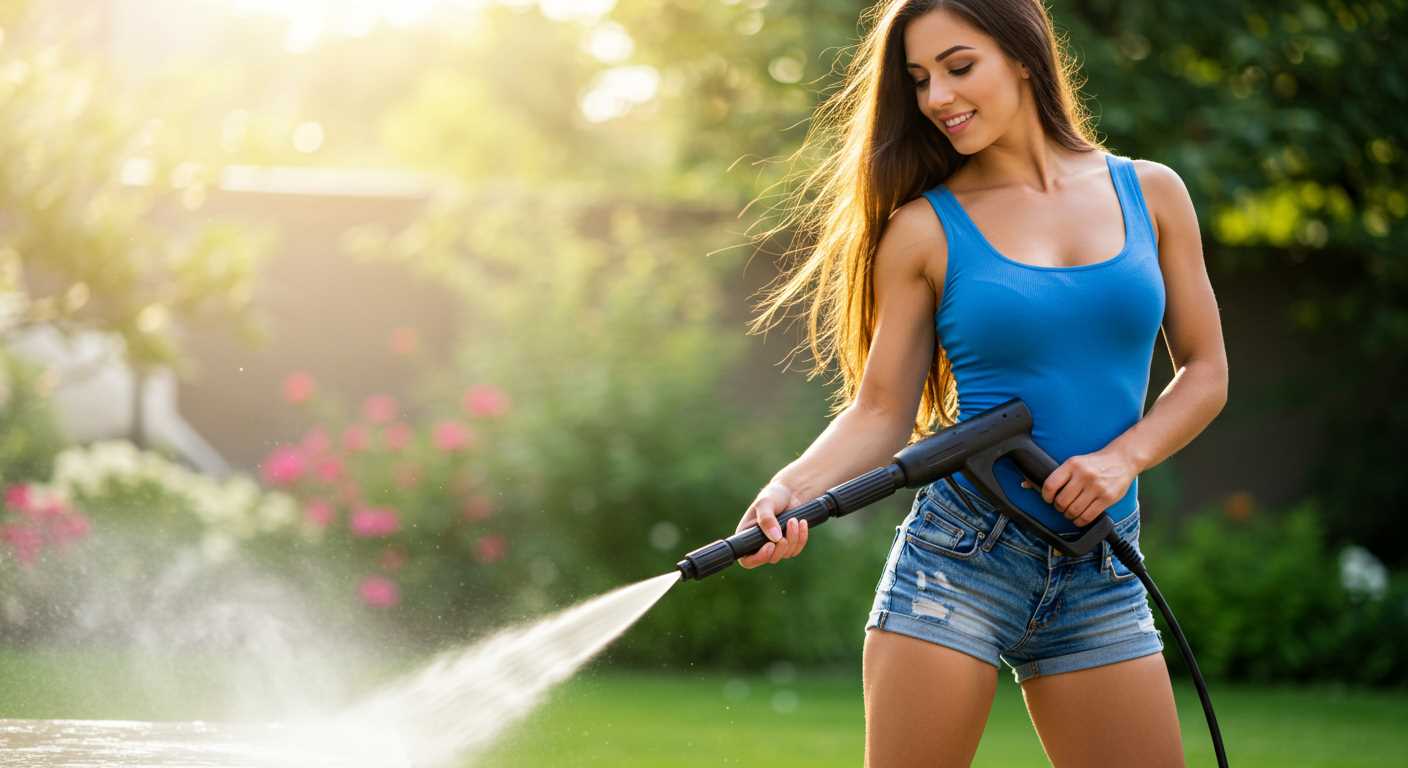
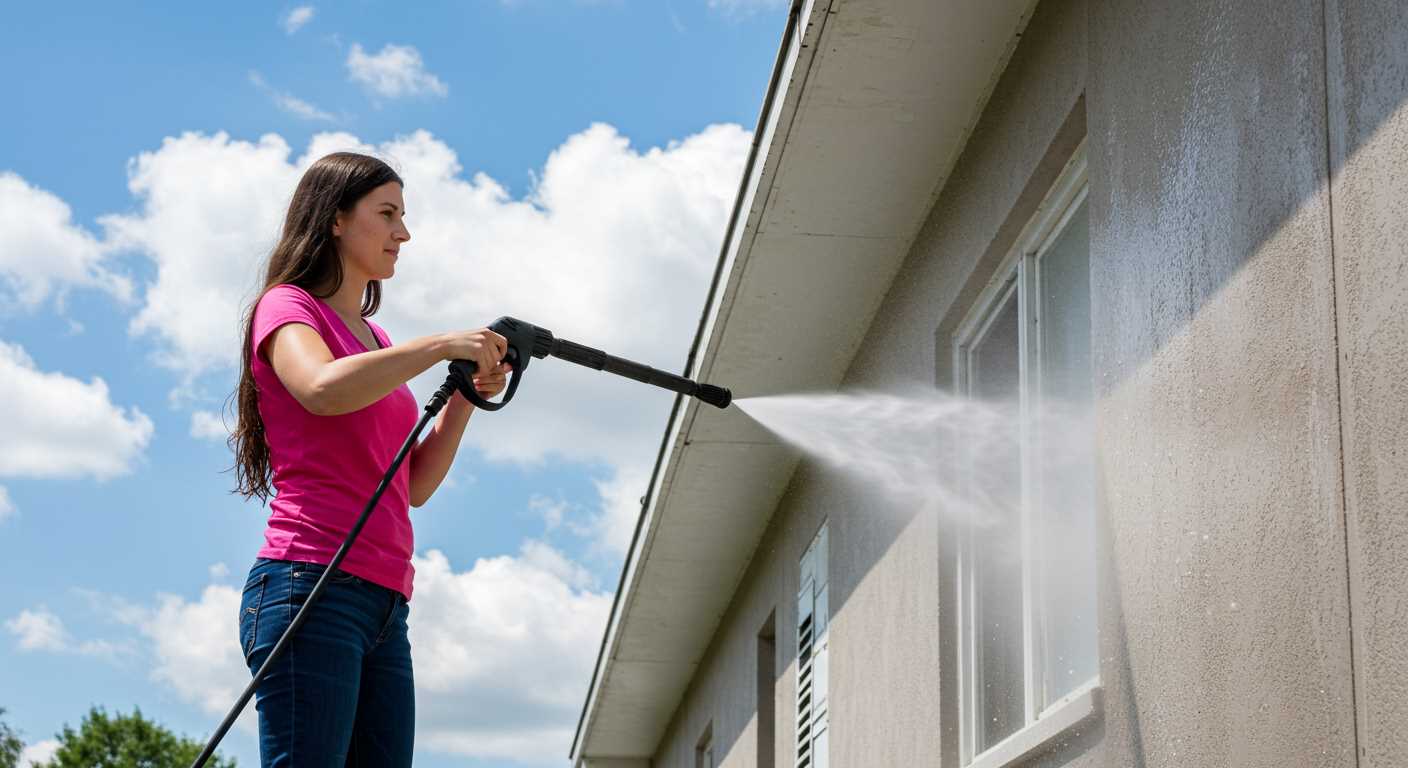
Disconnect the Pressure Washer from Power and Water Supply
Before tackling any maintenance task, ensure that your machine is completely disconnected from both the electrical source and the water supply. This step is non-negotiable for safety and efficiency during your project.
Power Disconnection
Locate the power cord and unplug it from the electrical outlet. If your model is equipped with a power switch, turn it off before unplugging. This prevents accidental activation while working on the unit. I recall a time when I was caught off guard by a sudden start-up, which could have easily led to injury. Always double-check that the machine is inactive.
Water Supply Shutdown
Next, find the water source connected to your equipment. Turn off the tap to stop the flow of water. After shutting off the water, release any remaining pressure in the system by pulling the trigger on the gun until no water comes out. This step is crucial to avoid any sudden bursts of water during your maintenance work. I’ve seen too many people overlook this and end up drenched, not to mention the potential for damage to components.
Once both power and water are securely disconnected, you’re ready to proceed with the removal process with peace of mind. Take your time and follow the next steps carefully to ensure everything goes smoothly.
Locate and Access the Unloader Valve Assembly
Begin by positioning the unit on a stable surface for easy access. Look for the assembly, typically located near the pump, connected to the high-pressure hose. It often has a cylindrical shape and is usually identifiable by its fittings and a release mechanism.
Identify Specific Components
Check for any screws or clips securing the assembly in place. In many models, these will be visible from the top or side. Use a flashlight if necessary to illuminate dark areas. If the assembly is obscured by other parts, gently move any adjacent components to gain a clearer view, ensuring not to force anything that may cause damage.
Prepare for Access
Before proceeding, ensure you have a clear working area. Keep your tools handy but out of the way to avoid any accidents. If the assembly is stubborn, a gentle tap with a rubber mallet can help loosen it, but avoid excessive force. Maintaining a careful approach will prevent any unnecessary wear or breakage.
Once you’ve located the assembly and identified how it’s secured, you’ll be ready to proceed with the process without complications. This preparatory step saves time and frustration down the line.
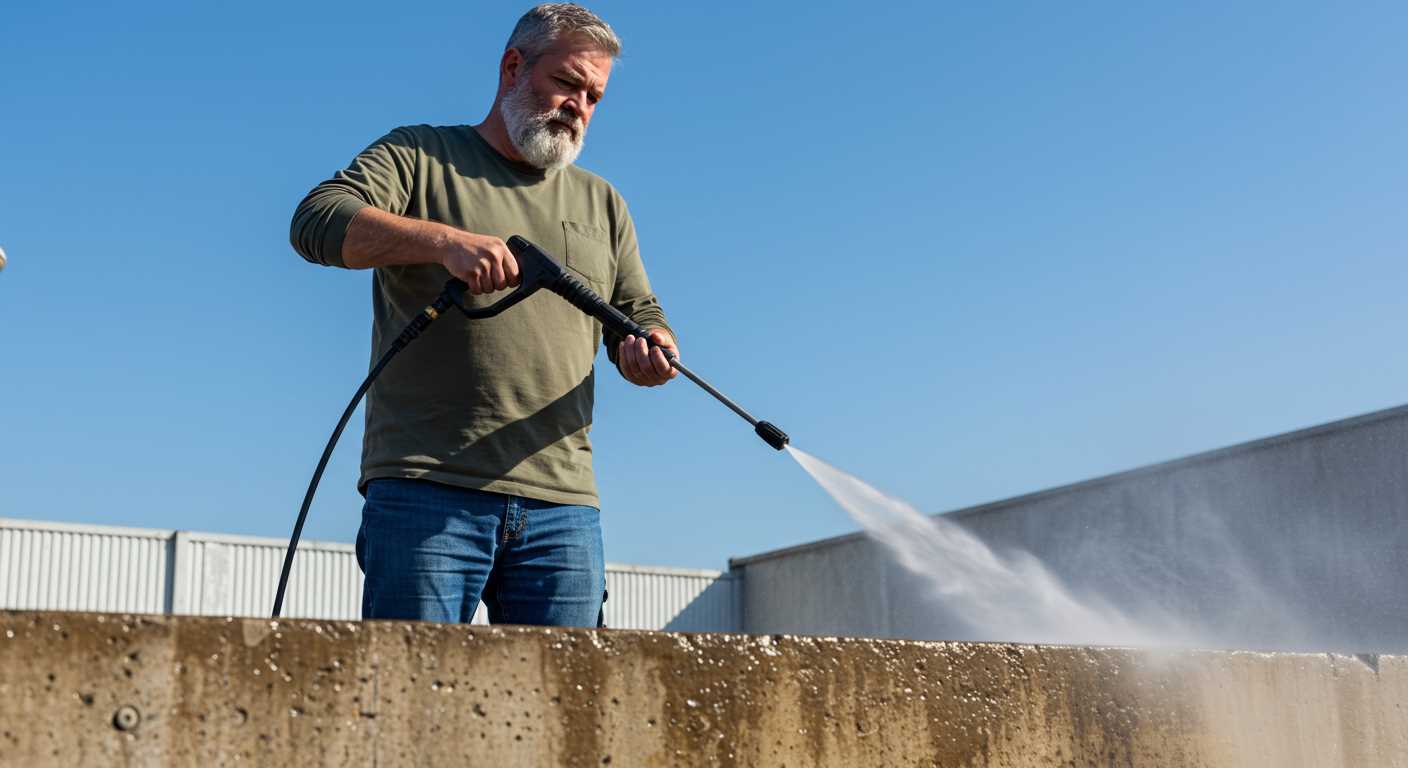
Carefully Remove the Unloader Valve
Begin by preparing the workspace. Ensure that it’s clean and well-lit to avoid losing any small components during the process. With your tools gathered and the machine disconnected, you’re ready to proceed.
Loosen the Fasteners
Using the appropriate socket wrench, gently loosen the screws securing the assembly. Apply steady pressure to avoid stripping the screws. It’s crucial to keep the screws organized; a magnetic tray works wonders for this.
Extract the Assembly
Once the screws are loose, carefully pull the assembly away from the main unit. If it feels stuck, a gentle rocking motion can help. Avoid using excessive force to prevent damaging the components. With the assembly out, inspect it for any signs of wear or damage before proceeding with the next steps.
Take your time during this process. Rushing can lead to mistakes or damage that might complicate reassembly later on. In my experience, patience pays off in maintaining the integrity of the unit.
Inspect and Replace Seals Before Reassembly
Before putting everything back together, take a moment to inspect the seals. These components are crucial for maintaining pressure and preventing leaks. A small crack or wear can lead to significant issues later on.
During my years in the cleaning equipment industry, I encountered many machines that experienced reduced efficiency due to faulty seals. It’s a common oversight, but one that can easily be avoided with a quick inspection. I recall a situation where a client reported a pressure drop. Upon inspection, we found that a worn seal was the culprit, easily replaced but often overlooked.
Carefully remove each seal, examining for any signs of damage, such as tears or hardening. If you find any imperfections, it’s best to replace them. Most hardware stores or online suppliers carry a variety of seals compatible with various models.
| Seal Type | Common Issues | Replacement Recommendations |
|---|---|---|
| O-rings | Tears, dirt accumulation | Replace with same size; use lubricant for installation |
| Gaskets | Hardening, cracks | Ensure proper fit; consider material compatibility |
| Backing rings | Deformation, wear | Use original specifications for best results |
After replacing any damaged seals, ensure that the new ones are seated properly to prevent future leaks. A little attention to these details can save you from unnecessary headaches down the line. Trust me, a well-sealed machine operates smoother and lasts longer. It’s worth the extra effort.
.jpg)


