
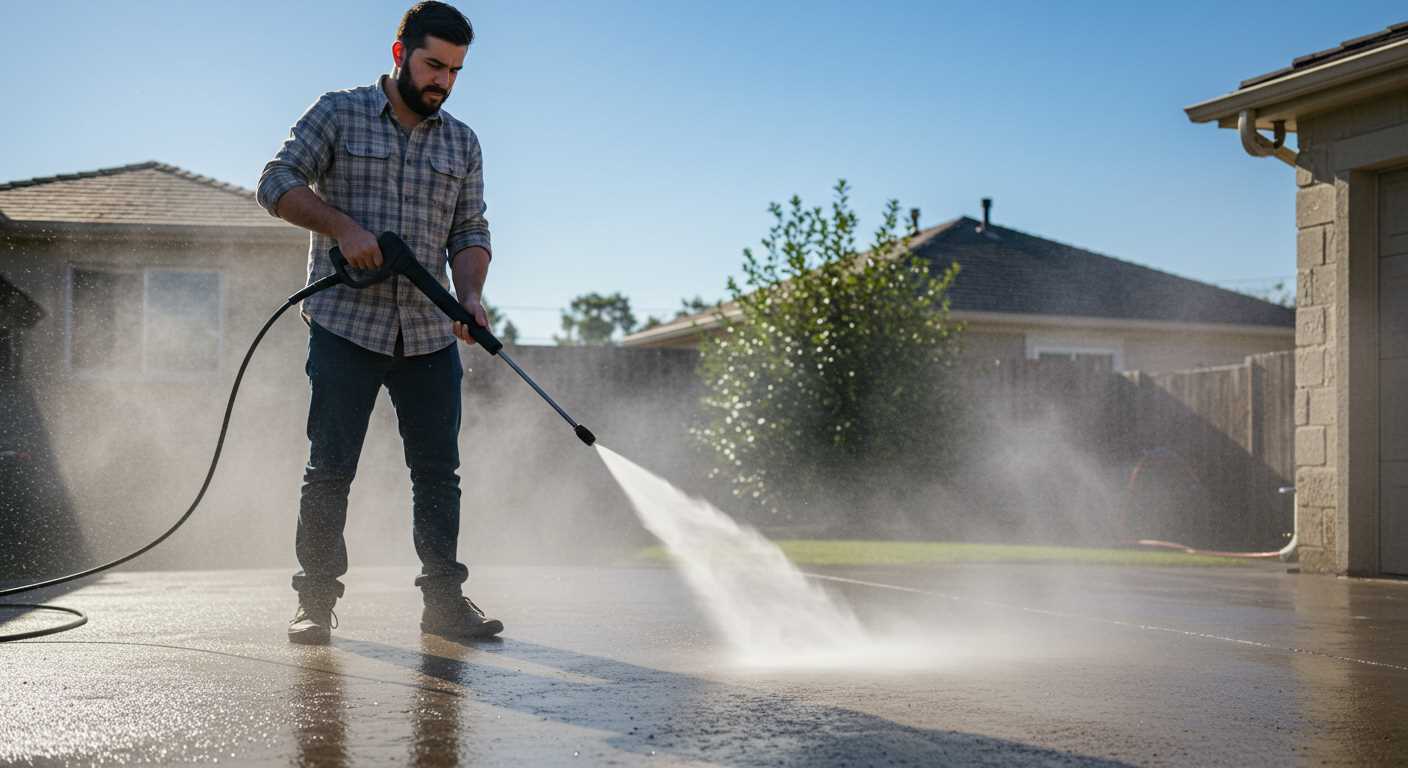


If you find yourself struggling with the disconnection of the nozzle from your cleaning equipment, a simple twist is often the answer. Grasp the handle firmly and rotate it counterclockwise until you hear a faint click, indicating that the attachment is loosened. This straightforward motion can save you time and prevent unnecessary frustration.
In my years of experience, I’ve encountered numerous models, each with its quirks. Some units feature a quick-release mechanism, while others require a bit more finesse. If your model has a locking system, ensure that it is fully disengaged before attempting to separate the parts. I’ve seen many users overlook this detail, leading to avoidable complications.
After disconnecting the attachment, inspect the connection points for any debris or damage. Regular maintenance not only prolongs the lifespan of your equipment but also enhances performance. I once neglected this step and faced a significant reduction in water pressure, which was quickly resolved with a thorough cleaning.
Remember to store your equipment properly after use. Keeping it in a dry, sheltered environment will protect the connections and prevent wear. Sharing these insights has always been my pleasure, as I believe that informed users can enjoy their equipment to the fullest.
Disconnecting the Nozzle from the Unit
To detach the nozzle, grip it firmly and locate the release button on the connector. Press this button while simultaneously pulling the nozzle away from the main unit. It should come free without much force. If you encounter resistance, ensure the button is fully pressed down before trying again.
Cleaning the Connection Point
After detaching the nozzle, inspect the connection point for any debris or buildup. A quick wipe with a damp cloth can prevent future issues and ensure a snug fit when reattaching. Keep this area clean to maintain optimal performance.
Storing the Equipment
Once the nozzle is free, store it in a dry place away from direct sunlight. This helps avoid any damage to the materials and keeps everything in working order for your next cleaning task. A dedicated storage area can make a significant difference in the longevity of your equipment.
Identifying the Correct Wand Model
To ensure compatibility, check the model number of your cleaning unit. This number is typically found on the unit itself, often on a label near the motor or pump. Referencing the manual can also provide clarity on compatible attachments.
Reviewing Specifications
Examine the specifications of your tool. Most models indicate the type of accessories they support. Look for details regarding the connection type, length, and any specific features that may be highlighted. This will help you narrow down the options available.
Consulting Manufacturer Resources
Visit the manufacturer’s website for detailed information on compatible accessories. They often provide diagrams or charts that illustrate which attachments work with which models. Additionally, customer service can be a helpful resource for confirming your findings.
Preparing Your Pressure Washer for Wand Removal
Disconnect the water supply before proceeding with any maintenance. This prevents unwanted water flow during the process. Ensure the unit is powered off and unplugged to eliminate any risk of accidental activation.
Next, check for any residual pressure. Squeeze the trigger of the gun and hold it for a few seconds to release trapped air and water. This step is crucial to ensure safety while handling the equipment.
Inspect the connection points where the accessory attaches to the main unit. Look for any locking mechanisms or release buttons specific to your model. Familiarising yourself with these features can save time and prevent damage.
Gather any tools you might need, such as pliers or a flathead screwdriver, in case there are stubborn connections. Having everything at hand makes the process smoother.
For those interested in enhancing their cleaning experience, consider exploring options like the best car wash pressure washer nozzle foam cannon gun sprayer. These attachments can elevate your cleaning tasks to a new level.
Locating the Wand Release Mechanism
First, identify the specific area where the release mechanism is situated. On most models, you’ll find it near the handle where the accessory connects. Look for a button or lever; it’s usually marked with a specific icon indicating its function.
Next, ensure you have a clear view of the mechanism. Sometimes, dirt or debris can obstruct your line of sight. Use a soft cloth to wipe the area if needed. This small step can prevent accidental damage during the process.
Once you’ve located the button or lever, examine its design. Many mechanisms require a simple press or pull action. However, some might need you to press down while simultaneously twisting the handle. Understanding the exact operation is crucial for a smooth disconnection.
| Model | Release Mechanism Type |
|---|---|
| Model A | Push Button |
| Model B | Twist Lock |
| Model C | Pull Lever |
After familiarising yourself with the mechanism type, practice the motion a few times without applying force. This will help you gauge how much pressure is needed. Remember, being gentle can prevent any unintended malfunctions.
If you’re unsure, consult the user manual specific to your model. This resource often contains diagrams and detailed instructions that can clarify any uncertainties about the release process.
Proper Techniques for Disconnecting the Wand
Begin by ensuring the machine is powered off and unplugged. Always prioritise safety to prevent any accidental spray or activation. Once you’ve confirmed that, follow these steps:
1. Grip the Handle Firmly
Hold the handle of the attachment securely. A firm grip provides better control and minimizes any chances of slipping during the disconnection process.
2. Engage the Release Mechanism
Locate the release button or lever on the handle. This is often situated near the base where the attachment connects. Press or pull this mechanism gently while maintaining your grip on the handle.
3. Pull Away with Steady Pressure
While holding the release mechanism, pull the handle away from the unit. Maintain a steady and even force to ensure a smooth separation without causing strain on either the attachment or the machine.
4. Check for Any Obstructions
Before fully disconnecting, inspect the connection point for any debris or build-up that might hinder the process. If necessary, clean the area to facilitate easier removal.
5. Store the Equipment Properly
Once detached, store the attachment in a designated place to avoid damage. Keeping everything organised extends the life of your equipment and makes future tasks easier.
- Avoid excessive force–this can damage the locking mechanism.
- Regularly inspect both the attachment and machine for wear and tear.
- Familiarise yourself with the specific model for any unique features.
Using these techniques, you can efficiently disconnect the attachment without any hassle. My years in this field have taught me that a careful approach always pays off, ensuring both safety and equipment longevity.
Inspecting the Wand and Connection Points
Before tackling the disconnection task, closely examine the attachment and the joint sections. A thorough inspection can prevent unnecessary complications. Check for any signs of wear, cracks, or corrosion that might hinder a smooth separation. If you notice any damage, addressing it beforehand can save you time later.
Joint Mechanism Evaluation
Pay special attention to the joint mechanism where the tool meets the unit. Ensure that it is free of debris or buildup that could impede the release. Sometimes, a simple clean with a damp cloth can clear any obstructions, allowing for an effortless disengagement.
Attachment Integrity
Look for any visible issues with the attachment itself. If the locking pin or latch appears bent or malfunctioning, it may require replacement before proceeding. A functional component ensures a secure connection during use and a hassle-free detachment process.
In my experience, taking these extra moments to inspect the equipment can streamline the task, allowing for a smoother operation without unexpected interruptions. Always approach this step with diligence to maintain the longevity of your tools.
Troubleshooting Common Issues During Removal
When detaching the nozzle assembly, a few typical challenges may arise. One common issue is resistance due to debris buildup. If the connection is stuck, inspect the area for any dirt or grime. A simple cleaning with a damp cloth can often free it up.
Another issue might be misalignment. Occasionally, the locking mechanism doesn’t engage or disengage properly, leading to confusion. If you notice that the release button feels stiff or doesn’t click as expected, gently wiggling the attachment while pressing the button may help realign the parts.
If you encounter leaks or drips during this process, check the o-rings for wear. Damaged seals can cause water to escape, making it difficult to fully disconnect the parts. Replace any faulty o-rings to ensure a tight fit after reassembly.
Sometimes, users find that the mechanism feels too tight, preventing smooth disconnection. This can often be resolved by applying a small amount of lubricant to the moving parts. Ensure you wipe away any excess to prevent it from attracting dirt.
If the connection is still not budging, take a step back and look for any hidden release mechanisms specific to your model. Sometimes, there are secondary catches that need to be disengaged for a smooth separation.
In my experience, patience is key. Rushing through this process can lead to frustration or even damage to the equipment. If all else fails, consult the manufacturer’s manual for further guidance or consider reaching out to customer support for model-specific advice.
Storing the Wand Safely After Removal
Always store the cleaning tool in a dry, cool area to prevent moisture damage and corrosion. Here are some practical tips for safe storage:
- Use a protective case or bag designed for your specific tool model. This helps to cushion against impacts and avoid scratches.
- Ensure that the cleaning attachment is completely dry before placing it in storage. Use a clean cloth to wipe away any remaining moisture.
- Keep the cleaning tool away from direct sunlight. Prolonged exposure can degrade materials and affect performance.
- Store the tool in an upright position if possible. This prevents any accidental bending or damage to the nozzle or connection points.
- If applicable, detach any additional accessories like nozzles or extension rods and store them separately. This prevents clutter and potential loss.
For those who require a device that operates without an external water source, check out this pressure washer without an outside tap for added convenience.
Regularly inspect your storage environment for any signs of humidity or pests which can compromise the integrity of the cleaning tool. Keeping everything well-organised will enhance the longevity and efficiency of your equipment.


.jpg)


