
.jpg)


.jpg "How to remove weeds from pavers with pressure washer")
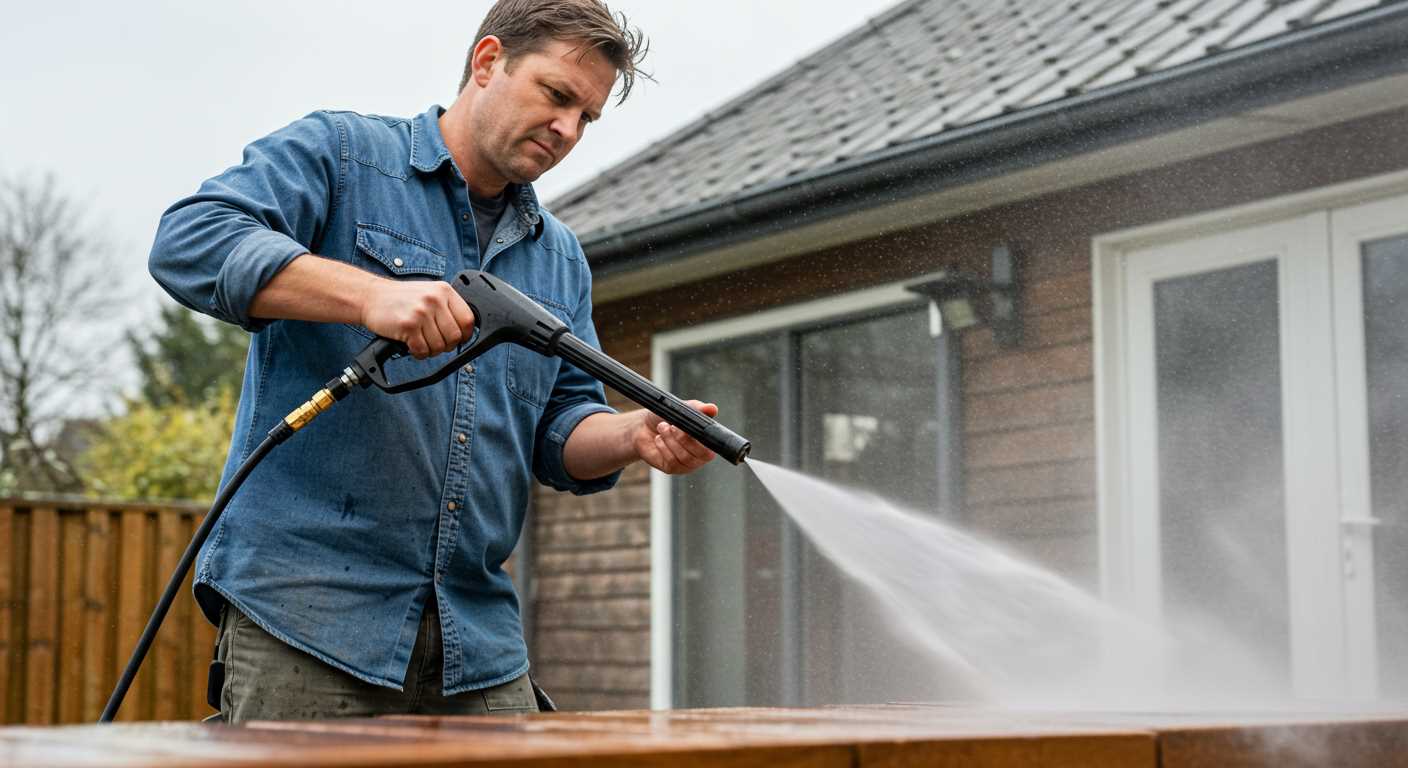
Begin by adjusting the nozzle of your high-pressure device to a fan spray setting, typically around 25 degrees. This width proves effective in targeting the narrow gaps between stones without risking damage to the surfaces. I recall a time when I used a 15-degree nozzle, and while it blasted away grime, it also chipped a few edges. Lesson learned: precision matters.
Next, maintain a distance of about 12 inches from the surface during operation. I’ve experimented with various distances, and too close can lead to unnecessary wear, while too far might not yield the desired results. A steady, sweeping motion ensures even coverage and helps prevent streaks or missed spots. Trust me; it’s all about the technique.

For stubborn growth, consider pre-treating the area with a solution crafted from vinegar or a dedicated botanical cleaner. Allowing it to sit for 10-15 minutes softens the grip of those unwanted plants, making the subsequent high-pressure cleaning process much more manageable. I often prepare the solution in a spray bottle, making it easy to apply uniformly.
After completing the task, a thorough rinse is advisable to wash away any residual substances. This final step not only enhances the appearance but also helps in maintaining the integrity of the joints. A clean surface not only looks good but reduces the chance of regrowth. My driveway has remained clear for months after adopting this routine.
Choosing the Right Pressure Washer for Weed Elimination
For efficient eradication, opt for a model with a minimum of 2000 PSI. This level of force ensures that stubborn growths are effectively dislodged. I recall using a 2300 PSI unit on a particularly stubborn driveway; it was impressive how quickly the task was accomplished.
Understanding Flow Rate

Pay attention to the flow rate, measured in gallons per minute (GPM). A higher GPM translates to more water output, which aids in rinsing away debris. I’ve found that machines with at least 1.5 GPM work wonders, as they not only blast away but also wash the area clean in one go.
Choosing the Right Nozzle
The nozzle can make a significant difference. A 25-degree nozzle is versatile for most surfaces, while a 15-degree option provides that extra punch for tougher spots. I’ve swapped nozzles mid-task countless times, discovering that the right angle can save time and effort.
Preparing the Area Around the Pavers
Begin by clearing the vicinity of any furniture, planters, or decorative elements. This ensures unobstructed access to all surfaces, making the task smoother. I recall a time when I left a few pots in place, thinking I could work around them. It turned into a frustrating experience, as I had to pause, move them, and then restart the cleaning. Save yourself the hassle.
Next, assess the condition of the joints between the stones. If you spot loose sand or jointing material, consider topping it up before the cleaning. This not only aids in the overall appearance but also prevents water from infiltrating beneath the stones during the process. I often keep a bag of jointing sand handy for these moments.
Check for any existing damage on the stones themselves. Cracks or chips can worsen with high-pressure water, leading to further issues. If necessary, patch these spots with appropriate fillers to avoid complications. I once ignored this step and ended up regretting it when I noticed the damage exacerbated post-cleaning.
Lastly, consider the weather. A dry day is ideal, as moisture can hinder the effectiveness of your cleaning efforts. Rain or humidity makes the surfaces slippery and could complicate the operation. I’ve had my share of wet days and the challenges they bring. Being mindful of these details can make a significant difference in the outcome.
| Preparation Step | Description |
|---|---|
| Clear Surroundings | Remove furniture and decorations for easy access. |
| Check Joints | Inspect and refill loose sand or jointing material. |
| Inspect Stones | Look for cracks or damage and repair if needed. |
| Weather Consideration | Choose a dry day for optimal cleaning conditions. |
Setting the correct pressure and nozzle for paver cleaning
For optimal results, I recommend setting the pressure at around 2000 to 3000 PSI. This range effectively dislodges stubborn debris without damaging the surface. Lower settings may not be sufficient, while higher pressures can risk chipping or cracking the stones.
Choosing the right nozzle is equally important. A 25-degree nozzle is typically the best option for this task. It strikes a balance between coverage and power, allowing the water to spread out enough to clean a wider area while still concentrating enough force to tackle entrenched grime. If you encounter particularly tough spots, switching to a 15-degree nozzle for brief periods can provide that extra cleaning power, but use it cautiously to avoid any surface damage.
Adjusting the distance between the nozzle and the surface also plays a role. Maintaining a distance of about 12 to 18 inches will help prevent any unwanted abrasions while still providing adequate cleaning force. You might find yourself moving closer for stubborn areas, but always be mindful of the risk involved.
Lastly, always test a small, inconspicuous area first. This practice has saved me from potential mishaps on more than one occasion, ensuring that both the pressure and nozzle selection work harmoniously with the surface material. Each cleaning scenario is unique, so don’t hesitate to make adjustments based on your observations as you progress.
Techniques for Targeting Weeds Between Pavers
Utilising a targeted approach maximises the effectiveness of the cleaning equipment. Here are techniques that I found particularly useful during my years in the field:
- Angle the Nozzle: Position the nozzle at a low angle, around 30 degrees, to direct the water stream precisely into the gaps. This helps dislodge stubborn roots without damaging adjacent stones.
- Use a Fan Spray: Opting for a fan spray setting provides a wider coverage area. This is beneficial for addressing larger patches where roots may be entrenched.
- Work in Sections: Breaking the task into manageable sections allows for thoroughness. Focus on one area at a time to ensure nothing is overlooked.
During my time testing various models, I discovered that some machines had unique features that made targeting these nuisances easier. For instance, certain brands offered adjustable pressure settings that allowed for a more tailored approach depending on how stubborn the intruders were. I often recommend experimenting to find the right balance between power and safety.
Another technique that proved effective was to pre-soak the area. Spraying a light mist of water before applying the high-pressure stream helps to loosen soil and roots, making the process smoother. In my experience, this step can save time and effort.
- Maintain Distance: Keeping a consistent distance of around 12-18 inches from the surface ensures that the force remains effective without risking damage to the pavers.
- Watch for Wind: Be mindful of the wind direction. A breeze can redirect debris, which might lead to an uneven clean-up or even affect your visibility.
Finally, don’t rush the process. Taking the time to methodically tackle each section can yield far better results than a hurried approach. I’ve learned that patience leads to a more satisfying outcome, especially when tackling those persistent nuisances. Happy cleaning!
Post-cleaning care for pavers to prevent weed regrowth
Apply a high-quality polymeric sand between the joints after cleaning. This sand hardens when wet, creating a barrier that discourages germination of unwanted plants. Ensure to sweep it thoroughly into the gaps, filling them completely.

Consider sealing the surface of the stones. A suitable sealant not only enhances the colour but also creates a protective layer that inhibits moisture ingress, reducing the chances of seed sprouting. Opt for a product designed specifically for your type of stone.
Regular maintenance is key. Schedule periodic inspections to spot any signs of new growth early on. A quick touch-up with hot water or a mild weed killer can keep the area tidy without resorting to harsh chemicals.
Incorporate routine cleaning as part of your outdoor upkeep. Use a broom to clear debris and organic matter that can harbour seeds. Additionally, a light washdown every few months can help maintain the appearance and prolong the life of the surface.
Lastly, consider planting ground cover plants or using decorative gravel around the edges of the pavers. These can help suppress unwanted growth while adding to the aesthetic appeal of your outdoor space.
Alternative methods for stubborn weed removal
For particularly resilient intruders, consider a few tried-and-true techniques beyond just high-pressure equipment. These methods can effectively tackle the most stubborn offenders lurking in the joints of your stonework.
Boiling Water
One of the simplest approaches involves pouring boiling water directly onto the offending plants. This method is effective due to the high temperature causing the plant cells to rupture. Here’s how to do it:

- Boil water in a large pot.
- Carefully pour the boiling water over the weeds, ensuring it penetrates the soil.
- Repeat as necessary for particularly stubborn types.
This method is environmentally friendly and can be quite satisfying to witness the immediate results.
Vinegar Solution
An alternative is using a vinegar mixture. The acetic acid in vinegar acts as a natural herbicide. Here’s an effective formula:
- Mix equal parts of white vinegar and water in a spray bottle.
- Add a few drops of dish soap to help the solution adhere to the plant.
- Spray directly onto the leaves on a sunny day.
Monitor the area after a few days. For the best results, repeat the application until the plants are eradicated. This method works particularly well in warm weather and can be paired with other techniques.
For those seeking further assistance, consider utilising a best blower and vacuum for garden to help clean up the debris after your treatment. Additionally, if your project requires tackling roof tiles as well, a suitable pressure washer for roof tiles can be a valuable tool in your arsenal.
.jpg)


