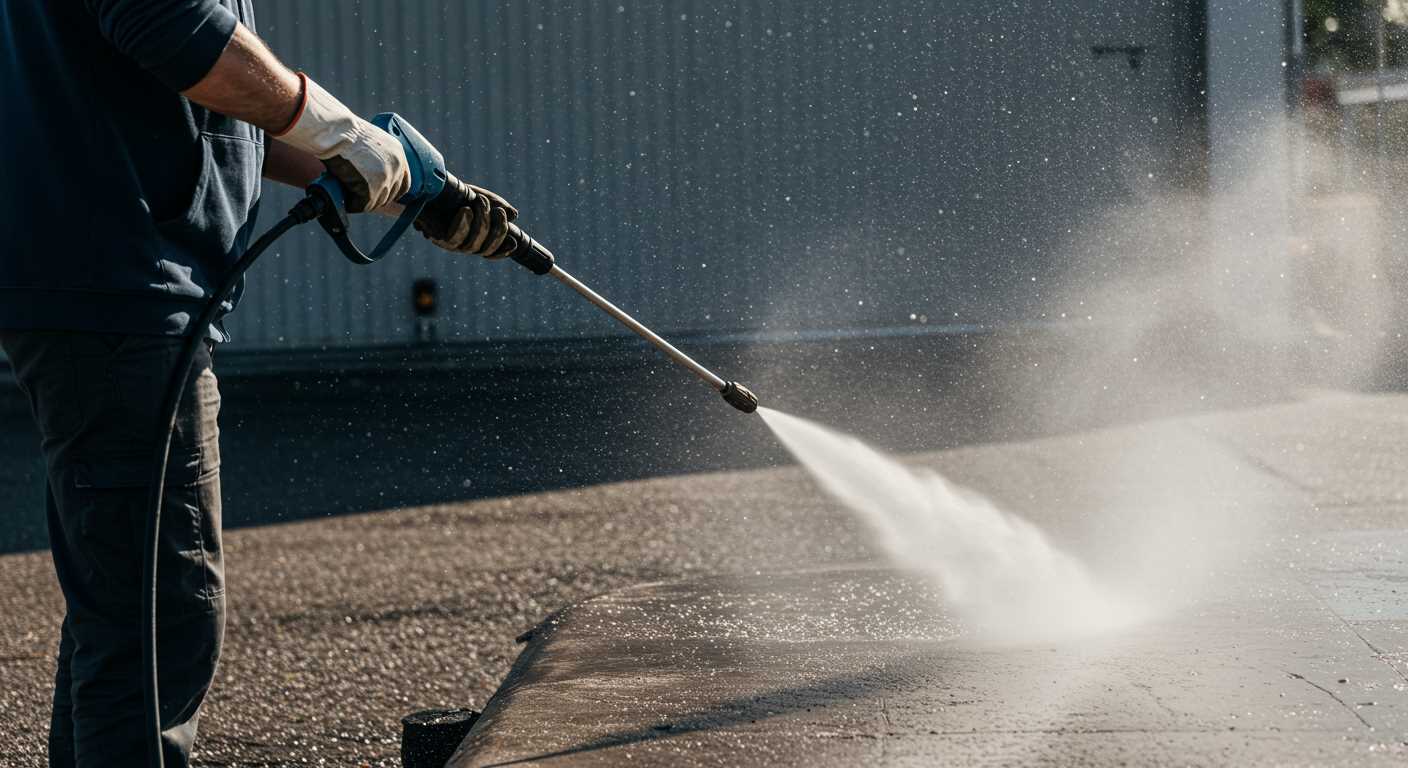
How to remove wheel from karcher pressure washer


Begin by ensuring the appliance is completely powered down and unplugged to avoid any accidents. This simple precaution can save you from unnecessary mishaps.
Next, locate the securing mechanism for the castor. Most models feature a locking pin or a set screw that keeps the wheel firmly in place. In my experience, a simple screwdriver or an adjustable wrench is often all you need to loosen this component.
After loosening the securing mechanism, gently pull the castor away from the base. It might require a bit of wiggling, but with patience, it should detach smoothly. I’ve encountered stubborn wheels before, and a bit of penetrating oil can do wonders to ease the process.
Lastly, once the castor is off, take a moment to inspect the axle for any debris or damage. Keeping this area clear ensures smoother operation when reattaching or replacing the wheel. If you’re planning to replace the castor, make sure to choose a compatible model for optimal performance.
Removing the Wheel from Your Karcher Cleaning Equipment
To detach the caster from your cleaning machine, first, position the unit on a stable surface. Ensure it is powered down and disconnected from any water source. This step is crucial to prevent accidents while you work.
Find the securing screws located at the base of the wheel assembly. Typically, these screws are either Phillips or Torx. Use the appropriate screwdriver to unscrew them. As you do this, keep your hand steady to avoid damaging the surrounding plastic.
Once the screws are loosened, gently pull the wheel assembly away from the chassis. If it seems stuck, check for any additional clips or fasteners that may not be immediately visible. Sometimes, dirt or debris can cause parts to bind together, so a little wiggling might be necessary.
If the wheel has been in place for an extended period, it may require a bit more force. However, avoid using excessive pressure that could lead to breaking any components. A healthy twist while pulling can often help dislodge it without causing damage.
After the wheel is free, inspect the axle and surrounding area for any signs of wear or debris. Cleaning this section can help ensure a smooth reattachment or replacement of the new component. If you plan to replace the wheel, make sure the new one is compatible with your model.
Once you’ve completed your task, reattach the new or existing wheel by aligning it with the axle and tightening the screws securely. Double-check that everything is fastened correctly before using the machine again.
Identifying the Correct Wheel Type for Your Karcher Model
Check the model number located on the nameplate, usually found on the rear or base of the unit. This number helps pinpoint the exact specifications of your equipment, including the type of wheels it uses.
Next, refer to the user manual. It typically contains a parts list that identifies each component, including the wheels, along with illustrations for clarity. If you’ve misplaced the manual, many manufacturers provide PDF versions online. A quick search with your model number should yield results.
In my years of experience, I’ve encountered various models with distinct wheel designs. Some feature a simple clip-on style, while others may have screws or bolts securing them. Understanding these differences is key to ensuring you acquire the correct replacement parts.
Another method is to consult online forums or communities dedicated to cleaning equipment. Users often share their experiences and can offer insights into the compatibility of different wheel types with your specific model.
If you’re considering purchasing new wheels, verify compatibility with the seller. Many retailers list compatibility information, but it’s wise to double-check against your model specifications to avoid any mismatches.
Lastly, if you’re still uncertain, contacting customer support for your brand can provide clarity. They can confirm the correct wheel type based on your model number, preventing unnecessary hassle and ensuring a smooth replacement process.
Gathering Necessary Tools for Wheel Removal
To tackle the task effectively, ensure you have the following items ready:
Basic Tools
| Tool | Purpose |
|---|---|
| Adjustable Wrench | For loosening nuts and bolts securing the component. |
| Screwdriver Set | Used for various screws that may hold the assembly in place. |
| Socket Set | For removing larger bolts if applicable. |
Safety Equipment
| Item | Reason |
|---|---|
| Safety Goggles | Protect your eyes from debris during disassembly. |
| Gloves | Prevent hand injuries and ensure a better grip on tools. |
Having these tools on hand will facilitate a smoother process. If you’re also interested in keeping your workspace tidy, consider investing in the best air compressor for computer cleaning to maintain cleanliness while working. This will help create an efficient environment for the task at hand.
Preparing the Pressure Washer for Wheel Detachment
Ensure the unit is completely powered down. Disconnect the power cord, and if applicable, remove the battery. This simple step prevents any accidental activation during the process.
Next, drain any remaining water from the system. Locate the release valve or hose and let the liquid exit until there’s no more flow. This not only protects you from splashes but also makes handling the equipment more manageable.
Inspect the area where the apparatus is stored. A clean, flat surface is ideal for this task, allowing for easy access and movement. If the surroundings are cluttered, clear them out to prevent accidents or misplacing tools.
Position the machine so that the section where the parts need to be accessed is facing you. This will make the entire operation more straightforward, saving time and effort.
Lastly, examine the wheels closely. Take note of how they are attached. This observation will help in identifying how to proceed with the disconnection. Sometimes, a simple twist or pull is all that’s needed, while other times, specific tools may be required.
Step-by-Step Guide to Removing the Wheel
Begin by placing the unit on a flat surface, ensuring stability. This prevents any unexpected movement during the process. Locate the fasteners securing the caster. Typically, you’ll find screws or bolts; check both sides, as some models may have dual fittings.
Using a suitable screwdriver or wrench, carefully unscrew the fasteners. Take care not to strip the threads; applying steady pressure helps maintain grip. If the screws are stubborn, a penetrating lubricant can ease the removal process. Allow a few minutes for it to work before trying again.
Once the fasteners are free, gently pull the caster away from the body of the equipment. If it resists, double-check for any remaining screws. Occasionally, a plastic clip may be holding it in place; a slight twist can often release it.
After detachment, inspect the area. Look for any debris or damage that may have accumulated. This is an opportune moment to clean the space, ensuring optimal performance when reassembling.
Keep the fasteners in a designated spot to avoid losing them. During reinstallation, ensure they are tightened securely to prevent future issues. Following this method will make the process straightforward and efficient.
Inspecting the Wheel Axle and Related Components
Begin with a thorough examination of the axle and adjoining parts. This step is crucial to ensure smooth operation after you complete the detachment process.
- Check for Wear: Look for any signs of wear or damage on the axle. If it appears worn or bent, it might require replacement.
- Clean the Area: Use a cloth to wipe away dirt and debris around the axle. A clean workspace allows for better inspection and can prevent further issues.
- Examine Bearings: Inspect the bearings for any signs of rust or corrosion. Smooth bearings are vital for proper functionality, so replace them if necessary.
- Test Axle Movement: Gently rotate the axle to check for smoothness. Any grinding or unusual resistance could indicate a problem that needs addressing.
- Assess Alignment: Ensure the axle is properly aligned with the frame. Misalignment can lead to uneven wear and affect performance.
After these checks, it’s also wise to ensure that all fastenings are secure. Loose components can lead to further complications. If you’re looking for a reliable machine for specific tasks, consider a pressure washer for stripping paint that can handle tougher jobs efficiently.
Lastly, if you notice any issues during your inspection, address them before proceeding. This proactive approach will save you time and effort in the long run.
Replacing a Damaged Wheel on Karcher Pressure Washer
For a smooth operation, maintaining the mobility of your cleaning unit is key. If you’ve discovered that a caster has seen better days, it’s straightforward to swap it out. Start by sourcing a replacement that matches your specific model. This ensures compatibility and proper fit, which is crucial for seamless use.
Steps to Install the New Caster
First, secure the new component. Once you have it, align it with the existing axle. Depending on the design, you might need to slide it onto the rod and secure it with a pin or nut. Make sure it’s tight; a loose attachment can lead to instability during operation.
After installing, give it a gentle spin to check for any obstructions or misalignments. If everything feels smooth, you’re set. Remember to test the entire setup before diving into any heavy-duty cleaning tasks.
Final Checks and Maintenance Tips
After replacing the caster, inspect surrounding parts for wear and tear. Regular checks can prevent more significant issues down the line. Keep an eye on the axle and ensure it remains greased to avoid friction and wear. This small step can extend the life of your equipment.
In my experience, a simple wheel replacement can transform a cumbersome device into a highly manoeuvrable one. Taking the time to ensure everything is in order pays off in the long run.
Reassembling the Pressure Washer After Wheel Removal
Once you’ve successfully taken off the mobility component, putting everything back together is straightforward if you follow these steps carefully.
Steps for Reassembly
- Align the axle with the mounting point where the component was previously attached.
- Insert the axle through the opening until it is securely in place.
- Attach any retaining clips or washers that might have come off during disassembly.
- Tighten any bolts or screws to ensure a secure fit; refer to the user manual for specific torque specifications.
- Check the alignment of the frame and ensure it’s balanced.
Final Checks
- Inspect the connection points for any loose fittings or misalignments.
- Give the entire assembly a gentle shake to ensure stability.
- Test the mobility feature by rolling the unit to confirm everything is functioning smoothly.
In my experience, overlooking a small detail during reassembly can lead to issues later on. Always double-check your work before putting the unit back to use. Once you’ve ensured everything is secure, you’re ready to get back to tackling those tough cleaning tasks.
Maintenance Tips for Karcher Pressure Washer Wheels
Regular upkeep of your cleaning unit’s mobility components is key to ensuring smooth operation. After extensive use, I’ve found that keeping those rolling parts clean and well-lubricated makes a significant difference in performance. A simple wipe-down with a damp cloth after each session prevents dirt buildup, which can cause wear and tear over time.
During my years in the field, I discovered that a light application of silicone spray on the axles not only reduces friction but also protects against rust. Just a quick spray every few months can keep them gliding effortlessly. Avoid using oil-based lubricants; they tend to attract more dirt and grime than they repel.
Inspecting the attachment points regularly is another habit worth developing. Any signs of looseness can lead to more significant issues down the line. I’ve run into cases where a loose connection led to the entire chassis wobbling, which ultimately affected the cleaning performance. Tightening those screws can save you from future headaches.
Storing your equipment properly also plays a role in maintaining those rolling components. I recommend keeping it in a dry place, away from direct sunlight, to avoid degradation of materials. A cover can be useful to protect against dust and moisture, ensuring that everything remains in top condition.
If you encounter any unusual noises or resistance while moving the unit, don’t ignore them. Addressing minor issues early can prevent more extensive repairs later. I’ve learned that a proactive approach is always more cost-effective than waiting for a problem to escalate.