


Replace the O-ring first; this simple step often resolves leaks and enhances performance. After years of working with various cleaning machines, I discovered that a worn O-ring is a common culprit behind many issues. You can find the right O-ring at your local hardware store or online, ensuring it matches the exact specifications of your unit.
Next, check the inlet filter. A clogged filter restricts water flow, leading to poor performance. I once encountered a machine that seemed unresponsive, only to find that the filter was completely blocked with debris. Cleaning or replacing it can make a noticeable difference in efficiency.
Inspect the seals on the unit. If you notice any signs of wear, it’s time to replace them. During my tenure, I often found that neglected seals could lead to bigger problems down the line. Regular maintenance can save you from unnecessary headaches.

Pay attention to the unloader valve. This component regulates pressure and can malfunction if not properly maintained. I remember a situation where a simple adjustment of the unloader valve resolved a pressure issue that had baffled me for weeks. Ensuring it’s in proper working order can prevent larger malfunctions in the future.
Finally, always refer to the manufacturer’s manual for specific guidelines tailored to your model. I learned early on that each machine has its quirks, and having the manual handy can provide invaluable insights for troubleshooting. Keeping these tips in mind will help maintain your cleaning unit in top shape.
Repairing a Generac Pressure Washer Pump
Begin by checking the inlet filter. A clogged filter can restrict water flow, leading to performance issues. Remove the filter and clean it thoroughly with water. If it’s damaged, replace it with a new one.
Next, inspect the unloader valve. This component controls the pressure and can become stuck. Use a wrench to loosen and remove it. Clean any debris and reassemble it carefully. If the valve appears worn, consider replacing it to ensure proper function.
Examine the seals and O-rings for wear. Over time, these parts can degrade, causing leaks. If you notice any cracks or brittleness, replace them with new seals. Ensure that the replacements match the original specifications for a proper fit.
Don’t overlook the belt drive system, if applicable. A loose or damaged belt can lead to inadequate pressure. Check tension and alignment, adjusting or replacing the belt as necessary to restore optimal performance.
Lastly, inspect the motor for issues. Listen for unusual noises while the unit is running. If you detect any grinding or rattling, it may indicate internal damage. In such cases, consulting a professional technician is advisable to prevent further complications.
Identifying Common Pressure Washer Pump Issues
Start with checking for leaks. A leak around the connections or from the unit itself often indicates a worn gasket or loose fitting. I recall a time when a customer brought in a unit with a persistent drip. After tightening the fittings and replacing a simple O-ring, the issue vanished. Always inspect these areas first.
Unusual Noises
Listen for any strange sounds while the machine operates. A grinding or rattling noise usually signifies internal wear or debris lodged inside. I once encountered a model that was surprisingly noisy. After disassembling it, I found a small rock trapped in the housing, which caused all the racket. Regularly cleaning out the intake can help prevent these situations.
Inconsistent Water Flow

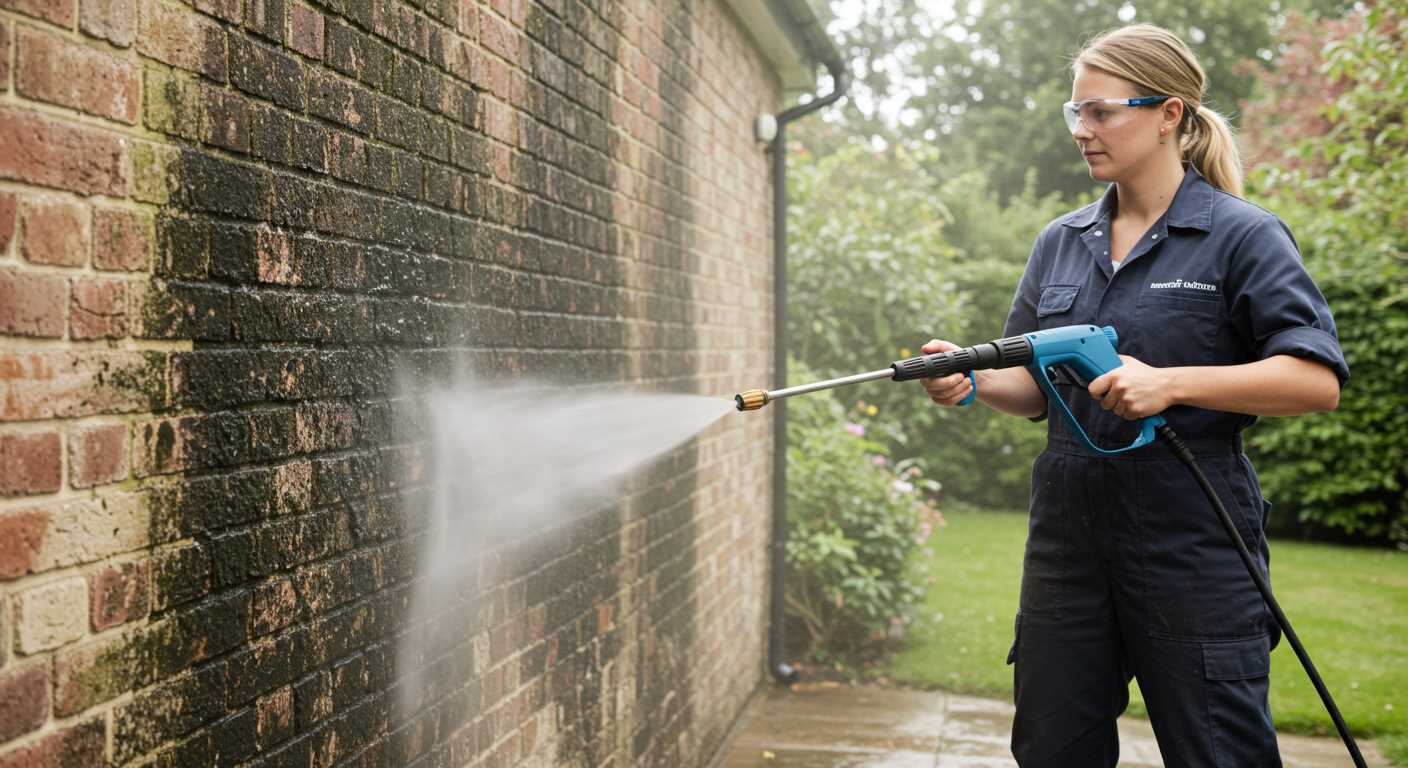
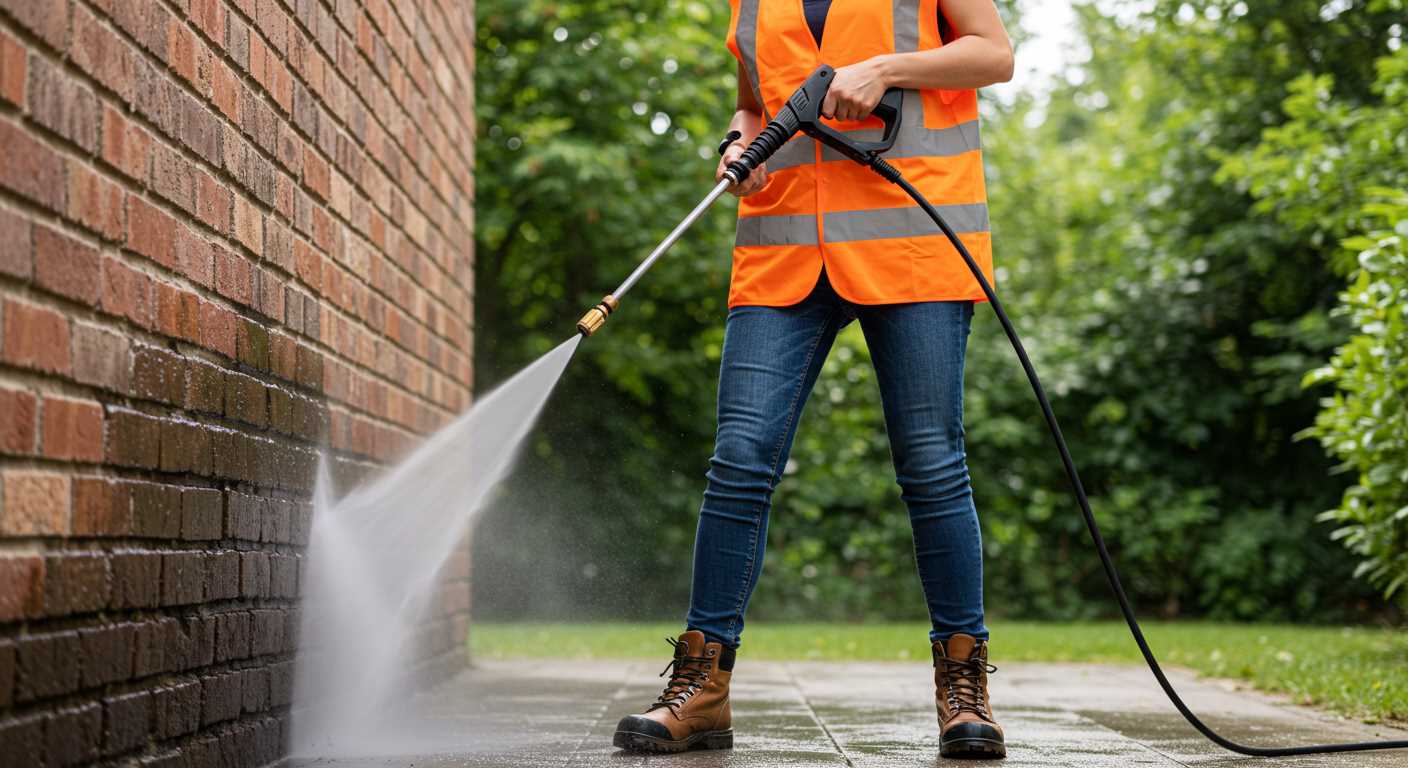
Watch for fluctuations in water pressure. If the output wavers, it might mean a blockage in the nozzle or a damaged hose. I had a situation where a customer thought their unit was malfunctioning, but a simple cleaning of the nozzle restored proper function. Always check for clogs before assuming the worst.
Gathering Necessary Tools for Pump Repair
Before tackling any repairs on your cleaning equipment’s motor, ensure you have the right tools at hand. This step can significantly simplify the process and save time.
Essential Tools
- Socket Set: A comprehensive socket set will help you remove and secure various bolts and screws.
- Wrenches: Adjustable wrenches are handy for gripping and turning nuts and fittings.
- Screwdrivers: Both Phillips and flathead screwdrivers in various sizes are necessary for different types of screws.
- Pliers: Needle-nose and regular pliers can assist in holding components steady or pulling out stuck parts.
- Torque Wrench: This tool ensures bolts are tightened to the manufacturer’s specifications, preventing damage.
Additional Supplies
- Sealant and Gaskets: Having these on hand can help prevent leaks post-reassembly.
- Cleaning Agents: Use appropriate cleaning solutions to remove debris and grime from components. For car cleaning, check out car shampoo for pressure washer.
- Lubricants: A good lubricant can prolong the life of moving parts and prevent wear.
- Container for Parts: Keep nuts, bolts, and small parts organised to avoid losing them during the process.
In my years of experience, having the right tools not only enhances efficiency but also boosts confidence when tackling repairs. Always double-check your toolkit before starting; it saves a lot of hassle later on!
Disassembling the Pressure Washer Pump Safely
Before you begin taking apart the unit, ensure it is completely shut off and disconnected from the power source and water supply. This simple step prevents accidents and makes the process smoother.
Start with the right tools: a socket set, screwdrivers, and pliers. These will be essential for loosening bolts and screws. As you work, keep a magnetic tray handy to hold small parts like screws and washers. Trust me, losing these can turn a straightforward task into a frustrating ordeal.
Next, lay the unit on a clean, flat surface. This not only makes it easier to access components but also minimises the risk of losing anything during disassembly. Gently remove any outer casing or cover first, taking care to note the order of screws and parts. A quick photo can help you remember where everything goes when it’s time to reassemble.
Once the exterior is off, carefully detach hoses and connections. Use pliers where necessary, but avoid excessive force that could damage fittings. It’s often helpful to label each hose and connection with masking tape, indicating where it belongs for later reassembly.
With hoses out of the way, you can access internal components. Pay close attention to the arrangement of parts as you take them out. A systematic approach will save time and hassle when putting everything back together. If you encounter resistance, double-check for any hidden screws or clips that may still be holding parts in place.
After disassembly, inspect each component thoroughly for wear or damage. This step is crucial in identifying any issues that need addressing. If you’re curious about related equipment, consider checking out this article on how to can green beans with a pressure cooker for tips on maintaining kitchen tools.
Finally, keep everything organised as you work. Using labelled bags for different groups of parts can save a lot of time and frustration down the line. With everything properly disassembled and documented, you’re now ready to tackle any repairs needed on the internal components.
Inspecting Internal Components for Damage
Start by examining the internal parts carefully. Look for cracks, wear, or corrosion on key components such as the cylinder, pistons, and seals. Small imperfections can lead to significant performance issues.
Visual Inspection
- Check the cylinder walls for scratches or scoring. Any roughness can hinder the movement of the pistons.
- Inspect the pistons for signs of wear. If they appear uneven or chipped, replacement is necessary.
- Evaluate the seals and O-rings. Look for signs of deterioration, such as hardening or tearing, as these can lead to leaks.
Functional Testing
- Manually move the pistons to feel for any resistance or sticking. Smooth movement indicates good condition.
- Test the bearings by rotating them. They should turn freely without grinding or catching.
- Fill the unit with water and run it briefly to check for leaks around the seals. Any water escaping is a clear indicator of a problem.
Keep a notebook handy to jot down any findings during your inspection. This helps in tracking the condition over time and makes the reassembly process easier.
Replacing Faulty Parts in the Pump
Start with identifying any worn-out seals and o-rings. These components often degrade due to pressure fluctuations and can lead to leaks. I recall a time when a small leak was the culprit behind a significant drop in performance. Replacing these parts can restore functionality and prevent further damage.
Common Parts to Replace
Here’s a list of typical components to keep an eye on during your maintenance:
| Part | Symptoms of Failure | Replacement Tips |
|---|---|---|
| Seals | Visible leaks | Ensure the surface is clean before installation. |
| O-rings | Loss of pressure | Use lubricant to ease installation. |
| Piston | Inconsistent flow | Check for scoring or cracks before replacing. |
| Valves | Unusual noise or vibration | Replace both inlet and outlet valves simultaneously. |
Installation Process
When replacing parts, ensure you have the right specifications to avoid misfitting. I’ve seen many users struggle with compatibility issues, which can lead to additional headaches. After removing the faulty component, clean the area thoroughly to ensure a proper seal for the new part. Always tighten screws and fittings to the manufacturer’s specifications to avoid future leaks.
Lastly, after reassembly, run the unit at low pressure initially to check for any leaks. This step can save you from surprises later on. I remember the relief I felt the first time I did this and discovered no issues–just pure satisfaction knowing I had done the job right.
Reassembling and Testing the Pressure Washer Pump
Begin with a clean workspace. Gather all reassembled components and ensure that seals and O-rings are properly lubricated before installation. This step minimizes the chance of leaks once the unit is back together.
Reassembly Steps
Start by placing the cylinder head back onto the body, ensuring that the alignment pins fit snugly. Secure it with bolts, tightening them in a crisscross pattern to ensure even pressure distribution. After that, reinstall the plunger assembly, making sure it sits correctly within the cylinder bore. Pay attention to the orientation of the plungers; they should match the original layout.
Next, attach any necessary fittings, such as the inlet and outlet connections. Ensure that these parts are tightened to avoid any potential leaks during operation. Don’t forget to replace any gaskets that may have been removed during disassembly.
Testing The Unit
Before starting up, double-check all connections and ensure that nothing is loose. Fill the reservoir with water, then prime the system by pulling the trigger on the spray gun until water flows smoothly. This step removes air pockets, which can cause the motor to strain upon startup.
Once primed, connect the device to a power source and turn it on. Monitor for any unusual noises or vibrations, which could indicate an assembly issue. If everything sounds normal, proceed to perform a test run. Observe the water output for consistency and pressure. If you notice any irregularities, turn off the machine immediately and reassess the assembly for any missed steps.
By following these steps, you’ll ensure your unit is reassembled correctly and functioning optimally, ready for the tasks ahead.
.jpg)
.jpg)


