

Start by gathering the necessary tools: a socket set, screwdrivers, and a replacement gasket kit. This will save you time later. I recall a time when I attempted to fix a unit without the right tools, and it turned into a frustrating experience. Having everything ready makes the process smoother and more efficient.
Next, drain the fluid from the unit. This step is often overlooked but is crucial to prevent spills and ensure a clean workspace. You wouldn’t believe how messy it can get if you skip this; I learned this the hard way during my early days in the industry. Once drained, remove the housing carefully to expose the inner components.
Inspect the seals and O-rings for any signs of wear or damage. In my experience, these small parts can cause significant leaks if not addressed promptly. I once encountered a pump that seemed fine but had a tiny crack in the seal, which resulted in a poor performance. Replacing these parts can often bring a unit back to life.
After replacing any damaged components, reassemble the housing securely. Tighten all screws evenly to avoid any stress on the casing. I remember rushing through this step once, only to find that a loose screw led to a leak. Patience in reassembly pays off in the long run.
Finally, refill the pump with the appropriate fluid and test it. Listen for any unusual sounds and check for leaks. If everything operates smoothly, you’ve successfully revitalised your machine. I always feel a sense of accomplishment after completing such tasks, knowing I’ve saved both time and money in the process.
Repair Steps for a Honda Pressure Cleaning Device
Begin with disconnecting the water supply and power source. This prevents any accidental activation while working on the unit.
Examine and Replace Key Components
Focus on the following parts that often require attention:
- O-rings and Seals: Check for wear or damage. Replace if necessary to prevent leaks.
- Piston: Inspect for scoring or damage. A scratched piston may need replacement.
- Valves: Ensure that inlet and outlet valves open and close properly. Clean them if clogged.
Testing After Maintenance
Once components are replaced or cleaned, reassemble the unit. Follow these steps:
- Reconnect the water supply and power source.
- Run the machine briefly to check for leaks.
- Observe the pressure output; it should be consistent without fluctuations.
If everything operates smoothly, you’ve successfully restored functionality. If issues persist, consider seeking professional assistance for more complex problems.
Identifying Common Pump Issues
First, listen closely for unusual sounds while the unit operates. A grinding or rattling noise often indicates worn bearings or internal components. I’ve seen this before when a colleague ignored the warning signs, leading to a complete breakdown.
Next, observe the water flow. If you notice a weak stream or inconsistent pressure, check for blockages in the inlet filter or nozzle. I once encountered a similar situation; a simple cleaning of the filter restored normal flow and saved a costly repair.
Inspect for leaks around the seals. Water pooling around the machine signifies seal degradation. I recommend replacing seals immediately; I’ve encountered instances where neglecting this led to extensive damage, necessitating full component replacements.
Monitor the temperature of the unit. Overheating can result from a malfunctioning thermal relief valve. I remember troubleshooting a unit that shut down repeatedly due to this issue. A quick valve replacement resolved the problem and restored functionality.
Finally, check the input water source. Insufficient supply can lead to various performance issues. I once worked with a team that faced persistent pressure drops due to an inadequate water supply line. Ensuring proper water flow resolved their headaches entirely.
Gathering Necessary Tools and Materials
Begin by collecting the tools and materials you’ll need for the task. From my experience, having everything at hand saves time and frustration. A socket set is indispensable for loosening and tightening bolts. You’ll want a torque wrench too; it ensures you don’t over-tighten components, which can lead to further issues.
Required Tools
Include a flat-head screwdriver and a Phillips screwdriver for accessing various parts. Pliers and a wrench set will be crucial for gripping and turning nuts and fittings. A multimeter is also handy for checking electrical connections. If you’re dealing with seals or gaskets, a scraper can help remove old material without damaging the surfaces beneath.
Materials to Have on Hand
Gather replacement seals, O-rings, and gaskets. These are commonly needed when addressing leaks. It’s wise to have lubrication on hand, such as silicone grease, to ease assembly and prolong the life of new seals. Additionally, keep a container for old fluids and debris, ensuring a tidy workspace. Lastly, don’t forget safety gear: gloves and goggles protect you during the process.
Draining and Disassembling the Pump
Start by disconnecting the water supply and the power source. This ensures safety and prevents any accidental activation during the process.
Next, locate the drain plug. This is typically found at the lowest point of the assembly. Use a container to catch any residual liquid as you remove the plug. Allow the fluid to completely drain to avoid spillage during disassembly.
Once drained, proceed to remove the housing. Use the appropriate screwdriver or socket set to loosen the screws or bolts holding the casing together. Keep all fasteners in a labelled container to prevent loss.
- Carefully lift the cover off, taking note of any gaskets or seals that may be attached. Avoid damaging these components, as they may be reusable.
- Inspect the internal components for any visible wear or damage. Look for cracks or corrosion on the housing and internal parts.
- Once the cover is off, remove the inlet and outlet valves. These are usually secured with clips or screws. Take pictures during this process for reference when reassembling.
Check the O-rings and seals around these valves. If they appear worn, it’s wise to replace them to ensure a proper fit when reassembled.
After removing the valves, you can access the pistons and other internal mechanisms. Gently pull these parts out, taking care not to force anything that feels stuck. If they resist, double-check for any remaining screws or clips.
Once all components are removed, clean each part thoroughly with a suitable solvent. This removes any build-up that could affect performance once reassembled.
Keep everything organised, as this will make reassembly straightforward. Label each component if necessary, and make notes on any issues observed during disassembly for reference later.
Inspecting Internal Components for Damage
Check every component meticulously for signs of wear or failure. Begin with the pistons; look for scratches or scoring on the surface. These imperfections can compromise sealing and lead to pressure drop. If you notice any damage, replacing the pistons may be necessary.
Valves and Seals Examination
Next, inspect the inlet and outlet valves. A bent or damaged valve can prevent proper water flow, causing inefficiency. Ensure the seals are intact; cracked or worn seals can lead to leaks. If you find any, replacing them is straightforward and can significantly improve performance.
Crankshaft and Connecting Rod Assessment

Examine the crankshaft for any signs of bending or excessive wear. A misaligned crankshaft can create operational issues. The connecting rod should be free of cracks and should move smoothly. If there’s any play or roughness in movement, it’s a sign that these components need attention.
Replacing Worn Seals and O-Rings
Start by gathering the correct replacement seals and O-rings for your model. Check the manufacturer’s specifications for dimensions to ensure a proper fit. Using mismatched sizes can lead to leaks and further issues.
Carefully remove the old seals and O-rings. A small flathead screwdriver can help pry them out without damaging the surrounding components. Be cautious to avoid scratching any surfaces, as this can compromise the new seals’ effectiveness.
Before installing the new components, clean the grooves thoroughly. A clean surface ensures a good seal, preventing future leaks. I’ve often found that using a soft cloth and some mild detergent works wonders in removing grime and residue.
Apply a thin layer of lubricant to the new seals and O-rings. This prevents pinching during installation and enhances their longevity. Silicone grease is typically a good choice, but always refer to your specific model requirements.
Position the new seals and O-rings carefully. Ensure they sit flat and are properly aligned. A misalignment can create issues right from the start, so take your time here. Once installed, reassemble the unit and double-check that all components are secure.
After reassembly, test the machine before putting it back to regular use. Look out for any signs of leaking, which could indicate that the seals weren’t seated correctly. If all is well, you’re good to go!
For those looking to upgrade their equipment, consider checking out a pressure washer for monobloc options. They can offer enhanced efficiency and performance for various cleaning tasks.
Cleaning or Replacing the Pump’s Valves
The valves in your high-pressure unit play a pivotal role in its operation. If you notice a drop in performance, it’s time to inspect and maintain these components. Here’s how to ensure they function optimally.
Begin by removing the valve assembly from the housing. Typically, this involves unscrewing a few bolts or nuts. Keep track of the order in which you remove parts; it will simplify reassembly later.
- Inspection: Examine the valves for any signs of wear or damage. Look for cracks, chips, or warping, which can disrupt sealing.
- Cleaning: Use a soft brush and warm, soapy water to clean the valves. Rinse thoroughly and dry with a lint-free cloth. Avoid abrasive materials that could scratch the surface.
- Replacement: If the valves are damaged, source replacements that match the original specifications. Using mismatched components can lead to further issues down the line.
Before reassembling, check the valve seats. Any debris or damage here can affect the sealing ability. A light sanding may help smooth out minor imperfections.
- Reinsert the cleaned or new valves into the assembly.
- Ensure they sit correctly and seal the openings without obstruction.
- Reattach the assembly to the main unit, tightening bolts evenly to prevent leaks.
After reassembly, run the device at low pressure initially to observe any leaks or irregular sounds. If everything runs smoothly, you’ve successfully restored the functionality of your unit’s valves.
Reassembling the Pump Correctly
Aligning components accurately is critical. I always ensure that the valves and seals are positioned correctly before proceeding. Misalignment can lead to leaks or decreased functionality. Take your time and double-check everything.
Start with the casing. Gently place the internal parts into it, ensuring that each piece fits snugly without forcing anything. If you encounter resistance, backtrack to identify the misaligned component. I once rushed this step, only to find a leak during testing, which wasted hours of work.
Next, secure the screws evenly. I recommend tightening them in a crisscross pattern. This method distributes the pressure evenly across the casing, preventing warping. It’s easy to overlook this, but a warped casing can lead to pressure issues later on.
After securing the casing, install the inlet and outlet connections. Ensure that the O-rings are in place and lubricated with a bit of petroleum jelly. This not only aids in sealing but also makes future disassembly easier. I’ve learned this the hard way; a well-lubricated O-ring saves time and frustration.
Finally, connect the pump to the motor. Align the drive shaft carefully, ensuring it fits smoothly. I always double-check the alignment before securing it with the retaining bolts. An improperly aligned shaft can cause excessive wear or even prevent the unit from starting.
| Step | Tip |
|---|---|
| Align components | Check for snug fits; avoid forcing parts. |
| Tighten screws | Use a crisscross pattern for even pressure. |
| Install connections | Lubricate O-rings with petroleum jelly. |
| Connect to motor | Ensure drive shaft alignment before securing. |
Testing the assembly is the final step. I always conduct a brief run to check for leaks and ensure everything operates smoothly. If you notice any issues, don’t hesitate to disassemble and correct them. It’s better to address problems now than later.
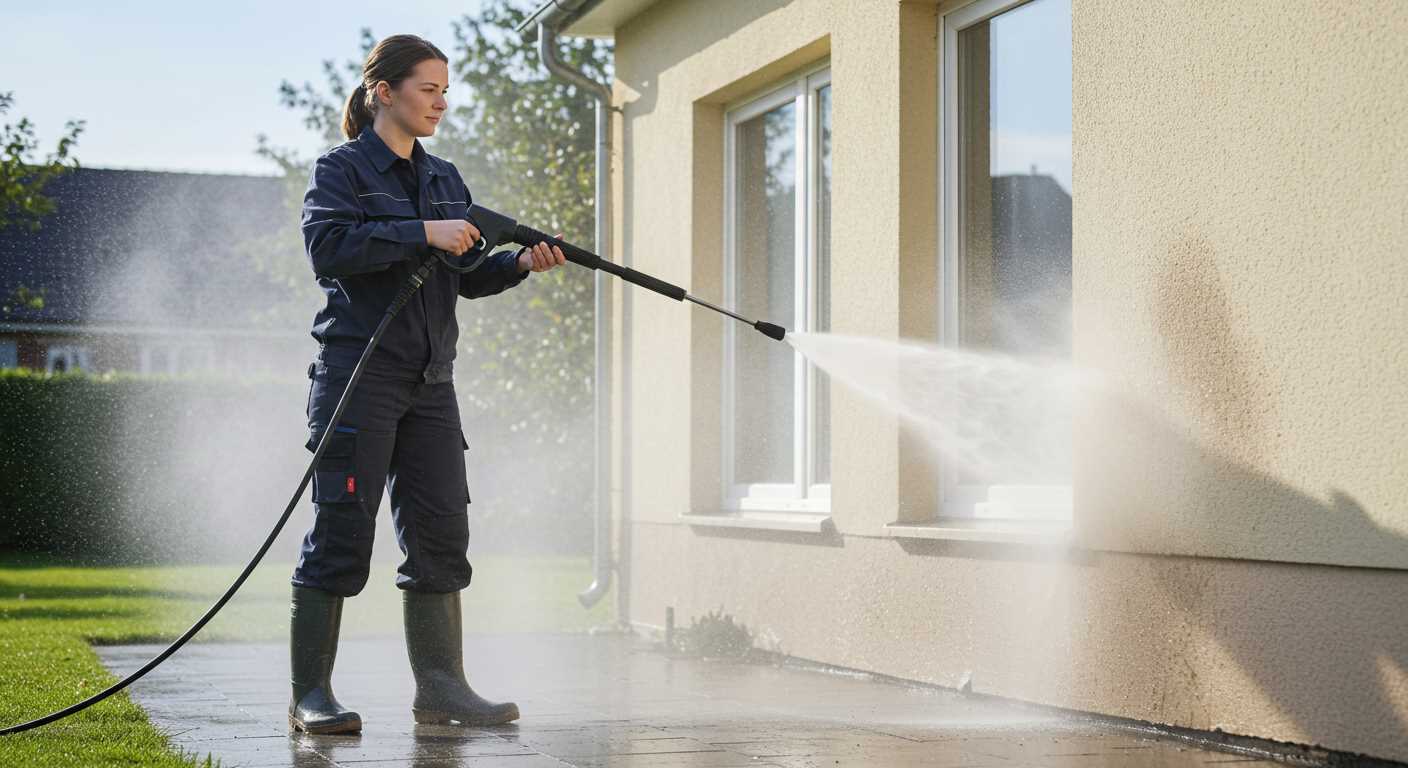
Testing the Pump After Repair
After reassembling the unit, ensuring proper function is key. First, connect the water supply and check for leaks. Any sign of moisture indicates a need for further adjustments, especially around seals and O-rings.
Next, start the engine and let it idle for a few minutes. Listen closely for unusual noises; grinding or rattling sounds often signal internal issues. If everything sounds normal, proceed to test the water output.
Attach a nozzle to the lance and aim it at a safe surface. Activate the trigger to observe the water pressure. A steady, forceful stream indicates a successful fix, while weak flow may suggest blockages or misaligned components.
It’s wise to perform a few additional tests at varying distances and angles. This ensures the equipment functions well under different conditions. Remember to check the spray pattern; it should be consistent and even without any erratic splattering.
If problems persist, revisit the disassembled parts, focusing on the valves and connections. They are often the culprits behind pressure issues. For reliable options, consider consulting resources like best petrol pressure washers to compare models and features.
| Test | Expected Result | Action if Unsuccessful |
|---|---|---|
| Leak Check | No leaks present | Reassess seals and O-rings |
| Noise Test | Quiet operation | Inspect internal components |
| Water Output | Strong, consistent flow | Check for blockages |
| Spray Pattern | Even distribution | Realign nozzle or check valves |
Only after confirming each aspect is functioning correctly should you consider the task complete. Regular maintenance checks can prevent future issues and prolong the lifespan of your equipment.
FAQ:
What are the common signs that my Honda pressure washer pump needs repair?
Common signs that indicate your Honda pressure washer pump may need repair include a decrease in water pressure, unusual noises coming from the pump, leaks around the pump area, and the unit not starting at all. If you notice any of these issues, it’s a good idea to inspect the pump for potential problems.
How can I identify the specific problem with my Honda pressure washer pump?
To identify the specific problem with your Honda pressure washer pump, start by checking for visible leaks or cracks in the pump housing. Listen for any unusual sounds when the unit is running, which may indicate internal damage. Additionally, monitor the pressure gauge—if the pressure is low, this may suggest a blockage or a malfunctioning component. Consulting the user manual for troubleshooting tips can also be beneficial.
What tools do I need to repair a Honda pressure washer pump?
For repairing a Honda pressure washer pump, you will typically need a few basic tools: a socket set for removing screws and bolts, a screwdriver for smaller components, pliers for gripping and manipulating parts, and a wrench for tightening fittings. Additionally, having a replacement seal kit or O-rings handy can be helpful if you need to replace worn-out parts.
Can I repair the pump myself, or should I hire a professional?
Whether you can repair the pump yourself depends on your comfort level with mechanical tasks. If you have some experience with tools and basic repairs, you may be able to handle minor issues like replacing seals or cleaning out blockages. However, if the problem is complex, such as internal damage or if you’re unsure about the repair process, it’s advisable to seek help from a professional to avoid further damage.
What maintenance can I perform to prevent issues with my Honda pressure washer pump?
To prevent issues with your Honda pressure washer pump, regular maintenance is key. This includes checking and changing the oil as recommended in the user manual, ensuring the water supply is free of debris, and performing seasonal inspections for wear and tear on hoses and fittings. Additionally, storing the pressure washer in a dry place and winterising it if necessary can help prolong its life and maintain performance.
What are the common signs that indicate a Honda pressure washer pump needs repair?
Common signs that your Honda pressure washer pump may require repair include a noticeable drop in water pressure, unusual noises coming from the pump, leaking water around the pump area, and failure to start or operate properly. If you notice any of these issues, it’s advisable to inspect the pump closely for any visible damage or wear. Regular maintenance can help prevent these problems, but if they arise, addressing them promptly is key to maintaining the functionality of your pressure washer.

.jpg)


