


Before you consider replacing the trigger handle of your cleaning device, check for common issues such as clogged nozzles or worn seals. In my years of working with these machines, I’ve seen that many problems stem from simple maintenance oversights. A thorough inspection can often reveal the culprit without the need for extensive repairs.
First, disconnect the device from the power source to ensure safety. Inspect the trigger for any visible cracks or damage. If the trigger feels sticky or unresponsive, a quick clean with warm, soapy water might do the trick. I’ve had success using a soft brush to dislodge debris that can accumulate over time, affecting performance.
Next, examine the seals and O-rings within the handle. These small components play a critical role in maintaining pressure. If you notice any wear, replacing them is a straightforward task that can dramatically improve functionality. In my experience, keeping a few spare seals on hand has saved me time and hassle during busy cleaning seasons.
If the issue persists, consider the internal components. Disassembling the handle can reveal further problems, such as a faulty spring or internal blockage. Remember to take notes or photos during disassembly to aid reassembly. In one instance, I found that a simple adjustment to the internal spring resolved a persistent leaking issue, restoring full pressure to the output.
Repair Steps for Your High-Pressure Cleaner Nozzle
Begin by examining the connection points. Often, leaks occur at the joints where the hose meets the lance. Tighten any loose fittings with a suitable wrench, ensuring you don’t overdo it, as this can strip the threads.
If the water flow is weak, check the nozzle tip for clogs. A simple way to clear out debris is to use a fine pin or needle. Insert it gently into the tip, being cautious not to damage the internal components. Flushing the nozzle with warm, soapy water can also help dislodge stubborn particles.
Should you experience persistent issues, inspect the internal seals. Wear and tear on these components can lead to pressure loss. Carefully disassemble the nozzle according to the manufacturer’s instructions, replacing any worn seals with new ones. Always have a few spare seals on hand; they’re inexpensive and can save you time in the future.
Another common issue is the trigger mechanism. If the trigger feels stuck or unresponsive, clean the area with a soft brush to remove any accumulated grime. Lubricate moving parts with silicone spray to ensure smooth operation.
After reassembling, test the unit at a low pressure to check for leaks and functionality. Gradually increase to the desired pressure while observing for any irregularities. If all functions correctly, you’ve successfully resolved the issue.
For persistent problems, consider reaching out to a service centre. Sometimes, internal components require expert assessment to avoid further complications.
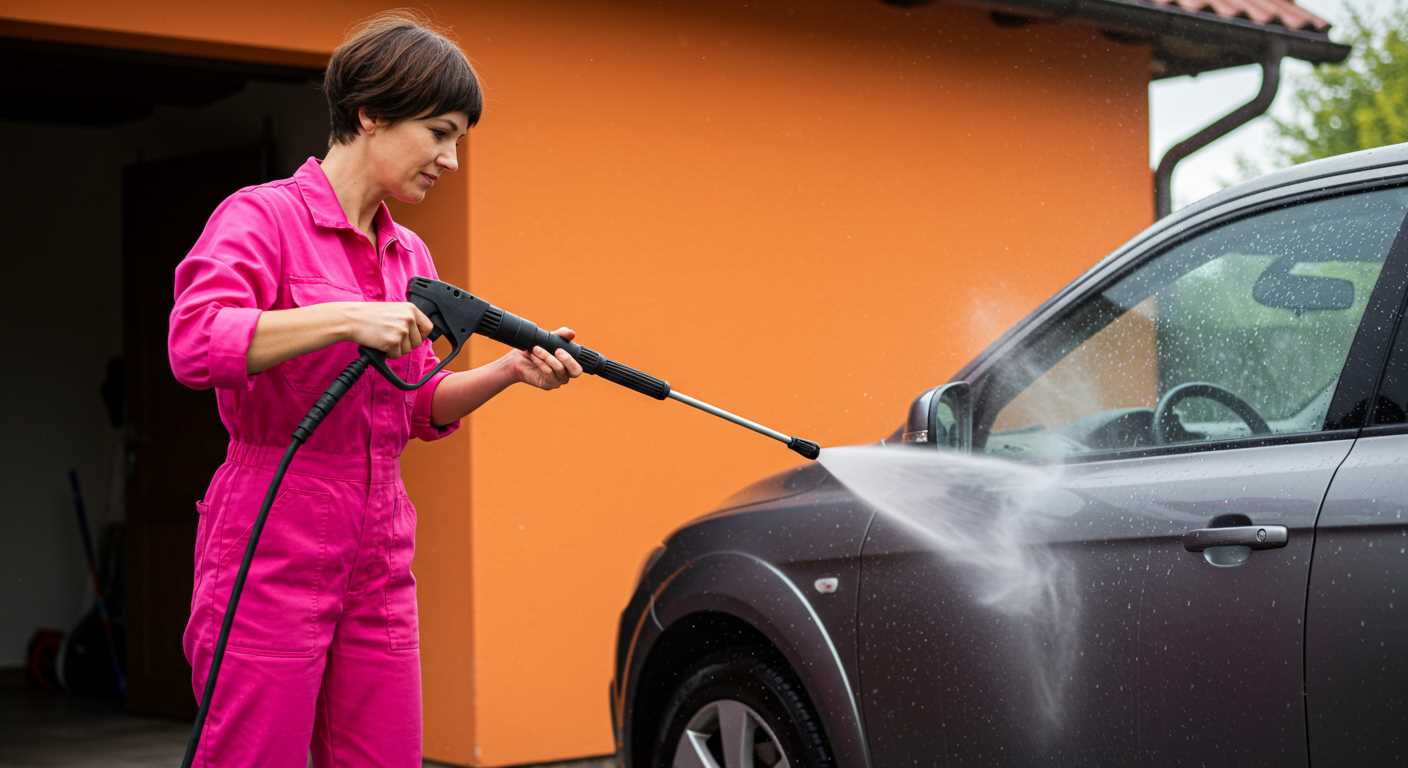
Identifying Common Issues with the Pressure Washer Gun
Start by examining the trigger for any signs of damage or wear. A faulty trigger can cause inconsistent water flow or complete blockage. Look for cracks or stiffness, which often indicate that a replacement is necessary.
Next, inspect the connection point where the lance attaches. If leaks occur here, it could mean the O-ring is damaged or missing. Replacing this small, inexpensive part can often resolve leaks and restore functionality.
Another frequent problem arises from blockages in the nozzle. Debris or mineral build-up can restrict water flow. Cleaning the nozzle with a small brush or soaking it in vinegar can help dissolve any obstructions.
Don’t overlook the hose. Kinks, cracks, or abrasions can lead to pressure loss. If you notice any damage, replacing the hose is advisable to ensure optimal performance.
Finally, listen for unusual sounds during operation. If the device is making strange noises, it may signal internal issues, such as a malfunctioning valve or pump. Addressing these problems promptly can prevent further damage.
| Issue | Symptoms | Solution |
|---|---|---|
| Trigger malfunction | Inconsistent flow | Inspect for damage and replace if necessary |
| Leaking connection | Water escaping from lance | Check O-ring and replace if needed |
| Blocked nozzle | Reduced pressure | Clean with brush or soak in vinegar |
| Damaged hose | Pressure loss | Replace hose if kinks or cracks are found |
| Unusual sounds | Strange noises during operation | Inspect internal components for damage |
By systematically checking these areas, you can quickly identify and address the most common issues that may arise with your cleaning equipment. Regular maintenance and timely intervention will enhance the longevity of your device.
Gathering Necessary Tools for the Repair Process
Before tackling any issues with your cleaning device, ensure you have the right tools at hand. This preparation will make the process smoother and more efficient.
- Screwdrivers: A set of Phillips and flathead screwdrivers is essential. Many components are held together with screws that require these tools for easy access.
- Socket Wrench Set: A socket wrench will help you remove any nuts and bolts that may be securing parts of the assembly. Having various sizes will ensure you can tackle any fix.
- Pliers: Needle-nose pliers are particularly useful for gripping small parts, especially in tight spaces. Regular pliers will also come in handy for various tasks.
- Replacement Parts: Depending on the issue, you may need seals, O-rings, or even a new nozzle. It’s wise to have a few common replacement parts on standby.
- Cleaning Supplies: Keep some cleaning fluid and cloths handy for removing debris and grime from components as you work.
- Safety Gear: Don’t forget gloves and goggles. Working with pressurised systems can be risky, and protecting yourself is paramount.
- Multimeter: For more complex electrical issues, a multimeter can help diagnose problems with the power supply.
- Manual or Repair Guide: If you have access to the service manual, it’s invaluable for identifying specifications and instructions specific to your model.
Once you have these tools ready, you can approach the task with confidence. Remember to also check your commercial pressure washer hose for any signs of wear or damage, as this can affect performance too.
Disassembling the Karcher Pressure Washer Gun Safely
Ensure the device is completely powered off and disconnected from the electrical source. A little precaution goes a long way. I once had a mishap where I failed to unplug a unit, and the sudden activation nearly caused a serious issue. Always start by relieving any pressure in the system by squeezing the trigger after disconnecting.
Next, gather the appropriate tools: a screwdriver set, pliers, and possibly a wrench, depending on the model. I’ve found that using the right screwdriver can prevent stripping screws, which is a common issue when working on these devices. Take the time to identify all fasteners; if you’re unsure of their location, a quick online search can help you find a diagram specific to your model.
Removing the Outer Shell

Begin with the outer casing, carefully unscrewing the screws without applying excessive force. Pay attention to the order of disassembly; I usually lay out the screws in the same pattern they were removed. This approach helps during reassembly. If you encounter resistance, check for hidden screws or clips that may be securing the casing further.
Accessing Internal Components
Once the outer shell is off, inspect the internal components visually for any wear or damage. It’s wise to take photographs during disassembly; these can serve as a reference when putting everything back together. If you notice any broken seals or worn-out parts, make a note to replace them. I’ve learned that even small, seemingly insignificant parts can lead to significant issues if neglected.
Inspecting and Replacing Worn Seals and O-Rings
Begin by closely examining all seals and O-rings for any signs of wear, such as cracks, deformation, or loss of elasticity. It’s crucial to replace these components if they appear damaged, as they play a vital role in maintaining proper pressure and preventing leaks. Here’s how to tackle the inspection and replacement effectively:
Inspection Steps
- Disassemble the components carefully, ensuring you remember the order of assembly.
- Use a magnifying glass to check for tiny cracks or splits in the rubber.
- Run your fingers over the surfaces to detect any irregularities that may not be visible.
- Look for any discoloration or sticky residue, which can indicate deterioration.
Replacement Process
- Purchase the correct size and type of seals and O-rings specific to your model.
- Remove the worn seals gently using a hook tool or flathead screwdriver, being cautious not to scratch the surrounding surfaces.
- Clean the grooves where the seals sit to ensure a proper fit for the new components.
- Lubricate the new O-rings lightly with silicone grease before installation to facilitate a smooth assembly.
- Install the new seals, ensuring they sit evenly and securely within their grooves.
Once replaced, reassemble the components in the reverse order of disassembly. Test for leaks by running water through the unit at low pressure. If you notice any leaks, double-check the installation of the seals. For more intricate tasks in the kitchen, you might find it helpful to read this guide on how to can chili without a pressure cooker. Proper maintenance of your cleaning equipment will ensure it operates efficiently for years to come.
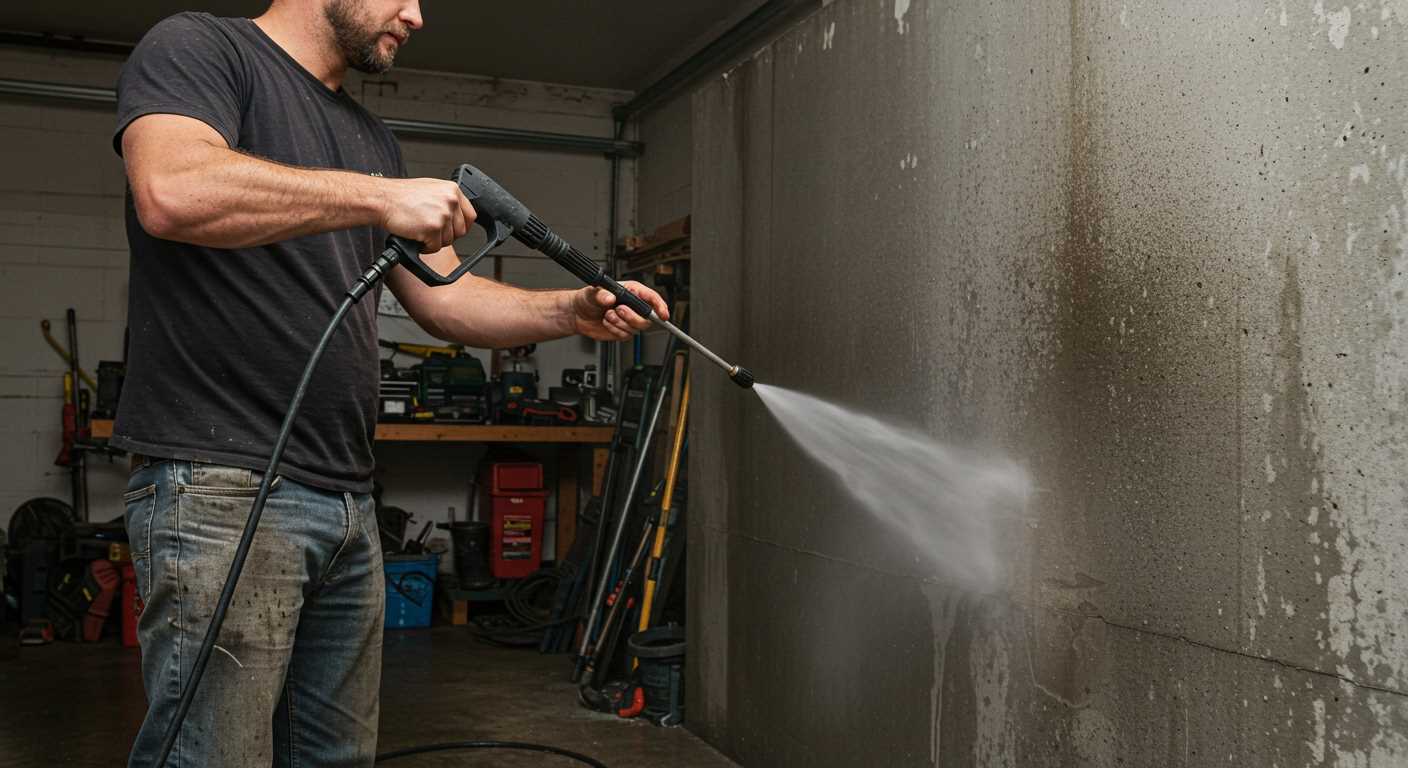
Cleaning the Nozzle and Ensuring Proper Water Flow
Begin with disconnecting the unit from the power source and water supply. This step prevents any accidental activation and ensures safety during maintenance. The nozzle can become clogged with dirt or debris, leading to reduced water flow and uneven spray patterns. I’ve seen this issue multiple times, often causing frustration for users. A simple cleaning procedure can resolve this.
Step-by-Step Cleaning Process
Using a soft brush, gently scrub the nozzle to dislodge any built-up grime. If the blockage persists, soak the nozzle in a mixture of warm water and vinegar for about 30 minutes. The acidity of the vinegar helps break down stubborn deposits. After soaking, rinse the nozzle thoroughly under running water. For a more thorough clean, a fine needle or a pin can be used to clear out any remaining obstructions in the nozzle tip. Ensure to do this carefully to avoid damaging the nozzle.
Checking Water Flow
After cleaning, reattach the nozzle and reconnect the water supply. Turn on the unit to test the flow. Observe the spray pattern; it should be even and powerful. If the water flow is still weak, inspect the hose for kinks or leaks that could be restricting flow. I recall one instance where a user was convinced their unit was malfunctioning, only to discover a simple kink in the hose was the culprit. Always ensure that the hose is in good condition and free from blockages for optimal performance.
Reassembling the Gun and Testing for Leaks
After replacing seals and cleaning components, it’s time to put everything back together. Start by positioning the main body of the spray device and aligning it with the trigger assembly. Ensure that any locking mechanisms are properly seated to avoid misalignment. Use the screws you removed earlier, tightening them in a cross pattern to distribute the pressure evenly.
Next, reattach the nozzle and any additional accessories, ensuring they are secure. Pay attention to the direction of the parts; some components only fit one way. Once reassembled, check that the trigger moves freely and that there’s no binding in the mechanism.
Before connecting to the water source, inspect all joints and connections for any visible gaps or misalignments. Once satisfied with the assembly, attach the water line. Turn on the water supply without activating the trigger to check for leaks. Observe each connection closely; if you spot any drips, carefully tighten the fittings.
Now, activate the device to conduct a full functionality test. Keep an eye on the pressure output and listen for any irregular noises during operation. If everything runs smoothly, you’re all set. However, if there are signs of leaks, revisit the assembly steps, checking each seal and connection. Sometimes, a simple adjustment can resolve the issue.
.jpg)


