


Begin with checking the power supply. Ensure the socket is functioning correctly by testing it with another appliance. If you’re using an extension lead, confirm it’s rated for high wattage and free of damage. A faulty power source can lead to various issues, including a complete failure to start.
Next, examine the water inlet. Debris can often clog this area, preventing proper water flow. Disconnect the hose and inspect the filter screen, cleaning it thoroughly. If you notice any blockages in the hose itself, replace it, as this can significantly affect performance.
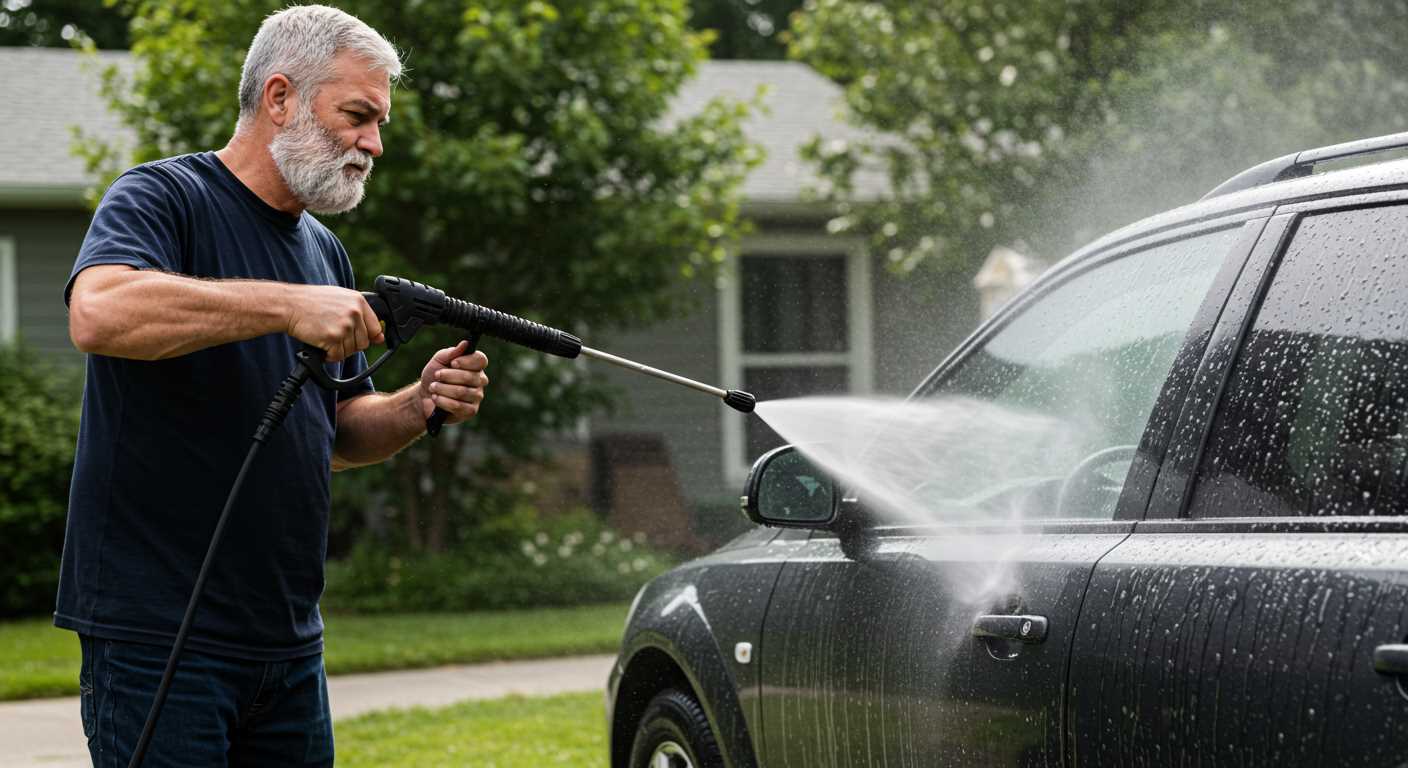
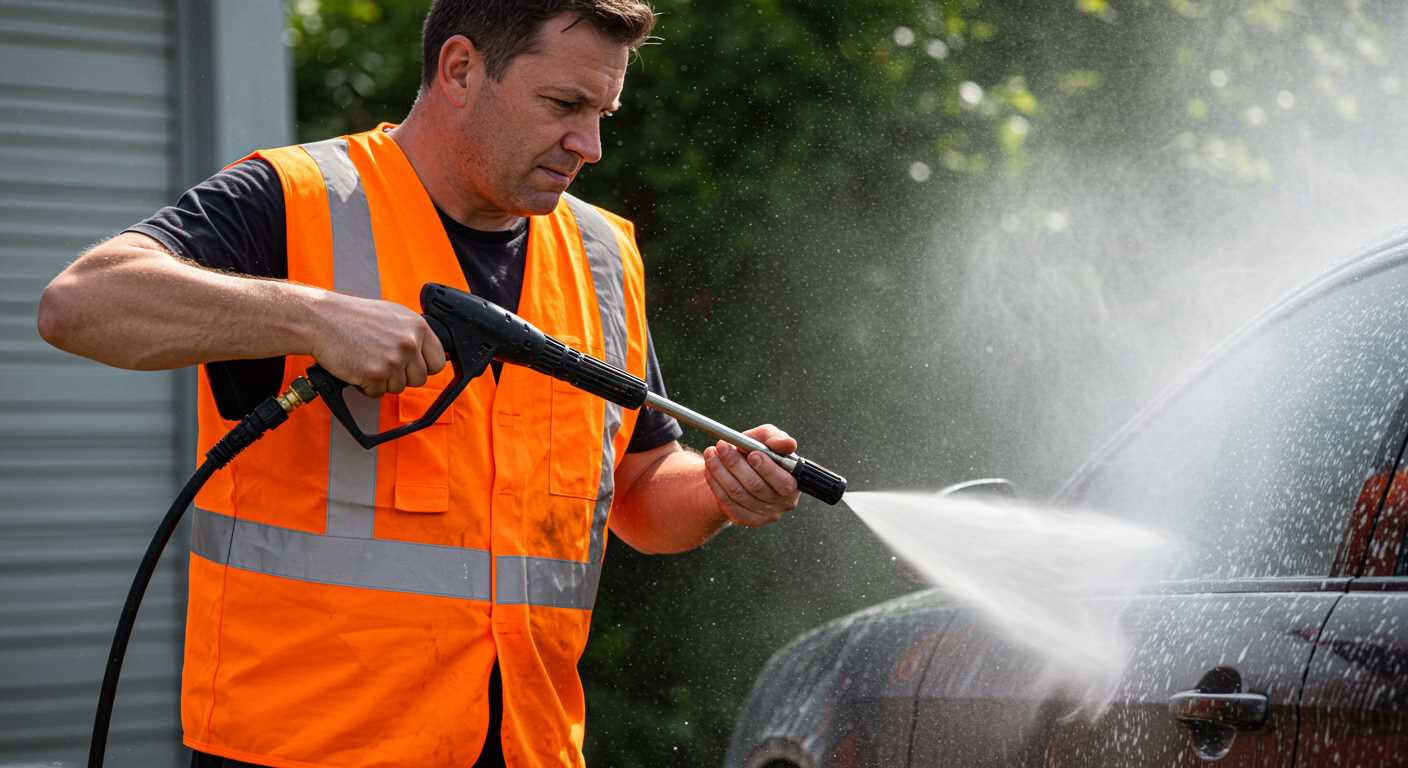
Pay attention to the nozzle. A clogged or worn-out nozzle can result in weak water pressure. Clean it with a small brush or replace it if necessary. I once encountered a model that had a persistent issue with low pressure; it turned out that a simple nozzle replacement made all the difference in restoring its power.
Check the detergent system if your unit uses one. Sometimes, residue can build up and obstruct the flow. Regular maintenance of this component prevents many common problems. I’ve seen numerous cases where neglecting this part led to costly repairs down the line.
Lastly, always refer to the user manual for specific troubleshooting tips tailored to your model. Each brand has its quirks, and knowing these can save you time and effort. My years in the industry taught me that small details often lead to significant improvements in performance.
Repairing Your Nilfisk Machine
Replace the O-rings in the gun and hose connections if you’re experiencing leaks. I’ve tackled this issue more times than I can count. It’s often a simple fix that can save you from more extensive repairs. First, disconnect the power and water supply, then remove the connections. Carefully pry out the old O-rings and replace them with new ones, ensuring a snug fit. This can significantly improve the performance and reliability of your equipment.
Addressing Pressure Loss
If the output pressure is inadequate, clean or replace the nozzle. I’ve seen clogged nozzles cause frustrating drops in pressure. Remove the nozzle and inspect it for debris. Soaking it in a vinegar solution can help dissolve any build-up. If cleaning doesn’t help, consider investing in a new nozzle; for concrete surfaces, a pressure washer nozzle for concrete is ideal. It’s a small investment that can enhance your cleaning efficiency dramatically.
Motor Issues
Should you find that the motor isn’t starting, check the power supply first. I recall a time when I spent hours troubleshooting, only to discover the plug wasn’t firmly connected. If the power supply is fine, inspect the motor brushes. Worn brushes can lead to poor performance. Replacing them is straightforward and can restore your equipment to full functionality. Just ensure you follow the manufacturer’s guidelines for the correct type and installation.
Identifying Common Issues with Nilfisk Pressure Washers
Check the power supply. A frequent issue arises from an inadequate power source. Ensure the plug is firmly connected and the socket is functioning. If the device doesn’t start, verify the fuse in the plug–blown fuses can be a simple yet overlooked problem.

Inspect the water intake. Blockages in the filter or hose can disrupt flow. Remove the filter and clean it thoroughly. Also, ensure that the hose isn’t kinked or damaged, as this can restrict water supply, leading to subpar performance.
Listen for unusual sounds. If you hear grinding or whining noises, it may indicate a failing motor or pump. Early identification can prevent further damage. Do not ignore these warning signs; they often signal that components need attention.
Examine the spray pattern. An uneven or weak spray can indicate a clogged nozzle. Detach the nozzle and clean it with a suitable solution or replace it if necessary. A well-functioning nozzle ensures optimal cleaning efficiency.
Check for leaks. Water pooling around the unit can signal a faulty connection or a worn-out seal. Inspect hoses and attachment points for signs of wear. Replacing worn seals can often restore proper functionality.
Monitor the temperature. Overheating can occur if the unit is run continuously for too long. Allow for cooling periods. If overheating persists, it could indicate a malfunctioning thermostat or pump issue; further investigation is warranted.
Verify the detergent system. If the cleaning solution isn’t dispensing properly, check the detergent bottle and the hose for blockages. Using the wrong type of cleaner can also cause issues, so ensure compatibility with your model.
Test the trigger gun. If it feels sticky or unresponsive, the internal mechanism might be jammed. Cleaning or replacing the trigger gun can often resolve this issue. Proper maintenance of this component is key for ease of use.
Tools Needed for Repairing Nilfisk Pressure Washers
Start with a basic toolkit that includes a set of screwdrivers–both flat and Phillips. These will help you access various components easily. A socket set is also handy for loosening and tightening nuts and bolts. I remember a time when I spent ages searching for the right size until I organised my tools properly.
Wrenches are essential for working on hoses and fittings. A pair of adjustable wrenches can save you from frustration when dealing with stubborn connections. I had a particularly tricky hose joint once that required a lot of patience and the right wrench to loosen.
Next, grab a multimeter. This tool allows you to check electrical components, ensuring everything is functioning correctly. I once diagnosed a faulty switch simply by testing it with a multimeter, which saved me both time and money.
Pliers are invaluable for gripping and twisting wires or hoses. A good pair of needle-nose pliers can reach into tight spaces where your fingers can’t go. I found them especially useful when dealing with the intricate wiring of the motor.
Don’t forget a cleaning kit. A simple mixture of vinegar and water can help clear clogs in the nozzle. I once faced a blocked nozzle that led to poor performance, and a quick clean resolved the issue in no time.
Safety gear is often overlooked. Invest in gloves and eye protection to keep yourself safe from any debris or chemicals you might encounter during maintenance. I learned this lesson the hard way after a small splash caused an unexpected sting.
Lastly, a workbench or a sturdy surface can make a world of difference. Having a dedicated space to lay out parts and tools helped me stay organised during complex tasks, avoiding the chaos that can occur when working in a cluttered area.
Steps to Fix a Pressure Washer That Won’t Start
Check the power source first. Ensure the socket is functioning by plugging in another appliance. If the outlet is fine, inspect the power cord for any damage or fraying. A faulty cord may prevent the machine from receiving power.
Inspect the On/Off Switch
Sometimes, the switch itself can cause issues. Toggle it a few times to ensure it’s not stuck. If the switch feels loose or unresponsive, it may require replacement.
Examine the Safety Features
Many models have built-in safety mechanisms. Look for a trigger lock or a safety button that might need to be disengaged. If it’s engaged, the unit won’t start. Ensure you follow the manufacturer’s instructions for resetting these features.
| Component | Action |
|---|---|
| Power Cord | Check for damage; replace if frayed or broken. |
| On/Off Switch | Toggle switch; replace if unresponsive. |
| Safety Features | Ensure all safety locks are disengaged. |
| Fuse | Inspect and replace if blown. |
| Fuel (if applicable) | Check fuel levels; refill if necessary. |
If the unit still doesn’t run, check the fuse or circuit breaker. A blown fuse can often be the culprit. Replace it if needed, and reset the breaker if it has tripped.
In case of gasoline-powered models, make sure there’s enough fuel. Running on empty can lead to starting issues. Always use the recommended fuel type and check for any leaks.
If after all these checks the machine remains unresponsive, it may be time to consult a technician for more complex issues such as internal electrical faults or pump malfunctions. Keeping a detailed log of the steps taken can be beneficial for troubleshooting further.
Replacing a Damaged Hose on Nilfisk Equipment
First, ensure the machine is unplugged and the water supply is turned off. Disconnect the existing hose from both the device and the gun. A quick twist and pull should free it up, but if it’s stuck, a bit of penetrating oil can help loosen tough connections.
Next, acquire a compatible replacement hose. Make sure to check the specifications; not all hoses fit every model. I once made the mistake of assuming a generic option would suffice, only to face leaks during use. Quality matters.
Once you’ve got the new hose, thread it through the connectors. Start by attaching it to the gun first; this typically has a more straightforward connection. Ensure it seats properly and tighten any clamps or fittings securely. It’s crucial to avoid over-tightening, as this can damage the threads.
After the gun is secured, connect the other end to the unit. Again, check for a snug fit. A visual inspection is vital; look for any signs of wear that could lead to leaks later on.
With everything connected, turn on the water supply and power up the machine. Before using it fully, test it on a low setting to confirm there are no leaks. I’ve seen hoses that looked fine but leaked under pressure, causing frustration during cleaning tasks.
In case of any issues, double-check the fittings and ensure everything is aligned correctly. If leaks persist, you may need to replace the fittings or check for damage on the hose itself.
Finally, store the equipment properly after use. Avoid kinks and twists in the hose, as this prolongs its lifespan. Keeping it coiled neatly can prevent unnecessary wear and tear, which I’ve found to be a common oversight among users.
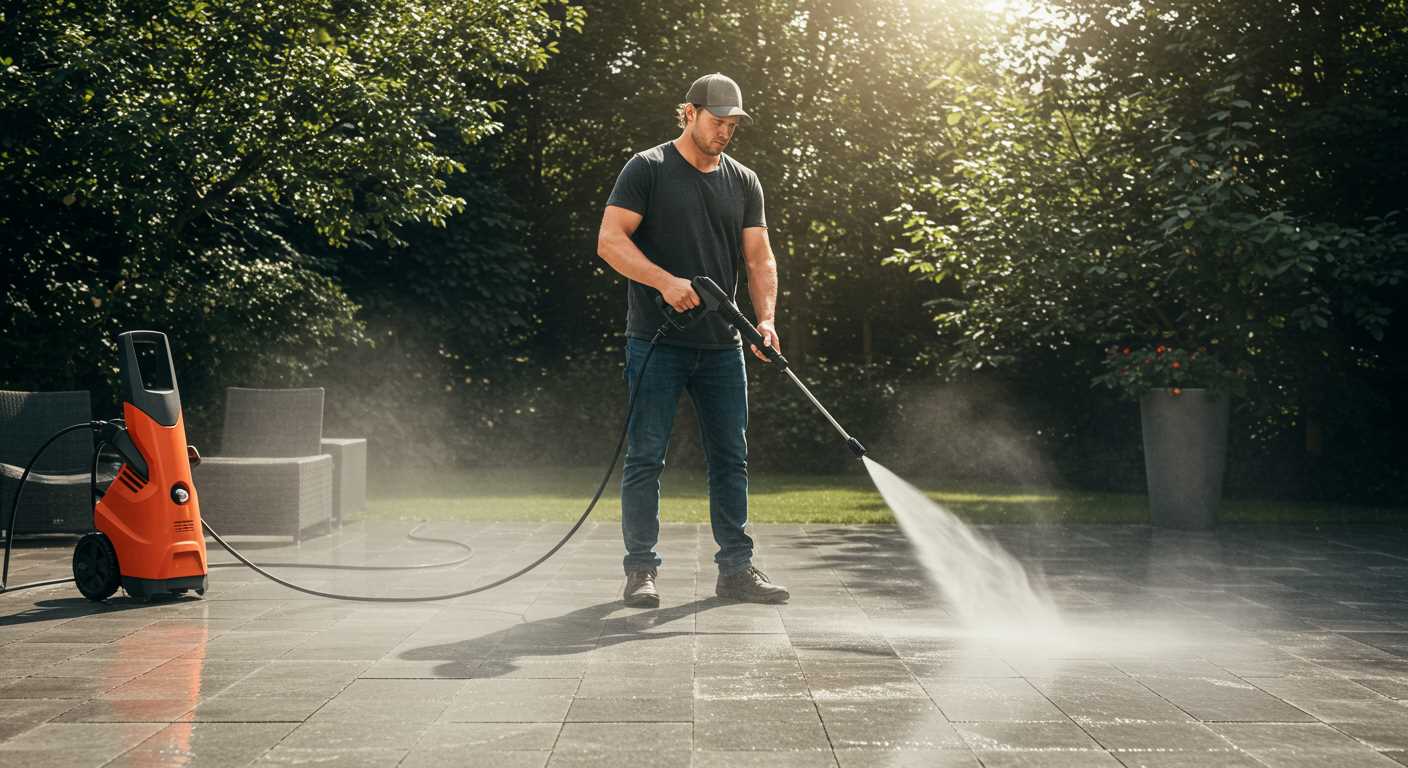
Troubleshooting Low Pressure Problems
If you notice a drop in performance, the first step is checking the water supply. Ensure the hose is fully submerged in water and that the tap is open. If the water flow is restricted, the unit will struggle to build pressure.
- Inspect the Water Filter: A clogged filter can limit water intake. Remove and clean it regularly to maintain optimal flow.
- Check the Nozzle: A blocked nozzle can cause low pressure. Remove the nozzle and clear any debris or buildup. If necessary, replace it with a new one designed for your model.
- Examine the Hose: Look for kinks, cracks, or leaks in the hose. Any damage can result in pressure loss. Repair or replace as needed.
Another common issue is the connection between the motor and pump. Ensure that the unit is properly assembled and that all parts are tight. Loose connections can lead to air entering the system, which disrupts pressure.
- Check the O-rings: Inspect the O-rings on the connectors for wear or damage. Replace them if they appear cracked or brittle.
- Inspect the Pump: If the pump is damaged or worn, it may not generate enough pressure. Listen for unusual noises when in operation; this could indicate internal issues.
Lastly, if your machine uses detergent, ensure it’s not causing the problem. Sometimes, using the wrong type of soap can create foam that impacts performance. Switch to a compatible detergent if needed.
In my experience, a systematic approach to diagnosing the issue can save time and frustration. Each step often reveals something important, leading to a straightforward solution.
Cleaning and Maintaining the Pump of Your Pressure Cleaner
Regular upkeep of the pump is non-negotiable for optimal performance. Begin by disconnecting the unit from the power source and water supply. Once safely detached, remove any debris or dirt around the pump area to prevent blockages.
Step-by-step Cleaning Process
1. Disassemble the Pump: Carefully take apart the pump casing to access the internal components. Keep track of screws and parts to ensure smooth reassembly.
2. Flush the System: Use clean water to flush the inside of the pump. This helps eliminate any residue or build-up that could impair functionality.
3. Inspect Seals and O-rings: Check for wear and tear on seals and O-rings. Replace any that appear damaged, as they play a critical role in maintaining pressure and preventing leaks.
Maintenance Tips
After cleaning, reassemble the pump, ensuring all parts fit snugly. Regularly check the pump for leaks, and make it a habit to flush the system after extended periods of use. This helps keep the internal mechanisms free from sediment.
For those interested in maintaining overall cleanliness at home, consider checking out how to clean laminate floors tips and tricks for spotless flooring.
By following these steps, you’ll ensure that your cleaning equipment remains in top condition, ready to tackle any job with efficiency.
Replacing Worn Out Seals and O-Rings
Start by identifying leaks, often caused by deteriorated seals or O-rings. These components are critical for maintaining pressure and preventing water from escaping. A common sign of wear is visible water seepage around connections and fittings.
Tools Required
Gather the following tools for the task:
- Screwdriver set
- Replacement seals and O-rings (specific to your model)
- Lubricant (silicone-based recommended)
- Tweezers or small pick tool
Step-by-Step Guide
1. Power Off: Ensure the unit is disconnected from the power source and water supply.

2. Disassemble: Carefully remove the cover or housing to access the seals. Keep track of screws and components as you go.
3. Inspect: Examine the seals and O-rings for cracks or deformation. If they feel brittle or sticky, it’s time for replacement.
4. Replace: Using tweezers, remove the old seals and O-rings. Install the new ones, ensuring they sit evenly in their grooves. Apply a thin layer of lubricant for better performance and longevity.
5. Reassemble: Put the housing back together, securing all screws tightly. Double-check that everything is aligned properly.
6. Test: Reconnect to the water supply and power. Run the unit briefly to check for leaks. If everything looks good, you’re set!
| Component | Common Issues | Replacement Frequency |
|---|---|---|
| Seals | Cracks, leaks | Every 1-2 years |
| O-Rings | Deformation, wear | Every 1-2 years |
Regular checks and timely replacements can save you from more significant issues down the line. It’s a simple maintenance task that can significantly prolong the life of your unit.
Fixing Electrical Issues in Pressure Cleaning Equipment
First, ensure the unit is unplugged before attempting any diagnostics or repairs. Electrical failures often stem from a few common sources.
- Check Power Supply: Confirm that the outlet is functioning. Use a multimeter to gauge voltage. If there’s no power, the issue might be with your electrical supply.
- Cord Inspection: Examine the power cord for frays or breaks. A damaged cord can lead to a complete failure. If you find any issues, replace the cord rather than attempting to repair it.
- Fuse and Circuit Breaker: Inspect the fuse or circuit breaker. A blown fuse or tripped breaker can prevent the machinery from operating. Replace the fuse or reset the breaker if necessary.
- Switch Functionality: Test the on/off switch. A faulty switch can interrupt power flow. If you suspect it’s the problem, replace it to restore functionality.
- Motor Examination: Listen for any unusual noises from the motor. If it hums but doesn’t start, the motor may be seized or require replacement. Check the motor windings for continuity.
After identifying the issue, follow these steps:
- Disconnect power completely before proceeding with any repairs.
- Replace faulty components, ensuring all connections are secure.
- Test each part individually to ensure it functions correctly before reassembling.
- Once repairs are complete, plug the unit back in and test it in a safe environment to verify everything operates smoothly.
Regular checks can preempt these electrical issues. Keeping an eye on the cord and plug condition can save time and hassle down the line.
Testing and Replacing the Pressure Switch
Begin with disconnecting the power supply to ensure safety. The pressure switch is typically located near the pump assembly. To confirm its functionality, use a multimeter. Set it to the resistance (ohm) setting and connect the probes to the switch terminals. A functional switch should show continuity when activated.
If there’s no continuity, it’s likely time for a replacement. Here are the steps I recommend:
- Remove the cover plate to access the switch.
- Carefully disconnect the wires from the switch terminals, noting their arrangement for reinstallation.
- Unscrew the switch from its mounting bracket and remove it.
- Acquire a compatible replacement unit. Ensure it matches the specifications of the original part.
- Install the new switch by securing it to the bracket and reconnecting the wires in the correct order.
- Replace the cover plate, ensuring all screws are tight.
- Reconnect the power and test the unit.
During my years in the field, I’ve seen many pressure issues stem from a faulty switch. Regular checks can save time and money in the long run. If you find yourself frequently replacing the switch, consider reviewing the overall system for possible underlying issues that could be causing the switch to fail prematurely.
In my experience, ensuring the switch is functioning correctly can greatly enhance the performance of your cleaning equipment. Regular maintenance checks on this component can prevent larger problems down the line.
FAQ:
What are the common issues that might cause a Nilfisk pressure washer to stop working?
Common issues that can lead to a Nilfisk pressure washer malfunction include clogged filters, a faulty motor, leaks in hoses or connections, and issues with the power supply. If the washer is not drawing water, it may also indicate a problem with the water inlet or the pump. Regular maintenance and checking these components can help prevent such problems.
How can I troubleshoot a Nilfisk pressure washer that won’t start?
To troubleshoot a Nilfisk pressure washer that fails to start, first check the power supply to ensure it is plugged in and the outlet is functioning. Inspect the power cord for damage. If the unit has a reset button, press it to see if it resolves the issue. Additionally, examine the pressure switch and any safety mechanisms that may prevent the washer from starting. If these steps do not work, consult the user manual for further guidance.
What steps should I follow to clean the filters on my Nilfisk pressure washer?
Cleaning the filters on your Nilfisk pressure washer involves a few straightforward steps. First, disconnect the power supply and water inlet. Locate the filter, which is typically found at the water intake. Remove it carefully and rinse it under running water to remove any debris or buildup. If the filter appears damaged, it may need to be replaced. After cleaning, reassemble the parts and ensure everything is securely in place before using the washer again.
Is it possible to repair a leaking hose on a Nilfisk pressure washer, and how can I do it?
Yes, you can repair a leaking hose on a Nilfisk pressure washer. Start by identifying the source of the leak. If the hose has a small puncture or tear, you can use a hose repair kit that includes patches or tape specifically designed for pressure hoses. For more significant damage, it might be necessary to replace the hose entirely. Ensure that you follow the manufacturer’s specifications for replacement parts to maintain proper function.
What maintenance tips can help extend the lifespan of my Nilfisk pressure washer?
To extend the lifespan of your Nilfisk pressure washer, consider the following maintenance tips: regularly clean the filters and nozzles, store the unit in a dry place to prevent rust, and avoid running the washer without water. Check the hoses and connections for wear and tear, and replace any damaged parts immediately. Additionally, ensure that you use appropriate detergents and follow the manufacturer’s instructions for operation and maintenance.
.jpg)


