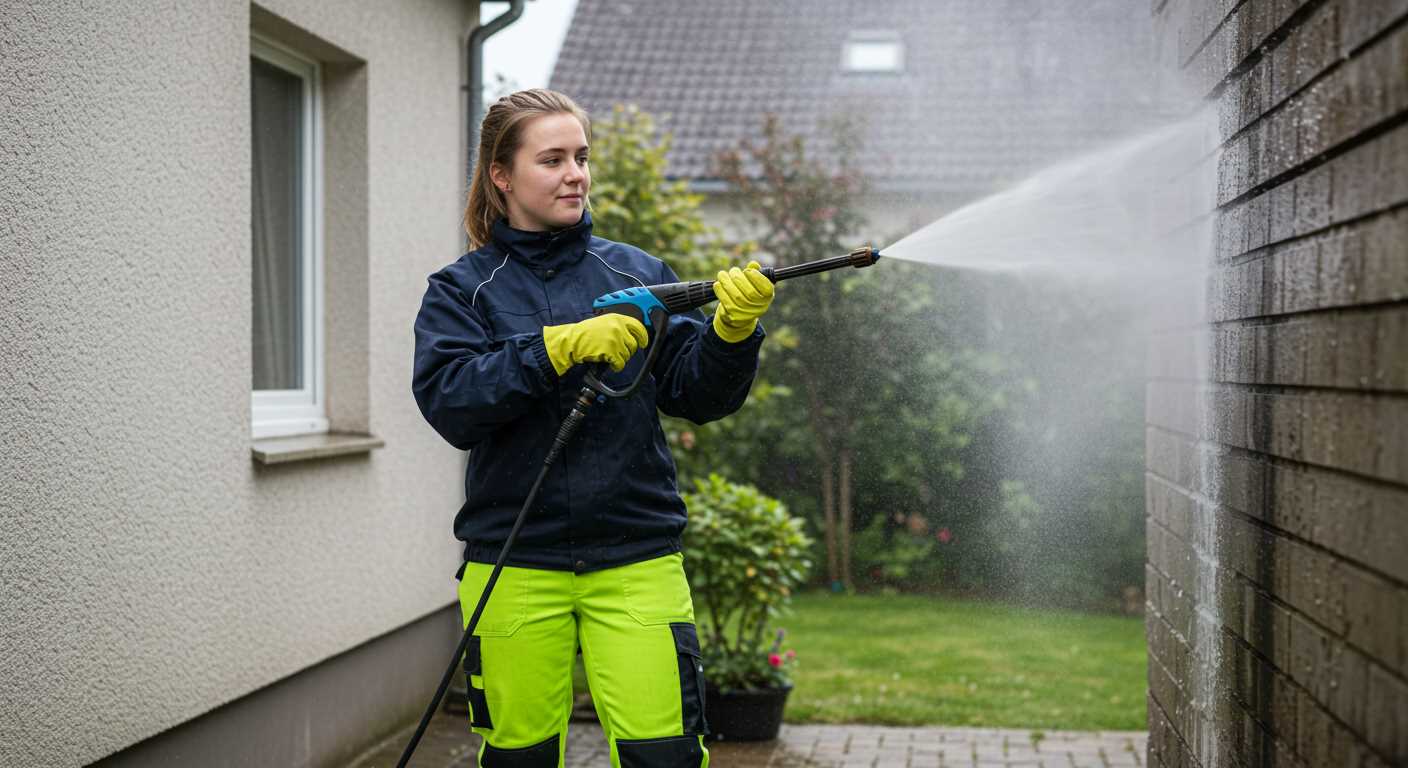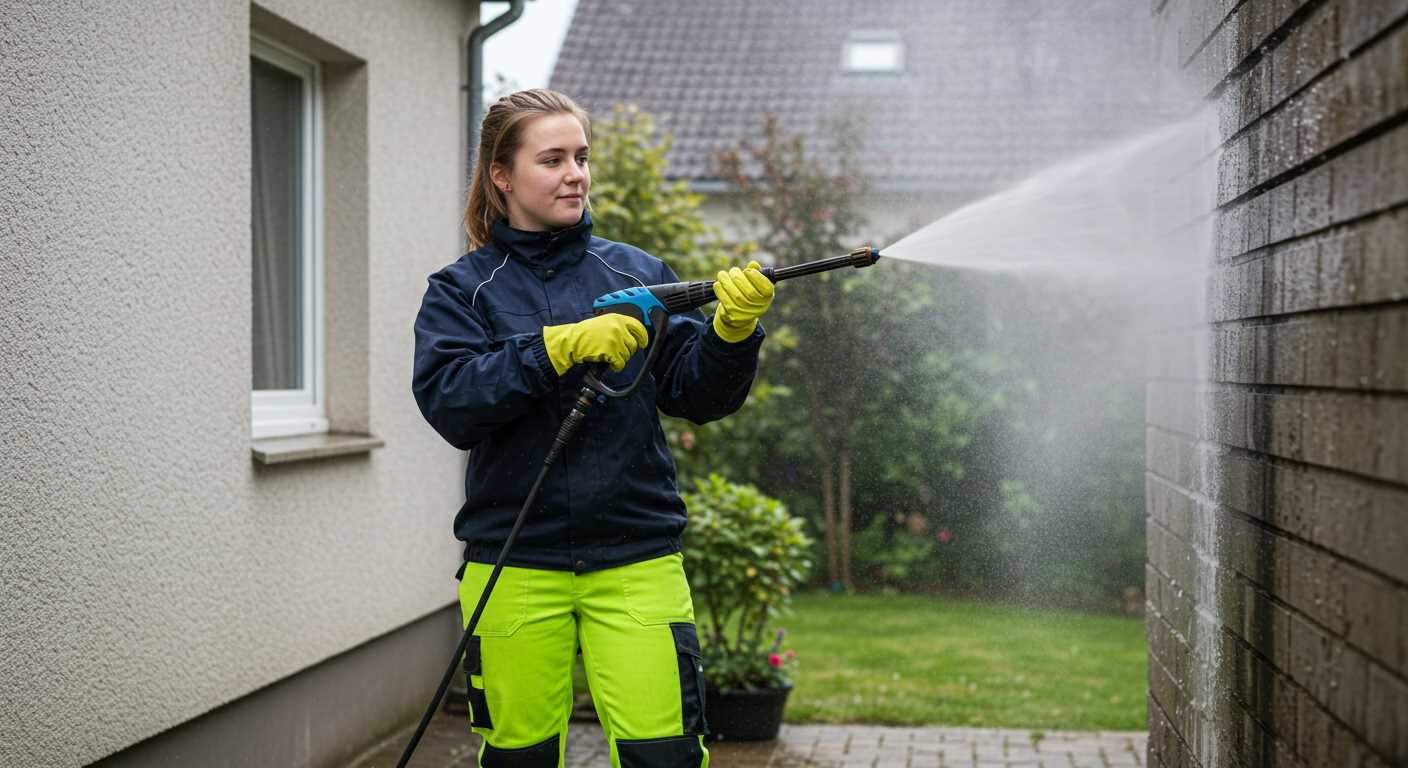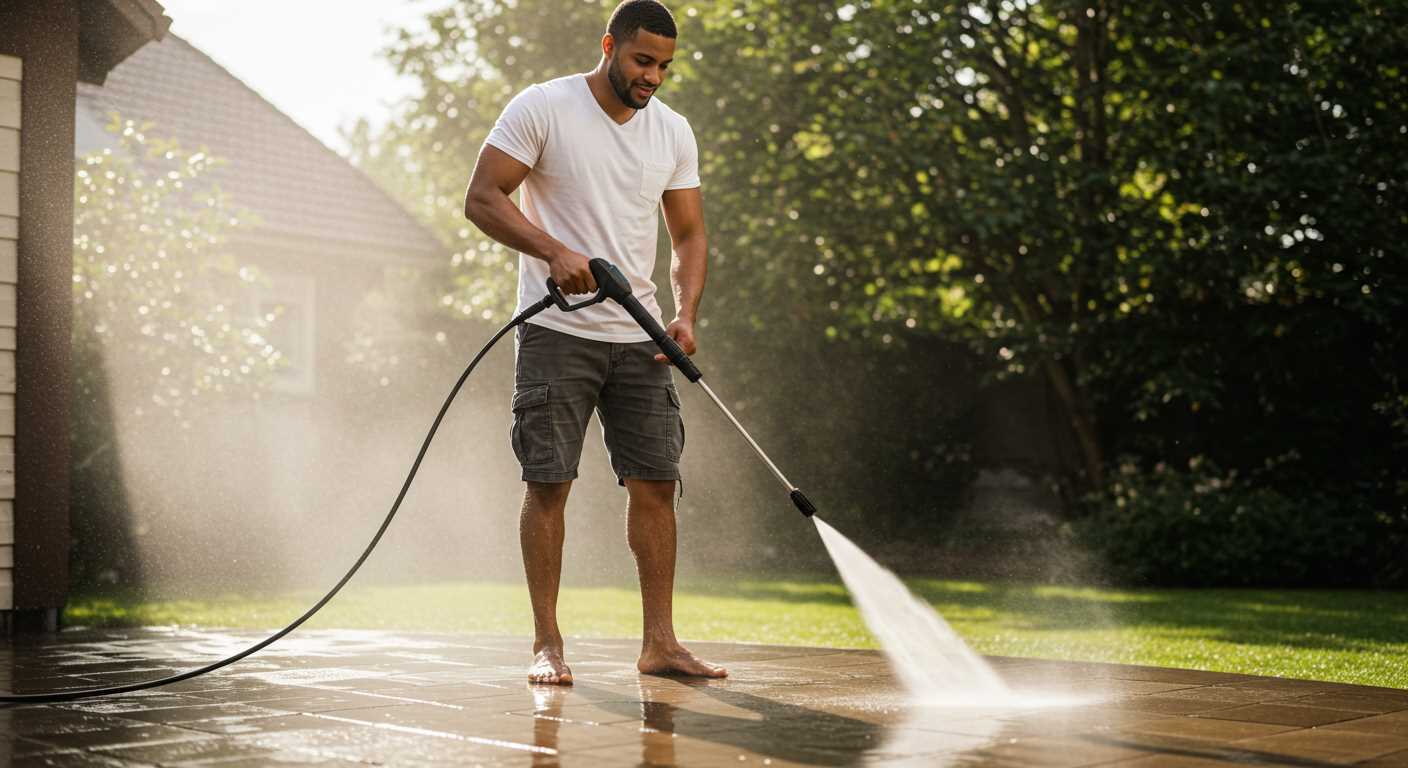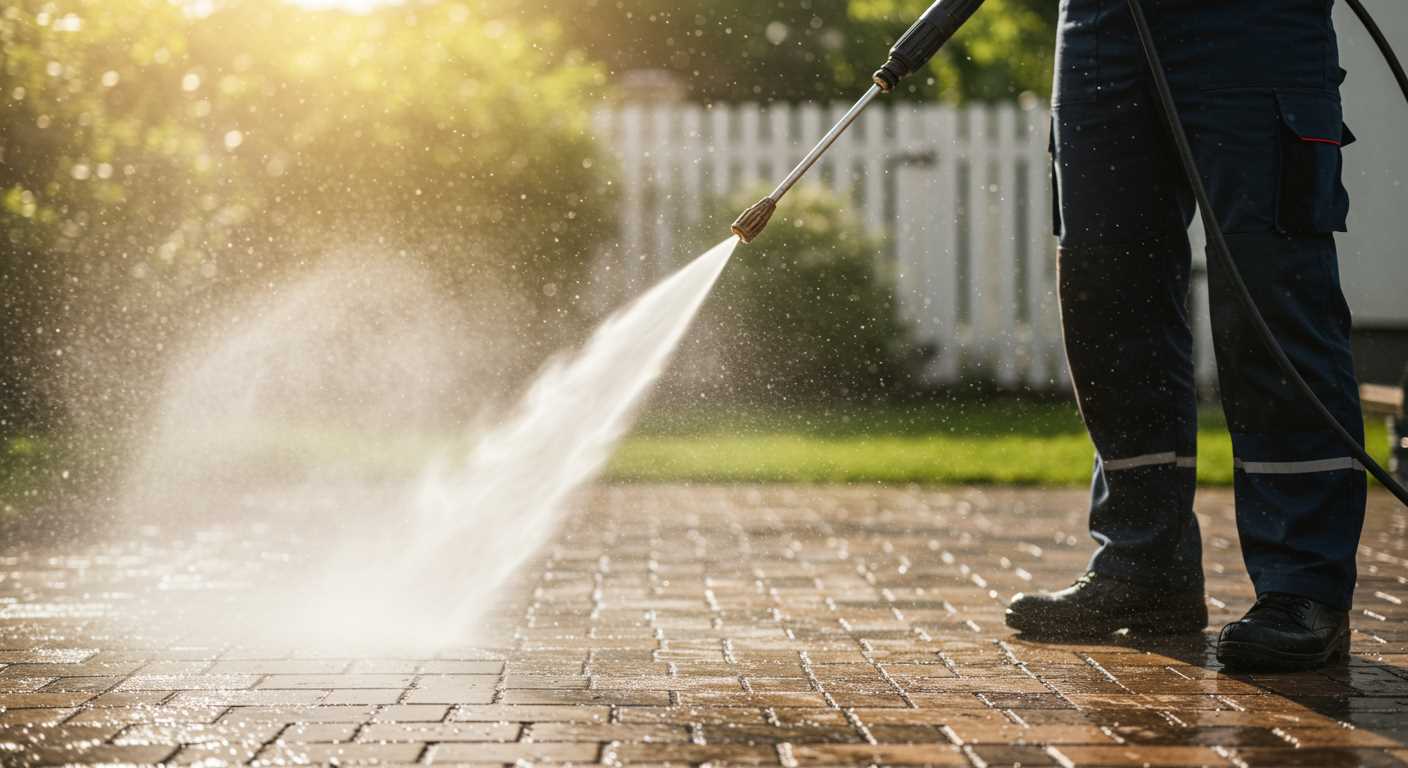


Begin by disconnecting the power source and any attachments. Safety is paramount; I’ve seen too many accidents occur from neglecting this crucial step. Once everything is unplugged, inspect the hoses for any leaks or cracks. In my experience, these are often the culprits behind poor performance. A simple replacement can restore functionality and save you from further headaches.
Next, check the nozzle. It’s surprising how often this small component goes unnoticed. A clogged or damaged nozzle can significantly reduce water pressure. I recall a time when I spent hours troubleshooting a unit, only to find that a quick clean of the nozzle restored it to full power. Use a soft brush or a needle to clear any blockages carefully.
Don’t forget to examine the pump. This is the heart of the machine, and if it’s not working properly, you’ll feel the effects immediately. Look for signs of wear or leaks. If you discover any issues, replacing the pump may be necessary. I once had to replace a pump mid-project, and while it was inconvenient, it was ultimately the best decision for the long-term performance of my equipment.
Finally, make sure to clean or replace the filter. A clogged filter restricts water flow, leading to diminished power and efficiency. I learned this the hard way during a particularly demanding job. After replacing the filter, the difference was astounding–almost like using a brand new unit. Regular maintenance can go a long way in prolonging the life of your cleaning device.
Repairing Your High-Pressure Cleaning Device
Start with checking the power source. Ensure that the outlet is functioning. If you’re using an extension cord, confirm that it’s rated for the device’s wattage. A faulty connection can lead to intermittent power issues.
If the motor runs but there’s no water flow, inspect the inlet filter. Debris can clog the filter, restricting water intake. Remove it, clean it thoroughly, and reattach.
In case of leaks, look closely at the hoses and connections. Cracks can develop over time. Use a hose clamp or replace damaged sections to stop any dripping. If the nozzle is leaking, it may need a replacement O-ring.
For low pressure during operation, consider these steps:
- Examine the nozzle for clogs. A thin wire can help clear any blockages.
- Check the spray wand for obstructions. Sometimes, debris gets lodged in the wand.
- Make sure the pressure settings are correctly adjusted; sometimes, it’s just a matter of turning a dial.
Cleaning the pump is vital if you notice performance issues. Flush it with clean water after use to prevent buildup. For more stubborn deposits, a pump cleaning solution can be effective.
If the device has a soap dispenser, ensure it’s not clogged. Sometimes the soap can thicken and block the flow. Clean the dispenser and test with fresh soap.
In my experience, regular maintenance is key. After each use, I recommend draining the water and storing the unit in a dry place to avoid any freeze damage.
For units that won’t start at all, check the thermal relief valve. This component can trip if the unit overheats, and resetting it can often solve the issue.
Lastly, always refer to the user manual for specific troubleshooting steps tailored to your model. Each brand can have unique quirks that may not apply universally.
Identifying Common Issues in Portable Pressure Washers
Start by checking for leaks, as they are a frequent issue. Inspect hoses, connections, and seals. A simple tightening or replacement can solve the problem.
Next, listen for unusual noises during operation. A rattling sound often indicates loose components. Open the casing to ensure everything is securely fastened.
Watch for fluctuations in water pressure. This often stems from clogs in the nozzle or filters. Remove and clean them thoroughly, as even minor obstructions can hinder performance.
If the unit fails to start, examine the power source. Ensure the outlet is functional and that the cord is intact. A faulty extension cord can also be the culprit. Always check the fuse or circuit breaker too.
| Issue | Symptoms | Solution |
|---|---|---|
| Leaks | Water pooling around the unit | Tighten connections or replace seals/hose |
| Unusual Noises | Rattling or grinding sounds | Check for loose parts; tighten or secure |
| Fluctuating Pressure | Inconsistent water flow | Clean nozzles and filters |
| Won’t Start | No power or response | Inspect power source and cords; check fuse |
Lastly, consider the motor. If it overheats, it may indicate an internal issue like dirt accumulation. Regular maintenance is key to avoiding long-term damage.
Troubleshooting Power Supply Problems
Check the power cord for visible damage. A frayed or broken cord can interrupt the flow of electricity. If it’s damaged, it’s time for a replacement. I remember a situation where a colleague had a unit that would only run intermittently. Upon inspection, the cord had a small tear, which was the culprit.
Next, ensure the outlet is functional. Use a multimeter or plug in another device to confirm it’s working. I once found myself with a unit that wouldn’t turn on, only to discover the outlet was dead due to a tripped circuit breaker. Resetting it resolved the issue.
Inspecting Connections
Examine all connections for tightness and corrosion. Loose or corroded terminals can lead to poor conductivity. During one of my visits to a customer’s site, I found that corrosion at the plug was preventing the model from starting. Cleaning those terminals restored functionality.
Voltage and Circuit Issues
Measure the voltage supplied to the machine. If it’s below the required level, it may not operate correctly. I’ve encountered instances where voltage drop was caused by long extension cords. Always use a cord that can handle the load without significant resistance.
If problems persist, consider testing the internal components, such as the switch or circuit board. A faulty switch can be a hidden issue. I had a unit that seemed dead, but it turned out to be a simple switch replacement that brought it back to life. Don’t overlook the basics; sometimes, the simplest fixes yield the best results.
Fixing Low Water Pressure Issues
Start by checking the water source. Ensure the hose is fully connected and that the tap is turned on all the way. A simple oversight can be the root cause of weak flow.
Inspect the inlet filter for debris. Over time, dirt can accumulate, restricting water intake. Remove the filter and clean it thoroughly to restore optimal flow.
Examine the hose for kinks or blockages. Even minor bends can impede water movement. Straighten the hose and clear any obstructions to improve performance.
Look at the nozzle. A damaged or clogged nozzle can significantly reduce pressure. Clean or replace it if necessary to achieve the desired spray pattern.
Check for leaks in the connections. Even small leaks can lead to reduced water pressure. Tighten any loose fittings or replace faulty seals to maintain a tight seal.
If using a self-priming unit, ensure it has adequate water supply. These models can struggle if the water source is insufficient. Verify the water level in the tank if applicable.
Consider the type of unit in use. Some models inherently have lower pressure than others. If unsure, a comparison of specifications might be helpful. For more insights on this, check out electric vs gas pressure washer which is right for you.
Finally, if all else fails, consult the manual. Each model has unique features that may require specific adjustments. Familiarising yourself with the manufacturer’s guidelines can often reveal the solution.
Repairing Leaks in Hoses and Connections
Start by turning off the water supply and disconnecting the unit from the power source. Check all connections thoroughly for signs of wear or damage. A common issue I encountered was with the quick-connect fittings; they can wear out over time, leading to leaks. Replacing these fittings is both easy and cost-effective, often requiring just a wrench and a new part.
Identifying the Source
Inspect the entire length of the hose. Look for cracks or small punctures that may not be immediately visible. I once missed a tiny hole in a flexible hose that was causing significant water loss. You can apply a soap solution to the suspected area. Bubbles will form where the leak exists. If you find a damaged section, consider using a hose repair kit which usually includes a connector and clamps to fix minor issues.
Sealing Connections
For threaded connections, ensure they are snug but not overtightened. A leak in this area often indicates that you need to replace the washer. I’ve had good success using rubber washers, as they provide a better seal and resist wear better than their plastic counterparts. Always keep a few on hand; they’re inexpensive and can save a lot of time.
In cases where leaks persist, using Teflon tape around the threads of fittings can enhance sealing. Wrap it around the male threads before reassembling the connection. It’s a simple trick I learnt that can save you from future headaches.
Ultimately, regular maintenance and checks can prevent leaks from becoming a hassle. Stay proactive, and you’ll keep your equipment running smoothly.
Maintaining and Replacing the Pump System
Keep an eye on the pump; it’s the heart of your cleaning device. If you notice any unusual noises or reduced performance, it may be time to assess the pump system.
- Regularly check for leaks around the pump housing. A small drip can escalate into a bigger issue.
- Inspect the inlet filter. A clogged filter can strain the pump, leading to inefficiency.
- Change the oil in the pump as per the manufacturer’s recommendations. This can prolong the life of the unit significantly.
In case you need to replace the pump, follow these steps:
- Disconnect all power sources and water supply.
- Remove the mounting screws carefully to detach the old pump.
- Align the new pump with the mounting holes and secure it with screws.
- Reconnect the hoses, ensuring a tight fit to prevent leaks.
- Fill the pump with the recommended oil and check for any leaks before operating.
Maintaining the pump not only enhances performance but also extends the lifespan of your equipment. For those who enjoy cleaning tasks, a well-functioning machine makes the process much smoother. If you’re also into aquariums, you might find interest in learning how to clean algae from fish tank glass.
Cleaning and Unclogging Nozzles and Filters
To maintain optimal performance, regularly inspecting and cleaning nozzles and filters is vital. A blocked nozzle can drastically reduce the effectiveness of your cleaning tasks. I’ve seen many units lose pressure simply due to clogged tips. Begin by removing the nozzle from the wand; a simple twist usually does the trick. Use a small needle or a toothpick to dislodge any debris. If the blockage persists, soaking the nozzle in warm, soapy water can help dissolve stubborn grime.
Cleaning the Filters
Filters are another critical component that often gets overlooked. They can accumulate dirt and debris, which restricts water flow. First, locate the filter, usually found where the water intake connects. Remove it and rinse under running water to clear out any buildup. If you notice any signs of wear, such as tears or cracks, replacing the filter is wise. I’ve had clients who attempted to work with damaged filters, only to end up with more extensive issues down the line.
Preventive Measures
To reduce the frequency of clogs, consider using a filter on your water supply, especially if you’re drawing from a well or other untreated sources. Additionally, avoid using the unit with dirty water; this will prolong the lifespan of both your nozzles and filters. Regular maintenance, including cleaning after each use, will save you time and frustration in the long run.


.jpg)


