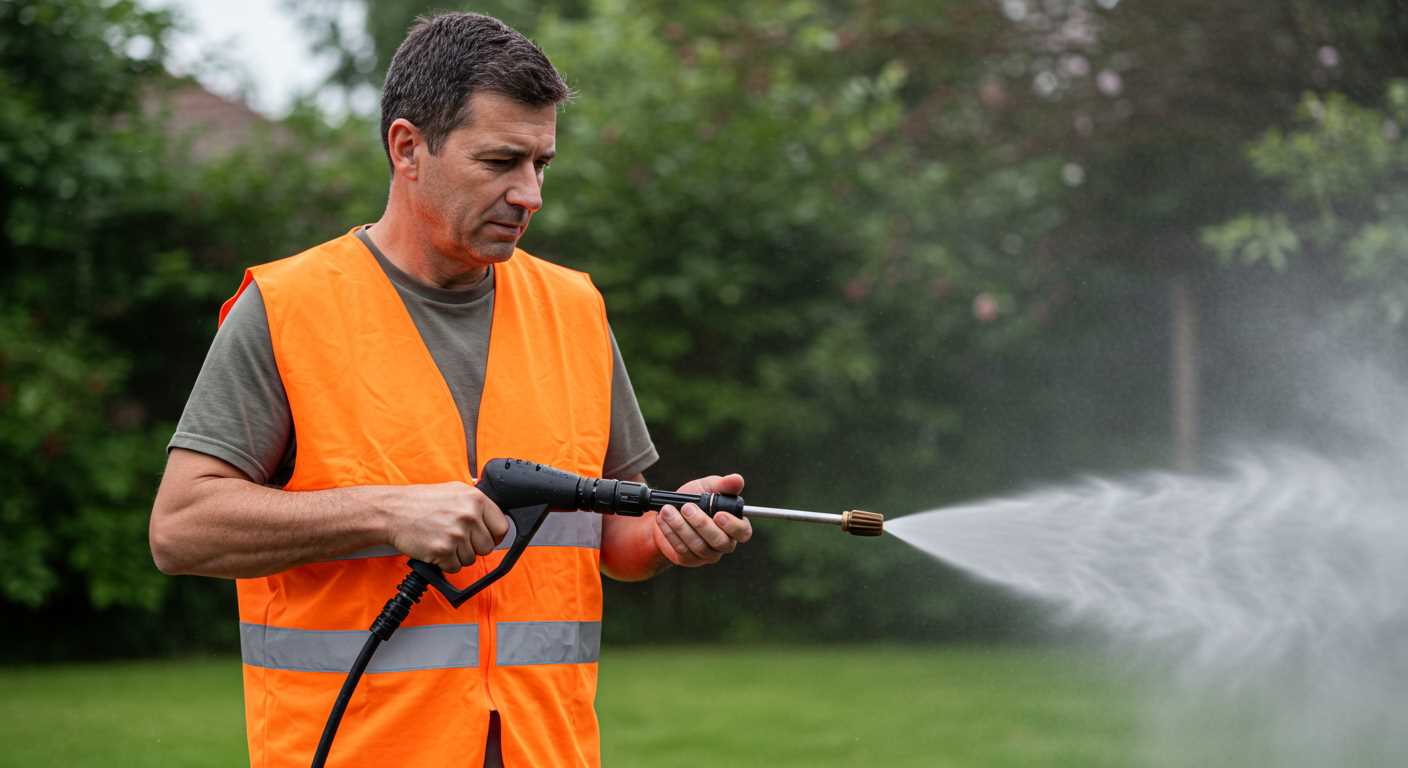


Start with disconnecting the unit from power and water sources. Safety first! Then, inspect the inlet screen for debris. A clogged screen can hinder performance, leading to insufficient flow. Clean it thoroughly; this simple step often resolves many issues.
Next, examine the seals and O-rings. Over time, these can wear out, causing leaks and reducing efficiency. I’ve had clients who overlooked this aspect, only to face bigger problems later. Replacing worn components can restore functionality and prolong the lifespan of the equipment.
Another common issue is air trapped in the system. If you notice a pulsing spray, it might indicate this. To release the trapped air, run the machine without a nozzle for a few moments. This method can often rectify the situation without further intervention.
Finally, test the output pressure. If it’s not at the expected level, it might point to a malfunctioning valve or a damaged component within the assembly. In my experience, addressing these issues early can save both time and money, ensuring your cleaning tool operates at peak performance.
Repairing a High-Pressure Cleaner’s Pump
Inspect the unloader valve first. If it’s stuck, it can cause the unit to lose pressure. Remove it carefully, clean it with a suitable solvent, and ensure it moves freely. Reassemble and test the functionality.
Seals and O-Rings
Check the seals and O-rings next. Over time, these components wear out and can lead to leaks. Replace any that appear cracked or damaged. I once had a customer whose device was leaking due to a simple O-ring failure–they were amazed at how easily it was resolved.
Check the Intake Filter
The intake filter often gets overlooked but is crucial for proper operation. If clogged, it can restrict water flow. Clean or replace it as necessary. I remember a case where a blocked filter caused a significant drop in performance. A quick clean restored its power.
Identifying Common Pressure Washer Pump Issues
First, you’ll want to check for leaks around the connectors. A small drip can escalate into significant loss, affecting performance. I recall a time when I was struggling with a unit that seemed underpowered. It turned out that a simple gasket replacement made all the difference.
Noisy operation is another sign to pay attention to. If you hear unusual sounds, it could indicate worn bearings or a failing motor. I once had a customer whose machine sounded like a lawnmower. After a quick inspection, we found that the bearings were shot, leading to an easy fix and a relieved customer.
Loss of pressure is a common complaint. If the stream isn’t forceful, you might have a clogged nozzle or an issue with the inlet filter. I remember diagnosing a similar issue; a thorough cleaning of the nozzle restored the pressure to its original strength.
Overheating can occur if the cooling system is compromised. I had a unit that would shut off unexpectedly. A quick check revealed that the cooling vents were blocked with debris. A simple cleaning resolved the problem and allowed for proper airflow once again.
Lastly, check the oil level in the crankcase. Insufficient lubrication can lead to catastrophic failure. I always advise customers to maintain proper oil levels; it’s a small task that can prevent expensive repairs. If you’re also considering tools for maintaining your vehicle, check out the best air compressor for car cleaning for added convenience.
Gathering Necessary Tools for Pump Repair
Before tackling any maintenance on the spraying mechanism, ensure you have the right equipment at hand. A quality socket set is a must; it simplifies the removal of bolts and fasteners, making disassembly straightforward. I recall a time when I attempted to fix a malfunctioning unit without the proper tools, and I quickly realised the importance of having a good ratchet set. It saved me both time and frustration.
A reliable wrench set is also vital, especially for those stubborn connections that refuse to budge. Sometimes, a little extra leverage is needed. Don’t forget a pair of pliers for gripping and twisting components that might be stuck. I once had a nozzle that wouldn’t come off, and a sturdy pair of pliers did the trick.
Keep a flathead and a Phillips screwdriver handy for various screws you might encounter. These simple tools often make a significant difference in accessing tight spaces. I remember struggling with a cover plate until I grabbed the right screwdriver, which made the task much easier.
Safety gear is equally important. Always wear eye protection. When I was working on a particularly stubborn device, a bit of debris flew out unexpectedly. It was a reminder that safety should never be overlooked.
Additionally, a clean work area is crucial. I learned the hard way that clutter can lead to lost parts or tools. A magnetic tray can be a lifesaver for keeping small screws and fittings organised. It’s also handy for holding any components you remove, ensuring they’re within reach when you need them again.
Lastly, consider having an adjustable pressure washer nozzle nearby. You might find it useful for testing the functionality once you’ve completed your work. Preparing adequately will not only streamline the process but also enhance your confidence in tackling the task at hand.
Draining Liquid from the High-Pressure Cleaner’s Component
Begin by locating the drainage valve, usually positioned at the base of the unit. If your model lacks a specific valve, check for a removable plug on the bottom of the assembly. Ensure the machine is turned off and disconnected from any power source before proceeding. Prepare a container to catch the released liquid.
Open the drainage valve or remove the plug carefully, allowing any remaining liquid to escape. It’s advisable to do this in a well-ventilated area to avoid any mess. Once the fluid has completely drained, replace the plug or close the valve securely to prevent leaks during operation.
Additional Tips
After draining, consider flushing the system with clean fluid. This step can help eliminate any debris or contaminants that may have accumulated. Run the unit briefly to ensure all residues are removed. Regular maintenance, including draining after use, can significantly prolong the lifespan of the equipment and ensure optimal performance.
Common Mistakes to Avoid
Avoid leaving liquid in the system, especially in colder climates, as this can lead to freezing and damage. Never attempt to force open a stuck valve or plug; doing so can cause unnecessary harm to the components. Always refer to the manufacturer’s guidelines for specific instructions related to your model.
Inspecting the Pump for Visible Damage
Check for cracks or dents on the outer casing. A simple visual inspection can reveal significant issues that affect functionality. Look closely at the seams and joints; any signs of separation could indicate internal damage.
- Examine the inlet and outlet ports for signs of wear or corrosion. Damaged ports can lead to leaks and decreased performance.
- Inspect the mounting brackets for looseness or breakage. A secure connection is vital for operational stability.
- Look for any obvious leaks around seals and gaskets. Worn components may require replacement to maintain a proper seal.
Don’t overlook the condition of the internal components. If you can access the interior, check for any debris or foreign objects that might impede function. Clear any blockages you find.
- Evaluate the condition of the bearings. Excessive play or noise during operation can indicate wear.
- Inspect the connecting hoses for cracks or bulges. These can lead to pressure loss and inefficiency.
After identifying any visible damage, document your findings. This record will be helpful in determining the next steps you need to take to restore optimal performance. Often, addressing these issues early can prevent more extensive repairs down the line.
Replacing Worn or Damaged Seals and O-Rings
Start by identifying the specific seals and O-rings that need replacing. These components often wear out due to constant exposure to high pressure and water. Common areas include the inlet and outlet connections, as well as the casing of the unit.
Gather the following items before you begin:
- Replacement seals and O-rings (ensure they match the original specifications)
- Screwdriver set
- Wrench set
- Lubricant (silicone grease works well)
- Clean cloth
Here are the steps to follow:
- Disconnect the unit from the power source and ensure all residual water is drained.
- Carefully remove any screws or bolts securing the casing to access the internal components.
- Take out the old seals and O-rings. It’s vital to note their placement for correct installation of the new ones.
- Clean the seating area with a cloth to remove debris or old lubricant.
- Apply a small amount of silicone grease on the new seals and O-rings. This helps achieve a better seal and eases installation.
- Install the new components in the same orientation as the old ones. Make sure they sit evenly in their grooves.
- Reassemble the casing, ensuring all screws and bolts are tightened to avoid leaks.
After reassembly, reconnect the unit to the power source. Test it briefly to check for leaks around the replaced seals and O-rings. If everything is sealed correctly, you should notice an improvement in performance.
In my experience, regular inspection and timely replacement of these components can significantly extend the lifespan of the equipment. I once neglected a small O-ring, and it led to a complete failure of the entire assembly. A simple fix turned into a costly repair. Stay vigilant!
Cleaning the Pump Components Thoroughly
Start with disassembling the unit carefully, ensuring you keep track of all components. A clean workspace makes reassembly easier.
For cleaning, use a mixture of warm water and mild detergent. Avoid harsh chemicals that might damage the parts.
- Remove any debris or dirt from the exterior with a soft brush.
- Soak the internal components in the detergent solution for about 15-20 minutes.
- Use a soft cloth or sponge to wipe down surfaces, paying special attention to areas with visible grime.
For stubborn deposits, a toothbrush can be handy. Its bristles reach into tight spaces where dirt accumulates.
Make sure to inspect the inlet and outlet ports for clogs. A quick burst of compressed air can clear out any blockages.
After cleaning, rinse all components thoroughly with clean water to remove any detergent residues. Let them dry completely before reassembling.
Remember, a clean system runs smoother and extends the lifespan of the equipment. This step is often overlooked but can significantly improve performance.
Testing the Unloader Valve Functionality
Begin by disconnecting the spray gun from the machine. This step is crucial to avoid any accidental activation while testing the unloader valve. Next, locate the unloader valve, which is typically situated on the pump body. It often resembles a small cylinder with an adjustment knob on top.
Pressure Test
Use a pressure gauge to check the system’s output. Attach the gauge to the outlet port where the spray gun usually connects. Start the machine without the gun attached and observe the pressure reading. A functional unloader valve will allow the pressure to build up to a specified limit before releasing excess pressure back to the inlet side. If the pressure spikes over the recommended level, the valve may be stuck closed.
Visual and Manual Inspection
After the pressure test, turn off the unit and inspect the unloader valve. Look for signs of wear or damage, such as cracks or corrosion. Manually operate the valve by turning the adjustment knob. It should move freely without excessive resistance. If it feels stuck or overly loose, it might require servicing. Cleaning the valve with a suitable solvent can often resolve minor sticking issues.
| Issue | Indicator | Action |
|---|---|---|
| Pressure Spike | Exceeds recommended limit | Inspect and clean or replace unloader valve |
| Sticking Valve | Resistance when turning | Disassemble, clean, and lubricate |
| Leakage | Visible water around the valve | Replace seals or the entire valve |
Conclude the testing by reassembling any components removed during the process and reconnecting the spray gun. Run the machine briefly to ensure that the unloader valve operates smoothly under pressure. A well-functioning valve is key to maintaining optimal performance and longevity of your cleaning equipment.
Reassembling the Pump Correctly
After completing the necessary maintenance, ensuring the components fit together seamlessly is vital. Begin by placing the cylinder head back onto the casing, aligning it correctly with the dowel pins. Gently tighten the bolts in a criss-cross pattern to maintain even pressure and avoid warping. This method prevents future leaks and ensures optimal performance.
Seal Installation
Before placing the head, check the seals and O-rings. These small parts can make a significant difference. Apply a thin layer of lubricant to the new seals to avoid pinching during assembly. Carefully position each seal in its designated groove, ensuring they sit flush with the surface. This attention to detail will prevent leaks and prolong the lifespan of the unit.
Final Assembly Checks
Once everything is in place, take a moment to double-check that all components are aligned correctly. Ensure that the unloader valve and all hoses are connected securely. Review the assembly against the manufacturer’s diagram for reference. If you’ve misplaced any parts, now’s the time to rectify that before powering up the unit.
| Component | Action |
|---|---|
| Cylinder Head | Align and tighten using a criss-cross pattern |
| Seals/O-Rings | Lubricate and ensure proper placement |
| Hoses | Check for secure connections |
| Unloader Valve | Verify correct placement and operation |
After confirming everything is in order, you can proceed to reconnect the unit to its power source. Always conduct a brief test run to check for leaks and ensure everything functions properly. A careful reassembly process leads to a reliable and efficient operation, so take your time and ensure each step is completed accurately.
Performing a Pressure Test After Repair
After completing the necessary fixes on the unit, conducting a pressure test is a critical step to ensure everything is functioning correctly. Begin by reconnecting the hose to the inlet and outlet ports, ensuring all fittings are secure to prevent leaks. Then, fill the tank with clean water and turn on the motor. Watch for any signs of leakage around the seals and connections as the system pressurises.
Conducting the Test
Once the equipment is up and running, observe the pressure gauge closely. It should reach the manufacturer’s specified pressure level. If the needle fluctuates significantly or doesn’t reach the expected pressure, it indicates there may still be an underlying issue with the assembly or components. At this point, it’s prudent to shut off the machine and re-evaluate your previous work.
Final Checks
Additionally, listen for unusual sounds while the device operates–any grinding or hissing could signify a problem. After running the machine for a few minutes, turn it off and check for water pooling beneath. Any accumulation could point to a persistent leak that needs addressing. If everything checks out, you’ve successfully restored the functionality of your device, ready for use in your next cleaning task!


.jpg)


