


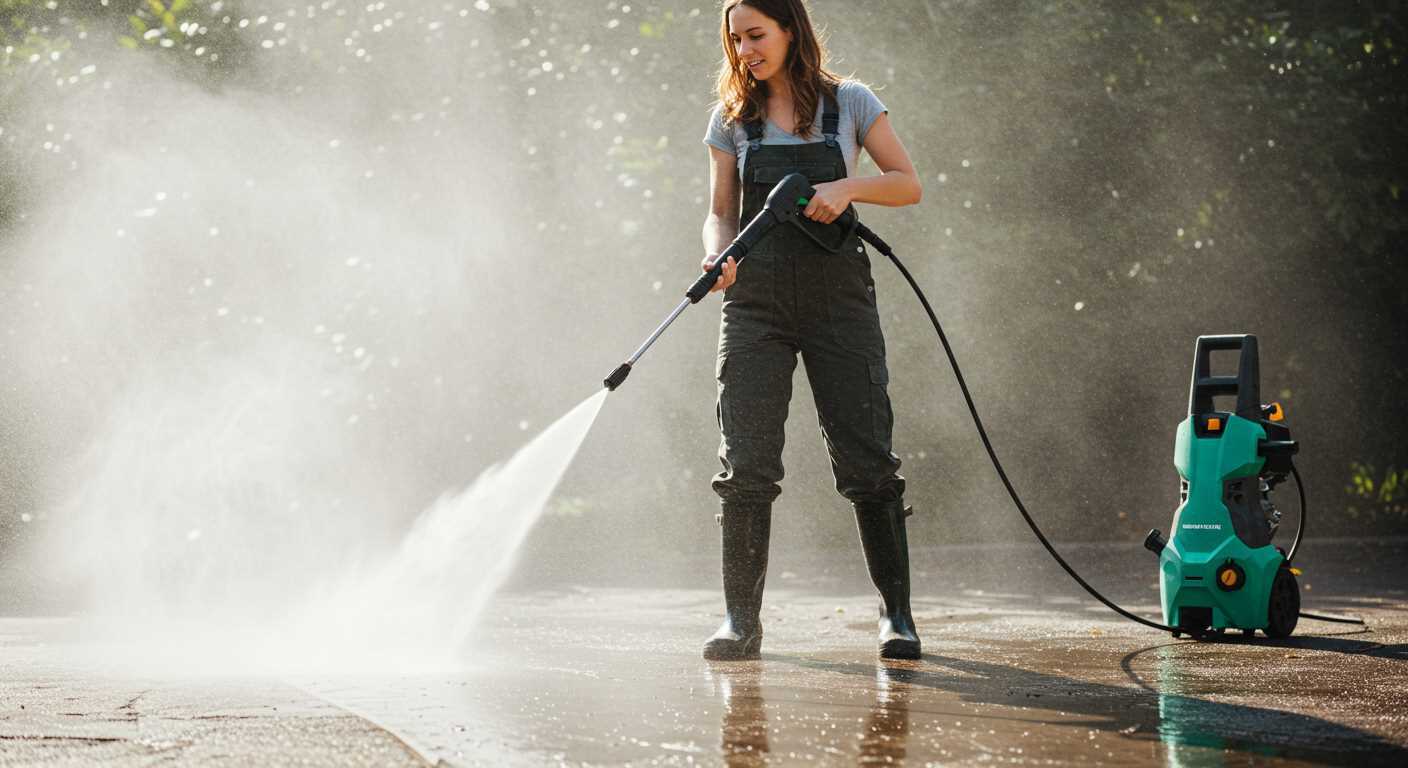
Using a reservoir for a high-pressure cleaner is straightforward and can be highly beneficial, especially in areas where a direct supply is unavailable. First, ensure that the tank is filled with clean water, as contaminants can damage the unit. It’s advisable to install a filter at the inlet of your machine to prevent any debris from being drawn in.
Next, secure a reliable hose connection between your storage unit and the cleaner. I often recommend using a reinforced hose that can withstand the pressure without kinking. A hose length of up to 10 metres should suffice for most residential tasks. Ensure the connection is watertight; leaks could lead to reduced performance and efficiency.
While using a reservoir, monitor the water level frequently. If the tank runs dry, the cleaner may draw air, potentially causing damage to the pump. I’ve encountered this issue firsthand; it’s crucial to keep an eye on the situation to avoid costly repairs. Consider using a float valve system that can automatically shut off the cleaner when the water level drops below a certain point.
Lastly, adjust the settings on your machine to match the task at hand. Some units allow for varying pressure levels, which can be useful depending on the surface being cleaned. Remember, starting with a lower setting is wise to avoid damaging delicate surfaces. This approach not only optimises performance but also extends the life of the equipment.
Selecting the Right Water Tank Size
For optimal performance, a capacity of at least 100 to 200 litres is recommended. This ensures ample supply for extended cleaning tasks without frequent refills. I once encountered a situation where a smaller 50-litre container was used. While it worked initially, constant interruptions for refilling became frustrating, significantly hampering efficiency.
Consider the duration of your cleaning sessions. If you typically engage in longer projects, aim for a larger reservoir. For instance, I often tackle extensive driveways or patios, where a 200-litre vessel proved invaluable. It allowed me to complete the task without interruptions, giving a smooth and uninterrupted experience.
Also, think about the water source. If you have access to a reliable supply, a smaller unit may suffice, but in remote areas, a larger size acts as a safeguard. I remember working on a remote property where a 500-litre tank was necessary due to limited access to mains water. It provided peace of mind, knowing I had enough liquid on hand for the entire day.
Lastly, consider portability. If you need to move the tank frequently, balance size with weight. A larger tank provides more liquid but can be cumbersome. I once opted for a 300-litre container with wheels, which made transportation manageable while still maintaining a decent supply for cleaning tasks.
Understanding Pressure Washer Water Requirements
A minimum flow rate of 3 gallons per minute (GPM) is advisable for optimal performance. If the flow rate drops below this threshold, the unit may not operate effectively, leading to reduced cleaning power. During my years in the field, I often encountered situations where a tank that seemed adequate turned out to be insufficient due to its flow capabilities.
Temperature plays a significant role. Most models function well with water around 50°F to 100°F. Using excessively hot liquid can damage seals and components over time. I’ve seen machines fail prematurely because users assumed hotter water would equate to better cleaning. Always check the manufacturer’s specifications for temperature limits.
Another factor to consider is the inlet diameter. Most equipment requires a standard hose connection of 3/4 inch. Using a smaller diameter hose can restrict flow, resulting in inadequate pressure. I recall a job site where a team struggled with a smaller line, which led to frustrating delays while they sourced the right hose.
Lastly, consider sediment and impurities in the liquid. Always ensure your source is clean to prevent clogs. I’ve had to troubleshoot machines on numerous occasions due to contaminants that could have been easily avoided with a simple filter installation. Investing in a basic sediment filter can save you time and money in maintenance.
Connecting the Pressure Washer to the Water Tank
First, ensure you have a reliable hose that can withstand the pressure. A minimum of 3/4 inch diameter is recommended for optimal flow. Attach one end of the hose to the inlet of your cleaning equipment and the other end to the outlet of your reservoir. A tight seal is crucial to prevent leaks, so use hose clamps to secure connections.
Using a Pump or Filter
In some cases, a pump may be necessary to maintain consistent flow. If your reservoir is below the level of the cleaning unit, consider a submersible pump. Ensure it meets the flow rate requirements of your machine. If you’re pulling from a rainwater collection system or a tank with debris, install a filter to avoid clogging the inlet. A simple mesh filter can prevent larger particles from entering the system.
Testing the Connections
Before starting your equipment, check all connections for leaks. Fill the tank and let the system sit for a few minutes. Inspect the hoses and joints for any signs of dripping. Once confirmed, power on the unit and monitor the water supply. Adjust the pressure settings as needed, ensuring the performance aligns with your cleaning tasks.
After each use, detach the hoses, drain any remaining liquid, and store the components properly to prolong their lifespan. Regular maintenance of the connections will enhance the reliability of your setup.
Installing a Pump for Optimal Water Flow
For consistent performance, incorporating a pump into your setup is vital. I recall a project where I relied solely on gravity feed from a tank. It worked initially, but as the water level dropped, the pressure fluctuated, causing inefficiencies. Installing a pump resolved these issues, ensuring a steady supply.
Choosing the Right Pump
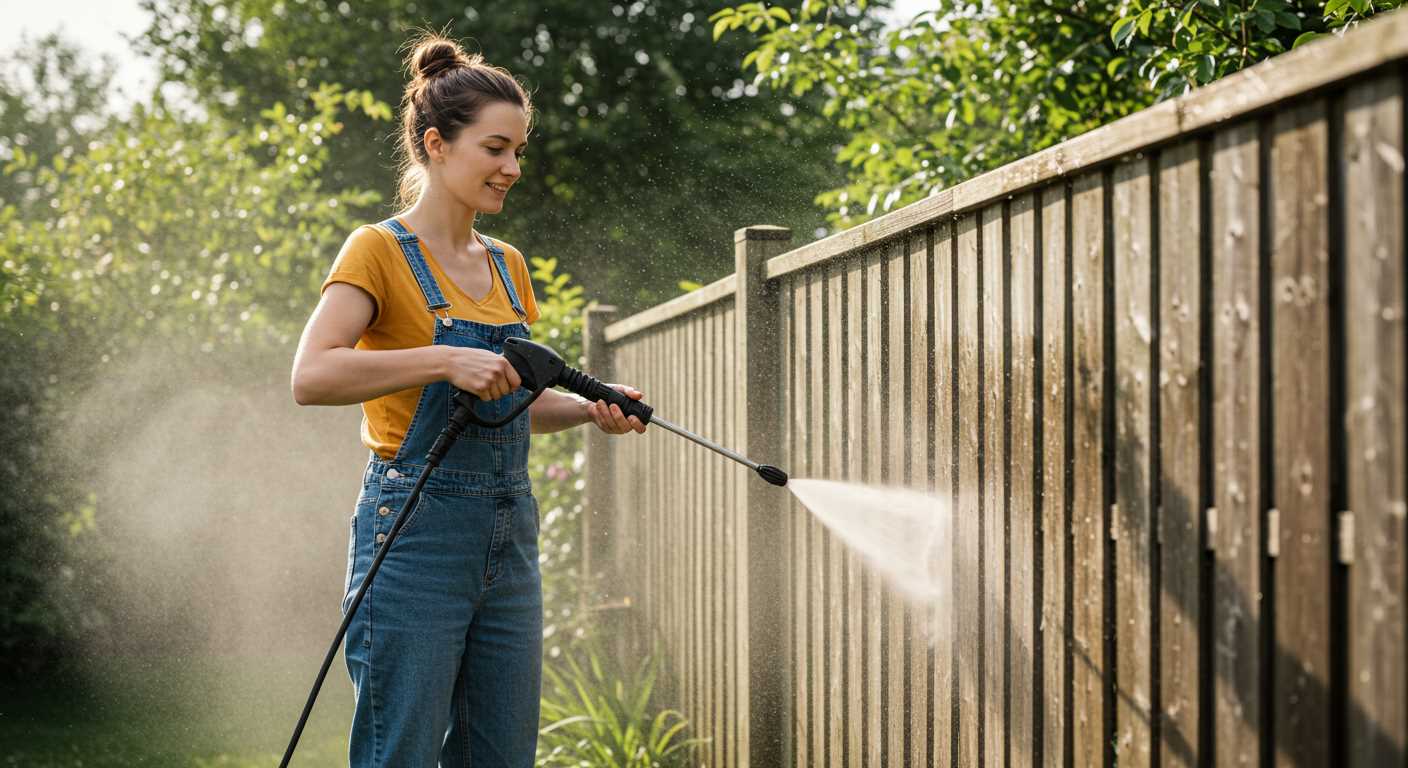
Select a pump that matches your flow requirements. A diaphragm pump is often ideal for this type of task, as it can draw water from a lower source effectively. Look for a model with a minimum flow rate that meets or exceeds the specifications of your cleaning equipment. For example, if your unit requires 2 gallons per minute, choose a pump rated for at least 2.5 to 3 gallons per minute to maintain optimal performance.
Installation Tips
Position the pump close to the tank to minimise suction loss. Use high-quality hoses to connect everything; this reduces the likelihood of leaks and maintains flow. I learned the hard way that using subpar hoses leads to pressure loss and additional headaches. Ensure all connections are secure, and consider installing a strainer before the pump to prevent debris from entering, which can cause damage and reduce lifespan.
Using a Filter to Protect Your Equipment
Investing in a quality filtration system is a must. During my years in the cleaning equipment industry, I encountered countless scenarios where dirt and debris clogged machines, leading to costly repairs. A simple inline filter can prevent this. Aim for a filter that captures particles as small as 100 microns to keep your system running smoothly.
Choosing the Right Filter Type
Consider using a mesh filter for larger debris, while a cartridge filter is better for finer particles. I often recommend a dual filtration system for ultimate protection. It’s a small investment compared to the potential costs of repairs or replacements. Regularly check and clean your filters to maintain optimal flow rates and performance.
Checking Compatibility
Ensure that the filtration system you choose is compatible with your setup. Some models may require specific fittings or adapters, so it’s wise to double-check specifications before purchasing. For added convenience, keep a few spare filters on hand, as replacements are a quick and easy way to ensure continuous operation.
Also, don’t forget to choose the right cleaning agents. For example, using the best car wash soap for electric pressure washer can further enhance your cleaning results without risking damage to your equipment. A well-maintained system not only performs better but also extends the lifespan of your tools.
Maintaining Water Temperature for Best Results
For optimal cleaning performance, keeping the liquid at the right temperature is key. Warm fluid enhances the effectiveness of detergents and helps break down grease and grime more effectively. Aim for a temperature between 50°C and 60°C (122°F to 140°F) to achieve good results without damaging any surfaces.
In my experience, heating the liquid can be done by using a portable heater or by placing the container in a sunny spot during warmer months. However, if you opt for heating elements, ensure they are compatible with the container material to avoid damage. Always use a thermometer to monitor temperatures.
Here’s a quick reference table summarising the benefits of maintaining different temperature ranges:
| Temperature Range (°C) | Cleaning Effectiveness |
|---|---|
| Below 30 | Poor; many stains remain |
| 30 – 50 | Moderate; some improvement |
| 50 – 60 | Optimal; effective stain removal |
| Above 60 | Risk of damage to surfaces |
Remember to always check the manufacturer’s guidelines for any specific temperature restrictions relevant to your equipment. Keeping the liquid at an ideal temperature can significantly enhance your cleaning tasks and prolong the lifespan of your tools.
Monitoring Water Levels During Operation
Always keep an eye on liquid levels throughout usage. A visual gauge or a float switch can be invaluable in preventing unexpected shutdowns. I once had a situation where I was deep into a cleaning job, and the supply ran low unexpectedly, causing my equipment to lose power. It’s a hassle that can easily be avoided.
Recommended Monitoring Methods
- Float Switches: These devices automatically cut off the flow when levels drop too low, protecting your equipment from running dry.
- Visual Indicators: Clear sight tubes or gauges installed on your container help monitor levels at a glance.
- Digital Monitors: Advanced systems provide real-time data and alerts, which can be particularly useful for large-scale operations.
Best Practices for Level Management
- Check levels before starting any cleaning task to ensure a sufficient supply.
- Refill the reservoir proactively during breaks to avoid interruptions.
- Keep a spare container handy for larger jobs to ensure uninterrupted service.
- Regularly inspect your monitoring devices for functionality to avoid surprises.
During my years in the field, I discovered that a little vigilance goes a long way. By implementing these strategies, you can maintain consistent performance and avoid the frustration of unexpected downtime.
Preparing for Seasonal Changes and Water Storage Issues
Regular inspection of your reservoir is vital, especially before seasonal changes. Cold weather can lead to freezing, which damages the storage unit and affects water quality. Here are specific actions to take:
- Ensure that the tank is insulated, particularly if you live in an area subject to freezing temperatures.
- Drain the tank before the onset of severe cold to prevent ice formation.
- Consider using a tank heater during winter months to maintain a stable temperature.
Addressing Common Storage Problems
Monitoring your supply is crucial. Here are some common issues and their solutions:
- Algae Growth: This can occur in stagnant water. Regularly clean the interior of the tank and consider using a UV filter to prevent growth.
- Contamination: Ensure that the tank is sealed properly to prevent debris and pollutants from entering. Use a high-quality filter to keep the water clean.
- Leakages: Inspect for any cracks or leaks in the tank. Repair them immediately to avoid water loss and ensure efficient operation.
Always check the compatibility of your equipment with the storage unit. If you upgrade to a larger capacity, ensure your tools, like a commercial pressure washer gun, can handle the increased flow rate.
Regular maintenance and awareness of seasonal changes will enhance your overall experience and efficiency in using your cleaning equipment.


.jpg)


