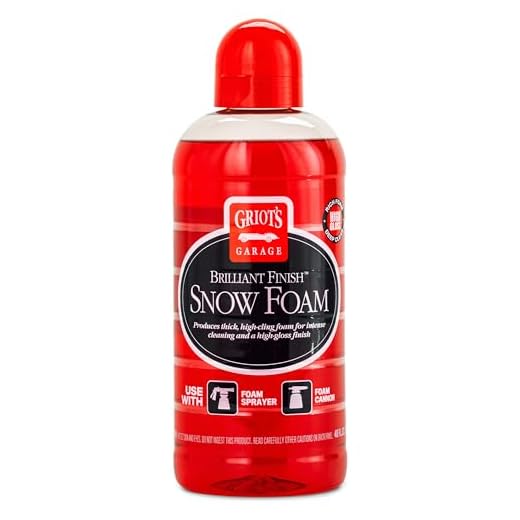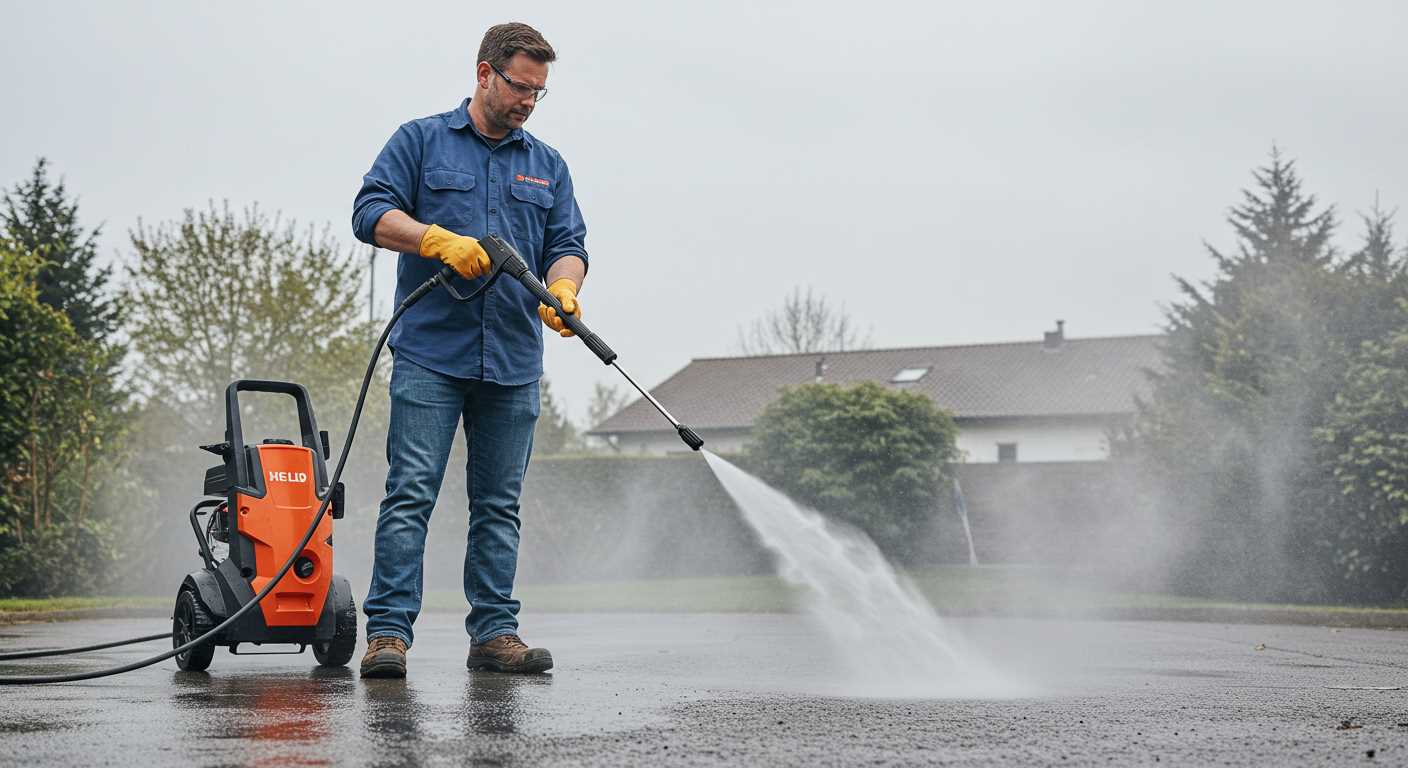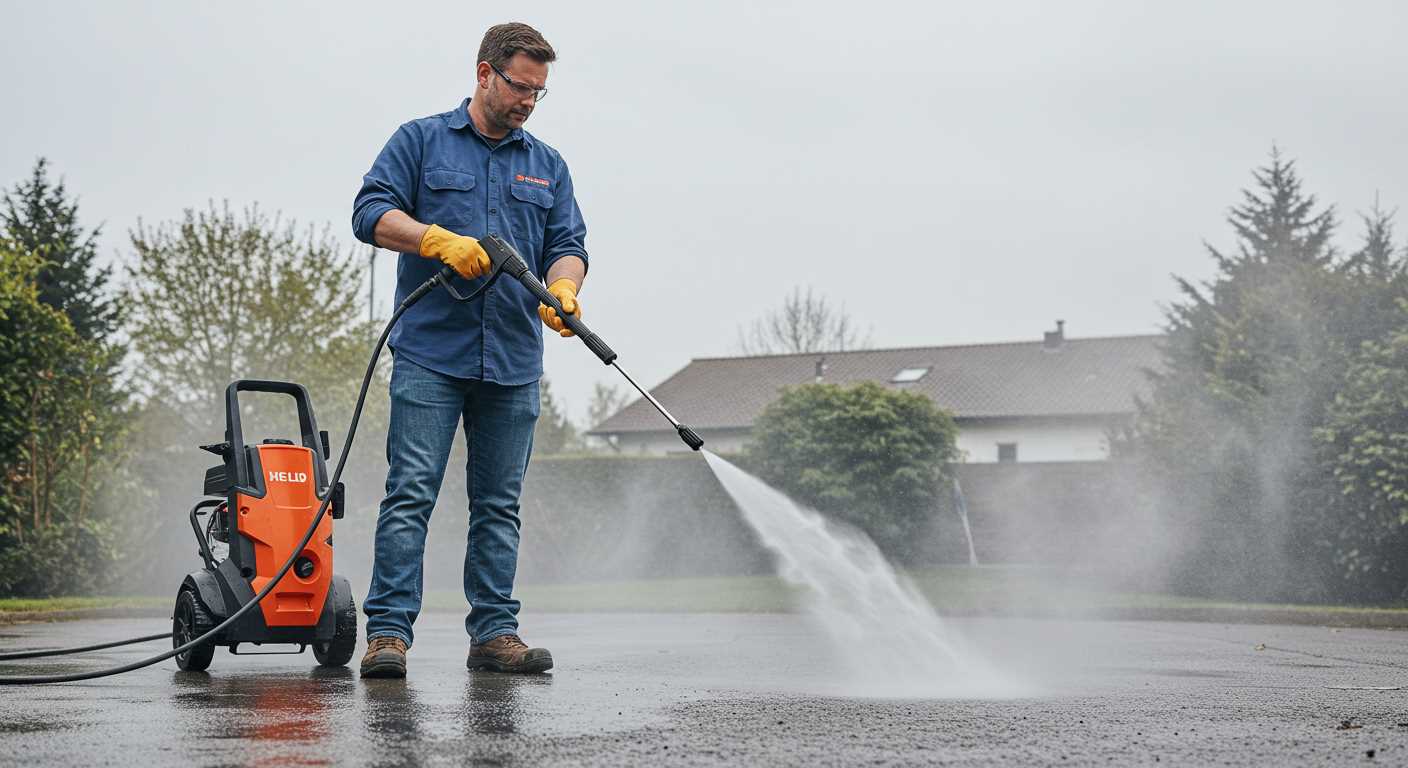


Always use the correct type of cleaner designed for high-pressure devices. Most brands offer specific detergents that won’t harm the internal components while maximizing cleaning performance. I’ve found that using a dedicated product leads to better results and keeps the device in great shape.
Begin by diluting the detergent according to the manufacturer’s instructions. This ensures the solution is effective without being too harsh. I recall a time when I didn’t dilute properly and ended up with a sticky residue that required further cleaning. Trust me, it’s not worth the hassle.
Once prepared, fill the detergent reservoir of your cleaning unit. Make sure it’s securely closed to avoid any leaks during operation. I’ve had experiences where a loose cap resulted in a messy workspace, so double-checking this step can save you time.
Next, adjust the spray nozzle to the widest setting. This allows for an even application of the cleaning solution across surfaces. I remember a project where I focused too narrowly on one area and ended up with uneven cleaning results. Wider is better!
Now, engage the spray function and apply the mixture to the surface you intend to clean. Start from the bottom and work your way up, ensuring full coverage. After a few minutes, rinse thoroughly with just water to remove any leftover product. This step is crucial; I once skipped it and dealt with unsightly streaks afterward.
Finally, always clean out the reservoir and any hoses after use. Neglecting this can lead to clogs and damage. I’ve learned this the hard way, and now I make it a point to keep my equipment in top condition. Regular maintenance extends the life of your device and enhances its performance.
Utilising Detergent with a High-Pressure Cleaning Unit
Begin with selecting a suitable detergent compatible with your cleaning device. Many units come equipped with a dedicated detergent tank. If yours has one, fill it with the chosen cleaner, ensuring to follow the manufacturer’s instructions for dilution ratios.
If your model lacks an integrated tank, consider using a siphon system. Attach a suitable hose to the inlet of the machine, placing the other end into a container filled with the cleaning solution. This setup enables the unit to draw the detergent effectively.
Adjust the nozzle to a low-pressure setting. This is crucial for optimising the application of the cleaner, allowing it to adhere to surfaces for maximum impact. Apply the solution evenly across the surface, allowing it to dwell for a few minutes, but avoid letting it dry out.
After the cleaning agent has had time to work, switch to a high-pressure nozzle to rinse away the residue. This step is vital; it not only removes the cleaning solution but also enhances the overall cleaning results by eliminating dirt and grime.
Regularly clean the detergent tank or siphon system to prevent clogs and ensure longevity of your equipment. Keeping these components in good condition is essential for maintaining performance.
In my experience, experimenting with various detergents can yield surprising results. Some formulations are specifically designed for certain materials, like wood or concrete, and can significantly enhance the cleaning process. Always conduct a patch test on a small area first to avoid any adverse reactions.
Choosing the Right Soap for Your Pressure Washer
Select a detergent designed specifically for high-pressure cleaning equipment. These formulations are usually biodegradable and safe for various surfaces. A common mistake is using regular dish soap, which can create excessive foam and damage components. Look for products labelled as compatible with your device for optimal performance.
Types of Detergents
Alkaline cleaners work well for grease and grime, while acidic options are better for mineral deposits and rust. If you’re cleaning vehicles, consider a pH-neutral formula to avoid damaging the paint. For outdoor surfaces, such as patios or decks, a specially formulated cleaner can tackle mould and mildew effectively. Remember, using the right type can save you time and effort.
Concentration and Dilution
Check the concentration of the detergent. Highly concentrated solutions may require dilution, while others can be used directly. Follow the manufacturer’s guidelines to ensure proper mixing. Using an incorrect ratio can lead to ineffective cleaning or potentially harm your equipment. If you’re curious about other kitchen techniques, you might find it interesting to learn how long to steam a pudding using a pressure cooker.
Preparing Your Equipment for Cleaning Solution Application
Ensure the unit is turned off and unplugged before any adjustments. Disconnect the water supply and remove the nozzle to prevent accidental spraying. It’s wise to inspect the detergent tank for any residual cleaning agent from previous uses. Rinse it out thoroughly with clean water to avoid unwanted chemical reactions.
Setting Up the System
Fill the detergent compartment with the chosen cleaning liquid, ensuring not to exceed the maximum fill line. If your model uses an external container, secure it properly to prevent spills. Check all hoses and connections for wear and tear; any leaks can hinder performance and create messes.
Adjusting Pressure Settings
Adjust the pressure settings to the manufacturer’s recommendations for using a cleaning agent. Higher pressure can cause the solution to disperse too quickly, reducing effectiveness. After making adjustments, perform a brief test run with water to confirm that everything is functioning correctly before applying the cleaning solution.
Regular maintenance of the equipment will ensure optimal performance. Clean filters and check for clogs in the hoses to prevent any disruption during the cleaning process. Taking these steps will guarantee a smooth operation when applying the cleaning formulation and achieving the desired results.
Setting Up the Soap Injection System
Ensure your machine is equipped with a dedicated soap injection system, which often comes standard on many models. If not, consider investing in an aftermarket injector. The setup typically involves a few straightforward steps.
- Locate the soap tank or injection port. This is usually found near the detergent nozzle or integrated into the body of the unit.
- Mix the cleaning solution according to the manufacturer’s instructions. Dilution ratios can vary significantly, so precise measurements are necessary to avoid damaging surfaces.
- Fill the soap reservoir with the prepared mixture. If your model has an external injector, connect it to the high-pressure hose and ensure all fittings are secure.
- Switch the unit to low-pressure mode. This ensures that the solution is drawn up from the tank without excessive force, which could cause foaming or spillage.
I’ve found that some machines require a specific order for attachment; always consult the user manual for your model. After filling the tank, run a test spray on a small area to ensure the mixture is dispensing correctly.
Keep an eye on the flow. If the solution isn’t coming out, check for clogs in the injector or hose. Sometimes, residue from previous use can block the system. A quick clean with warm water can resolve this.
- Inspect all connections for leaks.
- Ensure the filter is clean and free from debris.
- Test different nozzles to see which works best with the detergent you’re using.
Adjustments to the mixture or pressure may be needed based on your specific cleaning task. Remember, the goal is to achieve a thorough clean without damaging the surface underneath. Regular maintenance of the injection system will prolong the life of your equipment and ensure optimal performance on every job.
Adjusting Pressure Settings for Soap Use
To achieve optimal results with detergent application, set your machine to a lower pressure setting, typically between 500 to 1,200 PSI. This range allows the cleaning solution to adhere to surfaces without being blown away. I’ve seen too many people crank up the pressure, thinking it would enhance cleaning efficiency, but instead, it often causes more mess than clean.
When I first started using these devices, I learned the hard way that high pressure can strip paint or damage delicate surfaces. During a job on an old wooden deck, I used too much force, and the wood splintered. Since then, I always adjust the pressure before applying any cleaning agents.
Additionally, if your equipment has multiple nozzle options, select a wider spray pattern. A fan nozzle disperses the detergent more evenly, ensuring better coverage. I recall using a narrow nozzle once and watched as the detergent barely reached the intended area, wasting both time and resources.
Monitor the results as you apply the solution. If it’s not adhering well, decrease the pressure further. Once you’ve applied the detergent, allow it to dwell for the recommended time–usually around 5-10 minutes–before rinsing. This waiting period is crucial for breaking down grime effectively.
Finally, after switching back to rinse mode, gradually increase the pressure again to remove the cleaning solution. A smooth transition prevents any damage and ensures a thorough clean. Remember, it’s all about finding that sweet spot where the cleaning agent works its magic without causing harm.
Applying Soap to Different Surfaces
When it comes to using cleaning solutions on various materials, it’s crucial to tailor your approach for optimal results. For painted surfaces, always dilute the cleaner as per the manufacturer’s guidelines to prevent damage. Use a wide-angle nozzle to distribute the solution evenly, ensuring you cover every inch without concentrating too much on one spot.
For concrete driveways, a stronger concentration can be used. Apply from a distance of around 12 inches, using a fan spray pattern to avoid etching into the surface. Let the formula dwell for a few minutes before rinsing thoroughly, which helps lift stubborn stains effectively.
For delicate surfaces like porcelain tiles, select a gentle cleaner specifically designed for such materials. I’ve found that a less aggressive approach works best–keep the nozzle at least 18 inches away and in a sweeping motion to prevent chipping. Consider using a pressure washer for porcelain tiles to ensure you’re not applying too much force.
Wooden decks require a specific formula as well. Use a wood-safe solution and apply with a low-pressure setting. A rotary nozzle can help in this instance, as it allows for more controlled application without damaging the wood grain.
After application, always rinse with clear water, starting from the top and working your way down. This prevents streaks and ensures all cleaning agents are removed completely. Adjust your approach based on the surface type to maintain its integrity and appearance, ensuring long-lasting results.
Flushing the System After Soap Application
After applying the cleaning solution, the next step is to ensure that the entire system is flushed properly. This is crucial to prevent any residual product from damaging the equipment or affecting future cleaning tasks. Start by disconnecting the chemical injector or soap tank, if applicable. This prevents any backflow of solution into the system.
Steps for Effective Flushing
First, switch to clean water. If your machine has a specific setting for rinsing, select that option. If not, simply adjust to a high-pressure setting. Begin flushing by running the unit without any attachments for a few minutes. This clears out the lines and nozzle. Pay attention to the spray pattern; it should return to a consistent and powerful jet, indicating that all remnants of the cleaning agent have been expelled.
Final Checks
After flushing, inspect the nozzle for any clogs or blockages. A quick visual check can save you from potential issues later. If you notice any debris, clean the nozzle thoroughly. Also, ensure the water supply is adequate and free from impurities.
| Step | Action |
|---|---|
| 1 | Disconnect chemical injector |
| 2 | Switch to clean water |
| 3 | Run without attachments for a few minutes |
| 4 | Inspect and clean the nozzle |
| 5 | Check water supply quality |
Once you’ve completed these steps, your equipment will be ready for future use without the risk of contamination or damage. Proper maintenance keeps your cleaning tasks efficient and ensures longevity of your machinery.
Common Mistakes to Avoid When Using Soap
Avoid using concentrated formulations directly without dilution; this can lead to residue build-up and damage surfaces. Always follow the manufacturer’s instructions for mixing ratios.
- Ignoring Surface Compatibility: Different surfaces react differently to cleaning agents. Test on a small area first, especially on painted or sensitive materials.
- Using Incorrect Nozzle: A high-pressure nozzle can strip paint or damage surfaces. Opt for a low-pressure nozzle for applying cleaning agents.
- Neglecting Safety Gear: Always wear protective eyewear and gloves. Some cleaning agents can irritate the skin or eyes.
- Over-application: Applying too much cleaner can cause streaks or require excessive rinsing, wasting time and resources. A light, even coat is usually sufficient.
- Failing to Rinse Properly: Leaving cleaning agents on surfaces for too long can lead to discolouration or damage. Rinse thoroughly after the application.
- Not Flushing Equipment: After use, always flush the system with clean water to prevent clogging and buildup in the injector system.
In my experience, I once neglected to dilute a powerful cleaner, thinking it would boost effectiveness. Instead, I ended up with a discoloured patio that took weeks to restore. Learning from these errors can save both time and money.
Maintaining Your Pressure Washer After Soap Use
After applying cleaning agents, it’s critical to care for the equipment properly. Start by flushing the system with clean water to remove any residue. This prevents the chemical from corroding internal components. Connect the garden hose and run the unit for a few minutes, ensuring that all traces of product are expelled.
Inspecting Filters and Nozzles
Regularly check and clean the filters and nozzles. Chemical residues can clog these parts, reducing performance. If you notice any build-up, soak them in warm, soapy water and scrub gently with a brush. Rinse thoroughly before reassembling.
Storing the Equipment
Store the machine in a dry, sheltered location. If you live in a colder climate, consider winterising the unit by adding antifreeze to the system. This protects the internal mechanisms from freezing and damage. Finally, ensure all hoses are coiled neatly to avoid kinks, which can lead to leaks over time.


.jpg)


