


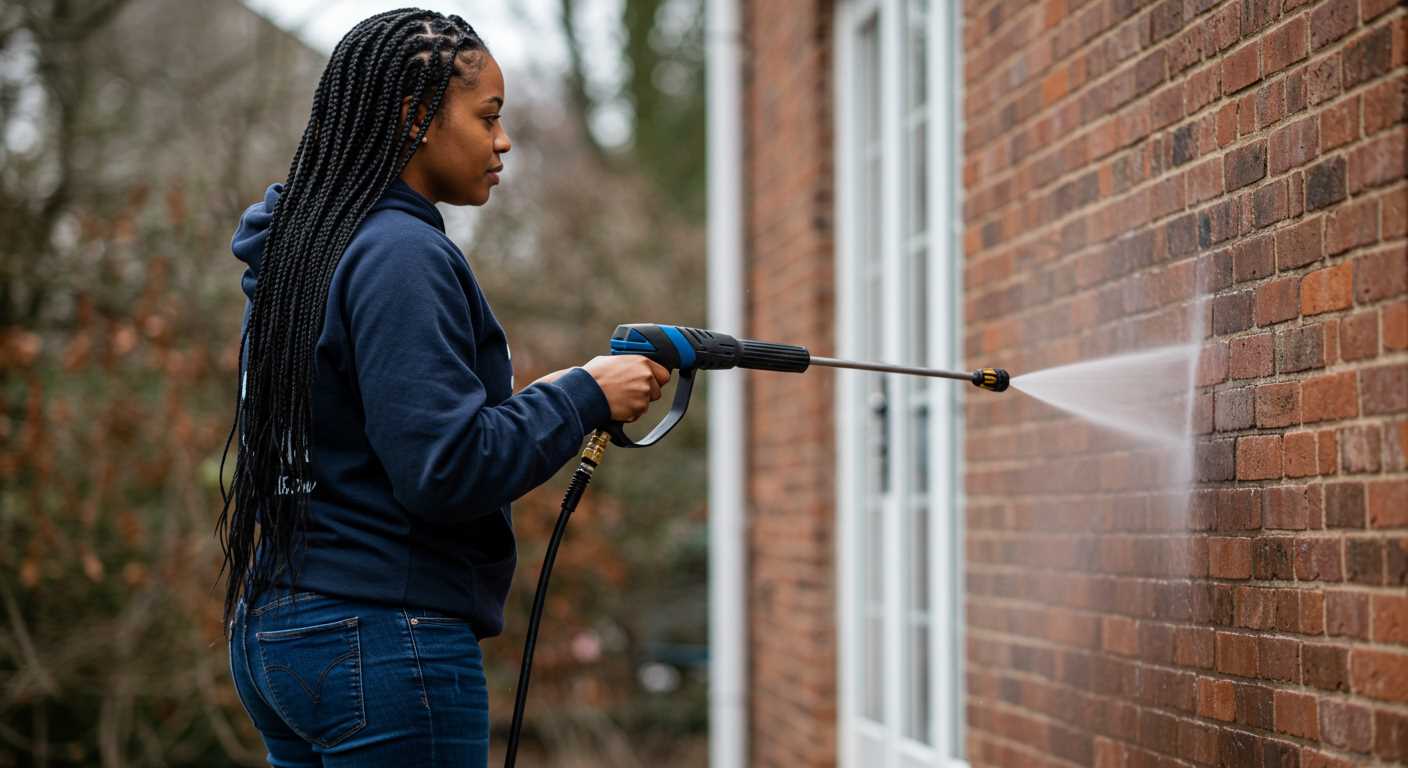
Start with the right attachment. A dedicated abrasive cleaning nozzle can transform your machine into a powerful tool for removing tough materials. I remember my first time trying this method; the transformation of a weathered patio was remarkable. The key is to select a nozzle that matches the job size and the material you are working on.
Always wear appropriate protective gear. Safety goggles and heavy-duty gloves are non-negotiable. The first time I attempted this technique, I underestimated the force and ended up with a few minor injuries. Protecting your eyes and skin from debris is paramount, so make sure you gear up properly.
Adjust the flow rate and pressure settings. Too much force can damage surfaces, while too little won’t yield results. During one project, I learned this the hard way. I cranked up the pressure, and my wooden deck suffered for it. Finding the right balance is crucial for achieving optimal results without causing harm.
Use the right abrasive material. Sand, glass beads, or even baking soda can be effective depending on your specific project. I’ve experimented with various materials, and each has its unique benefits. For instance, baking soda is fantastic for delicate surfaces where you don’t want to cause scratches.
Finally, practice your technique. Consistency is key. The first time I tried this method, my strokes were uneven, and the finish showed it. With practice, I learned to maintain an even pace and distance from the surface, resulting in a smooth, professional finish. Don’t rush the process; take your time to master the art of abrasive cleaning.
Technique for Abrasive Cleaning Using a High-Pressure Unit
Begin by selecting the right abrasive material. I’ve found that silica sand, garnet, or glass beads yield the best results depending on the surface you’re tackling. Ensure you use materials specifically designed for this purpose to avoid damaging your equipment.
Next, attach the appropriate nozzle to your machine. A nozzle with a smaller orifice increases the velocity of the stream, allowing for a more effective removal of stubborn substances. In my experience, an adjustable nozzle provides flexibility for various tasks.
Set your machine to a higher pressure setting. Typically, around 3000 PSI works wonders for most applications. Ensure the water temperature is ideal; warm water can enhance the abrasive’s effectiveness, particularly on oily surfaces.
Before starting, always wear protective gear. Safety goggles, gloves, and a mask are non-negotiable. The last thing you want is to injure yourself while working.
Begin the cleaning process by maintaining a consistent distance from the surface. I recommend keeping the nozzle approximately 12 to 18 inches away. This distance allows for optimal force without risking damage to the substrate.
- Use sweeping motions to cover the surface evenly.
- Work in sections, ensuring each area receives adequate attention.
- Adjust your distance if you notice any surface damage or if the material isn’t performing as expected.
Monitor the material feed regularly. A consistent flow is crucial for maintaining pressure and effectiveness. If you notice a drop in performance, check for clogs or blockages in the feed system.
After completing the job, clean the area thoroughly to remove any residual abrasive material. This not only ensures a tidy workspace but also prevents potential health hazards from leftover particles.
Finally, perform routine maintenance on your unit. Regular checks on seals, nozzles, and hoses can extend the lifespan of your equipment and keep it functioning at peak performance.
Choosing the Right Pressure Washer for Sandblasting
For effective abrasive cleaning, selecting the correct equipment is paramount. Here’s what I’ve learned through years of hands-on experience.
- Pressure Rating: Aim for a unit with a minimum of 3000 PSI. This level ensures adequate force to propel the abrasive material effectively.
- Flow Rate: Look for at least 3.5 GPM. A higher flow rate helps in mixing the media properly, leading to better results.
- Compatibility: Ensure the model you choose can accommodate a sandblasting attachment. Not all machines are designed for this purpose, so verify compatibility before making a purchase.
- Durability: Opt for models with metal components over plastic. I’ve found that robust construction withstands the rigours of using hard materials during the process.
- Ease of Use: Lightweight designs and ergonomic handles make lengthy sessions more comfortable. A user-friendly interface saves time and effort.
- Brand Reputation: Go for trusted brands known for quality and reliability. My experiences with well-known manufacturers often lead to better customer support and warranty options.
Over the years, I’ve tested various models, and I can’t stress enough the importance of choosing wisely. A poor-quality machine can hinder your progress and lead to frustration. Investing in the right tool pays off in the long run.
Preparing the Work Area for Sandblasting
Clear the area of any obstacles. Remove furniture, plants, and fragile items to prevent damage. Ensure the ground is stable and can handle the weight of your equipment without shifting.
Lay down tarps or plastic sheeting to catch debris. This will simplify cleanup and protect surrounding surfaces. If you’re working outdoors, consider wind direction; avoid areas where dust might blow towards homes or vehicles.
Check local regulations regarding dust control. Some regions require specific measures to minimise airborne particles. Having a vacuum or dust collection system on hand can be beneficial.
Ensure adequate ventilation if working indoors. Open windows and use fans to circulate air. This is crucial for safety, especially if you’re using any chemicals during your process.
Prepare your materials and tools ahead of time. Have your abrasive media, nozzles, and any additional equipment organised and within reach. This reduces downtime and keeps the workflow smooth.
| Task | Details |
|---|---|
| Clear Area | Remove all items that could obstruct work or get damaged. |
| Protect Surfaces | Use tarps or plastic sheeting to catch debris. |
| Check Regulations | Understand local laws regarding dust control. |
| Ensure Ventilation | Open windows and use fans for airflow indoors. |
| Organise Materials | Have all necessary tools and media readily available. |
Finally, consider personal safety gear. Wear goggles, gloves, and a mask to protect yourself from abrasive materials and dust. Taking these precautions makes the entire process smoother and safer.
Selecting the Appropriate Abrasive Material
Choosing the right abrasive material is pivotal for achieving optimal results in your cleaning tasks. I’ve tried various options, and each has its unique application and performance characteristics. Here are some of my top recommendations based on personal experience.
Silica Sand is a common choice for many applications. It’s affordable and easily accessible. However, be cautious of the dust it generates. I’ve found that using a dust mask is essential when working with silica to protect your lungs from harmful particles.
Aluminium Oxide stands out for its durability and efficiency. It can be reused multiple times, making it a cost-effective option in the long run. I remember using it on a particularly stubborn surface, and the results were impressive; it stripped the paint effortlessly without damaging the underlying material.
Glass Beads are excellent for more delicate surfaces. They provide a gentle yet effective cleaning action, ideal for removing grime without causing scratches. I’ve often recommended them for automotive applications where maintaining the integrity of the surface is crucial.
Steel Shot is another powerful option, especially for heavy-duty jobs. It’s excellent for rust removal on metal surfaces. During a restoration project, I utilised steel shot, and it transformed the surface beautifully, preparing it for painting.
Each abrasive material has its strengths and weaknesses, so consider the specific tasks you’re tackling. Test a small area first; this approach has saved me from potential mishaps more than once. Your choice can significantly influence the efficiency and outcome of your cleaning projects, so make it count.
Setting Up Your Equipment for Abrasive Cleaning
Begin by ensuring your device is equipped with the right attachments. A sandblasting kit typically includes a nozzle and a sand pickup tube. These components are crucial for drawing abrasive material into the jet stream. Check the manufacturer’s instructions for compatibility to avoid any mishaps.
Adjusting Pressure Settings
Once you’ve fitted the necessary attachments, adjust the pressure settings. For optimal results, a range of 1500 to 3000 PSI is ideal. Higher pressure can damage surfaces, so start at the lower end and gradually increase as needed. Always test on a small, inconspicuous area first to gauge the impact.
Preparing the Water Supply
Ensure your water source is clean and free from debris. Any impurities can clog the system or affect performance. If you’re using water directly from a tap, consider a filter attachment to maintain cleanliness. Regularly check hoses for leaks or wear, as a compromised hose can hinder water flow and pressure.
| Component | Purpose | Notes |
|---|---|---|
| Nozzle | Controls the flow of water and abrasive material | Select based on the material being removed |
| Sand Pickup Tube | Draws abrasive into the water stream | Ensure it’s properly attached |
| Pressure Settings | Affects the intensity of the clean | Test on low before increasing |
| Water Filter | Prevents clogging | Install if using tap water |
Finally, for those who might be interested, a quality unit can also serve for other tasks, such as using a pressure washer for cleaning windows. After completing setup, always wear appropriate safety gear to protect your eyes and skin from flying debris. You want to enjoy the process, not end up with an injury!
Techniques for Applying Abrasive Cleaning with a High-Pressure Unit
Always maintain a consistent distance of 12 to 18 inches from the surface. This ensures an even application and prevents damage. I recall a time when I got too close, resulting in etching on the surface. Adjusting your stance can significantly change the effectiveness of the stream.
Utilise a sweeping motion rather than a static point. This technique spreads the abrasive material evenly across the area. I once focused too long on one spot, leading to uneven results and extra work in the end. Controlled movements will yield better outcomes.
Vary your nozzle size depending on the task. A wider nozzle can cover larger areas more quickly, while a narrower one allows for more concentrated cleaning on tougher spots. I found that switching nozzles mid-project often optimised my workflow without compromising quality.
Consider the angle of the spray. An oblique approach can help reach into crevices and corners that a direct spray might miss. I learned this the hard way while trying to clear out intricate details on a metal gate. Adjusting the angle allowed me to achieve a thorough clean without missing spots.
Monitor the pressure settings. Higher pressure can remove stubborn materials, but it can also lead to surface damage if mismanaged. I usually start at a lower pressure and gradually increase it as needed. This approach has saved me from costly mistakes on delicate surfaces.
Lastly, always keep an eye on your abrasive supply. Running low mid-project can lead to subpar results. I make it a habit to check my material levels before starting, ensuring a smooth and uninterrupted process. Having enough on hand not only streamlines work but also enhances overall effectiveness.
Safety Precautions During the Sandblasting Process
Always wear a full-face respirator equipped with the appropriate filters. Inhaling airborne particles can lead to serious health issues. I recall a time when I underestimated the importance of proper respiratory protection, and it resulted in a few uncomfortable days dealing with respiratory irritation. Trust me, it’s not worth the risk.
Protective clothing is a must. Use durable, long-sleeved shirts and trousers that can resist abrasives. I learned this the hard way during an early project; a small piece of abrasive material lodged itself in my skin, causing unnecessary pain. Heavy-duty gloves are also essential to safeguard your hands from cuts and abrasions.
Goggles or safety glasses are critical to shield your eyes from flying debris. I’ve had a close call where a stray particle struck my glasses, and I felt fortunate they were on. Safety gear is not just an accessory; it’s your first line of defence.
Ensure your workspace is well-ventilated. Working in confined spaces without proper airflow can lead to the accumulation of harmful dust. I once found myself in a poorly ventilated area, and it made the entire experience exhausting and hazardous.
Consider the surroundings before beginning. Move any flammable materials away from the area. I remember a project where I was careless, and it nearly resulted in a fire due to sparks igniting nearby items. Always keep a fire extinguisher close by, just in case.
Keep a first aid kit on hand. Accidents can occur even with the best precautions in place. During one session, I had to tend to a minor cut, and having a kit nearby made a world of difference.
Finally, ensure that you clearly communicate with anyone nearby. If you’re working in a shared space, let others know what you’re doing and establish a safety perimeter. I’ve had instances where a colleague unknowingly walked into the work area and could have been injured. Awareness is key.
Cleaning and Maintaining Your Equipment Post-Sandblasting
After tackling a project, your tools require immediate attention. Start by rinsing out any remaining abrasive material from the tank and hoses. I remember one time, I neglected this step and ended up with a clogged nozzle, which halted my progress on a weekend project. A simple rinse could have saved me hours of frustration.
Next, inspect all connections and seals for any wear or damage. During my years of testing different models, I often found that the longevity of the equipment came down to regular checks. If you notice any cracks or leaks, replace those parts immediately to prevent further issues down the line.
After rinsing, it’s time to perform a thorough cleaning of the exterior surfaces. Use a soft cloth and mild detergent to remove any residue. I once used a harsh cleaner on a unit, thinking it would work better, but it ended up damaging the finish. A gentle approach keeps everything in top shape.
Don’t forget about the motor and pump components. If you’re using a wet abrasive method, moisture can accumulate and lead to rust. A light application of oil on moving parts can prevent this. I’ve found that a little preventive maintenance goes a long way; a well-oiled machine operates smoother and lasts longer.
Finally, store your equipment in a dry place, ideally in a dedicated storage area away from the elements. Covering your tools can help protect them from dust and moisture. I once left a unit outside, and it didn’t take long for it to degrade. Investing in a good cover is a small price to pay for longevity.
Troubleshooting Common Issues While Sandblasting
If you notice inconsistent material flow during the operation, check the feed hose for kinks or blockages. A clear pathway is essential for smooth operation. I once spent hours trying to figure out why the material wouldn’t come out properly, only to discover a simple kink in the hose was the culprit. Always ensure the hose is properly secured and free from obstructions.
Dealing with Excessive Dust
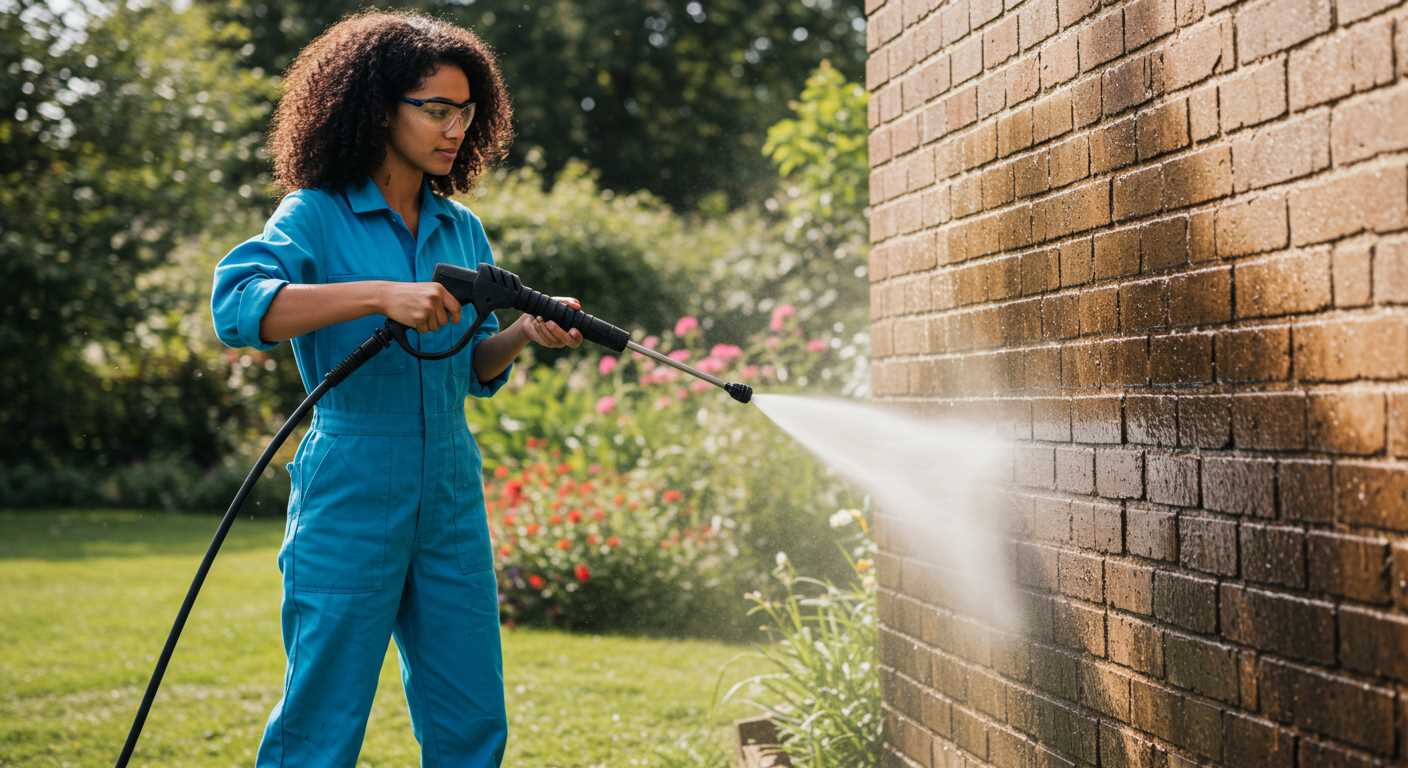
Excessive dust can obscure visibility and cause health hazards. If this becomes an issue, consider using a wet abrasive technique. I had a project where dust accumulation was overwhelming, and switching to a dampening technique reduced both dust and cleanup time significantly. Additionally, using a dust mask or respirator is wise to protect your lungs.
Inconsistent Surface Finish
For uneven surface results, inspect the nozzle size and distance from the surface. A common mistake is using the wrong nozzle or standing too far away. I learned this the hard way on a restoration project; adjusting the nozzle size and maintaining a consistent distance improved the finish dramatically. Experimenting with different nozzle sizes can help achieve the desired texture.



.jpg)


