
.jpg)


.jpg "How to service a rac pressure washer")
To ensure optimal performance, it’s crucial to inspect the filter regularly. A clogged filter can reduce water flow and pressure, leading to inefficient cleaning. I recall a time when a customer complained about low pressure, and after a quick check, I found the filter completely blocked. A simple cleaning restored the unit to its former glory.
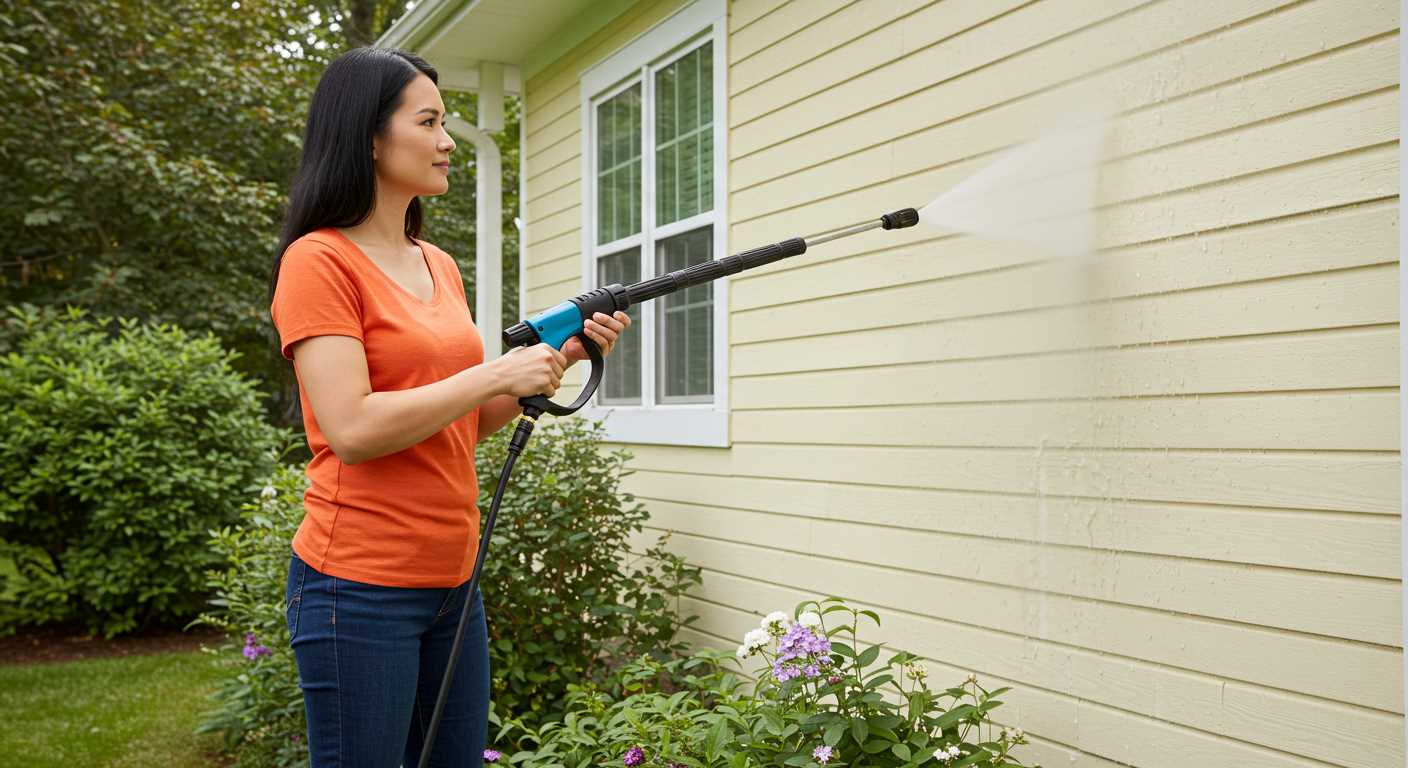
Next, pay attention to the nozzle. Different tasks require specific nozzles, and using the wrong one can cause harm to both the surface and the equipment. I’ve often seen users attempt to clean delicate surfaces with a narrow jet, resulting in damage. Always match the nozzle to your task for the best results.
Another important aspect is checking the hoses for any signs of wear or leaks. A small crack can lead to significant pressure loss. I remember replacing a hose for a client during a busy weekend; it saved them hours of frustration. Regularly inspecting hoses will keep your machine running smoothly and help avoid unexpected downtime.

Don’t overlook the importance of lubricating moving parts. A little grease goes a long way in maintaining the longevity of your machine. One time, I neglected this step, and the pump started to fail under strain, leading to costly repairs. Now, I always ensure that all moving parts are adequately lubricated after every few uses.
Lastly, store your equipment properly. Keeping it in a dry, sheltered place can prevent unnecessary wear from the elements. I’ve seen many machines rust and corrode simply because they were left outside. A good storage routine can extend the life of your equipment significantly.
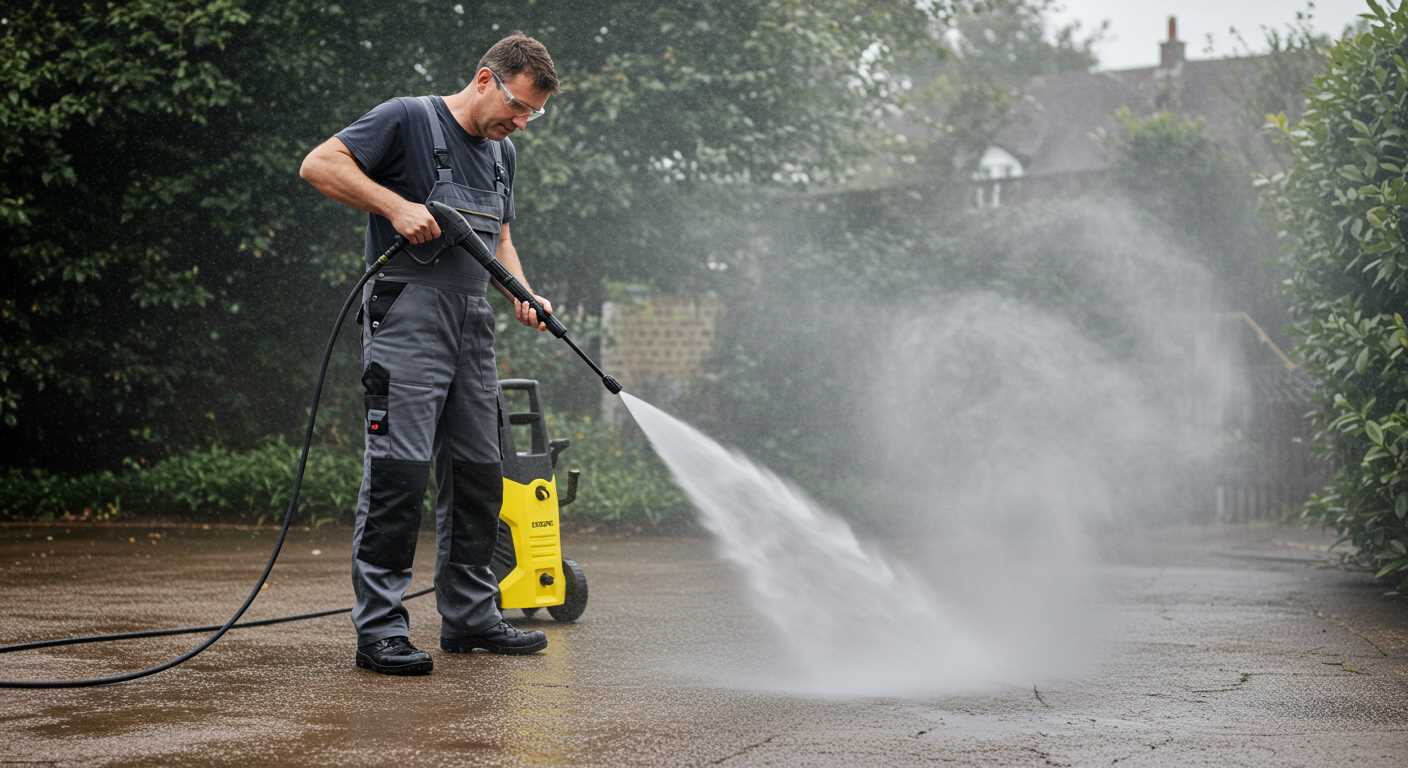
Maintenance Tips for Your RAC Cleaning Equipment
Regularly check the water inlet filter to prevent blockages. A clean filter ensures optimal water flow and performance. Unscrew the filter, rinse it under running water, and reinsert it after it dries.
Inspect hoses for cracks or leaks. A damaged hose can lead to significant pressure loss and inefficiency. Replace any worn sections immediately to maintain consistent output.
- Look for kinks or twists in the hose.
- Test for leaks by running the unit and watching for water escapes.
Monitor the nozzle condition. Over time, nozzles can become clogged or damaged, affecting the spray pattern. Use a needle to clear any obstructions and consider replacing nozzles that show signs of wear.
Regularly change the oil in the pump. A well-lubricated pump runs smoothly and extends the life of the unit. Check the manufacturer’s guidelines for the recommended oil type and change frequency.
- Turn off the machine and allow it to cool.
- Drain the old oil and replace it with fresh oil.
- Check the oil level regularly to ensure it’s within the recommended range.
Inspect and clean the air filter. A clogged air filter can hinder performance. Remove the filter and clean it with compressed air or replace it if it’s beyond cleaning.
Winterising your equipment is key if you live in a colder climate. Before storing, run non-toxic antifreeze through the system to prevent damage from freezing temperatures.
Finally, always refer to the user manual for specific maintenance guidelines tailored to your model. Each unit has unique requirements that can significantly affect its longevity and efficiency.
Checking the Oil Level and Quality
Always check the oil before operating your machine. Start by locating the dipstick, which is usually positioned near the engine. Remove it, wipe it clean with a cloth, then reinsert it to get an accurate reading. The oil level should sit between the minimum and maximum marks. If it’s low, top it up with the recommended type specified in the user manual.
While checking the level, also assess the oil’s quality. Fresh oil should be clear and golden. If it appears dark, gritty, or smells burnt, it’s time for a change. I remember once overlooking this, and it led to a costly engine repair due to a lack of proper lubrication. Always err on the side of caution.
Change the oil as per the manufacturer’s guidelines, or at least once a year, especially if you use the machine frequently. Allow the engine to cool before draining the old oil completely. This will help prevent burns and ensure you get all the old oil out. Use a funnel when pouring in new oil to avoid spills, which can lead to slippery surfaces and potential accidents.
Regular checks and changes of the oil can extend the life of your equipment significantly. I often find that maintaining this simple task can prevent many mechanical issues down the line. Trust me, it’s worth the effort.
Cleaning the Filter System
Regularly maintaining the filter system is crucial for optimum performance. I’ve seen machines struggle due to clogged filters, which can lead to reduced pressure and efficiency. Start by locating the filter, typically found at the water inlet. Remove it gently to avoid damage.
Next, rinse the filter under running water to dislodge dirt and debris. If the filter is heavily soiled, soak it in a solution of warm water and mild detergent for about 15 minutes. This helps break down stubborn grime. After soaking, use a soft brush to scrub it clean, ensuring all residues are removed.
Once clean, allow the filter to dry completely before reinserting it into the unit. Regular cleaning after every few uses is advisable, especially if you’re using your equipment frequently or in dusty environments.
For optimal results, consider pairing your cleaning efforts with best car wash soap for pressure washers to maintain the overall health of your equipment. This combination can significantly enhance performance and prolong the lifespan of your gear.
Inspecting and Replacing the Hose
Inspect the hose for any signs of wear, such as cracks, bulges, or leaks. A damaged hose can lead to reduced performance or even accidents during operation. I recall a situation where a seemingly minor crack turned into a major leak, causing a frustrating mess and downtime. Regular checks can prevent these issues.
When examining the hose, ensure all connections are tight and secure. Loose fittings can result in water loss and decreased pressure. I’ve seen many users overlook this simple step, only to find their equipment lacking power due to inadequate water flow.
If you discover any damage, replacing the hose is straightforward. First, disconnect it from both the unit and the water source. Choose a compatible replacement, considering the length and diameter to ensure proper fit. I once opted for a slightly longer hose, which provided greater flexibility during cleaning tasks.
When installing the new hose, make sure to tighten the fittings properly to avoid leaks. A good tip I learned is to use a little plumber’s tape on the threads for a better seal, especially if you encounter persistent leaks. This small addition can make a significant difference.
After replacing, run the machine briefly to check for leaks at the connections. If everything looks good, you’re all set to get back to those cleaning projects with confidence in your equipment’s reliability.
Testing and Maintaining the Nozzle
Regular testing of the nozzle is critical for optimal performance. I always recommend checking the spray pattern and ensuring the nozzle isn’t clogged. A simple way to do this is by running water through the nozzle without the unit engaged. If the stream is uneven or weak, it’s time to investigate further.
Inspecting for Blockages
Start by removing the nozzle from the lance. Use a soft brush or a toothpick to gently clear any debris. Avoid metal tools that could scratch or damage the nozzle. After cleaning, flush it out with water to ensure all particles are removed. If the blockage persists, consider soaking the nozzle in a vinegar solution for about 30 minutes to dissolve any mineral deposits.
Testing Different Nozzle Types
Many models come with interchangeable nozzles. Each has a specific purpose, from wide sprays for rinsing to narrow jets for tough stains. I often change nozzles based on the task at hand. For example:
- 15-degree nozzle: Ideal for stripping paint or cleaning mildew.
- 25-degree nozzle: Great for general cleaning tasks like washing vehicles.
- 40-degree nozzle: Perfect for delicate surfaces such as wood or glass.
To test each nozzle, attach it and activate the unit at a safe distance. Observe the spray pattern and adjust your stance accordingly to achieve the best coverage.
Once you’ve tested the nozzles, store them in a cool, dry place to prevent damage. Ensure they’re labelled if you have multiple types, which will save time in the future.
Maintaining the nozzle involves regular checks and cleanings, but the effort pays off with improved performance and a longer lifespan of your equipment. Trust me, staying on top of these small details makes a significant difference in the results you achieve.
Assessing the Electric Motor Functionality
Start by unplugging the unit to ensure safety. Inspect the power cord for any signs of wear or damage; frayed wires can lead to electrical issues. If the cord looks fine, plug the machine back in and listen for any unusual sounds when you turn it on. A healthy motor should run smoothly without grinding or screeching noises.
Next, check the thermal overload switch. If the motor has been running for an extended period, it may shut off due to overheating. Allow it to cool down for several minutes before restarting. If the motor frequently trips the overload switch, it may indicate a deeper issue, such as excessive wear or a failing component.
Utilise a multimeter to test the voltage at the motor’s terminals. A reading that falls short of the motor’s rated voltage may suggest a problem with the power supply or internal wiring. If the voltage checks out, examine the motor brushes. Worn brushes can prevent optimal contact, leading to poor performance. Replace brushes if they are less than a quarter inch long or show signs of significant wear.
Lastly, ensure the motor’s cooling vents are clear of debris. Blocked vents can lead to overheating, which affects functionality. Clean these areas regularly to maintain airflow and keep the motor running efficiently.
| Component | What to Check | Signs of Issues | Recommended Action |
|---|---|---|---|
| Power Cord | Inspect for damage | Frayed wires, exposed conductors | Replace if damaged |
| Thermal Overload Switch | Monitor for tripping | Frequent shutdowns | Allow cooling; investigate for underlying issues |
| Voltage | Measure with multimeter | Low voltage readings | Check power supply and wiring |
| Motor Brushes | Assess wear | Less than a quarter inch, uneven wear | Replace worn brushes |
| Cooling Vents | Clear of obstruction | Dust and debris buildup | Clean regularly |
Examining and Changing the Pump Seals
Inspect the pump seals regularly for any signs of wear or damage. A thorough visual examination can help identify leaks or cracks that may compromise the performance of your equipment. If you notice any deterioration, it’s time for a replacement.
To change the seals, first, disconnect the power source and relieve any pressure in the system. Carefully remove the pump cover, taking note of the orientation and position of all components. This will aid in reassembly. Gently extract the old seals, ensuring no fragments remain in the housing.
When installing new seals, opt for high-quality replacements suitable for your specific model. Lubricate them lightly with oil to facilitate a proper fit and prevent damage during installation. Reassemble the pump, ensuring all parts are in their correct positions.
After reassembly, run the unit briefly to check for leaks. If everything is secure, your equipment should function optimally. Don’t forget to regularly check the seals in the future, as maintaining their integrity is key to preventing costly repairs.
If you’re considering upgrades, look into compatible adapters for pressure washers that can enhance performance and versatility.
Storing the Equipment Properly
Drain any remaining water from the unit to prevent freezing and damage during colder months. It’s crucial to disconnect the water supply and run the machine for a minute without pressure to clear out any residual moisture. Once drained, ensure all connections are clean and free from debris.
Choosing the Right Location
Store the equipment in a dry, sheltered area, away from direct sunlight and extreme temperatures. A garage or shed works well, but if you must keep it outdoors, use a protective cover specifically designed for this type of machinery. This helps guard against dust and moisture accumulation.
Maintenance Before Storage
Before putting the device away, check the oil level and quality once more, ensuring it meets the manufacturer’s specifications. Replace any worn or damaged parts. Applying a light coat of oil to metal components can help prevent rust. Lastly, make sure all accessories, including hoses and nozzles, are stored neatly to avoid tangling and damage.
.jpg)


