


To keep your K7 cleaning unit running smoothly, regular inspection of the hose and connections is essential. I once encountered a situation where a colleague ignored minor leaks, leading to major performance issues. A quick check could have saved time and unnecessary repairs. Always ensure that the hoses are free from cracks and that all connections are tight.
Next, pay close attention to the filters. I remember a time when I was called to troubleshoot a unit that had lost pressure. The culprit? A clogged filter. Cleaning or replacing it every few months can significantly enhance performance. Make it a habit to inspect these components during routine maintenance.
Don’t overlook the importance of using the correct detergent. Using the wrong type can not only affect cleaning efficiency but also damage the machine over time. I’ve seen units that were meant for mild detergents being used with harsh chemicals, resulting in costly repairs. Always refer to the manufacturer’s guidelines for appropriate cleaning agents.
Lastly, regular checks of the motor and electrical components can prevent unexpected breakdowns. I once had a unit that suffered from overheating due to dust accumulation on the motor. A simple dusting can prolong the life of your equipment. It’s a small effort that pays off in reliability and performance.
Maintenance Tips for Kranzel K7 Equipment
Regular upkeep is key for longevity. Start with checking the water inlet filter; a clogged filter can affect performance. Simply remove it, rinse under clean water, and reinstall it securely. This quick task can save you from more significant issues down the line.
Next, inspect the hose for any signs of wear or leaks. If you notice any damage, replace it immediately. A compromised hose can lead to reduced pressure and efficiency, which I learned the hard way when I had to deal with a sudden drop in output during a crucial job.
Pay attention to the nozzle as well. Remove any debris that may be lodged inside. If it’s worn out, consider replacing it to maintain optimal cleaning power. I recall one instance where a simple nozzle replacement made all the difference in the effectiveness of the cleaning process.
Don’t overlook the oil levels in the pump. Regularly check and replace the oil as specified in the manual. I’ve found that neglecting this step can lead to premature wear on the internal components. It’s a small task that pays off significantly in the long run.
Lastly, store the equipment in a dry place and protect it from extreme temperatures. I’ve seen too many machines suffer from neglect during the off-season. A little care during storage can prevent a lot of trouble when it’s time to use the unit again.
Checking and Replacing the High-Pressure Hose
Inspect the high-pressure hose regularly for any signs of wear, such as cracks, bulges, or leaks. A damaged hose can lead to a loss of water pressure and potential safety hazards. I recall a time when I missed a small crack on a hose, which escalated into a significant leak during a job. The sudden drop in performance was frustrating and could have been avoided with a simple check.
To examine the hose, disconnect it from the unit and visually inspect its entire length. Look for any abrasions or signs of damage, particularly near the fittings where stress is often concentrated. If you find any issues, replacing the hose is straightforward. Make sure to purchase a compatible replacement. I’ve always opted for hoses that are rated for higher pressure than my equipment requires, just to add an extra layer of safety.
When it’s time to install a new hose, ensure the fittings are securely attached. Sometimes, I’ve seen users struggle because they didn’t tighten the connections adequately. A simple twist can make all the difference in preventing leaks. Always test the unit after replacement to confirm that everything is functioning properly. Run it for a few minutes and observe for any signs of leaks at the connection points.
Lastly, store the hose properly when not in use. Avoid kinks and sharp bends, as these can weaken the material over time. I often use a hose reel to keep things tidy and extend the life of the hose. Taking these steps can save you time and money in the long run, ensuring your equipment operates at peak performance.
Cleaning the Water Inlet Filter
First, disconnect the water supply and ensure the unit is powered off. Locate the water inlet filter, typically found at the entrance of the water line. Removing it is often as simple as unscrewing or pulling it out, depending on the model.
Once you have access to the filter, inspect it for any debris or mineral build-up. I recall a time when a client’s machine was struggling due to a clogged filter. A quick clean transformed its performance. Use a soft brush or cloth to gently remove any dirt without damaging the mesh. Rinse it under running water until clear.
For stubborn deposits, a solution of vinegar and water can be effective. Soak the filter for a few minutes, then scrub lightly. Ensure it’s thoroughly rinsed afterwards to prevent any residue from affecting water flow.
After cleaning, replace the filter securely, ensuring no leaks will occur. Reconnect the water supply and check for proper operation. If you notice any performance issues, it might be worth repeating the process or considering a replacement if the filter is worn.
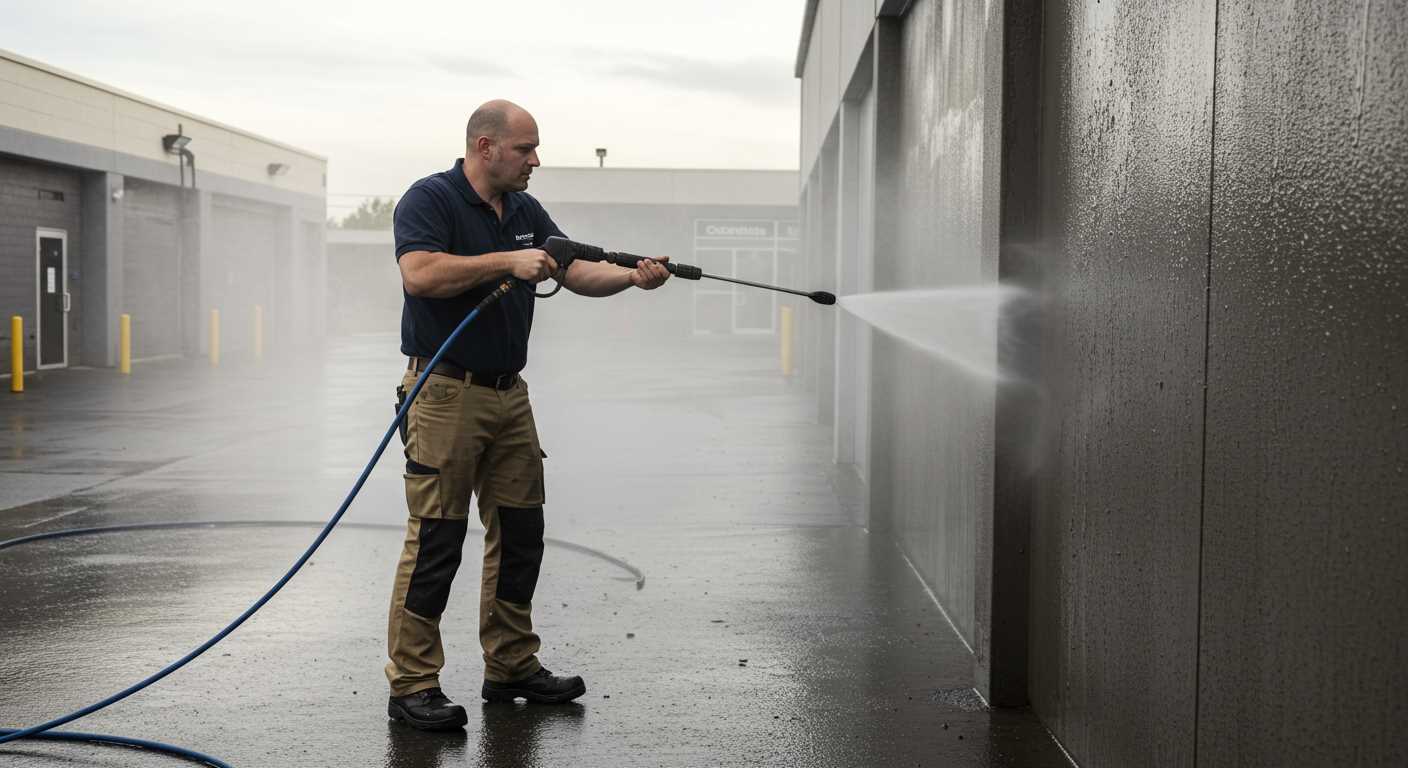
Inspecting and Replacing the Nozzle
.jpg "How to service kranzel k7 pressure washer")
Begin with a thorough inspection of the nozzle. A worn or clogged nozzle can significantly diminish the performance of your cleaning device. Look for any cracks or blockages that could impede water flow. If the spray pattern is uneven or inconsistent, it’s likely time for a replacement.
Steps to Inspect the Nozzle
- Remove the nozzle from the lance by twisting it counter-clockwise.
- Examine the nozzle tip for any signs of wear, including nicks or deformities.
- Check for debris or mineral buildup, which can be cleaned using a soft brush or a needle to clear the orifice.
Replacing the Nozzle
If the nozzle shows significant wear or damage, replacing it is straightforward. Here’s how:
- Select a compatible replacement nozzle based on your model’s specifications.
- Align the new nozzle with the lance and twist it clockwise until secure.
- Test the new nozzle by running the machine briefly to ensure proper functionality and spray pattern.
Regularly checking and replacing the nozzle will maintain optimal performance. For additional cleaning tips, consider exploring how to clean silver with coke a simple and effective method. This can be particularly useful for keeping accessories and attachments in top condition.
Testing and Maintaining the Pump System
Regular testing of the pump system is crucial for longevity and performance. Start by disconnecting the machine from the power source and ensuring all hoses are detached. Check for any visible leaks around the pump housing and connections. If you notice any fluid, it may indicate a worn seal or gasket that needs replacing.
Pressure Test
To conduct a pressure test, reconnect the high-pressure hose and attach a pressure gauge. Turn on the unit and observe the pressure reading. It should align with the manufacturer’s specifications. If the gauge shows lower than expected readings, the pump may be experiencing internal wear or blockage. Listen for unusual noises as well; grinding or rattling can signal impending failure.
Maintenance Procedures
Clear any debris from the pump area to prevent overheating. Regularly inspect the oil levels if applicable; low levels can lead to increased wear. If the unit has an oil-filled pump, consider changing the oil annually for optimal performance. Additionally, check the suction strainer for clogs. A clean strainer ensures proper water flow, reducing strain on the pump.
After thorough testing, if any issues arise, consult the manual for specific troubleshooting steps. Keeping a log of maintenance activities can also help track the performance and identify any recurring problems. This proactive approach not only extends the life of the machine but also ensures efficient operation whenever you need it.
Examining the Power Cable for Damage
Inspect the power cable for any signs of wear or damage before operating the equipment. Look for frayed or exposed wires, cracks in the insulation, and any kinks that could lead to internal damage. I recall a time when I overlooked a small tear in a cable, which resulted in a short circuit. This can not only halt operations but also pose safety risks.
Pay close attention to the connectors. Ensure they are secure and free from corrosion. If you notice any discoloration or build-up, clean them gently with a soft brush and a mixture of vinegar and water. If the damage is significant, replacing the entire cable may be necessary. Choose a high-quality replacement that matches the specifications of your equipment to avoid compatibility issues.
Additionally, after every use, store the unit properly. Avoid wrapping the cable tightly around the machine, as this can create stress points that lead to damage over time. Instead, loosely coil it and use cable ties to keep it organised. A well-maintained power cord can extend its lifespan and ensure safe operation.
For those considering upgrades, exploring options for a commercial pressure washer pump could enhance your cleaning capabilities, but remember, the power source remains critical to performance.
Flushing the System After Use
Flush the system immediately after each operation to prevent debris and detergent buildup. This simple step prolongs the life of your equipment and ensures consistent performance.
Follow these steps for effective flushing:
- Turn off the power and disconnect the unit from the mains supply.
- Remove the nozzle from the lance to allow a free flow of water.
- Connect a garden hose to the water inlet. Ensure it’s securely attached to prevent leaks.
- Open the water supply fully. This will provide a strong flow to clear out residues.
- Turn on the machine briefly without the nozzle attached. This will push out any remaining detergent or particles in the system.
- Let the water run for a couple of minutes to ensure thorough cleaning.
- After flushing, disconnect the garden hose and reattach the nozzle. Store the unit in a dry area.
In my experience, neglecting this step can lead to clogs and decreased efficiency over time. A quick rinse can save you from costly repairs down the line.
Regular flushing also helps maintain optimal water pressure and extends the life of vital components. Make it a routine part of your cleaning process, and you’ll notice the difference in performance.
Storing the Equipment Properly
After a day of cleaning, it’s crucial to store your equipment correctly to ensure longevity and optimal performance. Always drain the water from the system to prevent any residual moisture that could result in corrosion or freezing damage. Here’s what I recommend:
| Step | Action |
|---|---|
| 1 | Disconnect all hoses and accessories. Ensure they are dry before storage. |
| 2 | Store the unit in a cool, dry place. Avoid direct sunlight and extreme temperatures. |
| 3 | Wrap the power cable neatly to avoid tangles and potential damage. |
| 4 | If applicable, use a protective cover to shield from dust and dirt. |
| 5 | Check for any leaks or damages before storing away for an extended period. |
In my experience, I’ve seen many users neglect the importance of a proper storage routine. One time, I left my own equipment in a damp garage. The next season, the pump had significant issues due to rust. Learning from that, I now ensure everything is dry and stored in a controlled environment. Regular maintenance checks during storage can save you from unnecessary repairs later.
Additionally, if you plan on not using your equipment for several months, consider running a small amount of pump protector through the system to keep internal components lubricated. This step can help mitigate wear and tear when you bring it out for use again.
FAQ:
What are the basic maintenance steps for the Kranzel K7 pressure washer?
To maintain your Kranzel K7 pressure washer, begin by regularly checking the water filter and cleaning it to prevent clogs. Inspect the high-pressure hose for any signs of wear or damage; replace it if needed. Additionally, ensure that the spray gun and nozzles are free from debris and functioning correctly. After each use, drain the water from the pump and store the machine in a dry place to avoid frost damage. Periodic lubrication of the motor and other moving parts is also advisable to keep everything operating smoothly.
How can I troubleshoot low pressure issues with my Kranzel K7 pressure washer?
If you’re experiencing low pressure with your Kranzel K7, first check the water supply to ensure it is adequate and flowing correctly. Examine the hose for kinks or blockages that could restrict water flow. Inspect the nozzle for clogs or damage, as a worn or blocked nozzle can significantly affect pressure. Lastly, verify that the water filter is clean and not obstructed. If these steps do not resolve the issue, it may be necessary to assess the pump for any internal problems.
Is it necessary to winterize my Kranzel K7 pressure washer?
Yes, winterizing your Kranzel K7 pressure washer is crucial if you live in an area where temperatures drop below freezing. To do this, first, drain all water from the pump and hoses to prevent any remaining water from freezing and causing damage. After draining, consider adding a pump protector or anti-freeze solution specifically designed for pressure washers to ensure the internal components are safeguarded. Store the machine in a climate-controlled area to further protect it from cold temperatures.
What type of cleaning agents can I use with my Kranzel K7 pressure washer?
When using your Kranzel K7 pressure washer, it is advisable to use cleaning agents that are specifically formulated for pressure washers. These are typically biodegradable and safe for various surfaces. Avoid using harsh chemicals or solvents that could damage the machine or the surfaces you are cleaning. Always dilute the cleaning agent as per the manufacturer’s instructions and test it on a small area first to ensure compatibility with the material being cleaned. Using the right products will enhance cleaning performance without harming your equipment.

.jpg)


