


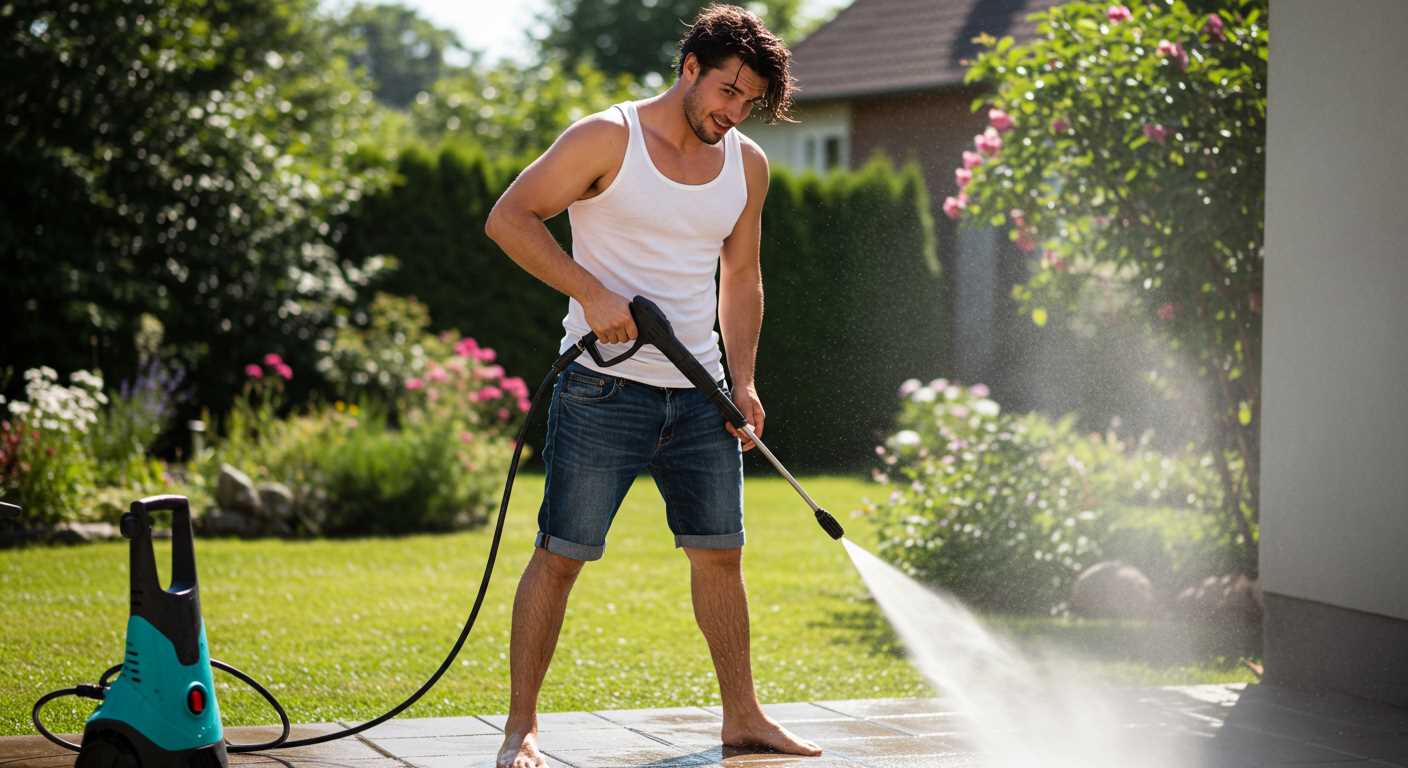
Regular maintenance is non-negotiable for keeping the K7 in prime condition. A quick check of the water inlet filter can prevent significant issues down the line. Remove the filter and rinse it under clean water; any debris can obstruct proper water flow, leading to decreased performance.
Next, examine the high-pressure hose for any signs of wear. Look for kinks, cracks, or bulges. A compromised hose can lead to leaks or bursts, which not only disrupts cleaning activities but can also be hazardous. If you find any damage, replacing the hose promptly is crucial.
Don’t overlook the pump oil. Regularly checking and changing the oil is key to ensuring smooth operation. I recall one instance where neglecting this aspect led to a complete pump failure during a critical job. Always consult your manual for the recommended oil type and change intervals.
Lastly, inspect all connections and fittings. Tighten any loose parts to avoid leaks and ensure optimal pressure. I’ve seen many users overlook this simple step, only to face frustrating interruptions during their cleaning tasks. Taking the time to perform these checks will extend the lifespan of your equipment and enhance its performance.
Maintenance Tips for the K7 Model
Regular checks on the water inlet filter can prevent clogs that affect performance. Remove the filter and rinse it under running water to eliminate debris. If it appears damaged, replace it to maintain optimal flow.
Inspecting and Replacing Seals
Inspect the O-rings and seals frequently. These components can wear out from pressure fluctuations and exposure to cleaning agents. A common issue I encountered was leaks due to deteriorated seals. Simply remove the old ones and replace them with new, compatible parts to restore functionality.
Cleaning the Nozzle
A blocked nozzle can reduce pressure output significantly. I recommend using a thin wire to clear any obstructions in the nozzle tip. If the blockage persists, consider soaking the nozzle in a mixture of vinegar and water to dissolve any stubborn residue.
Inspecting and Replacing the High-Pressure Hose
Begin by checking for any visible signs of wear or damage on the high-pressure hose. Look for cracks, bulges, or frayed areas. If you spot any of these issues, it’s best to replace the hose to avoid leaks or bursts during use.
Steps for Inspection
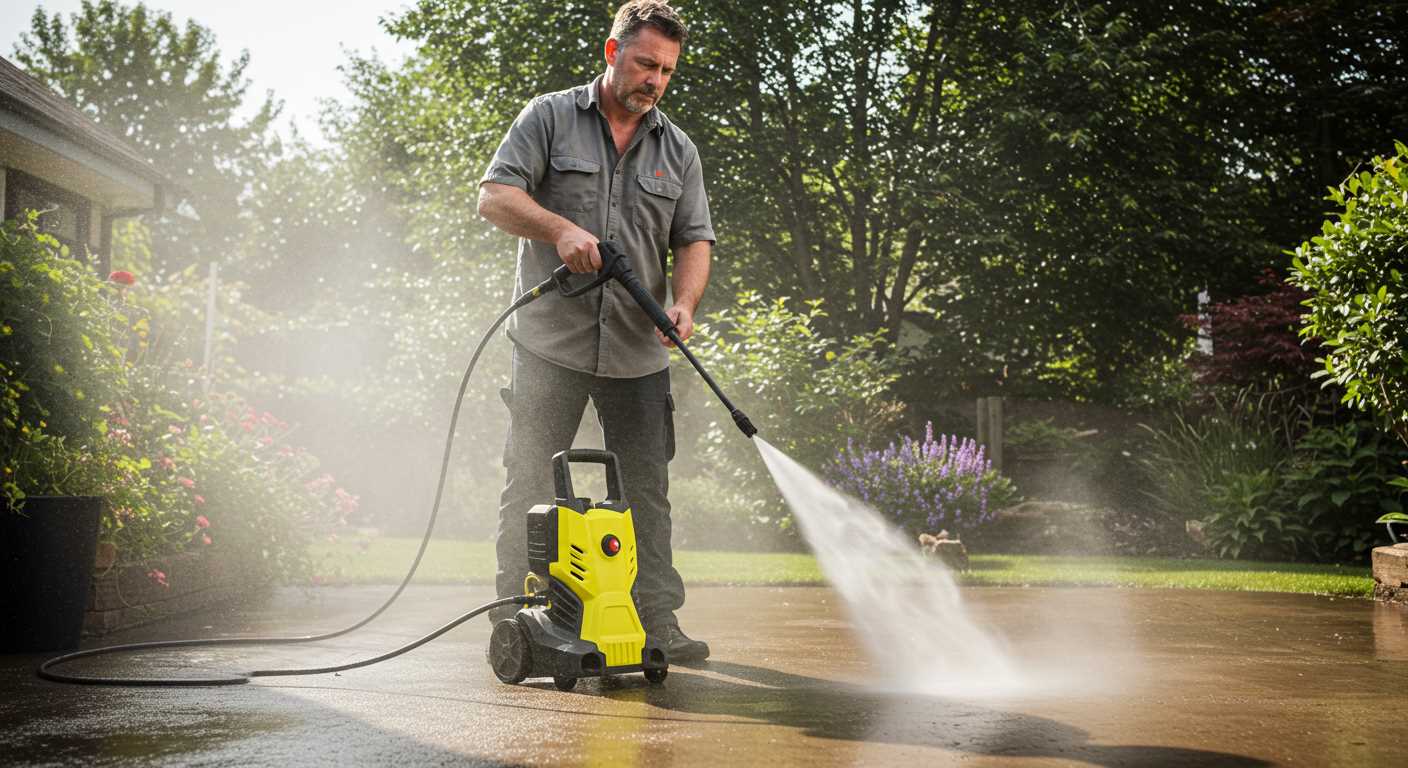
Lay the hose out straight on a clean surface. This allows you to examine the entire length without missing any problem areas. Pay close attention to the connectors at both ends; these can often wear out faster than the hose itself. Ensure that the fittings are secure and free of debris.
Replacing the Hose
If replacement is necessary, choose a compatible hose that matches the specifications of your equipment. Disconnect the old hose from the unit by loosening the fittings with a wrench. Make sure to use the correct size to avoid damaging the connectors. Once removed, attach the new hose by securing it firmly to ensure a tight fit. Always check the manufacturer’s instructions for any specific details regarding installation.
Cleaning the Water Filter and Inlet Valve
Begin by disconnecting the water supply. It’s crucial to prevent any accidental spray when you work on the unit. I’ve seen too many people forget this step and end up soaked.
Locate the water filter, typically found at the inlet where the hose connects. Gently unscrew the filter. You might need a wrench, but be careful not to apply too much force. I’ve had filters stuck tight due to debris build-up, so patience is key.
After removal, rinse the filter under running water. Use a soft brush to scrub away any stubborn dirt. I’ve found that a toothbrush works wonders for this task. Make sure to check for any cracks or wear; replacing a damaged filter is non-negotiable for optimal performance.
Next, inspect the inlet valve. This component can accumulate sediment and mineral deposits over time. Remove the valve cover by unscrewing it, and take a close look inside. If you see any buildup, clean it using a mixture of vinegar and water, which helps dissolve mineral deposits.
After cleaning, ensure all parts are dry before reassembling. Replace the filter and valve cover, tightening securely but not overtightening. It’s easy to strip threads if you’re too forceful.
Before reconnecting the water supply, double-check everything to ensure all components are in place. I’ve had instances where a loose part led to leaks, which can be frustrating. Once everything looks good, turn on the water and check for leaks again.
- Disconnect water supply before starting.
- Remove and clean the water filter thoroughly.
- Inspect the inlet valve for sediment and clean if necessary.
- Ensure everything is dry before reassembly.
- Check for leaks after reassembly.
Maintaining these components regularly not only enhances the lifespan of your equipment but also ensures that it operates at peak efficiency. Trust me, a little proactive care goes a long way!
Checking and Replacing the Nozzle
Begin with inspecting the nozzle for any signs of wear or damage. A worn or clogged nozzle can significantly affect water flow and pressure. Remove the nozzle by twisting it counterclockwise; it should come off easily. If you notice any cracks or blockages, it’s time to replace it.
Cleaning the Nozzle
If the nozzle appears intact but is clogged, use a fine needle or a pin to clear any debris from the orifice. Soaking the nozzle in a solution of water and vinegar can also help dissolve mineral deposits. Rinse thoroughly and ensure it’s completely dry before reattaching.
Replacing the Nozzle
When it’s time for a new nozzle, ensure you select the correct type for your machine. Nozzles come in various spray patterns, from narrow to wide. A narrow jet is ideal for tough stains, while a wider pattern is better for rinsing surfaces. To install, align the nozzle with the lance and twist it clockwise until secure. Test the unit to confirm proper operation; a good nozzle should produce a steady, powerful stream.
Regularly checking and maintaining the nozzle will ensure optimal performance and longevity of your equipment. I’ve seen too many machines compromised by neglecting this simple component.
Examining the Pump Oil Level and Condition
Check the oil level in the pump regularly. Ensure that the oil reaches the recommended mark on the dipstick, typically found on the pump housing. If the level is low, top it up with the appropriate oil specified in the user manual. Using the wrong type can lead to pump failure.
Observe the oil’s condition as well. It should be clean and free of debris. If the oil appears dark or contaminated, it’s a sign that it needs changing. Old oil can cause excessive wear on internal components, leading to costly repairs.
To change the oil, first, drain the old oil by removing the drain plug. Allow it to flow into a suitable container. After draining, replace the plug and refill with new oil until it reaches the correct level. Make sure to dispose of the old oil responsibly, as it’s hazardous waste.
Regular checks and maintenance of the oil can prolong the life of the pump. If you’re using your equipment frequently, consider checking the oil every few months. This small step can save you from larger headaches down the line.
For those looking to enhance their outdoor cleaning experience, consider adding a patio cleaner solution for pressure washer to your routine. It can make a significant difference in achieving a pristine surface.
In my experience, neglecting the pump’s oil can lead to performance issues similar to those faced when you try to can corn without pressure cooker. Both require the right conditions to function properly, and a little attention goes a long way.
Testing Electrical Connections and Power Supply
Begin by disconnecting the unit from the mains supply. This step is crucial for safety. Using a multimeter, check the voltage at the power cord. A reading lower than 230V indicates a problem with your power supply.
Inspecting Connections
Next, examine all electrical connections for signs of wear or corrosion. Loose or damaged connections can lead to insufficient power reaching the motor. Pay special attention to the plug and the terminal connections on the machine itself. Tighten any loose screws and clean corroded terminals with a wire brush or contact cleaner.
Testing the Switch and Motor
To assess the switch functionality, use a multimeter to check for continuity. If the switch fails this test, it will need replacing. For the motor, listen for any unusual sounds when powered on. A humming noise often indicates a power issue or motor fault. In such cases, checking the motor windings with an ohmmeter can reveal shorts or open circuits.
| Component | Test Procedure | Expected Outcome |
|---|---|---|
| Power Cord | Check voltage with a multimeter | 230V – 240V |
| Electrical Connections | Inspect visually and tighten | No corrosion, secure connections |
| Switch | Test for continuity | Continuity present |
| Motor | Listen for sounds and measure windings | Quiet operation, normal resistance |
After completing these tests, reconnect the unit to the mains and perform a functional check. If the device operates smoothly, you’ve successfully addressed any electrical issues.
Cleaning the Spray Gun and Trigger Mechanism
Start by disconnecting the unit from the power supply. Safety first! Remove the spray gun from the high-pressure hose to access all components easily.
Begin with the exterior of the spray gun. Use a damp cloth to wipe down the surface, removing any dirt or debris that might have accumulated. Pay special attention to the trigger area, as grime can impede smooth operation.
Next, inspect the trigger mechanism itself. A sticky trigger is often a sign of dirt build-up. Disassemble the gun according to the manufacturer’s instructions. Usually, this involves unscrewing a few screws to access the internals.
- Check for any obstructions or signs of wear on the trigger spring and pivot points.
- Use compressed air to blow out any dirt and debris from the mechanism.
- If you notice any corrosion or damage, consider replacing the affected parts.
To clean the internal components, use a soft brush and a mild cleaning solution. Be gentle to avoid damaging delicate parts. Rinse thoroughly with clean water and dry completely with a lint-free cloth.
Reassemble the spray gun, ensuring all components fit snugly. Test the trigger action before reconnecting to the high-pressure hose. It should move smoothly without any resistance.
Finally, reconnect the spray gun to the hose and perform a quick test run. Check for leaks and ensure the trigger responds promptly. This process not only improves performance but also extends the lifespan of your equipment.
Performing Routine Maintenance Checks and Schedules
Schedule regular inspections every three months. This frequency keeps your unit in peak condition, preventing minor issues from escalating into costly repairs. I’ve found that setting a calendar reminder helps maintain this habit. Each session should include checking the oil level and condition, ensuring the water filter is clean, and inspecting the nozzle for damage.
Monthly Tasks
Once a month, I recommend a thorough examination of the high-pressure hose. Look for any signs of wear or kinks, as these can lead to leaks. Additionally, check all electrical connections. Loose or damaged wires can cause malfunctions, so take a moment to ensure everything is secure and intact.
Seasonal Checks
Every six months, perform a more detailed inspection. This includes cleaning the spray gun and trigger mechanism to ensure smooth operation. Also, consider changing the oil in the pump at this time. Fresh oil keeps the components lubricated and reduces wear. If you’ve used your equipment heavily during the season, don’t hesitate to do this sooner; it’s always better to be safe than sorry.
FAQ:
What are the key steps for servicing a Kranzle K7 pressure washer?
Servicing a Kranzle K7 pressure washer involves several key steps. Begin by disconnecting the power supply and ensuring the unit is cool. Check and clean the water inlet filter to prevent blockages. Inspect the high-pressure hose and connections for any signs of wear or damage. Lubricate any moving parts as indicated in the manual. Replace the detergent nozzle if it shows signs of clogging. Finally, perform a test run to ensure everything operates smoothly.
How often should I service my Kranzle K7 pressure washer?
The frequency of servicing your Kranzle K7 pressure washer depends on usage. For light use, servicing once a year is generally sufficient. If you use it frequently or for heavy-duty tasks, consider servicing every six months. Regular maintenance helps prolong the life of the machine and ensures optimal performance.
What tools do I need to service a Kranzle K7 pressure washer?
To service a Kranzle K7 pressure washer, you will need basic tools such as a screwdriver, adjustable wrench, and a pair of pliers. Additionally, having a cleaning brush for the water inlet filter and some lubricant for moving parts will be beneficial. Always refer to the user manual for specific tools recommended for your model.
Can I perform the service myself, or should I hire a professional?
You can perform the service on your Kranzle K7 pressure washer yourself, provided you feel comfortable with basic maintenance tasks. The process is straightforward and outlined in the user manual. However, if you encounter complex issues or feel uncertain, hiring a professional may be wise to avoid causing damage.
What common issues should I look for when servicing my pressure washer?
When servicing your Kranzle K7 pressure washer, watch for common issues such as leaks in hoses or connections, reduced pressure, or unusual noises during operation. Check the detergent dispenser for clogs, and ensure the water inlet is clear. If you notice any significant problems, consult the manual for troubleshooting tips or consider seeking professional assistance.
How often should I service my Kranzle K7 pressure washer?
It is generally recommended to service your Kranzle K7 pressure washer at least once a year, especially if you use it frequently. Regular maintenance helps to ensure optimal performance and longevity. If you use the washer heavily or in harsh conditions, you may want to consider more frequent checks, perhaps every six months. During servicing, inspect key components such as the pump, hoses, and nozzles for any signs of wear or damage and clean any filters to maintain efficiency.
What are the steps involved in servicing a Kranzle K7 pressure washer?
Servicing your Kranzle K7 pressure washer involves several key steps. First, ensure the machine is unplugged and cooled down. Begin by inspecting the high-pressure hose for kinks or wear. Next, check the spray gun and nozzle for blockages and clean them if necessary. It’s important to inspect the water inlet filter and clean it to prevent debris from entering the system. After that, examine the pump oil level and replace it if it appears contaminated. Finally, check all electrical connections and ensure they are secure. Once all these steps are completed, you can test the washer to ensure it is functioning properly. Regular servicing can prevent issues and maintain performance.


.jpg)


