


Before you plug in your new cleaning device, ensure you have all the necessary components laid out. The packaging typically includes the main unit, a hose, a lance, and various nozzles. Familiarising yourself with these parts is key to an effective assembly.
Connect the hose to the inlet on the main unit, ensuring it’s secure to prevent leaks. I recall a time when I overlooked this step, resulting in a frustrating mess during my first use. Next, attach the lance to the end of the hose. It’s designed to be straightforward, but a gentle twist will guarantee a tight fit.
Once everything is assembled, fill the detergent tank if your model includes one. Opt for a cleaning solution suitable for your intended surfaces. I often use a biodegradable detergent for outdoor spaces, which helps keep the environment in check while delivering excellent results.
After securing all connections, turn on the water supply and check for any leaks. It’s wise to do this step before powering up the device. A couple of years ago, I encountered a minor leak that could have been easily avoided by being a bit more thorough at this stage.
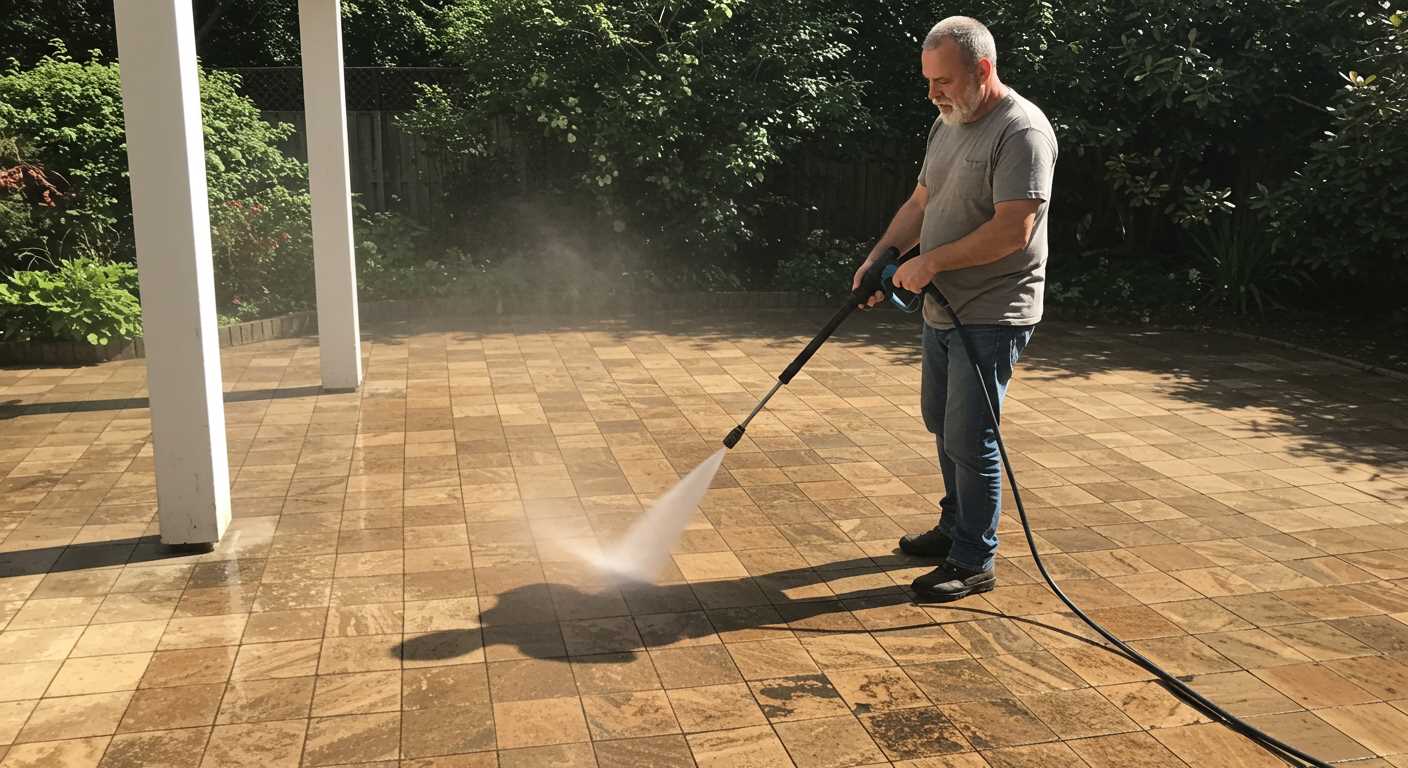
With everything in place, plug it in and select your desired nozzle based on the task ahead. The fan nozzle works wonders for gentle cleaning, while the narrow jet is ideal for those stubborn stains. Always start with a lower pressure setting to gauge how the surface reacts. You wouldn’t want to damage anything unnecessarily!
Setting Up Your Cleaning Machine
First, locate a suitable area for your new equipment. A flat surface is ideal, ensuring stability during operation. Avoid uneven terrain that might compromise safety.
Next, connect the water inlet. Make sure to use a standard garden hose, ensuring a snug fit to prevent leaks. Turn on the water supply before connecting to the machine. This step avoids air pockets that can affect performance.
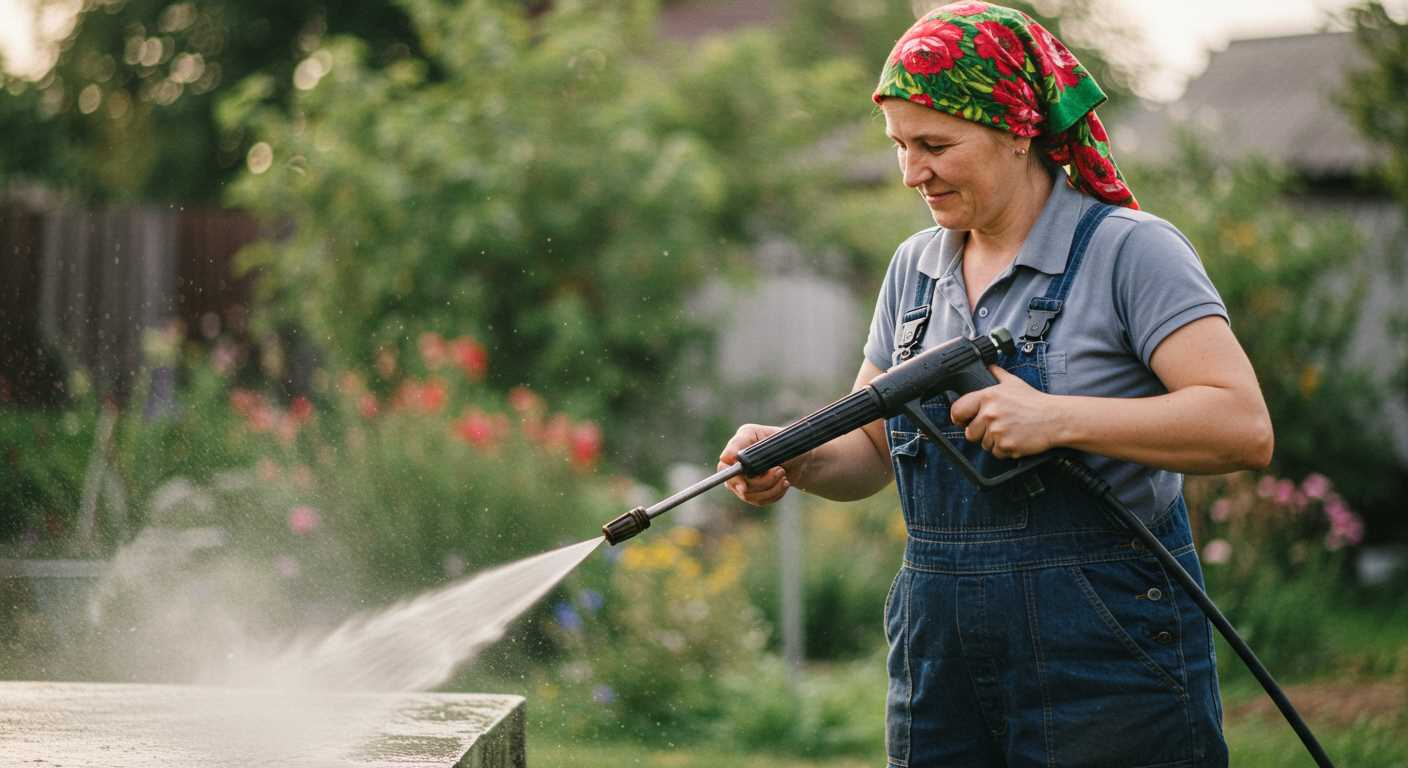
Ensure the high-pressure nozzle is properly attached. Depending on the task, select an appropriate spray pattern. I’ve often found that a wider spray works well for rinsing surfaces, while a narrow jet is excellent for stubborn dirt.
Plug in the power cord, making sure it’s rated for outdoor use and positioned away from any water source. Keep any extension leads clear of water to prevent electrical hazards.
Before you start, check the detergent tank if you intend to use cleaning solutions. Fill it with the recommended cleaning agent, diluted as per the instructions. I’ve seen too many users skip this step, only to be disappointed with the results.
Finally, turn on the machine and gently squeeze the trigger to release any air from the system. You’re now ready to tackle dirt and grime with ease!
Unboxing the Bosch Pressure Washer
Start with a careful inspection of the box for any visible damage before opening. It’s crucial to ensure that everything is intact. Once you’re ready, use a box cutter or scissors to slice through the tape.
- Remove the top flaps of the box and carefully lift the contents out, ensuring you don’t miss any smaller components that might be tucked away.
- Lay out all parts on a flat surface. You should see the main unit, a high-pressure hose, a trigger gun, various nozzles, and any additional accessories included.
- Check the user manual. It contains important information about assembly and safety precautions. A quick read can save time later.
In my experience, I found it helpful to group similar items together. For instance, keep all the nozzles in one spot and the hoses in another. This approach simplifies the assembly process.
- Examine the high-pressure hose for kinks or damage. This component is vital for effective operation.
- Inspect the trigger gun. Ensure the safety lock is functioning properly, as it prevents accidental activation.
- Check the nozzles. Different spray patterns serve various cleaning tasks, so it’s beneficial to familiarise yourself with their uses.
After laying everything out, it’s a good idea to take a moment to admire the design. The robust construction often reflects the quality that brands like this are known for. A solid machine can handle tough jobs without faltering.
Finally, keep the packaging materials until you’re sure everything works correctly. If you encounter any issues, having the original box makes returns or exchanges much easier.
Identifying Key Components and Accessories

First thing to check is the main unit. Look for the motor, which is typically located at the back. Ensure it’s securely mounted and free from any obstructions that could affect performance. Next, inspect the hose connection. A sturdy, leak-free connection is vital for optimal operation.
Moving on to the nozzle, these come in various types for different cleaning tasks. A fan nozzle is great for larger surfaces, while a pinpoint nozzle is perfect for tough stains. Always have a few options handy; they make a noticeable difference in cleaning efficiency. Don’t forget to verify the existence of an adjustable nozzle for versatile cleaning needs.
The pressure gauge is another important component. It allows you to monitor the pressure levels during use. If you notice any irregular readings, it could indicate an issue with the machine that needs addressing. Regular checks can help prevent unexpected failures.
Next, the power cord should be in good condition. Look for frays or cuts. A damaged cord can be a safety hazard and may hinder performance. If you need to replace it, ensure you use a compatible type that meets the manufacturer’s specifications.
Accessories like detergent tanks are often overlooked. If your model includes one, ensure it’s clean and free of any blockages. Using the right detergent can greatly enhance cleaning results, so have a selection of suitable products available.
In addition, always keep extra hoses or connectors on standby. During my time with various models, I found that having spare parts readily available can save a lot of time and frustration in the long run. It’s not unusual to encounter wear and tear over time.
If you encounter issues when starting, consider checking this resource for resolving common problems troubleshooting issues with starting your ryobi pressure washer. This can provide valuable insights and solutions.
Lastly, don’t forget about safety gear. Protective goggles and gloves are crucial. Water under pressure can cause serious injuries, so always prioritise safety when operating your device.
Assembling the Equipment Properly
Begin with a solid foundation. Ensure the base is on a level surface to avoid any tipping while in use. Lay out all components clearly; this makes it easier to identify parts and reduces the chance of leaving something out.
Attach the wheels first. Align them with the designated slots on the body and secure them tightly, making sure they rotate freely. A well-assembled cart is crucial for mobility, especially when moving over uneven terrain.
Next, focus on the handle. Insert it into the main unit and lock it in place with the provided screws. Use the screwdriver included in the package; it’s the right fit for the job. A secure handle ensures stability during operation and provides a safe grip.
Connect the high-pressure hose to the designated inlet, ensuring a tight fit to prevent leaks. It’s wise to check the rubber seals for damage before installation; a small wear can lead to significant issues later. I recall a time when I overlooked this, and it resulted in a frustrating experience with water spraying everywhere.
Once the hose is attached, proceed with the nozzle. Depending on the task, you may have multiple options. Simply slide the chosen nozzle into the holder until it clicks into place. I’ve often found that keeping a variety of nozzles handy can save a lot of time in switching out for different cleaning tasks.
Finally, plug in the power cord and ensure it’s away from any moving parts. This is one of those simple tips that can prevent accidents. Once everything is connected, conduct a quick check of all connections before switching on the unit. A thorough inspection helps avoid mishaps and ensures everything functions smoothly from the start.
Connecting the Water Supply Hose
First, ensure you have the right hose for your cleaning unit. A standard garden hose, ideally three-quarters of an inch in diameter, works perfectly. Look for any kinks or damages before attaching it to prevent leaks.
Locate the water inlet on your equipment. It typically has a threaded connection. Take the end of your hose and screw it onto this inlet. Make sure to tighten it securely by hand, but avoid over-tightening, as this can damage the threads. A simple twist should suffice.
Water Source Preparation
Before connecting, check your water source. If you’re using an outdoor tap, ensure the water supply is turned on. If utilising a rainwater collection system, confirm that it’s full and functioning correctly. Low water levels might affect the performance of your device.
Testing for Leaks
After making the connections, turn on the water supply and inspect for leaks at the connection points. If you notice any water escaping, disconnect and re-tighten the hose. This small step ensures a smooth operation without interruptions during use.
Attaching the High-Pressure Hose
Begin by locating the high-pressure hose and the corresponding connection point on your unit. This is typically situated at the front, where the nozzle is attached. Ensure that both ends of the hose are free from any obstructions or damage.
Steps to Connect the Hose
- Align the hose connector with the entry point on the machine.
- Insert the connector firmly until you hear a click, indicating a secure fit.
- Check that the connection is tight by gently tugging on the hose. It should remain in place without any movement.
Safety Precautions
- Always ensure that the device is switched off before making any connections.
- Inspect the hose for any wear or cracks. A damaged hose can lead to leaks under pressure.
- Avoid twisting or bending the hose sharply, as this can cause internal damage.
In my experience, taking a moment to double-check connections can prevent issues later. One time, I hastily attached a hose, only to find it leaking during use, which led to a messy clean-up. Always prioritise a secure attachment for optimal performance.
Selecting the Right Nozzle for Your Task
Choosing the correct nozzle can make or break your cleaning experience. Each nozzle has a specific purpose, and using the wrong one can lead to suboptimal results or even damage surfaces. I remember a time when I used a narrow nozzle on a wooden deck; it left marks that took ages to rectify. Learn from my mistakes.
Understanding Nozzle Types
There are typically four main types of nozzles: 0-degree, 15-degree, 25-degree, and soap. The 0-degree nozzle delivers a concentrated jet, ideal for tough stains on concrete or brick. The 15-degree variant provides a more powerful spray for stripping paint or cleaning heavily soiled areas. The 25-degree nozzle is perfect for general cleaning tasks, such as washing vehicles or patios, while the soap nozzle dispenses detergent for pre-soaking grime.
Choosing Based on Surface
Consider the surface you’re tackling. For delicate materials like wood or siding, opt for a wider spray angle, like 25 degrees. It reduces the risk of damage while still providing adequate cleaning power. For tougher surfaces, like driveways, a 15-degree nozzle will give you that extra oomph needed. Always start with the widest spray and work your way down if necessary; you can always increase pressure but can’t undo damage.
Don’t forget to test a small area first. It’s a simple step that can save you from costly mistakes. Over the years, I’ve learned that patience pays off. Selecting the right nozzle will not only enhance your efficiency but can also prolong the life of the surfaces you’re cleaning.
Powering On and Adjusting Settings
To get your new cleaning unit operational, ensure the power switch is in the ‘off’ position before connecting it to the mains. Once connected, flip the switch to ‘on’ and listen for the motor to start. If you hear a humming noise, it’s a good sign that the unit is powered up correctly.
Adjusting Pressure Levels
Most models come with an adjustable pressure dial. Start at a lower setting, especially if you’re working on delicate surfaces. Gradually increase the pressure as needed. A common mistake I’ve seen is jumping straight to a high setting, which can damage surfaces like wood or paint.
Using the Control Panel
The control panel typically features various settings for different tasks. Familiarise yourself with these options. For example, cleaning a car requires less pressure than removing grime from a patio. Refer to the manual for guidance on which settings are best suited for your specific cleaning job.
| Task | Recommended Pressure Setting (Bar) |
|---|---|
| Washing a Car | 70-100 |
| Cleaning Patio Tiles | 100-130 |
| Stripping Paint | 130-150 |
| Concrete Surfaces | 150-200 |
After adjusting the settings, test the unit on a small, inconspicuous area to ensure you’ve selected the appropriate pressure. This simple step can save you from costly mistakes. For more information on photography equipment, check out this link on are digital cameras better than dslr.
Performing Initial Testing for Leaks
Before you start using your new cleaning device, it’s crucial to ensure everything is sealed properly to prevent any unwanted water leaks. Begin by connecting the water supply and high-pressure hose as instructed. Once everything is in place, turn on the water supply without powering the machine. This step helps you check for any leaks in the hoses and connections.
Keep a close eye on the joints and fittings. If you notice any water seeping through, tighten those connections carefully. If the leak persists, consider using Teflon tape on threaded joints for a tighter seal. I recall a time when I rushed through this process, only to be met with a significant leak that soaked my work area. Always take this step seriously to avoid a messy situation.
After ensuring all connections are secure, it’s time to power on the machine. Check if any water leaks occur around the pump or other components. A slight drip may indicate a loose part or worn seal. If you find any leaks, refer to the user manual for guidance on replacing seals or tightening components.
Performing this initial test not only saves water but also enhances the longevity of your equipment. It’s an invaluable habit that can save time and frustration in the long run. Always remember to do this before diving into your cleaning tasks.
.jpg)


