


Begin with a reliable garden hose. A standard 3/4-inch diameter hose works best for most models. Ensure the hose is in good condition, with no leaks or kinks. This simple step guarantees a steady flow, which is crucial for optimal performance.
Next, attach one end of the hose to your tap. If your faucet has a screw-on fitting, use it to secure the connection tightly. This prevents leaks that could disrupt your cleaning tasks. The other end should be connected to the intake on your cleaning unit. Most machines have a clear indicator of where the hose should be attached, making this process straightforward.
Before turning on the tap, check the connections. A loose fitting can lead to frustrating interruptions during use. Once everything is secure, turn on the water supply gradually. This ensures that the hose fills up without sudden pressure spikes that could damage your equipment.

After establishing the connection, it’s wise to run the unit for a minute before starting your cleaning tasks. This allows any air to escape from the system, ensuring consistent pressure is maintained throughout your work. If you notice any unusual sounds or fluctuations in pressure, check for blockages or additional leaks.
In my experience, following these steps not only enhances the performance of your cleaning unit but also prolongs its lifespan. I’ve seen many users overlook the importance of proper connections, resulting in less effective cleaning and unnecessary repairs. A little attention to detail goes a long way.
Choosing the Right Water Source for Your Pressure Cleaner
For optimising performance, selecting the right source is crucial. I’ve found that a consistent supply of clean, cold fluid is ideal. Here are some tips based on my extensive experience:
1. Tap Water
- Most convenient and readily available.
- Ensure the pressure from the tap is adequate; ideally, it should be between 20 to 100 psi.
- Check for any filters or screens in your supply line to avoid blockages.
2. Water Tanks
- Great for locations without a direct connection.
- Use a tank with a capacity of at least 50 gallons for extended use.
- Install a submersible pump to maintain consistent flow; this prevents cavitation.
Over the years, I’ve learned that using a garden hose with a diameter of at least 5/8 inches minimises pressure loss. Avoid long runs if possible, as they can significantly reduce efficiency. I once had a client who used a 100-foot hose, and it was a constant struggle to maintain sufficient pressure.
Lastly, always inspect for leaks or kinks in hoses before starting. A small issue can lead to significant pressure drops, affecting the outcome of your cleaning tasks. Trust me, the last thing you want is to start a job only to find out your supply isn’t up to the task.
Preparing the Equipment for Connection
Before linking your cleaning device to a supply, ensure all components are ready for seamless operation. Here’s how I approach the prep work based on years of experience.
Inspecting the Hose
- Check for kinks or damage. Even a small crack can lead to leaks and reduced performance.
- Ensure the hose fittings are clean and free of debris. This guarantees a tight seal when connected.
- Verify the length of the hose suits your needs. Too short and you’ll struggle to reach, too long can lead to pressure loss.
Examining the Unit
- Inspect the inlet filter. Clean it if necessary to prevent blockages that can hinder flow.
- Check the oil levels. If your model uses oil, ensure it’s at the recommended level for optimal function.
- Confirm all connections are tight. Loose connections can lead to air leaks, affecting the operation.
Taking these steps can save time and ensure a hassle-free experience when you’re ready to start cleaning. My personal practice includes running a quick test of the system without any attachments to ensure everything is functioning properly before diving into a task.
Connecting the Hose to the Water Supply
Attach the garden hose to the inlet on the machine securely. This step is crucial to prevent leaks and ensure a steady flow. Always use a hose rated for high pressure to avoid any mishaps.
Steps for Connection
- Ensure the hose is free of kinks and blockages.
- Use a wrench to tighten the connection if necessary, ensuring it’s snug but not over-tightened.
- Turn on the water supply and check for leaks at the connection point.
Considerations for Optimal Performance

Investing in a quality hose can significantly enhance the operation. A longer hose allows for more flexibility, but remember that excessive length can reduce pressure. Aim for a balance between reach and performance.
| Hose Length | Performance Impact |
|---|---|
| 25 feet | Optimal pressure maintained |
| 50 feet | Some pressure loss |
| 100 feet | Significant pressure loss |
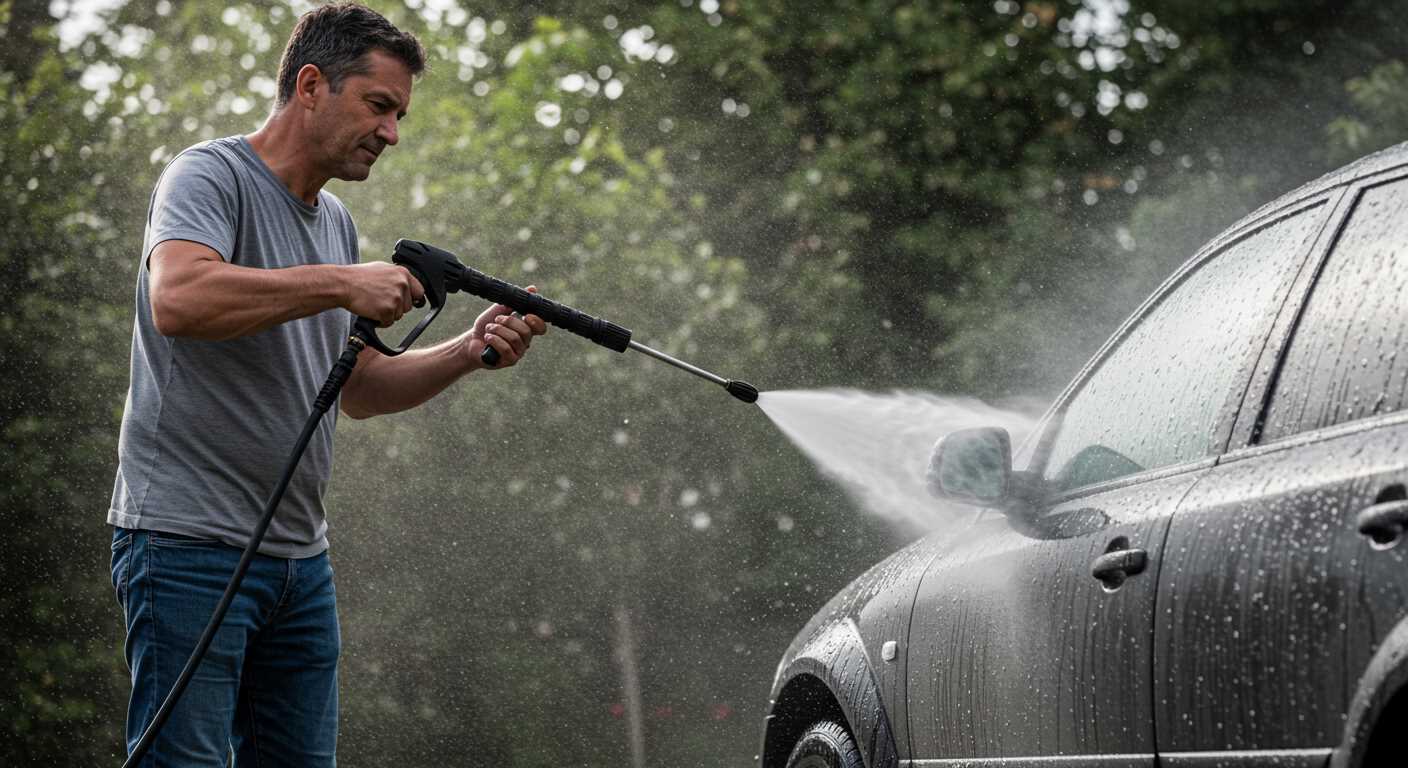
Using the right cleaning solutions, like the best car wash soap for pressure washer jeep jl, can further enhance the effectiveness of your setup. Always follow the manufacturer’s recommendations for detergents to avoid damaging the equipment.
Ensuring Proper Water Pressure for Optimal Performance
To achieve the best results with your cleaning device, maintaining consistent flow and appropriate force is key. During my years in the industry, I’ve seen many users overlook this aspect, leading to subpar performance and frustration. A reliable source should deliver a minimum of 5 litres per minute, with a flow rate of 10-12 litres being ideal for most models.
Testing the Water Flow
Before commencing your cleaning tasks, I recommend checking the flow rate. You can do this by filling a container with a known volume, such as a 10-litre bucket, and timing how long it takes to fill. If it takes longer than two minutes, you may need to consider a different source or investigate potential blockages in the supply line.
Adjusting for Optimal Performance
If your source provides less than the recommended flow, consider using a larger diameter hose or reducing the length of the connection to minimise pressure loss. Additionally, check for any kinks or bends in the hose, as these can create resistance. In my experience, ensuring a straight and unobstructed path enhances the overall efficiency of the device.
Checking for Leaks and Secure Connections
After you’ve hooked everything up, the next step is to inspect for any leaks. It’s crucial to ensure that all joints and fittings are tight. I recall a job where I skipped this check and ended up with a small fountain instead of a clean patio. It’s often the simplest oversight that leads to a messy situation. Run your hand along the connections while the system is operating; if you feel moisture, you may need to tighten the fittings. A wrench can help here, but be careful not to overtighten and damage the threads.
Inspecting Hoses and Fittings
Regularly examine your hoses for any signs of wear, cracks, or kinks. Even minor damage can lead to significant leaks under pressure. Replace any compromised sections immediately. Also, make sure that all fittings are compatible; mismatched parts can lead to leaks or blowouts. If you’re using a bucket fed pressure washer, check the connection point thoroughly as these systems can sometimes be less stable than traditional setups.
Testing the System
Once everything appears secure, turn on the water supply and check for leaks again. Watch closely at all connection points and listen for any unusual sounds that might indicate air escaping. If everything looks good, you can proceed with your cleaning tasks, confident that your equipment is functioning as it should. A little diligence at this stage can save you from unnecessary complications later on.

Testing the Setup Before Starting the Pressure Cleaner
Before powering on the unit, perform a series of checks to ensure everything is functioning correctly. Begin by turning on the water source and allowing it to run for a minute. This will help flush any debris that may have accumulated in the line, preventing clogs in the system. Keep an eye on the flow; it should be steady and consistent, without any interruptions.
Checking the Connection Integrity
Examine all attachments and fittings for any signs of wear or damage. A snug fit is crucial; looseness can lead to leaks or reduced efficiency. If you notice any drips, re-tighten the connectors or replace any worn-out parts. I’ve seen too many units underperform simply due to overlooked connections.
Testing the Nozzle and Spray Pattern
Attach the desired nozzle and activate the equipment briefly without any load on the lance. Observe the spray pattern; it should be even and consistent. If the pattern appears erratic or weak, this indicates a blockage or an issue with the nozzle itself. In my experience, a clean and properly functioning nozzle can make a remarkable difference in cleaning effectiveness.
.jpg)


