
.jpg)


.jpg "How to set up nilfisk pressure washer")
Begin with a thorough examination of the user manual; this guide is your best friend during the initial assembly process. I recall my first encounter with a similar device, baffled by various components. Each piece has a specific role, and understanding this will ease the setup significantly.
Next, connect the water source to your unit. Ensure a firm fit to prevent leaks. I once overlooked this and ended up with a small flood in my garage. A simple twist and tighten can save you from potential messes.
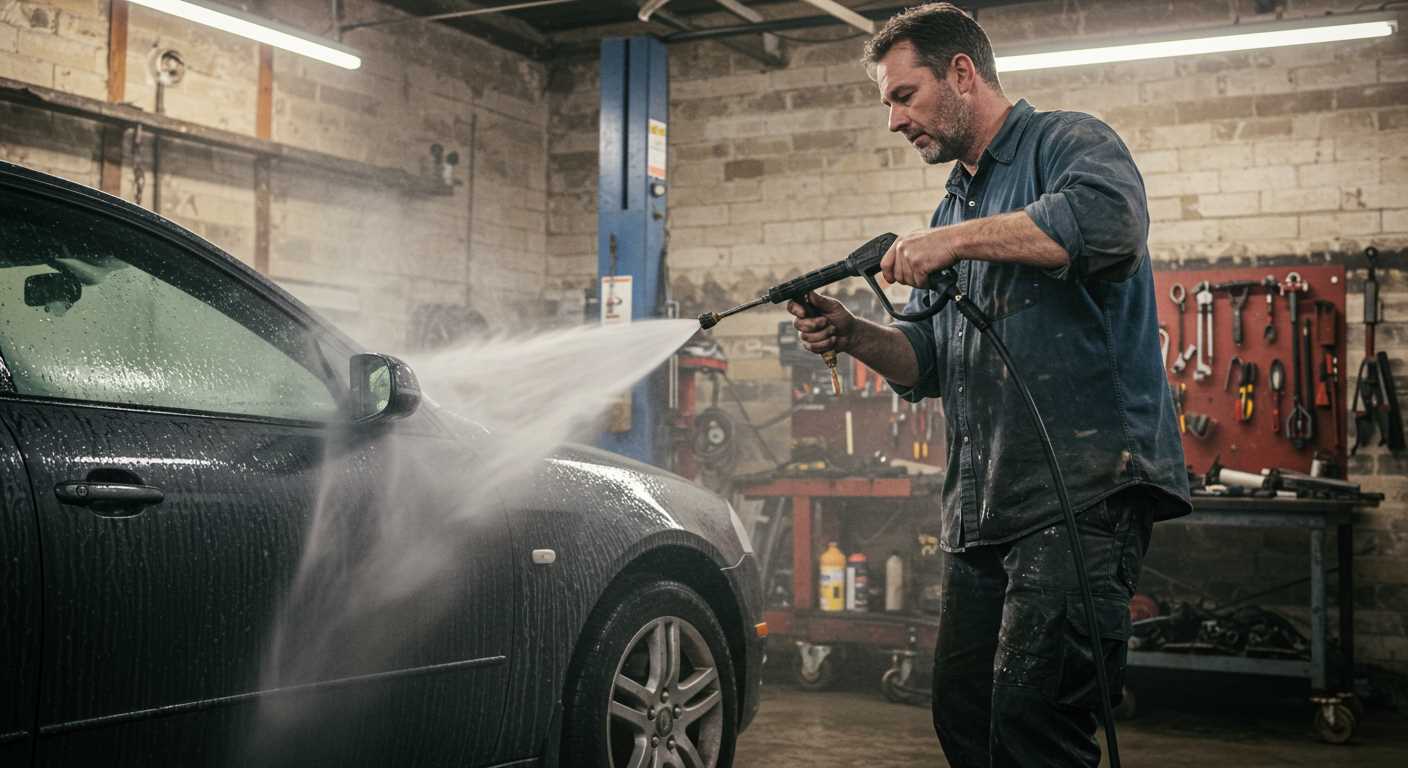
After securing the water connection, attach the high-pressure hose and select the appropriate nozzle for your task. Different nozzles provide varying spray patterns, which impacts the cleaning effectiveness. I learned the hard way that using the wrong nozzle can lead to unsatisfactory results, especially on delicate surfaces.
Finally, plug in the power cord and check the power supply. If you’re using an extension lead, ensure it’s rated for outdoor use. I’ve had a few close calls with unreliable cords that led to interruptions during cleaning sessions. Once everything is connected, turn on the water supply and start the machine. Listen for any unusual sounds; if something feels off, don’t hesitate to troubleshoot before proceeding.
Getting Your Cleaning Machine Ready
Begin with a thorough inspection of all components. Check the hose for any signs of wear or damage. A small crack can lead to significant pressure loss, which I learned the hard way during a big job.
Assembly Steps
- Connect the high-pressure hose to the spray gun and the unit. Ensure it clicks into place securely.
- Attach the water inlet hose to the water supply. Use a garden hose with a proper connector to avoid leaks.
- Fill the detergent tank with the recommended cleaning solution. Always dilute according to the manufacturer’s instructions.
- Plug the power cord into a suitable electrical outlet, ensuring it’s grounded to prevent any electrical hazards.
Preparing for Operation
- Turn on the water supply before starting the motor to prevent damage.
- Press the trigger on the spray gun to release air from the system until a steady stream of water flows.
- Adjust the nozzle to the desired setting based on the surface you plan to clean. For delicate areas, a wider spray pattern is best.
After each use, disconnect all hoses and drain any residual water to prevent freeze damage during colder months. A simple habit that saves a lot of hassle later!
Unboxing and Inspection of the Nilfisk Pressure Washer
Upon receiving your new cleaning device, the first step is to carefully remove it from the packaging. I always recommend laying out all components on a flat surface for a clear overview. Ensure that you have the main unit, hose, wand, nozzles, and any additional accessories included in the box. This initial inspection is crucial to confirm nothing is missing or damaged.
Checking for Damage
Examine the exterior of the unit thoroughly. Look for any signs of impact or scratches that could indicate rough handling during transit. Pay close attention to the hose and wand; any kinks or tears could affect performance. I recall a situation where I overlooked a minor dent, which later led to a leak. If you notice anything amiss, contact the retailer immediately for a resolution.
Component Inventory
Next, cross-check the included parts against the manual. This step ensures you have everything needed for assembly. Each attachment serves a specific purpose, and having them all on hand helps avoid issues later on. I’ve seen users struggle due to missing nozzles, so take a moment to gather everything before proceeding. If all is in order, you can move on to the assembly phase with confidence.
Choosing the Right Location for Your Cleaning Device
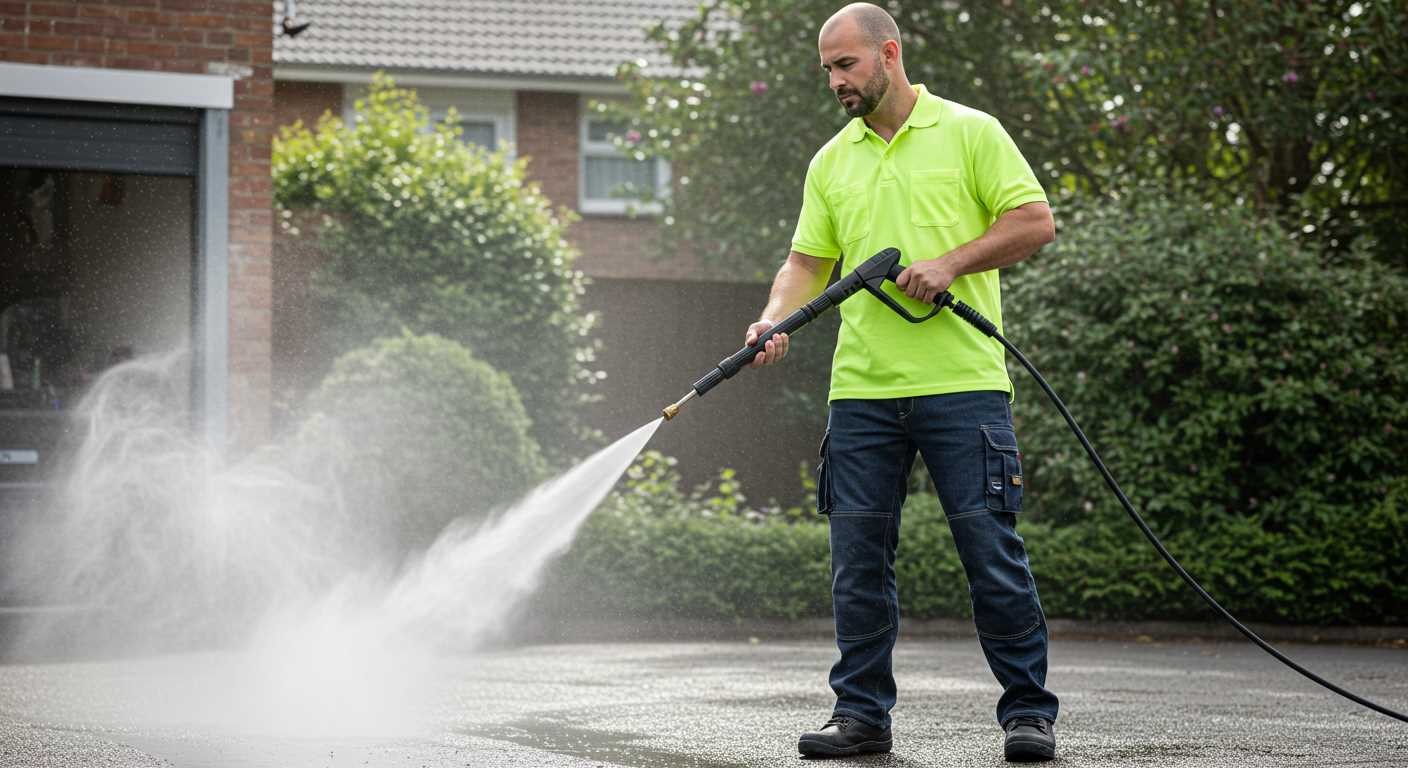
Positioning your equipment correctly can significantly enhance its performance and longevity. Choose a flat, stable surface that can withstand vibrations during operation. Ideally, a concrete patio or a firm driveway works best. Avoid soft ground or uneven surfaces that could lead to tipping or instability.
Proximity to a water source is crucial. Ensure the hose can easily connect to your tap without strain. I once struggled with a long, tangled hose, which was frustrating and time-consuming. A short, direct line means less hassle and better water flow.
Consider the power supply. Your machine will require a reliable electric outlet. I recommend using a dedicated circuit to prevent overloads. Having the device close to the outlet simplifies setup and reduces the risk of tripping over cords.
Be mindful of your surrounding environment. If you’re working outdoors, try to shield the unit from harsh weather conditions like direct sunlight or heavy rain. I’ve learned the hard way that prolonged exposure can lead to damage. A shaded area or a temporary tarp can provide necessary protection.
Finally, think about accessibility. You’ll want enough space around the unit for easy movement and maintenance. A clutter-free area makes it easier to reach attachments and perform routine checks.
| Location Considerations | Recommendations |
|---|---|
| Surface Stability | Concrete or firm driveway |
| Water Source | Close proximity to a tap |
| Power Supply | Dedicated outlet, avoid overload |
| Weather Protection | Shade or tarp from sun/rain |
| Accessibility | Clear space for movement |
Connecting the Water Supply and Hose
Before you begin, ensure you have a clean water source available. A garden tap works perfectly, but avoid using water from a reservoir or pond, as debris can cause damage to the unit.
Attach the water supply hose to the tap securely. Use a quality hose that is at least 1/2 inch in diameter to ensure a steady flow. I recommend using a quick-connect fitting; it makes disconnection much easier when you’re done.
- Check for leaks after connecting the hose. Turn the tap on slightly to see if any water escapes from the joint. Tighten as necessary.
- Ensure the hose is free from kinks or bends, as this can restrict water flow. Lay it out straight from the tap to the machine.
Next, connect the other end of the hose to the inlet on the machine. Most models have a clearly marked inlet valve, but always refer to the manual if you’re unsure. A firm twist should secure the connection.
After connecting the hose, it’s essential to prime the system. Turn the water on fully and then pull the trigger on the lance to let water flow through the system. This process removes any air trapped in the line and prepares everything for operation.
Lastly, ensure that the water supply is turned on before starting the unit. Running the machine without adequate water can lead to serious damage. I once accidentally made this mistake, and it resulted in costly repairs. Trust me; it’s a lesson learned the hard way.
With everything connected correctly, you are now ready to start your cleaning task efficiently. Enjoy the process!
Assembling the Pressure Washer Components
Begin by aligning the base and the main unit. Ensure that the locking tabs on the base fit snugly into the designated slots of the main body. A gentle push should secure them without excessive force.
Next, attach the handle. Locate the screws provided in the assembly kit. Using a screwdriver, insert them into the pre-drilled holes on the back of the handle. Ensure they are tightened adequately, but avoid overtightening, as this may lead to damage.
Once the handle is in place, connect the high-pressure hose. Look for the quick-release connector on the unit and align it with the hose fitting. A firm push until you hear a click indicates a secure connection. To release, simply press the tab and pull the hose away.
Now, attach the spray gun. Similar to the hose, align the connector with the gun and push until you hear that reassuring click. Make sure the safety latch is functioning properly before proceeding.
Finally, include any additional accessories such as nozzles or foam cannons. These usually attach with a simple twist or click mechanism. Always check that they’re secure before using the equipment. Regularly inspect these components for wear and tear to ensure optimal performance.
Setting Up the Power Supply and Plugging In
Ensure the power source is located within reach of your unit’s power cord. Using an extension lead is not recommended, as it may lead to voltage drops that can affect performance and safety. I’ve seen this occur multiple times, and it’s always a hassle unwinding the mess when the equipment doesn’t operate as expected.
Choosing the Right Socket
Select a socket that is protected by a residual current device (RCD) to prevent electrical shocks. This is particularly important if you’re working in damp conditions. I once had a colleague who learned this lesson the hard way–his equipment malfunctioned during use due to a lack of proper protection. Always ensure the socket can handle the power requirements specified in the manual to avoid any electrical issues.
Connecting the Power Cord
Once you have confirmed that the location and socket are suitable, plug the power cord into the wall outlet. Make sure the connection is secure to prevent any accidental disconnection during operation. I’ve found that keeping the cord tidy and out of the way not only enhances safety but also prolongs its lifespan. Avoid running the cord over sharp edges or hot surfaces, as this can cause wear and tear.
After connecting, verify that the unit’s power switch is off before plugging it in. This simple step can prevent unexpected starts that could lead to accidents. If you’re considering other brands, like the Karcher pressure washer for block paving, ensure you follow similar power setup guidelines for optimal performance.
Testing the Pressure Cleaner Before Use
Before you start cleaning, it’s crucial to ensure everything functions properly. Begin by connecting the water supply and powering up the unit. This initial step helps identify any leaks or irregularities. I recall a time when I overlooked this and ended up with a minor flood in my garage. Trust me, it’s better to catch issues now than while using the machine.
Next, turn on the machine and let it run for a minute. Listen for any unusual sounds. If you hear a rattling noise, it could indicate a loose component. Check the manual for troubleshooting tips. I’ve found that addressing these minor concerns early on saves a lot of hassle later.
Test the spray nozzle by directing the water at a piece of cardboard or an old towel. This helps you gauge the pressure output and adjust the nozzle settings accordingly. I once underestimated the power of a narrower nozzle and ended up with a broken window. Always be cautious when testing the spray pattern.
Finally, observe the water flow. It should be steady without any interruptions. If you notice fluctuations, inspect the water supply line for kinks or blockages. I’ve experienced a few interruptions due to simple issues like this, and it always pays off to double-check.
Once you’re satisfied with the performance, you’re ready to tackle your cleaning tasks. And for those interested in capturing the results, consider investing in a digital camera or digicam to document the before and after. You’ll appreciate the difference, and it’s a great way to showcase your hard work.
FAQ:
What tools do I need to set up my Nilfisk pressure washer?
To set up your Nilfisk pressure washer, you will need a few basic tools and items. Primarily, ensure you have a garden hose with a compatible connector, a water source, and an electrical outlet for the power supply. It may also be helpful to have a screwdriver for any adjustments or attachments. Finally, having a bucket nearby can assist in rinsing off any accessories before and after use.
How do I connect the hose to the Nilfisk pressure washer?
Connecting the hose to your Nilfisk pressure washer is a straightforward process. First, locate the water inlet on the machine, which is usually at the back or side. Take your garden hose and attach one end to the water source, ensuring a tight fit. Then, connect the other end of the hose to the water inlet of the pressure washer. Make sure it is securely fastened to prevent any leaks during operation.
What safety precautions should I take before using my pressure washer?
Before using your pressure washer, it’s important to follow several safety precautions. Always wear protective gear, including safety goggles and gloves, to shield yourself from debris and high-pressure water. Ensure the area is clear of people and pets, as the spray can be hazardous. Additionally, check the power cord for any damage and verify that the water source is stable and connected properly. Lastly, read the user manual thoroughly to understand the specific safety instructions for your model.
Why is my Nilfisk pressure washer not starting?
If your Nilfisk pressure washer is not starting, there could be several reasons. First, check if it is properly plugged into an electrical outlet and that the outlet is functioning. Ensure the safety switch is engaged and that the water supply is turned on. If the machine still does not start, inspect the power cord for any visible damage. If you have checked all these factors and it still won’t start, consult the troubleshooting section of the user manual or contact customer support for further assistance.
How can I maintain my Nilfisk pressure washer after use?
Maintaining your Nilfisk pressure washer after use is crucial for its longevity. Start by disconnecting the water supply and power cord. Run the machine for a short period without water to clear any remaining water from the system. This helps prevent damage from freezing if stored in cold conditions. Clean the spray gun and nozzle to remove dirt and debris. Finally, store the machine in a dry area, preferably indoors, to protect it from the elements. Regular maintenance checks, such as inspecting hoses and connections, will also help ensure optimal performance.
What are the basic steps to set up a Nilfisk pressure washer?
To set up a Nilfisk pressure washer, first, gather all necessary components from the box. This includes the pressure washer unit, hose, trigger gun, and any additional attachments or nozzles. Next, connect the high-pressure hose to the pressure washer and the trigger gun. Then, attach the water inlet hose to a water source, ensuring it is secure. After that, plug the pressure washer into a power outlet and check that all connections are tight. Finally, turn on the water supply, switch on the pressure washer, and it’s ready for use. Make sure to follow the manufacturer’s instructions for specific models as features may vary.
.jpg)


