


Begin by ensuring your cleaning device is placed on a flat, stable surface. This not only prevents tipping but also helps you maintain control during operation. I recall a time when I neglected this step; the result was a minor spill that could have been avoided with a little foresight.
Next, connect the water supply hose to your unit. Make sure the connection is tight to avoid leaks. I remember one occasion where I didn’t check this, and the spray was significantly reduced, leading to a frustrating cleaning experience. Always inspect the hose for any kinks or damage before attaching it.

Once the water is securely connected, plug in the electrical cord or connect the fuel supply, depending on your model. Always refer to the manufacturer’s guidelines for specifics related to power sources. I’ve encountered different power requirements with various brands, and understanding these details can save you time and potential equipment damage.
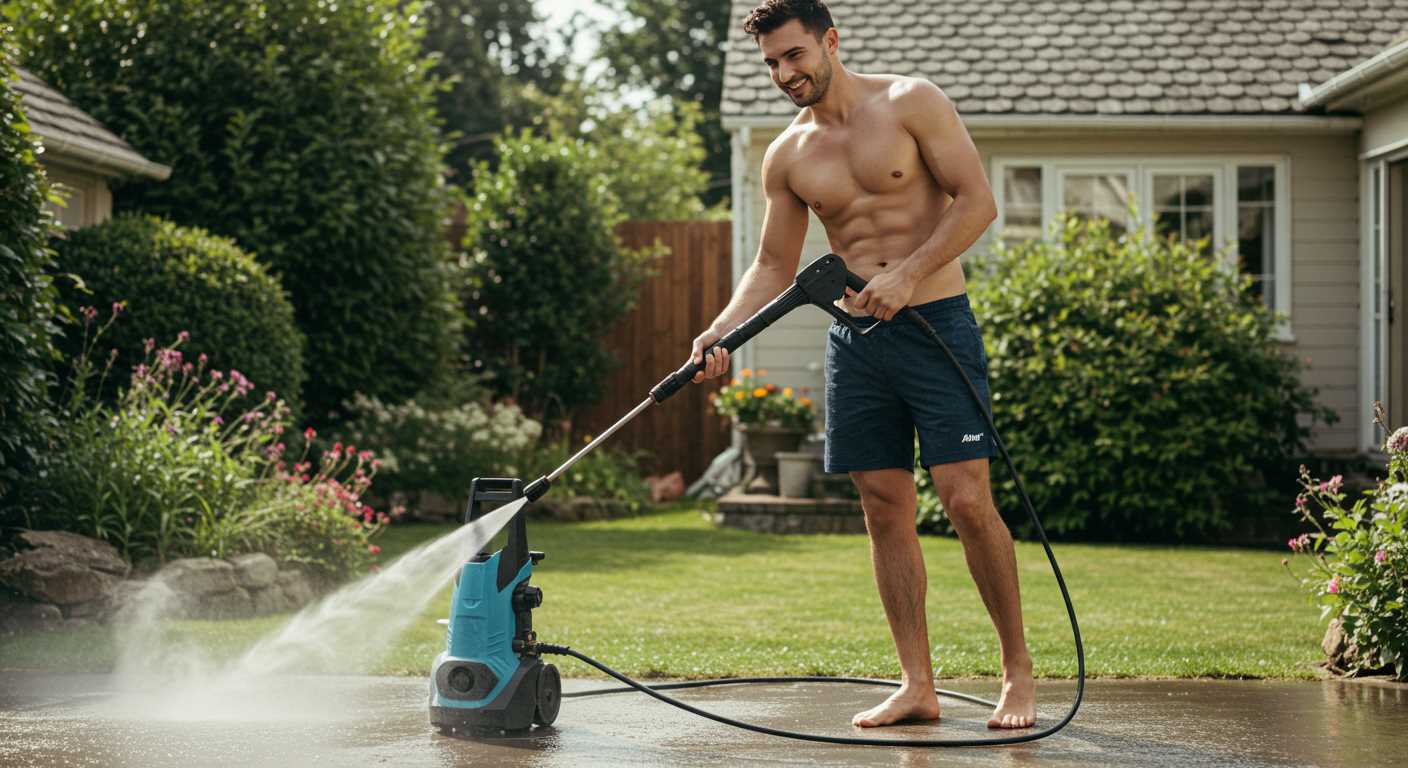
Finally, adjust the nozzle as necessary for your cleaning task. Choosing the right spray pattern is crucial; a wider spray is ideal for rinsing, while a concentrated stream is perfect for tough stains. I often experiment with different nozzles to find the best fit for each job. Remember, the right setup can make all the difference in achieving spotless results.
Choosing the Right Location for Your Equipment
Position your unit on a stable, flat surface. Uneven ground can lead to instability, causing potential hazards during operation. I recall a time when I placed my machine on a slight slope, which resulted in it tipping over unexpectedly. That was a mess I’d rather have avoided!
Access to Water Supply
Ensure your chosen site is near a reliable water source. A long hose can lead to reduced water pressure, diminishing performance. I once had to stretch a hose across my yard, and it wasn’t just inconvenient; it caused significant loss in efficiency. Ideally, keep the hose length under 50 feet for optimal results.
Protection from Elements
Consider positioning your device under a shelter or away from direct sunlight. Prolonged exposure to harsh weather can damage components. I learned this the hard way when my equipment suffered from sun damage after being left out too long during a summer heatwave. A shaded spot helps prolong the lifespan and maintain functionality.
Lastly, ensure there’s ample space around the unit for movement and ventilation. Crowded areas can lead to overheating and make maintenance harder. I always recommend leaving at least three feet of clearance on all sides for easy access.
Connecting the Water Supply to the Cleaning Equipment
Ensure a reliable water source before starting your device. A garden hose is typically the best choice, as it provides adequate flow and pressure. Follow these steps for optimal connection:
- Locate a hose that is at least 5/8 inches in diameter. This size reduces flow resistance and maintains pressure.
- Inspect the hose for leaks or damage. A compromised hose can affect performance.
- Attach one end of the hose to the water outlet. Ensure a snug fit to prevent leaks.
- Connect the other end to your water supply. If using a tap, make sure it is fully open.
Using Filters and Screens
Consider installing a filter at the water inlet to prevent debris from entering the system. This step can prolong the lifespan of your equipment and maintain performance. Check the filter regularly and clean it as needed.
Water Source Requirements
Verify that your water supply meets these conditions:
- Minimum flow rate: 5 litres per minute.
- Water temperature: below 40°C to avoid damaging the unit.
- Pressure: between 1.5 to 4 bar for optimal operation.
After connecting everything, turn on the water and check for leaks before starting the machine. A solid connection ensures an uninterrupted flow for effective cleaning.
Assembling the Washer Components

Begin with the main unit and place it on a flat, stable surface. Ensure that it’s free from any obstructions that could impede operation. I once made the mistake of assembling on a sloped driveway, which led to unnecessary complications later. Trust me; a level base saves a lot of hassle.
Connecting the Handle
Locate the handle and align it with the designated slots on the unit. Use the provided screws to secure it tightly. I remember during my early days, I neglected to tighten the screws fully, and the handle wobbled while in use, which was not only annoying but also unsafe. A firm connection here is paramount for control during use.
Attaching the Hose and Nozzle
Next, it’s time for the hose. Take the high-pressure hose and connect one end to the outlet on the machine. Ensure it clicks into place; a loose connection can lead to leaks. For the nozzle, select the appropriate type for your task–whether it’s a fan spray or a concentrated jet. I’ve found that switching nozzles mid-task can save time and enhance efficiency. Just remember to release the pressure before changing them.
Keep the user manual handy; it contains vital diagrams and instructions specific to your model. I’ve always relied on it during assembly to avoid any missteps. Following these steps carefully will ensure everything is in place for optimal performance.
Installing the Appropriate Nozzle for Your Task
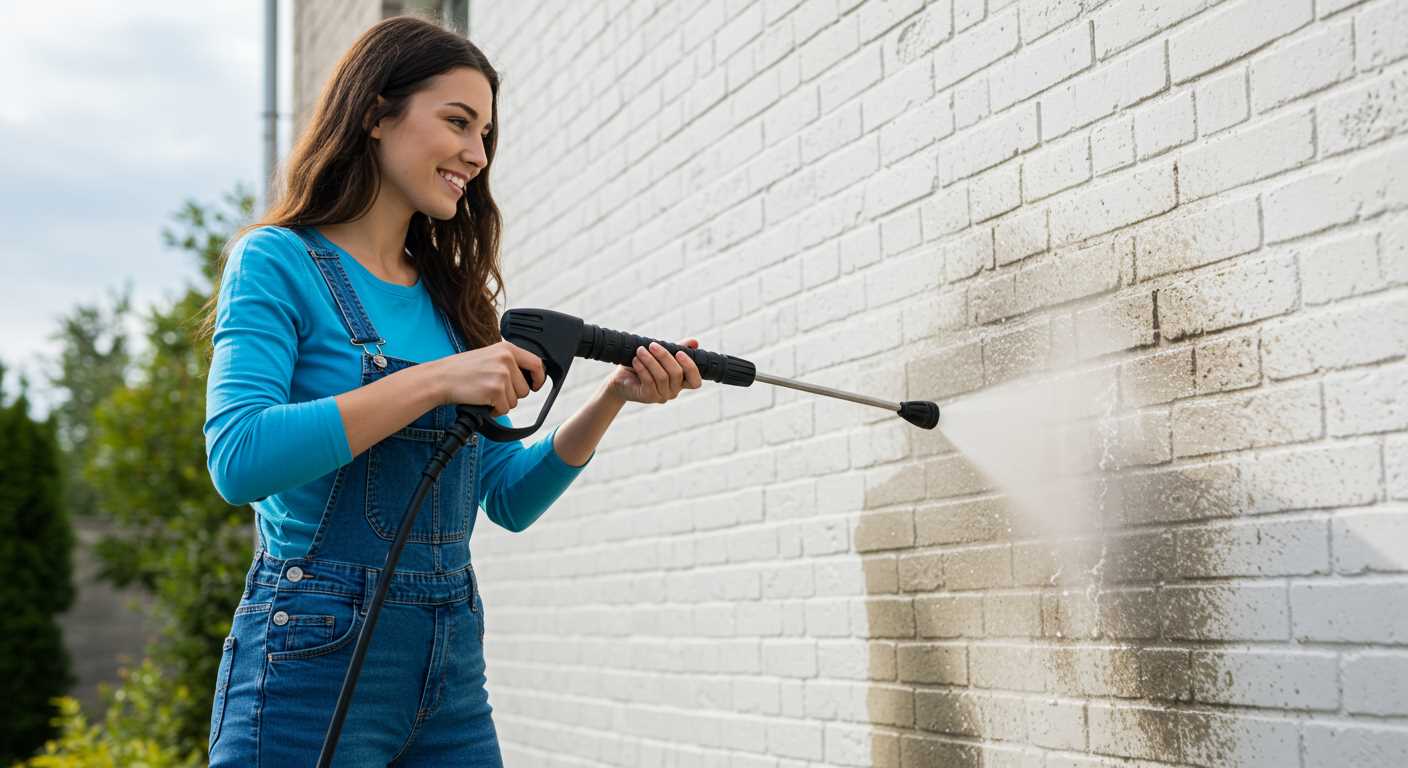
Choose the right nozzle based on the surface and task at hand. This decision impacts the cleaning effectiveness and the safety of the job. For instance, a 0-degree nozzle delivers a concentrated jet, perfect for removing stubborn stains from concrete but can damage softer materials like wood or paint.
Understanding Nozzle Types
There are typically four main types of nozzles: 0-degree, 15-degree, 25-degree, and 40-degree. The lower the degree, the narrower the spray pattern. In my experience, I often reach for the 25-degree nozzle for general cleaning around the house. It strikes a balance between power and safety, making it ideal for driveways, decks, and patios.
When tackling delicate surfaces, such as cars or windows, I switch to a 40-degree nozzle. The wider spray pattern reduces the risk of damage while still providing adequate cleaning power. Always test on a small area first to ensure compatibility with the material.
Adjusting for Specific Applications
For tasks involving heavy grease or grime, consider using a soap nozzle if your equipment supports detergent. It generally has a wider spray pattern and allows the cleaning solution to penetrate and break down tough stains. After applying detergent, always follow with a rinse using a more powerful nozzle to ensure no residue remains.
Remember to secure the nozzle firmly onto the lance to prevent it from detaching during operation. I’ve seen too many instances where a loose nozzle led to accidents or ineffective cleaning. Regularly check for wear and tear, as a damaged nozzle can affect performance.
With the right nozzle in hand, you’re set to tackle any cleaning challenge efficiently and safely. Just keep in mind the specific requirements of each task, and you’ll achieve the best results every time.
Connecting the Power Source Safely
Always use a ground-fault circuit interrupter (GFCI) when connecting the machine to an electrical outlet. This device helps prevent electric shock by cutting off the power if it detects any imbalance in the electrical current. I’ve seen too many cases where neglecting this simple step led to unfortunate accidents.
Next, ensure that the extension cord, if you are using one, is rated for outdoor use and can handle the required amperage. A heavy-duty cord is your best bet. I once tried to save money with a lightweight cord, and it resulted in overheating and a burnt-out motor. Not a pleasant experience.
Proper Outlet and Voltage
Check that the outlet provides the correct voltage as specified in the user manual. Most models operate at 120V or 240V. Plugging into the wrong voltage can cause irreversible damage to the unit. I remember a colleague who didn’t verify this and ended up with a costly repair bill because the motor couldn’t handle the excess voltage.
Keeping the Area Dry
Ensure the area around the electrical socket and the cord remains dry at all times. Water and electricity don’t mix well, and I’ve witnessed several instances where hoses or puddles led to shock hazards. If rain is in the forecast, consider covering the unit or moving it to a sheltered spot.

| Tip | Description |
|---|---|
| Use GFCI | Prevents electric shock by cutting power in case of current imbalance. |
| Choose Right Cord | Opt for a heavy-duty extension cord rated for outdoor use. |
| Verify Voltage | Ensure the outlet matches the voltage requirement of your machine. |
| Maintain Dry Conditions | Keep the area around the socket and cord free from water to avoid hazards. |
By following these guidelines, you not only protect yourself but also prolong the life of your equipment. Safety first–it’s a lesson I learned the hard way.
Priming the Pump Before Use
Before you start cleaning, ensure the pump is primed correctly. This step is crucial to maintaining performance and preventing damage. First, locate the water inlet on your device. Attach a clean, high-quality hose to the water supply to avoid debris entering the system.
Next, turn on the water supply fully. It’s important to allow water to flow through the hose and into the inlet. Keep an eye out for any leaks during this process; if you notice any, tighten the connections or replace seals as needed.

Once water flows freely, activate the machine without connecting any nozzles. This will help circulate the water through the pump and eliminate any air trapped inside. Allow it to run for about 30 seconds. You may hear a change in sound as the air escapes. This indicates that the pump has been successfully primed.
After priming, you can safely attach the appropriate nozzle for your task. If you’re looking for additional equipment to enhance your cleaning routine, consider investing in the best air compressor for car cleaning. It can be a valuable addition to your setup.
Finally, check the water level in the supply tank if applicable. A consistent water source is necessary for optimal operation. Neglecting this can lead to overheating and ultimately damage the pump. With these steps, you’ll be ready to tackle your cleaning projects efficiently.
Testing the Setup for Leaks and Functionality
After you’ve assembled your cleaning unit and connected everything, it’s critical to check for leaks and ensure proper operation before starting any tasks.
-
Begin by turning on the water supply. Observe all connection points, including hoses and fittings, for any signs of water leakage. A small drip can indicate a loose connection or a damaged seal.
Trending Now Coyardor 35 FT Pressure Washer HoseHeavy-duty for extreme durabilityThis steel wire braided pressure washer hose withstands up to 4500 PSI, offering superior durability and flexibility for tough cleaning tasks across various pressure washer brands.
 -
Next, switch on the motor or plug in the device. Listen for any unusual noises that might suggest a malfunction. A consistent, steady hum indicates normal operation.
-
Once the unit is running, allow it to build pressure. Monitor the pressure gauge if available. If it fails to reach the expected pressure, there could be an obstruction or a fault within the system.
-
Test the trigger gun by pulling it. Ensure it operates smoothly without sticking. If you notice resistance, inspect the nozzle and hose for blockages.
-
Check the foam or detergent attachment if you’re using one. Apply a small amount of cleaning solution to see if it mixes properly and dispenses as expected.
If everything checks out, you’re ready to tackle your cleaning tasks. For those needing a mobile solution, consider a pressure washer for van, which can be ideal for various outdoor projects.

.jpg)


