


Begin by ensuring that the connection point on your cleaning machine is free from debris. A simple wipe with a clean cloth can prevent any blockages that might interfere with performance. I’ve always found that a clean surface leads to a more secure fit.
Next, align the attachment at the designated inlet. It’s essential to push firmly but gently; excessive force can damage the connectors. I recall the first time I rushed this step, resulting in a frustrating leak that wasted both time and resources.
Once the accessory is in place, twist it clockwise until you hear a satisfying click. This sound indicates a proper lock. In my experience, a well-secured attachment not only enhances efficiency but also ensures safety during operation. After a long day of cleaning, I’ve learned to appreciate those small moments of satisfaction.
Don’t forget to check the seals and gaskets for wear and tear. Regular inspection can save you from unexpected mishaps. During one of my projects, overlooking this detail led to a significant downtime that could have been avoided with a quick glance.
Finally, after connecting everything, briefly test the system at a low setting. This initial run helps verify that everything is functioning correctly before you proceed with your task. Trust me, taking a moment for this step can save you from potential headaches later.
Steps for Connecting Your High-Pressure Cleaner
Begin with ensuring the machine is powered off. Safety is paramount. Next, retrieve the correct lance and nozzle for the task at hand.
- Match the nozzle to the job. For delicate surfaces, a wider spray angle is preferable.
- Align the lance with the connector on the unit. A firm push should secure it in place.
With the lance attached, focus on the hose. Inspect for any kinks or damage before connecting it to the water supply. A steady flow is crucial.
- Find a clean source of water, preferably a tap.
- Attach the hose securely. Ensure there are no leaks.
After connecting the hose, switch on the water supply. Check for any leaks at the connections, as this could hinder performance.
Once the water is flowing properly, it’s time to plug in the machine. Make sure the power cord is intact and free from damage. A grounded outlet is necessary for safety.
- Turn on the machine and allow it to run for a moment to eliminate air from the system.
- Adjust the pressure settings based on your cleaning needs.
If you’re tackling tough stains, consider using a pressure washer for graffiti removal. These models often come with enhanced features for more challenging tasks.
Finally, familiarise yourself with the controls before starting. A few test sprays on a small area can help gauge the effectiveness of your setup.
Choosing the Right Snap Attachment for Your Pressure Washer
Select the attachment based on your cleaning task. For driveways, a rotary nozzle is ideal; it tackles tough grime effectively. I once tackled a particularly stained driveway, and the rotary attachment made the difference. It cut my cleaning time in half!
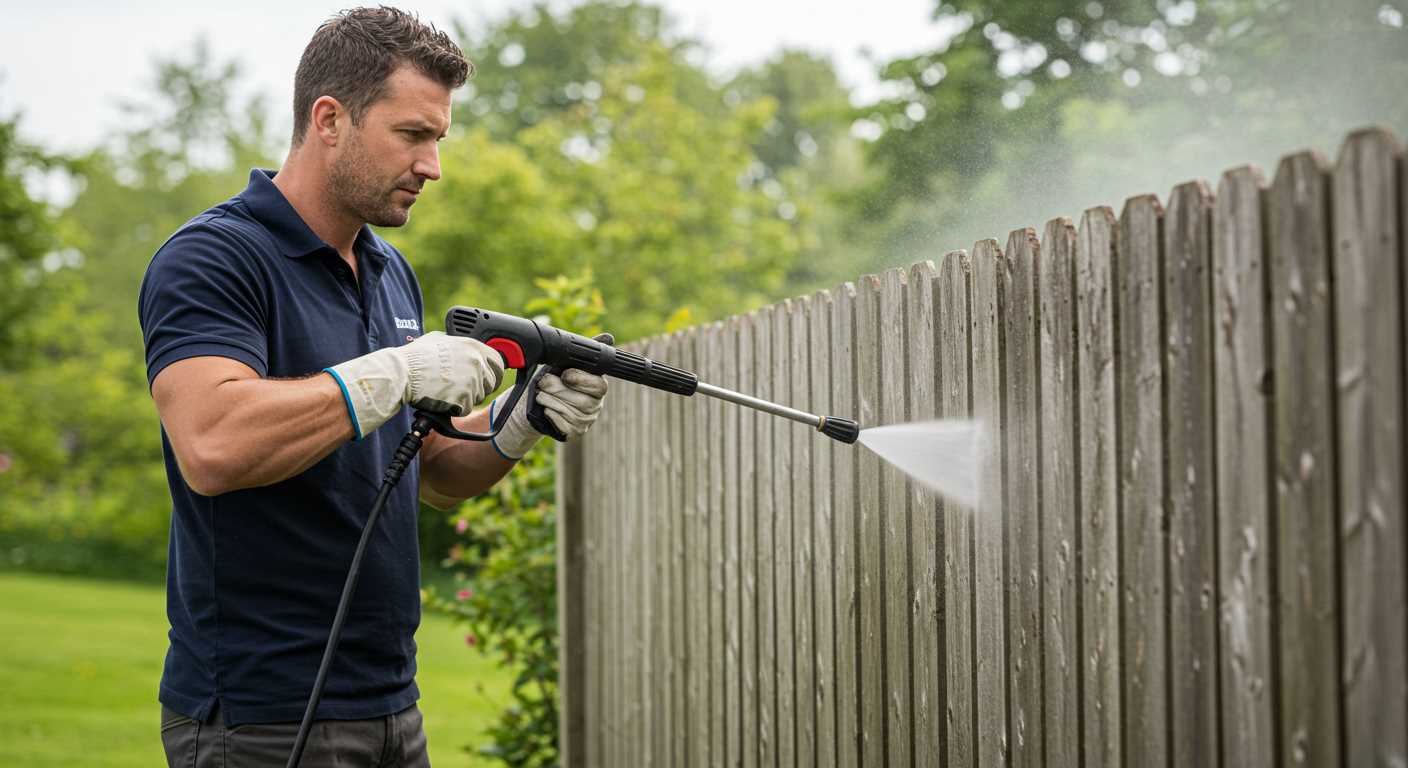
If you’re working on delicate surfaces like vehicles, a fan nozzle should be your go-to. I learned this the hard way after using a more aggressive attachment on my car. The fan nozzle provides a gentle yet thorough clean without risk of damage.
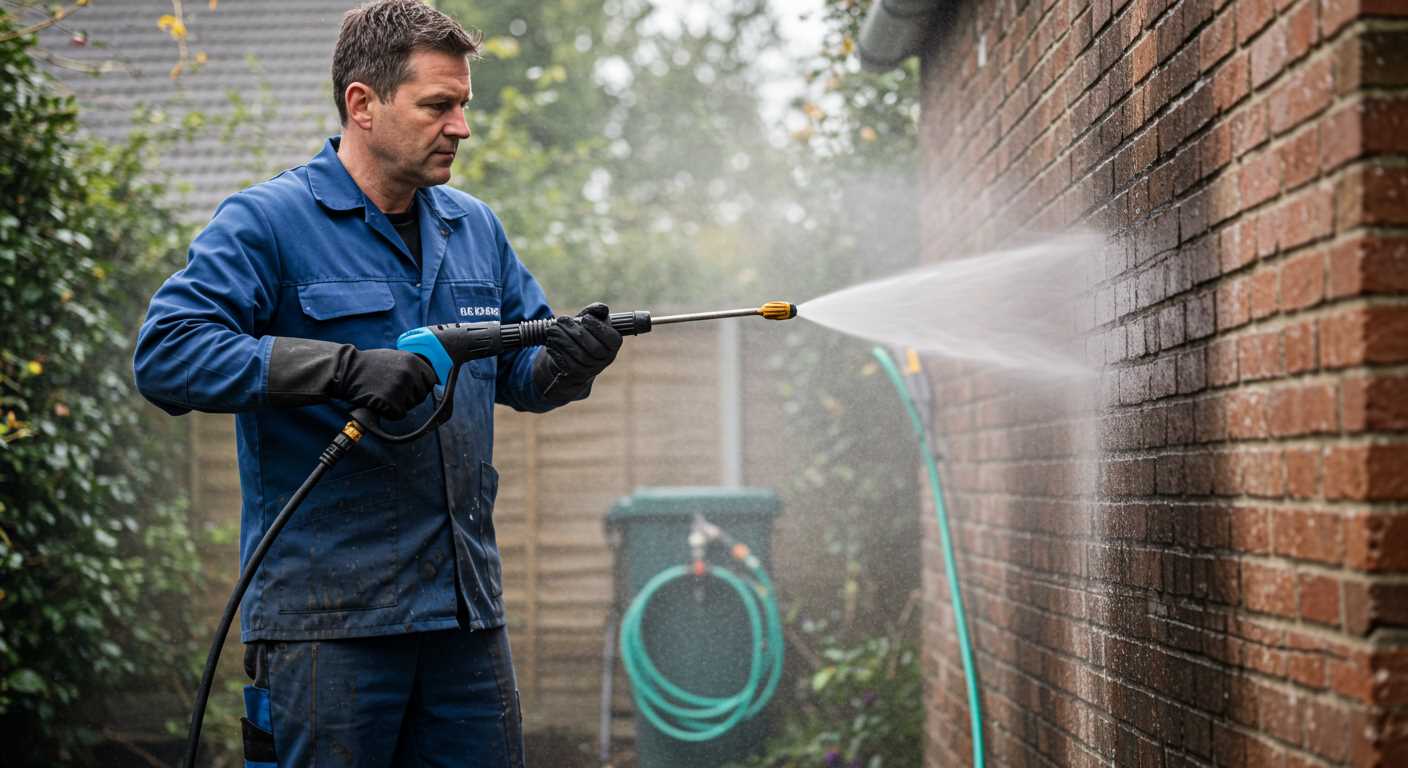
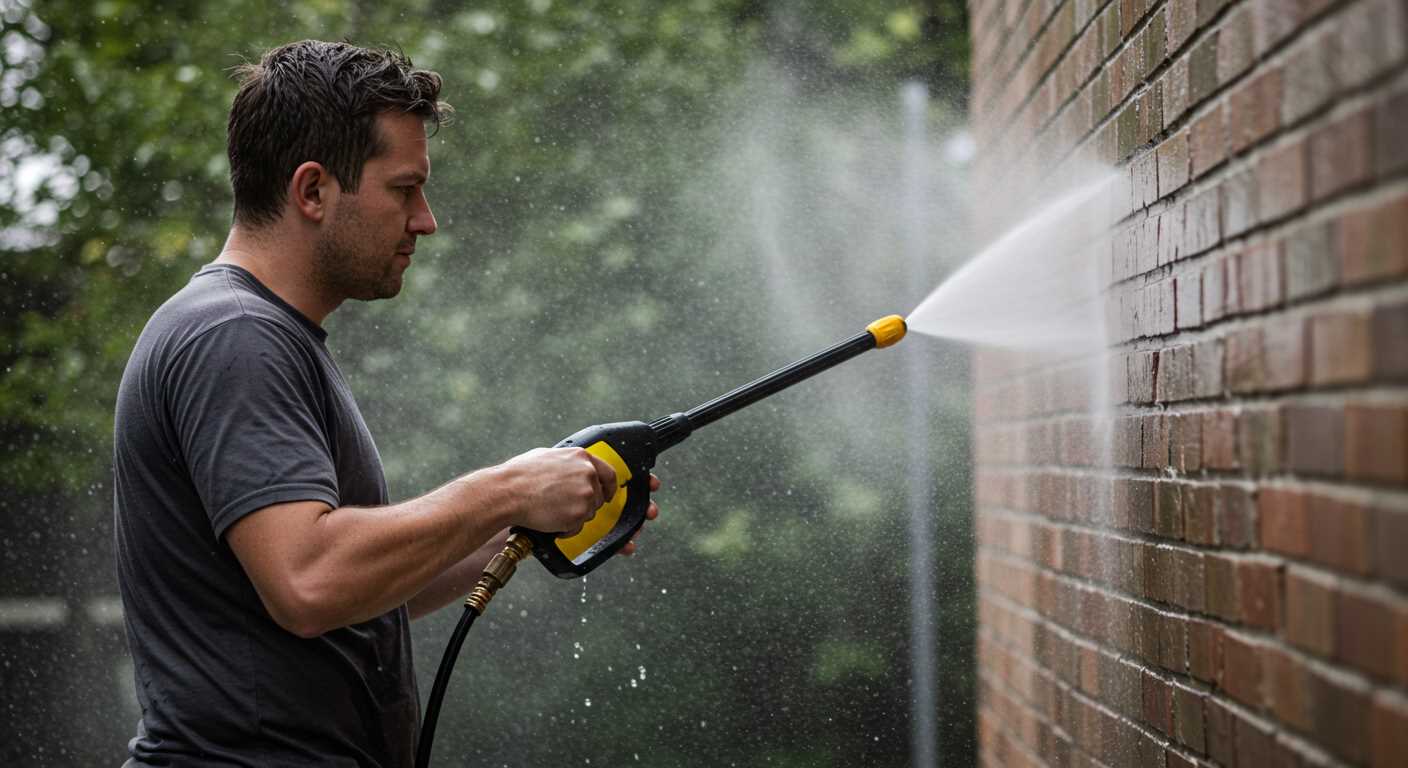
For tough surfaces like brick or concrete, consider a surface cleaner. I’ve used those on patios, and they deliver consistent results without streaks. It’s like mowing the lawn, but for your outdoor surfaces!
Always check the compatibility of attachments with your device. Each model has specific requirements, and using the wrong one can lead to performance issues. I once had a colleague who faced this problem, and it resulted in a frustrating cleaning experience.
Don’t overlook the size of the attachment. Larger ones cover more area but can be harder to manoeuvre in tight spaces. I prefer a smaller attachment for detailed work, especially around garden beds and furniture.
If you’re unsure, consult the user manual or the manufacturer’s website. They often provide guidance on which tools work best for various tasks. I’ve had great success by sticking to manufacturer recommendations, ensuring optimal performance every time.
Ultimately, your choice should reflect the specific cleaning needs you face. Think about the surfaces you clean most often and select attachments that make those jobs easier and more efficient.
Preparing Your Pressure Washer for Snap Installation
Before attaching the accessory, ensure the machine is turned off and disconnected from the power source. I’ve seen too many accidents happen when someone forgets this simple step. Remove any existing attachments by pressing the release button or twisting them off, depending on your model.
Inspecting Components
Take a moment to examine the connectors and hoses for any signs of wear. Cracks or leaks can compromise performance. I once had a colleague who overlooked this, resulting in a frustrating experience when the nozzle wouldn’t stay connected. Clean the connectors with a cloth to remove any dirt or debris; this ensures a snug fit. A little maintenance goes a long way.
Checking Compatibility
Verify that the new accessory is compatible with your equipment. Each brand has specific design features, and using the wrong one can lead to inefficiencies. I remember a time I bought an attachment that looked perfect but didn’t fit properly, causing leaks during use. Always refer to the manufacturer’s guidelines for compatibility details.
Step-by-Step Guide to Attaching the Snap Accessory
Begin with ensuring your unit is powered off and disconnected from any water source. Safety first!
1. Gather Necessary Tools
- Snap accessory
- Compatible nozzle (if required)
- Wrench (if needed for tightening)
2. Align the Accessory
Position the snap accessory at the connection point on the machine. Ensure that it aligns with the locking mechanism of the attachment point. This is crucial for a secure fit.
3. Secure the Connection

- Push the accessory firmly into place until you hear a click, indicating it is locked.
- If your accessory requires additional fastening, use the wrench to tighten it gently. Avoid overtightening to prevent damage.
4. Test the Attachment
Before you start cleaning, turn on the machine briefly to check for any leaks or instability in the connection. This step helps ensure everything is functioning properly.
5. Ready to Use
With the accessory securely attached, you are ready to tackle various cleaning tasks. For those interested in optimising their equipment further, consider checking out the best air compressor for da sander for related tools that enhance performance.
Adjusting Pressure Settings for Snap Use
To optimise performance with your accessory, it’s vital to fine-tune the force of the water stream. Begin by identifying the type of task at hand–cleaning vehicles, patios, or delicate surfaces requires different levels of intensity. I’ve found that starting with a lower setting allows for adjustments based on specific needs, ensuring you don’t damage the surface or waste water.
Most models feature a dial or lever for altering the intensity. For example, when tackling grime on a vehicle, I often set it to a medium level to avoid stripping paint, while stubborn patio stains might call for a higher setting. Adjust incrementally; a small shift can make a significant difference in outcome.
Testing the Output
Once you’ve dialled in your desired level, test the output on a less visible area first. This practice prevents any unwanted surprises. I recall a time when I was too eager and didn’t test first; the results were less than ideal, causing damage that took extra time to remedy. If the intensity feels too strong or weak, reassess and readjust accordingly.
Maintaining Consistency
For a consistent experience, keep an eye on the settings during use. Variations can happen due to water supply changes or hose adjustments. I always check the gauge before moving on to another section of the area being cleaned. This habit ensures uniform results without any guesswork.
Testing the Attachment for Proper Functionality
Before you start using the accessory, conduct a quick functionality test. Connect the tool to your equipment and switch it on. Check for any leaks around the connection points; a tight fit is crucial for optimal performance. If you notice any water seeping through, detach and reattach the accessory to ensure a secure connection.
Performance Evaluation
After confirming a proper fit, activate the unit and observe the spray pattern. It should be consistent and directed, not erratic or weak. If the stream appears uneven, it may indicate a blockage in the nozzle or a misalignment of the attachment. Clean the nozzle thoroughly and repeat the test. Adjust the settings on your unit to find the ideal pressure level for the task at hand.
Final Checks
Once you’re satisfied with the spray output, run the device for a few minutes. Listen for any unusual sounds that might signal an issue. A smooth operation is key; if you hear grinding or excessive noise, inspect the attachment and its connection for any signs of wear or damage. Ensure everything is functioning correctly before diving into your cleaning tasks.
Common Issues When Using Snap Attachments
One frequent problem I encountered involves misalignment during attachment. If the accessory doesn’t click securely into place, it can lead to leaks or reduced performance. Always ensure that the connection is firm before starting your cleaning task.
Another common issue is pressure inconsistency. If you notice a significant drop in output, it could indicate a blockage in the attachment or the hose. Regularly inspect for clogs, especially after using the unit in dirty environments. Clear any debris immediately to maintain optimal functionality.
Incompatibility is also something to watch for. Not all attachments fit every model. Always double-check compatibility with your specific unit. I’ve had customers who were frustrated to discover their chosen tool didn’t work with their machine. Having the right manual on hand can save time and hassle.
Maintenance is key. After each use, I recommend cleaning the attachments thoroughly. Residue can build up and affect performance. I’ve learned the hard way that neglecting this can lead to permanent damage, costing more in replacements later on.
Lastly, keep an eye on the seals and O-rings. Over time, these can wear out, leading to water leaks. I’ve replaced these components regularly to avoid unexpected interruptions during cleaning jobs. Having a few spares on hand is a wise move.
| Issue | Solution |
|---|---|
| Misalignment | Ensure secure connection before use. |
| Pressure inconsistency | Check for blockages in the attachment or hose. |
| Incompatibility | Verify attachment compatibility with your model. |
| Lack of maintenance | Clean attachments after each use. |
| Worn seals | Inspect and replace seals and O-rings regularly. |
Maintenance Tips for Snap Attachments on Pressure Washers
Regular cleaning of the connectors is non-negotiable. After each use, rinse off any debris or residue from the attachment points. Leftover dirt can lead to clogs or hinder the flow of water, affecting performance.
Inspect the seals and O-rings frequently. These components are crucial for maintaining a watertight fit. If they appear cracked or worn, replace them immediately to prevent leaks and ensure optimal function.
Lubrication is important too. A small amount of silicone grease on the O-rings can enhance their lifespan and help in easy attachment and detachment. Just a dab will do; too much can attract dirt.
Store attachments in a dry place, away from extreme temperatures. Exposure to moisture can lead to rust, while intense heat can warp plastic components. A dedicated storage box or rack keeps everything organised and protected.
Periodically check for any signs of wear or damage. A small crack or dent can significantly affect performance. If you notice anything unusual, it’s best to replace the attachment rather than risk subpar results during your next cleaning task.
Lastly, always refer to the manufacturer’s guidelines for specific maintenance practices. They often provide valuable insights tailored to the materials and design of your particular attachments.
FAQ:
What tools do I need to set up a snap-on pressure washer?
To set up a snap-on pressure washer, you will typically need the following tools: a garden hose with the appropriate fittings, a power source (if the washer is electric), and possibly a wrench or pliers for securing connections. Make sure to have access to water and a suitable surface for operation as well.
How do I connect the snap-on pressure washer to a water source?
To connect your snap-on pressure washer to a water source, first ensure that the water supply is turned off. Attach the garden hose to the water inlet on the pressure washer, ensuring it is tightly secured to prevent leaks. Then, connect the other end of the hose to your outdoor tap. Turn on the water supply slowly to check for any leaks at the connections before proceeding to use the washer.
What safety precautions should I take before using the snap-on pressure washer?
Before using the snap-on pressure washer, it is important to wear appropriate safety gear, including goggles and gloves, to protect yourself from debris and high-pressure water. Ensure that the area is clear of people and pets. Check the washer for any signs of damage and make sure all connections are secure. Be cautious of electrical sources if you are using an electric model.
Can I use detergent with my snap-on pressure washer, and if so, how?
Yes, you can use detergent with your snap-on pressure washer to enhance cleaning performance. Most models come with a detergent tank or a specific attachment for applying soap. Fill the tank with the recommended detergent, ensuring it is suitable for pressure washers. Follow the manufacturer’s instructions regarding dilution and application, and remember to switch back to plain water for rinsing.
What maintenance is required after using the snap-on pressure washer?
After using the snap-on pressure washer, it is advisable to perform some basic maintenance. Start by disconnecting the water supply and draining any remaining water from the hoses and pump to prevent freeze damage. Clean the nozzle and check for clogs. Store the washer in a dry place and ensure that any filters are cleaned or replaced as needed. Regular maintenance will help extend the life of your equipment.
What tools do I need to set up a snap on pressure washer?
To set up a snap on pressure washer, you will typically need the following tools: a wrench or pliers for tightening hoses, a screwdriver for any assembly required, and safety goggles to protect your eyes during operation. Additionally, having a bucket handy for any leftover water or cleaning solutions can be helpful. Ensure you have a suitable power source or an extension cord if required, as well as a hose reel for easy storage after use.
Can I use a snap on pressure washer for different surfaces without any adjustments?
Yes, a snap on pressure washer is generally designed to be versatile and can be used on various surfaces such as concrete, wood, and vehicles. However, you might need to adjust the pressure settings or change the nozzle to suit different materials. For instance, a lower pressure is advisable for delicate surfaces like wood to prevent damage, while higher pressure can be used for tougher surfaces like concrete. Always consult the user manual to understand the best practices for each surface type to ensure optimal cleaning without causing harm.
.jpg)


