


Begin with ensuring that the unit is positioned on a flat, stable surface. This prevents any accidental tipping or movement during use. I recall a time when I hastily placed a unit on uneven ground, resulting in an unexpected spill of water and soap all over my patio. A simple precaution saved me a lot of cleanup later.
Next, connect the water supply. A garden hose typically fits perfectly, but make sure the connection is secure. I once encountered a frustrating situation where a loose hose led to a significant drop in water pressure, making my cleaning efforts nearly futile. Tightening that connection made all the difference.
Once the water is flowing, plug in the device and ensure the power source is reliable. I prefer using an outdoor extension cord rated for high wattage, as this reduces the risk of tripping or overheating. Remember, a faulty power supply can lead to interruptions in your task.
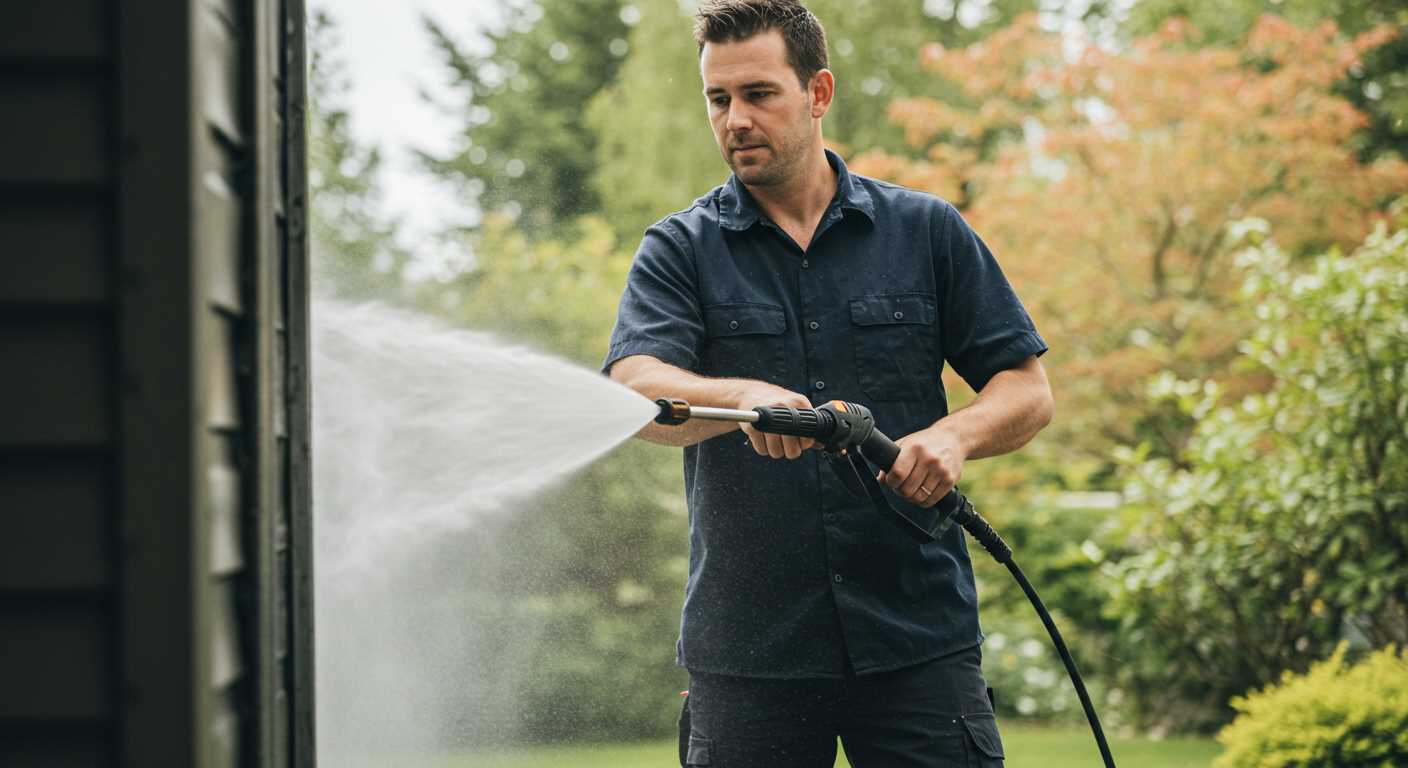
Don’t forget to attach the nozzle suited for your specific cleaning needs. I often experiment with different nozzles for various surfaces; a wider spray for softer materials like wood and a tighter spray for stubborn grime on concrete. Each time I switch, I’m reminded of the versatility these machines offer.
Lastly, check the detergent tank, if applicable. Using the right cleaning solution enhances the effectiveness of any cleaning chore. I once used a general-purpose cleaner, only to discover it was not suitable for my driveway’s oil stains. Choosing the appropriate detergent made my subsequent attempts far more successful.
Setting Up Your Cleaning Equipment
Connect the water supply hose securely to the inlet. Ensure the other end is attached firmly to a water source. I’ve seen too many people overlook this step, leading to leaks or insufficient water flow. A tight connection is key.
Next, attach the high-pressure hose to the outlet. Listen for a click; this confirms that it’s locked in place. I recall a time when I didn’t check this properly, and the hose detached mid-use, causing quite the mess!
Choose the appropriate nozzle for your task. Each nozzle has a specific angle and pressure, so select one that suits your cleaning needs. For instance, use a wider angle for delicate surfaces and a narrow one for tough grime. I always keep a chart of nozzle types handy for quick reference.
Before turning on the machine, ensure the trigger is locked. This prevents accidental spraying while you’re doing the setup. It’s a small step, but it can save you from unexpected surprises!
Once everything is connected, turn on the water supply and then the power. Allow the equipment to prime for a few seconds. Listen for the change in sound; this indicates that it’s ready to go. I learned this the hard way during my first few uses, rushing through the process and ending up with sputtering performance.
Finally, test the flow by pulling the trigger. If water sprays out smoothly, you’re good to go. If not, double-check all connections and ensure there’s no kinks in the hoses. I can’t stress enough how vital this is for smooth operation!
Follow these steps each time, and you’ll achieve optimal results every time you clean. It’s all about those little details that make a significant difference.
Unpacking the Pressure Washer Components
Begin by carefully removing the unit from its packaging, ensuring that you don’t damage any parts. I remember the first time I unboxed a similar device; I was overly excited and accidentally scuffed the surface. Take your time. Lay out all components on a flat surface for a clear overview.
Identifying Key Parts
Among the items, you will find the main machine, a high-pressure hose, a spray gun, and various nozzles. Each nozzle typically serves a different purpose; for instance, the 0-degree nozzle is excellent for tough stains, while the 25-degree is more versatile for general cleaning. In my experience, keeping track of these nozzles is vital to ensure you have the right tool for each job.
Additional Accessories
Don’t overlook the manual and any additional accessories included, such as detergent tanks or extension wands. I once overlooked a small bottle of cleaner that turned out to be highly effective for removing grime from patio furniture. Always check for these extras–they can enhance your cleaning experience significantly.
Assembling the Frame and Wheels
Begin by laying out all components of the frame. Ensure you have the main body, wheels, and necessary screws at hand. The first step is attaching the wheels, which provide mobility. Insert the wheel axle through the designated openings on each side of the frame. Secure each wheel with the provided locknut, ensuring they spin freely but remain firmly attached.
Securing the Frame
Next, position the rear part of the frame and align it with the front section. Use the screws to connect both sections securely. This structure should feel solid with no wobbling. Once the frame is assembled, check for any loose screws or unstable connections. A sturdy frame is crucial for stability during operation.
Final Touches
After assembling the main structure, attach any additional components such as the handle. Make sure it is positioned comfortably for ease of use. Finally, inspect everything one last time. A well-assembled unit will enhance your cleaning tasks and ensure safety while in operation. For those considering pet safety around fencing, learn more about potential hazards through resources like can an electric fence kill a small dog.
Connecting the High-Pressure Hose and Spray Gun
Begin by locating the high-pressure hose and the spray gun. The first step is to securely attach one end of the high-pressure hose to the outlet on the unit. Make sure to twist it clockwise until it is tightly connected, preventing any leaks during operation.
Steps for Connecting the Hose
- Identify the connector on the unit designated for the high-pressure hose.
- Align the hose fitting with the connector and twist it firmly until it locks in place.
- Check the connection to ensure it is secure; a gentle tug should confirm it won’t come loose.
Next, take the other end of the high-pressure hose and connect it to the spray gun. This is typically done by inserting the hose fitting into the spray gun’s inlet and twisting it to lock. It’s crucial to ensure this connection is also tight to avoid spray interruptions.
Tips for Securing Connections
- Inspect the O-rings on both the hose and the gun for any signs of wear or damage before connecting.
- If you notice any cracks or tears in the O-rings, replace them to maintain a proper seal.
- After connections are made, briefly turn on the machine to check for leaks before using it for cleaning tasks.
Once the hose and spray gun are connected, you’re ready to move on to the next steps in your cleaning process. Ensuring these connections are secure will enhance the performance of your equipment and lead to a more satisfying experience.
Filling the Fuel and Oil Reservoirs
Before you power up your cleaning unit, ensure both the fuel and oil reservoirs are adequately filled. For the fuel, use unleaded gasoline with an octane rating of at least 87. Avoid mixing oil with the fuel; a clean fuel system promotes optimal performance. Pour the gasoline into the tank slowly to prevent spills and check the fuel level indicator to avoid overfilling.
As for the oil, I recommend using 10W-30 engine oil for the best results. Locate the oil fill cap, remove it, and use a funnel for precision. Fill the reservoir until the oil level reaches the recommended mark on the dipstick. It’s a simple step that I’ve seen many overlook, but maintaining the correct oil level ensures the engine runs smoothly and extends its lifespan.
After filling both reservoirs, check for leaks around the caps and connections. Tighten them if necessary. I’ve encountered issues in the past due to overlooked leaks, leading to unnecessary downtime. Once everything looks good, you’re ready to start the engine and enjoy the power of your new cleaning machine.
Attaching the Water Supply and Setting Up the Tap
Begin by connecting your water source to the inlet on the unit. Use a standard garden hose that fits securely to ensure a tight seal. I recommend checking for any leaks before powering up your machine. A small trick I learned is to run water through the hose for a minute to clear any debris before attaching it to the equipment.
Choosing the Right Tap
Select a tap that provides a consistent flow of water. Avoid using taps that are prone to fluctuations in pressure, as this can affect performance. In my experience, outdoor taps are usually more reliable than indoor ones due to their direct connection to the mains supply.
Securing the Connection
Once the hose is attached, ensure it is fully tightened but do not overdo it, as this can damage the fittings. I’ve seen hoses burst from excessive pressure. After securing the connection, turn the tap on slowly and check for leaks again. If everything looks good, you’re ready to start cleaning.
For those considering alternatives, the market has various options, like electric pressure washer made in usa, which might suit your needs better, depending on your requirements.
Testing for Leaks in Your New Machine
Before diving into cleaning tasks, it’s vital to ensure your new equipment is leak-free. A quick test can save you from potential headaches later on. Start by connecting the water supply and powering up the unit according to the previous guidelines.
Leak Testing Steps
Follow these steps to efficiently check for any leaks:
- Ensure all connections, including the high-pressure hose and spray gun, are secured tightly.
- Turn on the water supply and let it fill the system. Observe for any drips or moisture around connections.
- With the unit still off, check both the inlet and outlet for signs of leakage.
- Power on the unit and let it run for a minute. Look for any water escaping from hoses or fittings.
Common Leak Locations
Be mindful of these areas, as they are often prone to leaks:
| Component | Potential Issues |
|---|---|
| Hoses | Cracks or loose fittings |
| Connections | Improperly tightened fittings |
| Gaskets | Worn or damaged seals |
| Water inlet | Faulty valve or fitting |
In my experience, the majority of leaks arise from loose connections. Always double-check these areas before starting your tasks. If you spot any issues, don’t hesitate to address them immediately to avoid complications later on.
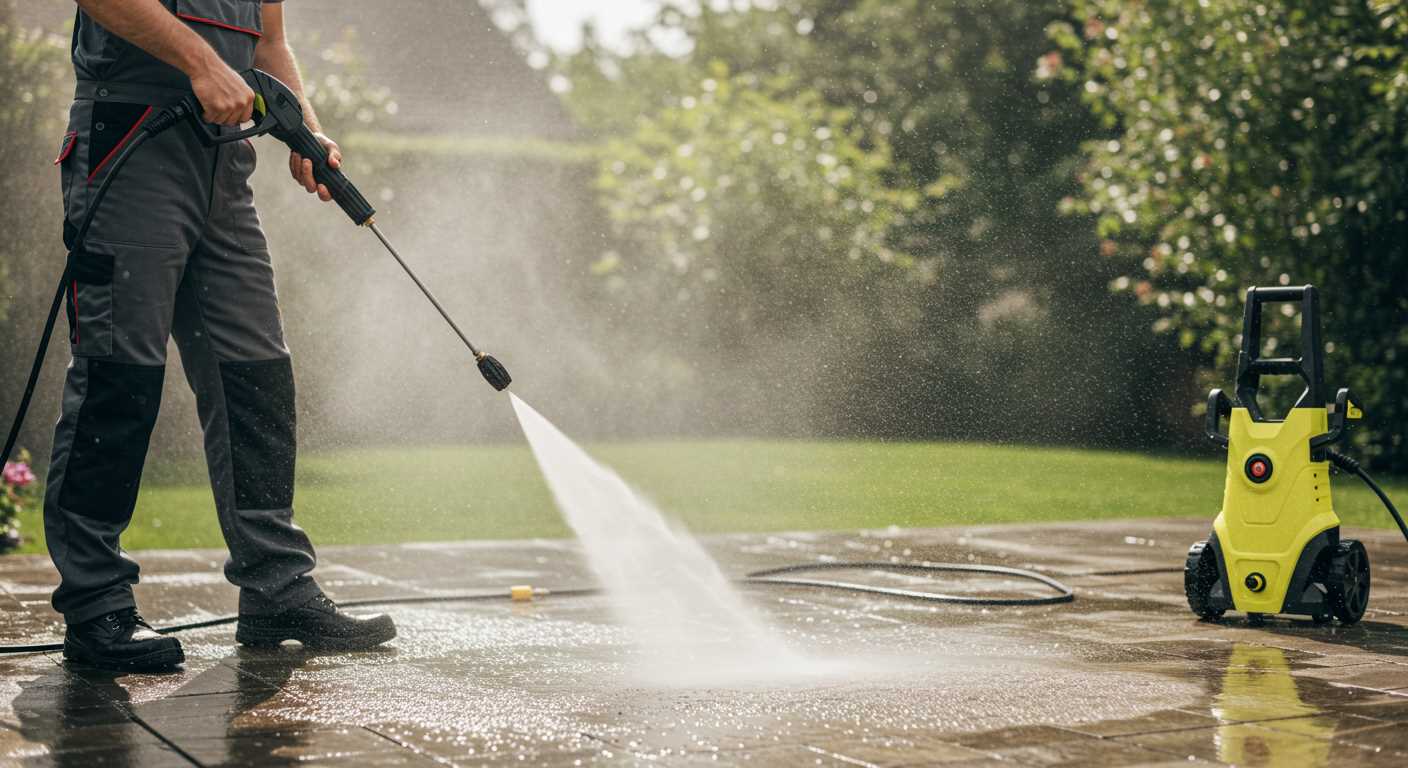
Understanding the Control Settings for Optimal Use
Begin with the pressure adjustment knob. This is your primary tool for controlling the intensity of the water stream. For delicate surfaces like car paint or wood, a lower setting is advisable to prevent damage. Conversely, tougher surfaces like concrete might require higher settings. I recall a time when I used a lower pressure on my patio furniture–resulted in a surprisingly effective clean without any harm.
Next, focus on the nozzle selection. Different nozzles provide varied spray patterns, from a wide fan to a concentrated jet. The 25-degree nozzle is a versatile choice for most tasks, allowing a balance between power and coverage. I found that using a 15-degree nozzle on stubborn stains can greatly enhance cleaning efficiency, but it’s vital to maintain a safe distance to avoid surface damage.
Temperature control is another critical factor. If you’re working with a hot water model, setting the temperature appropriately can significantly improve cleaning outcomes, especially for grease or oil stains. I once tackled an oil spill on a garage floor using hot water, and the results were impressive–much quicker than cold water alone.
Finally, don’t overlook the soap dispenser setting. Ensure you’re using the right detergent for your specific cleaning task and adjust the setting to control the amount of soap dispensed. I’ve learned that using too much soap can lead to a slippery residue, while too little might not get the job done. A balanced approach is key.
By carefully adjusting these settings based on your unique cleaning requirements, you can achieve optimal results every time. Each experience enhances your understanding, leading to more effective use of your equipment. Remember, practice makes perfect.
FAQ:
What tools do I need to set up a Stanley pressure washer?
To set up a Stanley pressure washer, you’ll need a few basic tools and items. Typically, you will require a garden hose, a spray nozzle, and an extension cord if your model isn’t battery-operated. It’s also helpful to have a flat surface to place the washer on during setup. Additionally, make sure to have access to a water source, as the washer will require a continuous supply of water for operation.
How do I connect the hose to my Stanley pressure washer?
To connect the hose to your Stanley pressure washer, locate the water inlet on the machine, which is usually marked clearly. Take your garden hose and attach one end to the water source, ensuring it is securely fastened. Then, connect the other end to the inlet on the pressure washer. Make sure the connection is tight to prevent leaks. Once connected, turn on the water supply to fill the pressure washer’s system.
What should I do if my pressure washer won’t start?
If your Stanley pressure washer won’t start, first check the power supply. Ensure that it is plugged in and that the outlet is functioning. If it’s an electric model, check the power cord for any damage. For gas models, check the fuel level and ensure the choke is in the correct position. Additionally, inspect the on/off switch and any safety features that may need to be disengaged before starting the unit.
How do I adjust the pressure settings on my Stanley pressure washer?
Adjusting the pressure settings on a Stanley pressure washer depends on the model you have. Typically, there is a pressure adjustment knob or dial located on the machine. Turn this knob to increase or decrease the pressure according to your cleaning needs. For specific tasks, refer to the user manual for recommendations on optimal pressure settings for different surfaces, such as wood, concrete, or vehicles.
Can I use detergent with my Stanley pressure washer, and how do I apply it?
Yes, you can use detergent with your Stanley pressure washer to enhance cleaning power. Most models have a detergent tank or a siphon attachment for this purpose. To apply the detergent, fill the tank with the appropriate cleaning solution, ensuring it is suitable for pressure washers. Switch the nozzle to the soap setting if your model has one, then spray the detergent onto the surface you want to clean. Allow it to sit for a few minutes before rinsing it off with water.

.jpg)


