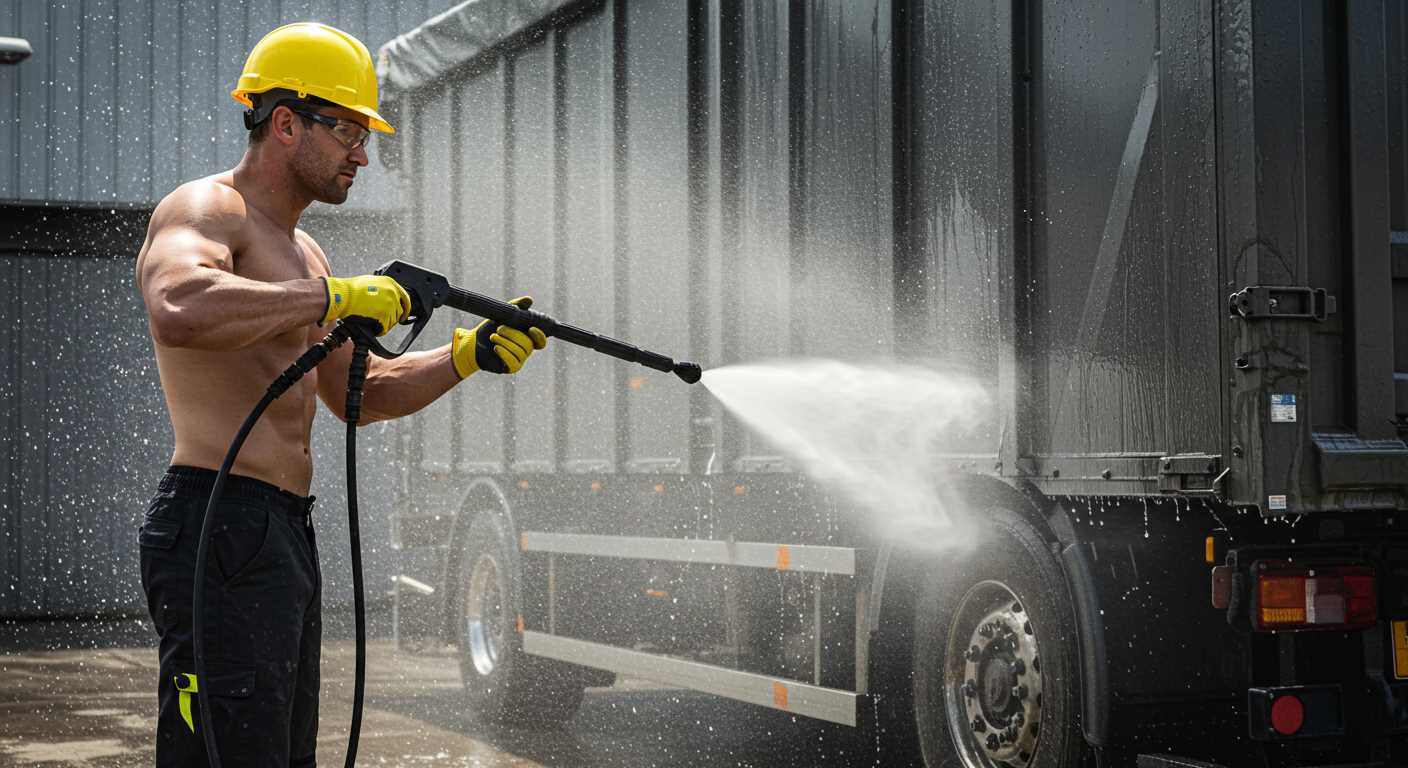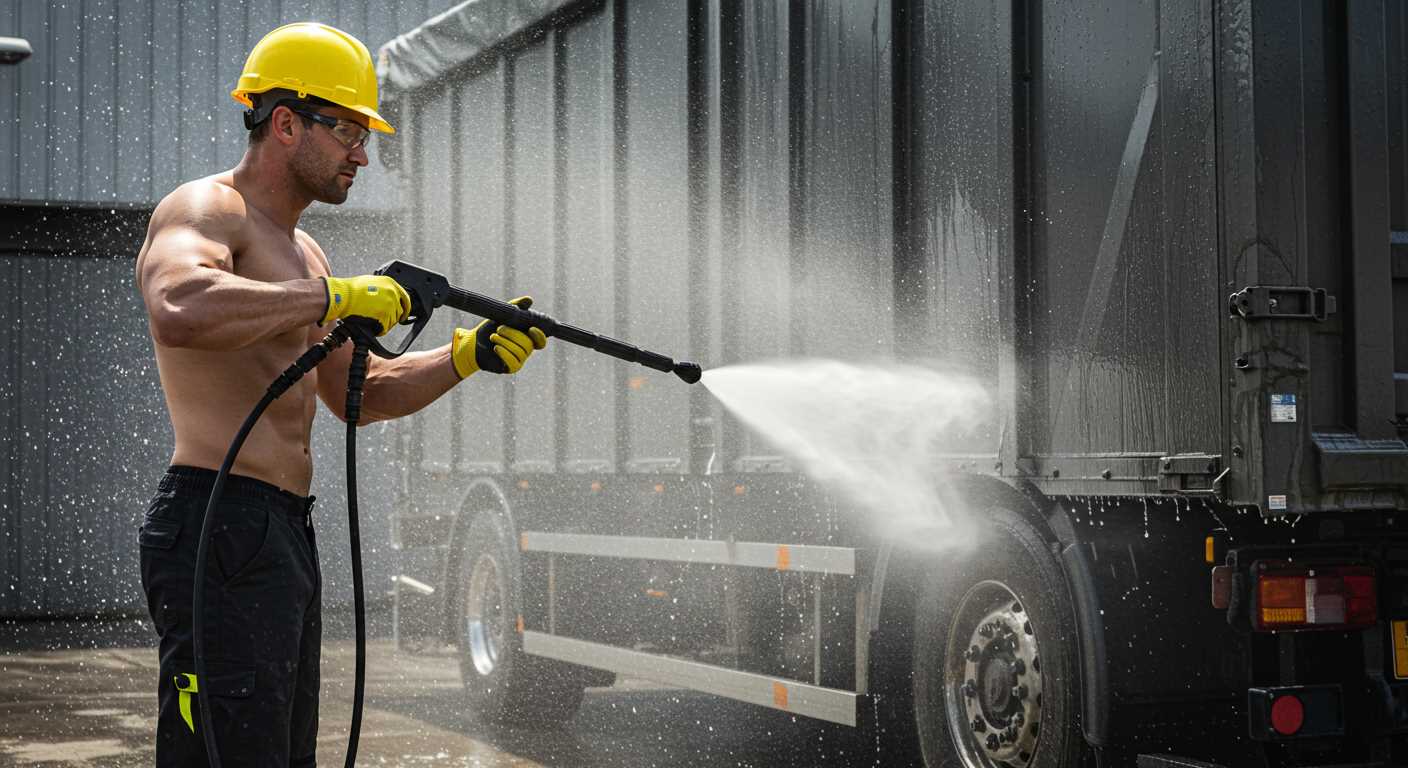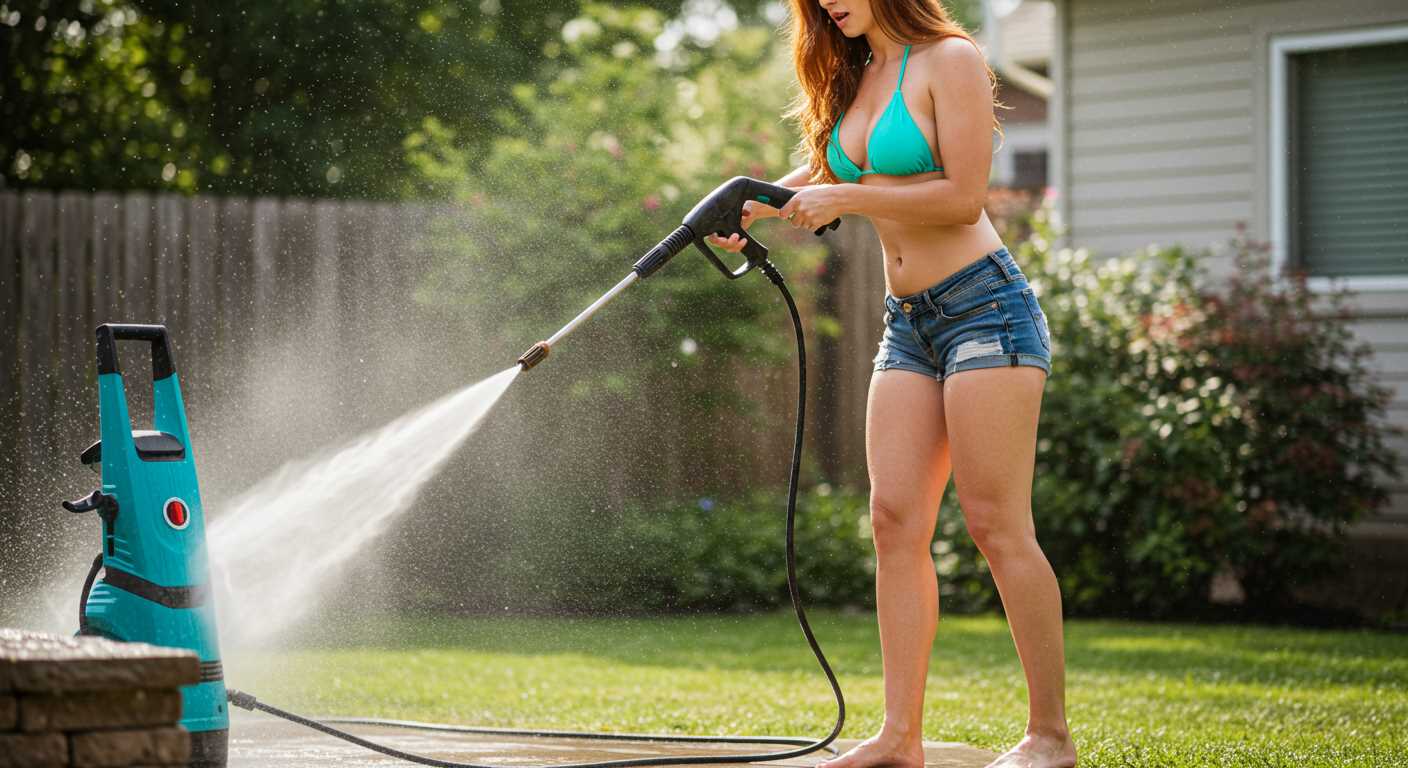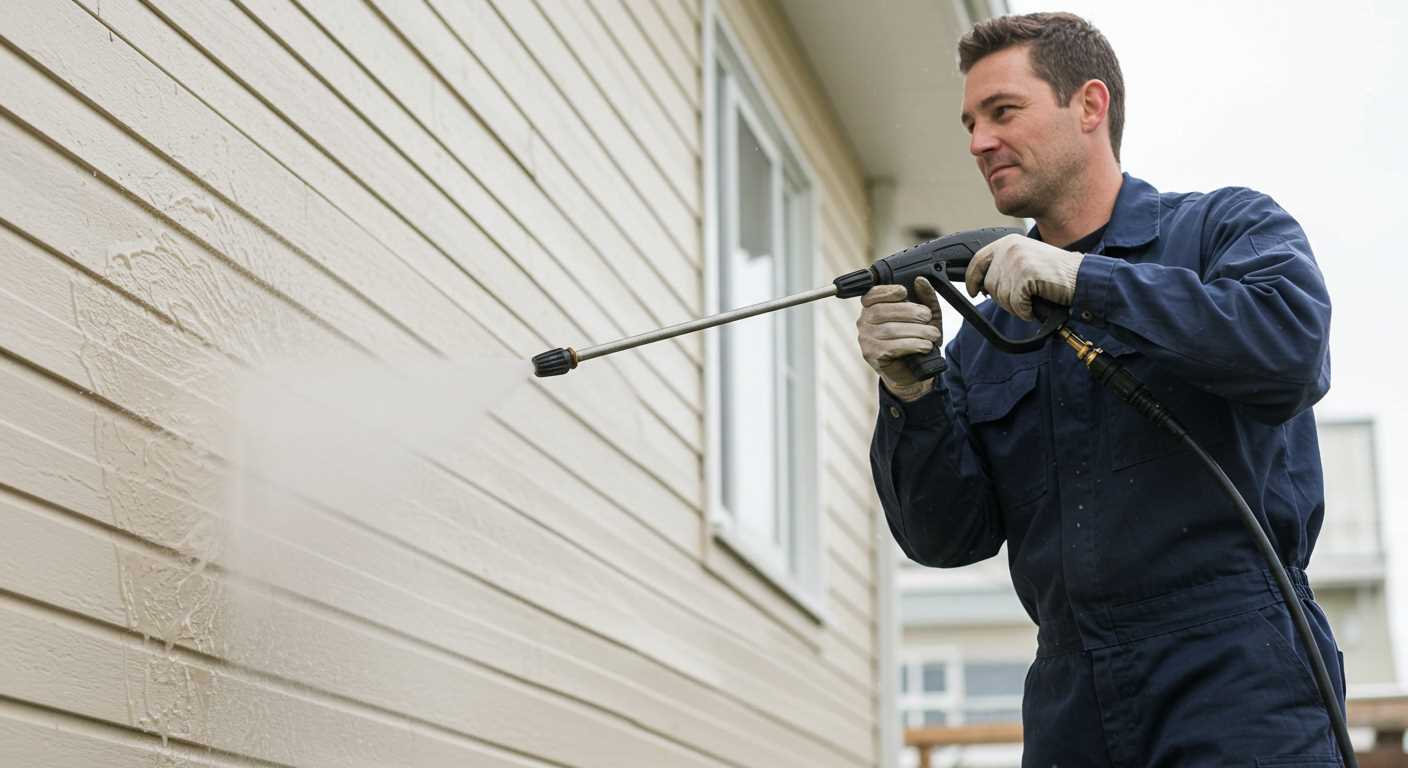


Begin with the assembly of your unit. Lay out all the components on a flat surface; this will help you visualise the assembly process. Typically, you’ll find the main unit, lance, trigger gun, and various attachments. Take a moment to review the manual, as it includes crucial diagrams that will guide you through the process step by step.
Next, securely attach the hose to the water inlet. Ensure the connection is tight to prevent leaks. I’ve seen many users overlook this detail, leading to unnecessary frustrations during operation. After that, connect the high-pressure hose to the trigger gun and the lance. A firm twist usually does the trick, but make sure it’s snug for optimal performance.
Once everything is connected, turn on your water supply. Check for any leaks around the connections. If all is well, plug in the unit and switch it on. Allow the machine to prime for a few moments before pulling the trigger; this will help eliminate any air trapped in the system and ensure a steady flow of water.
Before you start cleaning, choose the appropriate nozzle for your task. Each nozzle provides a different spray pattern and pressure level. In my experience, using the wrong nozzle can either damage surfaces or lead to unsatisfactory results. For instance, a wide spray is excellent for delicate surfaces, while a narrow jet is perfect for tough stains.
Finally, always remember to turn off the water supply and disconnect the hoses after use. This simple practice extends the life of your equipment and prevents wear and tear. Keeping your unit clean and stored properly will also ensure it’s ready for your next cleaning task.
Setting Up Your Karcher Device
Begin with a stable, flat surface. Make sure the unit is positioned away from any obstacles, allowing for safe operation. Next, connect the water supply. Ensure the hose is securely attached to the inlet, avoiding any leaks. If you’re using a garden hose, check for any kinks that could restrict water flow.
Connecting the Nozzle
Choose the appropriate nozzle for your cleaning task. I often recommend the yellow or red nozzles for tougher stains, while the green one works well for lighter jobs. Insert the nozzle firmly into the lance until it clicks into place. This simple step prevents any accidental disconnections during use.
Powering Up
Plug the machine into a suitable power outlet. Always check the voltage rating on the device and ensure it matches your electrical supply. Once powered, engage the safety latch on the trigger gun. Press the trigger to release any air trapped in the system, which can cause an uneven spray. This little trick has saved me from frustration on many occasions.
Now, you’re ready to start cleaning. Always remember to maintain a safe distance from the surface, and adjust your nozzle as needed to achieve the best results. Regular maintenance will ensure longevity, so after each use, detach the hose and nozzle to clear any debris.
Choosing the Right Location for Your Washer
Prioritise a flat and stable surface for your equipment. Uneven ground can lead to instability, causing vibrations and potential damage during operation. I once set mine on a slightly sloped driveway; I spent half the day chasing it down the incline while trying to clean my car. Avoid that headache!
Ensure access to a reliable power source. If you’re using an electric model, a nearby outlet is a must. I learned this the hard way when I had to run an extension cord across the yard, creating a tripping hazard. Always check the power requirements and use appropriate cords to prevent any electrical issues.
Proximity to your cleaning task is another key factor. Position your device close to the area you’re working on to minimise hose entanglement and maximise efficiency. I once had my unit too far from a patio, which resulted in struggling with a long hose while trying to manoeuvre the nozzle effectively.
Consider wind direction when selecting a spot. Positioning your washer so that the spray doesn’t blow debris into your workspace or onto nearby plants can save time and effort. I made this mistake while cleaning my deck; the wind blew muck all over my flower beds. It was a mess to clean up!
Lastly, be mindful of drainage. Good water flow prevents pooling and potential flooding in your workspace. If you’re outdoors, make sure the runoff doesn’t end up creating a muddy mess. I once had water collect around my feet while cleaning the driveway, and it turned into a slippery challenge.
For those with pets, ensure the area is safe, especially if using equipment around an electric fence. I’ve seen concerns about whether can an electric fence kill a small dog. Keeping pets away during operation not only protects them but also allows you to focus on your task without distractions.
Connecting the Water Supply and Hose
Start by ensuring you have a reliable water source. Your water supply must maintain a minimum pressure of 1 bar and a maximum of 10 bar. This is crucial for optimal performance. A garden tap is often the best choice.
Steps to Connect the Water Supply
- Attach a suitable hose connector to the garden tap. Ensure it’s tightly secured to prevent leaks.
- Use a high-quality garden hose, ideally of 1/2 inch diameter. This size helps maintain adequate water flow.
- Connect one end of the hose to the tap and the other to the unit’s water inlet. Ensure both connections are snug.
Check for Leaks
Once connected, turn on the water supply. Inspect all connections for leaks. If you notice any, tighten the fittings or replace any faulty connectors.
- If using a hose reel, make sure the hose is unwound fully before use to avoid pressure loss.
- Keep the hose free from kinks or sharp bends to ensure smooth water flow.
Always remember: clear water is essential. If you’re drawing from a rainwater tank or similar source, ensure the water is free from debris and contaminants to avoid damaging your equipment.
Assembling the Pressure Washer Components
Ensure all components are laid out clearly before beginning assembly. Start with the main unit, which houses the motor and pump. Attach the handle by aligning it with the designated slots on the unit. Use the provided screws to secure it tightly, ensuring stability during operation.
Next, connect the hose reel if included. Align it with the mounting points on the rear of the unit. Secure it using the screws provided in the assembly kit. This feature is handy for keeping the hose tidy and extending its lifespan.
Proceed to attach the lance and nozzle. Insert the lance into the designated opening on the front of the appliance until you hear a click, indicating it’s locked in place. Choose the appropriate nozzle for your task, whether it’s a narrow jet for tough stains or a wider spray for rinsing surfaces. Simply twist to attach securely.
Lastly, if your model includes a detergent tank, affix it according to the instructions. This usually involves sliding it into place until it clicks. Check for any leaks after assembly; a quick visual inspection can save you from potential water damage later on.
After assembling these parts, it’s wise to run a quick test without water to ensure everything is functioning correctly. Listen for any unusual sounds and check that no components are loose. This step saves hassle when you’re ready to start cleaning.
Attaching the Correct Nozzle for Your Task
Begin by identifying the specific task at hand. Different nozzles serve unique purposes, and using the right one can save time and enhance results.
- 0° Nozzle: This is a concentrated jet ideal for tough stains on hard surfaces like concrete. Use it for removing stubborn dirt or grime.
- 15° Nozzle: Great for stripping paint or cleaning heavily soiled surfaces. It offers a balance of power and spray area.
- 25° Nozzle: Versatile for general cleaning tasks, such as washing cars or patios. It provides a wider spray without sacrificing too much power.
- 40° Nozzle: Perfect for delicate surfaces, such as windows or painted surfaces. It delivers a gentle spray to avoid damage.
- Soap Nozzle: Designed for applying detergent. It creates a low-pressure spray, allowing soap to cling to surfaces for effective cleaning.
To attach the nozzle, ensure the machine is off and unplugged. Align the nozzle with the lance, pushing it firmly until you hear a click. This indicates a secure fit. I remember a time I rushed this step, only to have the nozzle pop off mid-cleaning, creating quite the mess!
After attaching, conduct a quick test spray at a safe distance to confirm proper function. Adjust your distance and angle based on the surface being cleaned. A close distance can cause damage, especially on softer materials.
Always refer to your user manual for specific recommendations regarding nozzle usage and attachment. Each model may have slight variations that are crucial for optimal performance.
Lastly, clean and store nozzles after use to prolong their lifespan. A quick rinse can prevent clogs and ensure they’re ready for your next cleaning adventure.
Powering Up the Karcher Pressure Washer Safely
Before turning on your cleaning device, ensure the power cord is in good condition with no frays or damage. Plug it directly into a grounded outlet, avoiding extension cords to reduce the risk of electrical hazards. If you need to use an extension, make sure it’s rated for outdoor use and matches the power requirements of your unit.
Check the water supply connection. A steady flow of water is essential to prevent overheating. Turn on the water supply and verify there are no leaks in the hoses or connectors. Ensure the water is flowing smoothly before activating the motor.
Powering On
Once everything is connected and checked, locate the power switch. With your feet firmly planted on the ground, press the switch to the ‘on’ position. Listen for the motor to engage, which indicates that the unit is ready for operation. Avoid operating the equipment in wet conditions or standing in water to maintain safety.
Initial Use
Initially, trigger the gun without any nozzle attached to purge air from the system. This step helps to ensure a steady stream of water. Once air is expelled, attach the appropriate nozzle for your cleaning task. Always point the gun in a safe direction, away from yourself and others, when powering on. Maintain a safe distance to avoid any accidents during operation.
Performing a Test Run Before Use
Before diving into any cleaning task, conducting a test run is crucial. This step ensures everything is functioning correctly and helps you get a feel for the equipment. Begin by connecting the water supply without the nozzle attached. This allows you to check for leaks and ensure water flows smoothly through the system.
Next, with the unit powered on, activate the trigger to test the pressure. Hold the trigger for a few seconds to purge any air from the hoses. If you notice any irregularities, such as sputtering or inconsistent flow, turn off the machine immediately. It may signal an issue that needs addressing before you proceed.
Once you’ve confirmed there are no leaks and the water flow is steady, reconnect the appropriate nozzle. Conduct a brief test on a small, inconspicuous area of your cleaning surface. This will help you gauge the effectiveness and adjust the distance and angle accordingly.
Here’s a quick checklist for your test run:
| Step | Description |
|---|---|
| 1 | Connect the water supply and check for leaks. |
| 2 | Power on and activate the trigger to purge air. |
| 3 | Reconnect the nozzle and test on a small area. |
After completing these steps, you can confidently tackle your cleaning tasks. If you’re considering alternatives, you might want to check out a simpson pressure washer as well, which offers excellent performance for various jobs.


.jpg)


