


Begin with connecting the garden hose to the water inlet. Ensure the attachment is tight to prevent leaks. In my experience, a good seal is crucial; a loose connection can lead to frustrating interruptions during use. Always check for any kinks in the hose before turning on the water supply.
Next, attach the spray lance to the machine. Align it properly and twist until it clicks into place. I’ve seen many people struggle with this step, often trying to force it. Instead, a gentle push followed by a twist usually does the trick. This ensures that the lance is secured without risking damage to the locking mechanism.

Don’t forget to connect the high-pressure hose to the machine. This is where many overlook the importance of a snug fit. A well-fitted hose not only maximises performance but also reduces the chances of accidental disconnections while in operation. I recommend checking the manual for any specific instructions related to your model, as minor details can make a significant difference.
Once everything is connected, plug in the power cord. Before switching on the device, it’s wise to inspect all connections once more. In my years of working with these machines, I’ve learned that a quick check can save a lot of hassle later. After confirming everything is in order, go ahead and turn on the machine, and you’re ready to tackle those tough cleaning tasks with ease.
Unboxing and Inspection of Titan Pressure Washer
Upon receiving your new cleaning device, the first step involves carefully unboxing it. I’ve always approached this part with a sense of anticipation. Ensure you have a clear area to unpack, free from any obstacles. Start by removing the outer packaging and any protective materials. I recommend checking for any visible damage immediately; it saves time later if something’s amiss.
Components Checklist
As you unpack, lay out all components in an organised manner. Here’s a checklist of what you should expect to find:
| Component | Description |
|---|---|
| Main Unit | The core machine body, usually compact with wheels for mobility. |
| Hoses | High-pressure and water supply hoses, essential for operation. |
| Nozzles | Different spray patterns for various cleaning tasks. |
| Accessories | Possible addition of brushes or surface cleaners depending on the model. |
| User Manual | Comprehensive guide for assembly and safety precautions. |
After laying everything out, it’s wise to cross-check against the user manual. From my experience, every detail counts. During one of my earlier unboxings, I missed a small component that delayed the setup process significantly.
Inspection Tips
Once all items are accounted for, inspect the main unit for any defects. Look closely at the casing and connections, ensuring they are intact. I’ve encountered instances where minor cosmetic issues were present but didn’t affect functionality. However, if you find any significant issues, contact customer service immediately.
Finally, while inspecting, notice the quality of materials used. A robust feel often indicates longevity. This is also a good time to think about safety. Ensure all parts fit well together, and check for any loose connections, especially if you plan to use it frequently.
And while you’re ensuring everything checks out, you might find it useful to ponder some unrelated questions, like can dogs mate through a fence. It’s always good to keep the mind engaged!
Assembly of the Pressure Washer Components
Begin by aligning the base with the vertical pole, ensuring that the brackets are facing outwards. Secure the pole with the provided screws, which should be tightened firmly using the included wrench. This will provide a stable foundation for the entire unit.
Next, attach the motor unit to the top of the vertical pole. Make sure the power cord is positioned correctly to avoid any pinching. Connect the high-pressure hose to the pump outlet, ensuring it’s tightly fitted to prevent leaks. It’s a good idea to inspect the gasket within the connector before securing it.
Now, proceed to assemble the spray gun by attaching the nozzle. Choose the appropriate nozzle tip for your cleaning task, as different tasks require varied pressure levels. Once the nozzle is secured, connect the spray gun to the other end of the high-pressure hose. Test the connections by gently tugging on each component to ensure they’re secure.
Don’t forget to attach the water intake hose. If you’re using a garden hose, make sure it’s compatible and free of kinks or damages. A quality garden hose for pressure washers will ensure optimal water flow and performance.
Finally, double-check all connections and fittings before plugging in the machine. A quick visual inspection can save you from potential issues during operation. Once everything is assembled, you’re ready to power on and start cleaning.
Connecting the Water Supply Hose
First, ensure you have a suitable garden hose that fits the water inlet of your equipment. Typically, a standard 3/4-inch garden hose will do the trick, but always double-check your manual for specifications. A quality hose will prevent leaks and ensure a steady water flow.
Preparing the Hose
Before attaching, inspect the hose for any kinks or damage. A damaged hose can lead to reduced water pressure or, worse, a burst. If the hose is in good condition, connect one end to the water source, ensuring a tight fit. Use a hose clamp if necessary to secure the connection and prevent leaks.
Attaching to the Machine
Next, take the free end of the hose and attach it to the water inlet on your unit. Hand-tighten the connection, but don’t overdo it; excessive force can strip the threads. Once connected, turn on the water supply to check for leaks at both ends. If you notice any, re-tighten the fittings. Ensuring a secure and leak-free connection will make your cleaning tasks smoother and more efficient.
Connecting the Power Supply
Ensure your machine is connected to a suitable electrical source before using it. The ideal voltage for operation is usually 240V, but double-check the specifications in the manual for confirmation. Using a power source that doesn’t match the requirements can lead to performance issues or even damage.
Use an extension lead rated for outdoor use if you need to reach the outlet. A minimum of 13 amp rating is advisable to handle the electrical load safely. Avoid using multiple extension cords, as this can cause a drop in voltage and affect efficiency.
Grounding the Device
Proper grounding is crucial for safety. Make sure the electrical outlet is grounded to prevent any risk of shock. If you’re unsure about the grounding status, consider consulting an electrician. This is especially important in outdoor settings where moisture can increase the risk of electrical hazards.
Testing the Power Connection
Once connected, it’s wise to test the power supply. Turn on the unit without initiating the pump. Listen for any unusual sounds and check for any warning indicators that may suggest an issue. If everything sounds normal, you are ready to proceed with the next steps.
Remember, a stable power connection not only enhances performance but also extends the lifespan of your machine. Take the time to ensure everything is set up correctly before you begin your cleaning tasks.
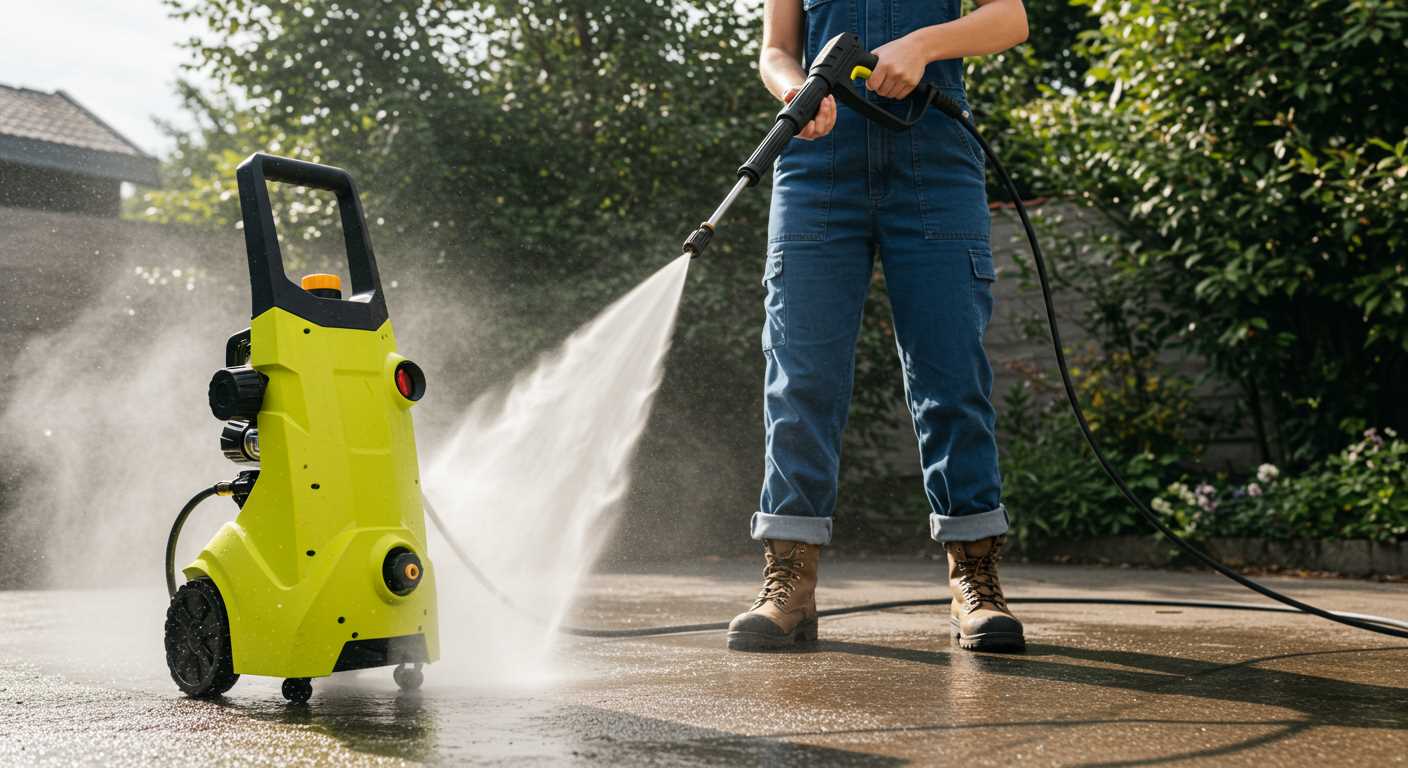
Choosing and Attaching the Correct Nozzle
Start with the right nozzle for your cleaning task. Each nozzle type alters the spray pattern and pressure, making it more suitable for specific applications. A 0-degree nozzle delivers a concentrated stream for tough stains, while a 25-degree option is ideal for broader surfaces like patios and driveways.
Identifying Nozzle Types
In my experience, the nozzles are colour-coded for convenience. The red (0-degree) nozzle is for heavy-duty cleaning, the yellow (15-degree) is great for stripping paint, the green (25-degree) is for general cleaning, and the white (40-degree) is perfect for delicate surfaces. Choosing the right colour can save time and prevent damage.
Attaching the Nozzle
To attach the nozzle, simply push it into the wand until it clicks into place. A common mistake is not securing it properly, which can lead to it detaching during use. Always check the connection before starting your work. If you notice any leaks or inconsistent spray, reattach it to ensure a secure fit. This small step can make a significant difference in performance.

Testing the Equipment Before Use
Before you start using your new cleaning device, conduct a thorough test to ensure everything functions correctly. This step can save you time and frustration later on.
Initial Checks
- Verify all connections are secure, including the water supply and power cord.
- Inspect the nozzle for any damage or blockages. A clear nozzle ensures optimal performance.
- Check the detergent tank, if applicable, to ensure it is clean and free of residue.
Conducting a Test Run
With everything in place, proceed with a brief test run:

- Place the unit on a stable surface.
- Switch on the power and open the water supply.
- Set the nozzle to a low-pressure setting.
- Point the lance away from people and pets, then pull the trigger. Observe the water flow for a few seconds.
If you notice any irregularities, such as pulsating water or unusual sounds, turn off the device immediately. Troubleshoot by checking connections and ensuring there are no blockages.
Once satisfied with the test, you can confidently move on to your cleaning tasks. A successful test run not only confirms the unit’s readiness but also boosts your confidence in using it effectively.
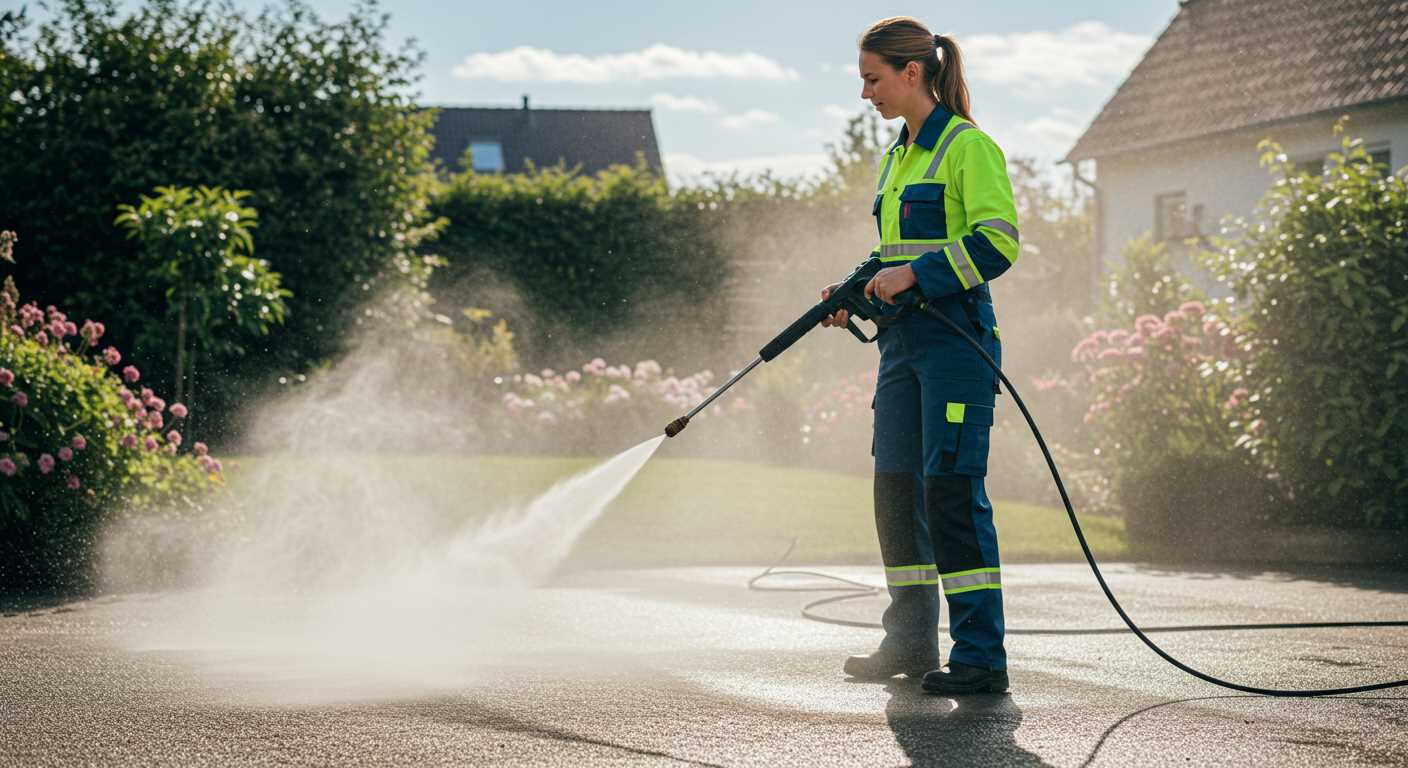
Safety Precautions During Operation
Always wear appropriate personal protective equipment (PPE) before starting your cleaning task. This includes safety goggles, gloves, and sturdy footwear. I recall a time when I neglected to wear eye protection and ended up with debris in my eyes–definitely a lesson learned!
- Ensure that the area is clear of people and pets to prevent accidents. A safe working environment is paramount.
- Inspect the high-pressure hose for any signs of wear or damage. A compromised hose can lead to dangerous leaks or bursts.
- Never point the nozzle at yourself or others. The force of the water can cause serious injury.
- Keep a safe distance from delicate surfaces. I once damaged a wooden deck because I was too close–adjust your distance based on the nozzle type.
- Check for electrical hazards. Make sure your power source is dry and protected from water splashes.
Be mindful of the surroundings. I’ve encountered slippery surfaces while working outdoors, so it’s wise to take extra precautions to avoid slips. If you’re on uneven ground, consider using stabilising supports.
- Always follow the manufacturer’s instructions regarding safe operation.
- Shut off the machine and disconnect the power when not in use or when changing nozzles.
- Store the equipment properly after use, away from children and pets.
Incorporating these safety measures into your routine will ensure a smooth experience while operating your cleaning equipment. My experience has taught me that prioritising safety not only protects you but also extends the lifespan of your device.
FAQ:
What tools do I need to set up my Titan pressure washer?
To set up your Titan pressure washer, you will need a few basic tools and items. First, ensure you have a flat surface to work on. You will typically require a hose wrench to connect the water supply, and pliers may come in handy for tightening any fittings. It’s also advisable to have a bucket on hand to catch any excess water during setup. Lastly, read the user manual that comes with the washer for any specific tools or items recommended by the manufacturer.
How do I connect the hoses to my Titan pressure washer?
Connecting the hoses to your Titan pressure washer is a straightforward process. Start by attaching the high-pressure hose to the outlet on the machine. Make sure it is securely fastened to prevent leaks. Next, connect the garden hose to the water inlet. It’s important to check that the hose is compatible and that you are using a suitable washer to ensure a tight fit. After both hoses are connected, turn on the water supply and check for any leaks before using the machine.
What should I do if my Titan pressure washer won’t start?
If your Titan pressure washer won’t start, there are several troubleshooting steps you can take. First, ensure that it is plugged in and that the power outlet is working. Check the power cord for any damage. If the washer is powered but still won’t start, check the safety features, like the trigger lock. Make sure the water supply is connected and turned on, as many pressure washers won’t operate without water. If all else fails, consult the user manual for specific troubleshooting tips, or contact customer service for assistance.
How do I maintain my Titan pressure washer after use?
Maintaining your Titan pressure washer after use is crucial for its longevity. Begin by disconnecting the power supply and turning off the water. Run the machine for a minute without pressure to clear out any remaining water in the pump. Next, clean the filters and nozzles to prevent clogs. Store the washer in a dry place, and if you live in a colder climate, consider using antifreeze in the pump to avoid freezing. Regular maintenance will keep your pressure washer in good working order for years to come.
.jpg)


