


Before you even plug in your new high-pressure cleaning device, ensure you have all the necessary components at hand. You’ll need a stable water source, an appropriate power outlet, and the correct nozzle for your cleaning task. I recall a time when I started without checking the fittings, resulting in a frustrating delay as I scrambled to find the right adapter.
For optimal performance, always check the water supply. A steady flow is crucial; without it, the machine can overheat and suffer damage. I learned this the hard way during a particularly ambitious outdoor cleaning project. I underestimated the need for a consistent water supply and ended up waiting hours for a tank to refill.
Connection is key. Securely attach the hose to the device and ensure all seals are tight. A loose connection can lead to leaks and reduced cleaning power. I remember my first encounter with a leaky hose; it made my task twice as long and twice as messy. Take a moment to inspect every connection before you start.

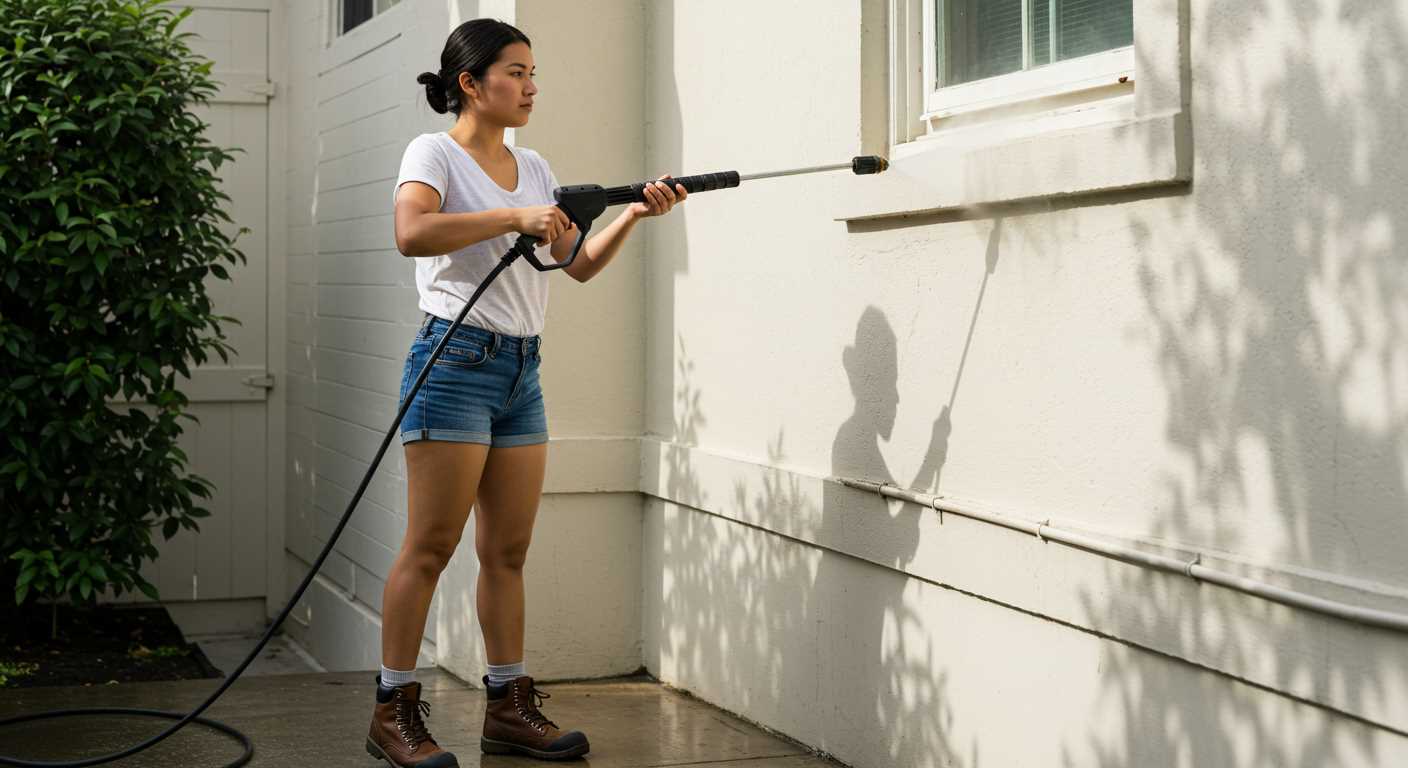
Once everything is set up, choose the right nozzle based on the surface you’re cleaning. For delicate surfaces like vehicles or patio furniture, opt for a wider spray angle to avoid damage. Conversely, a narrow nozzle is ideal for tougher grime on driveways or brickwork. I vividly recall using the wrong nozzle on my car and ending up with scratches that could have been easily avoided.
After you’ve cleaned up, don’t forget to perform maintenance checks regularly. Cleaning the filters and checking for wear and tear can extend the life of your equipment significantly. I’ve seen too many devices fail prematurely simply because basic upkeep was overlooked. A little attention goes a long way in preserving your investment.
Choosing the Right Kärcher Model
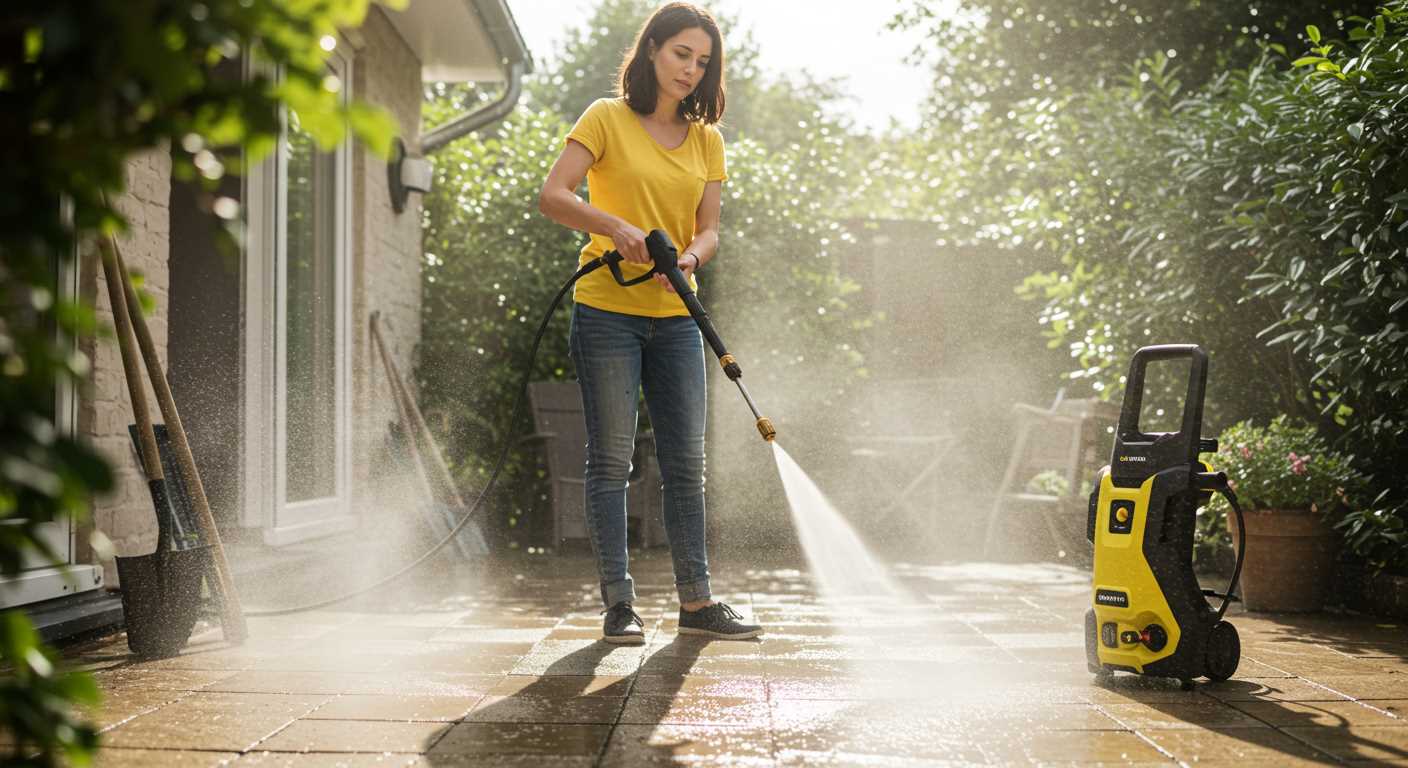
For residential cleaning tasks, I recommend the Kärcher K5 series. It balances power and versatility, making it ideal for medium to large areas. The 145-bar pressure is sufficient for cleaning patios, outdoor furniture, and vehicles without damaging surfaces.
If you’re tackling stubborn grime or heavy-duty tasks, consider the K7 series. With a pressure rating of 180 bars, it excels in removing tough stains on driveways and decks. I remember using it to clean an old stone pathway; the results were impressive, cutting through years of dirt effortlessly.
For smaller jobs or tight spaces, the K2 model is a great choice. Its lightweight design makes it easy to manoeuvre, perfect for quick clean-ups around the garden or garage. I’ve often pulled it out for washing bicycles and garden tools, and it never disappoints.
When selecting a unit, pay attention to the flow rate. A higher flow rate means more water is delivered, which can make the task quicker. The K5 and K7 models have excellent flow rates that enhance efficiency during larger cleaning projects.
Attachments can significantly enhance functionality. For example, the T-Racer surface cleaner is invaluable for cleaning flat surfaces without streaks. I’ve found it cuts my cleaning time in half while ensuring a consistent finish across driveways and patios.
Also, consider the power source. Electric models are quieter and easier to maintain, while petrol versions offer portability and higher power for extensive outdoor applications. I’ve had great experiences with both, depending on the task at hand.
Finally, ensure you check for warranty and service options. Kärcher provides robust support, which has been a lifesaver for me when I needed repairs or replacements over the years.
Unboxing and Inspecting Your Kärcher Pressure Cleaner
Begin by carefully removing the outer packaging. Ensure you have a clear space to work, as components can vary in size. Lay out all items to confirm that nothing is missing. You should find the main unit, hose, lance, nozzles, detergent bottle, and any additional accessories specific to your model.
Inspect the main unit for any visible damage. Look for dents, scratches, or irregularities. A quick visual check can save you hassle later. Pay attention to the power cord; it should be intact without frays or cuts. Make sure all connections are secure and free of debris.
Next, examine the hose and lance. Check for kinks or cracks that could affect performance. Ensure that nozzles fit snugly onto the lance; a loose fit can lead to inefficiency during operation. If your model includes a detergent bottle, inspect it for cracks or leaks.
Before powering on, familiarise yourself with all controls. Locate the power switch, pressure settings, and any additional features like a trigger lock. Reading the manual can provide insights into specific functions unique to your cleaner. I remember the first time I overlooked this step, which led to confusion during my initial use.
Once everything checks out, it’s wise to run a quick function test without water. Plug in the cleaner, switch it on, and engage the trigger to ensure the motor operates smoothly. If you notice any unusual noises or vibrations, this might indicate an issue that needs addressing before you start washing.
Taking the time to inspect and understand your new machine not only enhances your experience but also ensures longevity. Trust me, early attention to detail can save you from future frustrations. Happy cleaning!
Connecting Hoses and Accessories
Attach the high-pressure hose to the machine’s outlet. Ensure it clicks into place securely; a loose connection can lead to leaks during operation. I once overlooked this step and ended up with a rather messy situation. The water sprayed everywhere but the intended surface!
Next, connect the other end of the high-pressure hose to the spray gun. Again, listen for that satisfying click. It’s crucial that this part is tight, as a weak link here can cause a sudden loss of pressure.
Fitting the Nozzle
Choose the appropriate nozzle based on the task at hand. I’ve found that the yellow 15-degree nozzle is perfect for tough grime on concrete, while the white 40-degree nozzle works wonders on cars. To attach, simply pull back the quick-connect collar on the spray gun and insert the nozzle until it locks into place. Remember, it’s easy to swap nozzles mid-clean for different surfaces.
Water Supply Connection
Now, connect the water supply hose to the machine. Make sure the tap is fully open to allow a steady flow. I’ve had times when I thought I was ready, only to realise the water supply was insufficient, causing my work to halt. Check for kinks in the hose, as this can impede water flow as well. Once everything is connected, turn on the machine briefly to check for leaks before starting your cleaning tasks. This small step saves time and prevents frustration later on.
Understanding the Control Panel and Settings
Familiarising yourself with the control panel will enhance your experience and efficiency. Each model features a unique layout, but there are common elements across the board.
- Power Button: This is typically located on the front. Ensure it’s easily accessible, allowing for a quick start and stop.
- Pressure Control Dial: Adjusts the intensity of the water flow. Lower settings are perfect for delicate surfaces, while higher settings tackle tough grime. I often start at a lower level, gradually increasing to find the right balance.
- Soap Dispensing Switch: Most units have an option for dispensing detergent. This is crucial for jobs requiring extra cleaning power. Always remember to switch it off after use to avoid damage.
- Hose Reel Control: Some models include a reel for easy storage. Make sure to wind the hose correctly to prevent kinks, which can affect performance.
During my tenure as a product expert, I often encountered users who overlooked the importance of these settings. For instance, cranking the pressure too high on a painted surface can lead to peeling. Adjusting the pressure dial not only protects surfaces but also optimises cleaning effectiveness.
- Before starting, check that the pressure control dial is set to minimum.
- Turn on the power button and allow the unit to build pressure.
- Gradually increase the pressure to suit your task.
Familiarity with these controls can prevent mishaps and extend the life of your equipment. I’ve seen many a unit suffer from misuse simply because the user didn’t take the time to understand the settings. Every function serves a purpose, and knowing how to utilise them can make all the difference in your cleaning tasks.
Selecting the Appropriate Nozzle for Your Task
Always match the nozzle to the job. For light cleaning, like washing a car or patio furniture, a wider fan spray (25° or 40°) works wonders. I recall a summer afternoon spent cleaning my vehicle; the 40° nozzle made quick work of dirt without damaging the paint.
Understanding Nozzle Types
Nozzles come in various shapes and angles. The zero-degree nozzle provides a concentrated jet for tough stains; however, it can be too aggressive. I once used it on an old oil stain on my driveway–it removed the stain but also stripped some surface away. For medium-duty tasks, like cleaning driveways or brick, a 15° or 25° nozzle strikes the right balance, delivering power without risking damage.
Specialty Nozzles for Specific Tasks
Consider specialty nozzles for particular jobs. A soap nozzle is great for applying detergent, ensuring even coverage. I’ve found that using it before switching to a higher-pressure nozzle saves time and enhances cleaning efficiency. For surfaces like wood decks, opt for a nozzle that disperses water to avoid splintering. I learned this the hard way after damaging my deck with a more focused stream. Always test a small area first to gauge the impact.
Preparing the Surface for Cleaning
Before starting, clear the area of any obstacles. Move furniture, planters, or other items that could obstruct your work. Any loose debris, like leaves or dirt, should be swept away. This ensures a clean slate and prevents damage to surrounding items during the process.
Checking for Damage
Inspect the surface for any cracks, loose paint, or other issues. If you’re working on a deck or patio, ensure there are no rotting boards or unstable areas. Repairing these spots beforehand will save you from potential mishaps while cleaning. Remember, a thorough inspection can prevent further damage down the line.

Applying a Pre-Treatment
If you’re tackling tough stains, consider using a pre-treatment solution. Apply it to the stained areas and let it sit for a while before starting the cleaning process. This will help break down grime and make your job easier. Always follow the manufacturer’s instructions for the best results. For added convenience, having a reliable trigger gun for pressure washer can enhance your control during application.
Operating the Equipment Safely and Effectively
Always wear protective gear, including safety goggles and gloves. The force of the water can cause injuries, especially to unprotected skin and eyes. I once had a client who underestimated the power of the stream; a little slip-up led to a nasty bruise on their arm that could have been avoided.

Be aware of your surroundings. Clear the area of any obstacles, pets, or children before starting. I recall a time when I was working in a tight space and didn’t notice a bicycle lying on the ground. A quick turn resulted in a costly repair for my client. Keep the worksite tidy to avoid accidents.
Maintain a firm grip on the lance. The water’s force can make it difficult to control, especially if you’re using a narrow nozzle. I’ve seen a few mishaps occur when users let their guard down. It’s best to keep both hands on the equipment for stability.
Stand at a safe distance from the surface you’re cleaning. Aiming too close can damage the material, particularly wood or delicate surfaces. I’ve had to explain to a friend why their patio furniture looked worse after a wash–too much pressure at too close a range did the trick.
Always point the nozzle away from yourself and others. Accidental spraying can lead to injuries or unexpected damage. I’ve had my share of near-misses when someone stepped into the line of fire while I was focused on a stubborn stain.
Use the correct cleaning solution if needed. Not all surfaces benefit from just water. For example, I found that a light detergent worked wonders on an oil-stained driveway, but using it incorrectly can create a slippery mess. Always follow the manufacturer’s instructions for any additives.
Keep the nozzle moving. Holding it in one spot can lead to etching or stripping of surfaces. I’ve seen too many homeowners fixate on one stubborn spot only to create more work for themselves in the process.
Finally, remember to check the hoses and connections regularly. A small leak can escalate quickly, leading to inefficient operation. I once neglected this and ended up with a soaked shoe when a loose connection burst. Regular inspections save time and effort down the line.
Maintaining Your Pressure Cleaning Equipment After Use
Rinsing out the detergent tank immediately after each session prevents residue build-up. I always fill it with clean water and run the unit for a minute to ensure all soap is out. This simple step extends the life of the components.

Cleaning the Nozzles and Filters
After each job, inspect the nozzles. Clogs can diminish performance. I use a small pin to clear any blockages. Additionally, ensure filters are clean; a dirty filter can lead to reduced water flow. Just rinse them under running water and let them dry before reassembling.
Storing Your Equipment
Proper storage is key. I keep mine in a dry, sheltered location. If you live in a colder climate, it’s important to drain all water from the unit to prevent freezing damage. I also wrap the hose neatly to avoid kinks and tangles, which can cause wear over time.
| Maintenance Task | Frequency | Notes |
|---|---|---|
| Rinse detergent tank | After each use | Prevents build-up |
| Clean nozzles | After each use | Use a pin for clogs |
| Inspect filters | Weekly | Rinse under running water |
| Drain water | Before freezing temperatures | Prevents damage |
| Check hoses | Monthly | Look for kinks or wear |
Regular maintenance will not only help in achieving optimal performance but also prolong the lifespan of your equipment. My experience shows that a little effort in maintenance goes a long way in ensuring hassle-free operation in future cleaning tasks.
Troubleshooting Common Issues with Your Pressure Cleaner
First, check the power source. Ensure the unit is plugged in properly, and inspect the outlet for functionality. A non-responsive machine often stems from a loose connection or a tripped breaker.
- No Water Flow: Verify that the water supply is turned on and the hose is connected securely. If it’s still not flowing, check for kinks or blockages in the hose.
- Low Pressure: This may result from a clogged nozzle. Detach the nozzle and clean it thoroughly with warm, soapy water. If the issue persists, examine the inlet filter for debris.
- Unusual Noises: If you hear strange sounds, it might indicate air in the system. To purge the air, turn off the machine, disconnect the water supply, and pull the trigger until water flows steadily.
- Leaking Water: Inspect all connections and seals. Tighten any loose fittings, and replace damaged seals as necessary. Leaks can often be traced back to worn-out O-rings.
- Overheating: This can happen if you run the device for an extended period without breaks. Allow the unit to cool down, and ensure that it’s not drawing in hot water from the supply.
After addressing these issues, if problems persist, consult the user manual for specific troubleshooting tips. It’s also worth checking online resources, such as articles on cleaning equipment maintenance, which can offer additional insights.
For those interested in expanding their knowledge, I once read an article where a digital camera is considered an input device because of its functionality. Similar logic applies to understanding the mechanics behind your cleaning equipment.
Regular maintenance can prevent many common issues, ensuring longevity and performance. Always store your device in a dry place and protect it from extreme temperatures.

.jpg)


