
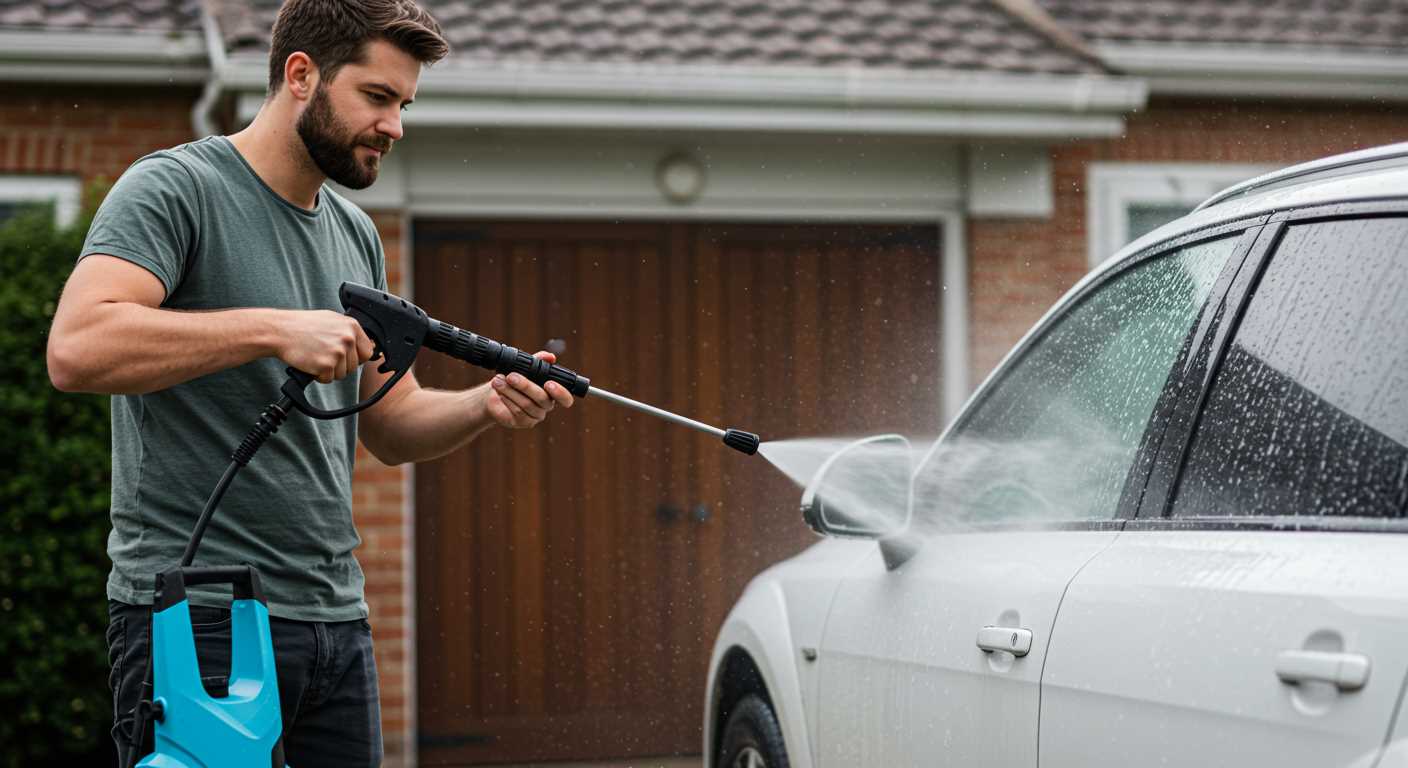


Begin by selecting a fan nozzle with a wide spray pattern; this will help distribute the water evenly across the foliage without causing damage. In my experience, using a nozzle with a pressure rating of around 1500 to 2000 PSI works wonders. It’s powerful enough to remove dirt and grime, yet gentle enough to protect delicate leaves.
Prior to initiating the cleansing process, ensure that the surrounding area is clear of debris and items that could be harmed by the water. I once overlooked this step, and the results were less than desirable. A clutter-free zone allows you to work efficiently and keeps your equipment safe.
Start at the base, directing the spray upwards in a sweeping motion. This technique not only ensures that you cover all surfaces but also allows water to reach the higher branches effectively. I remember the first time I did this; the transformation was astonishing, and the greenery looked revitalised. It’s gratifying to see the immediate results of your hard work.

Always be mindful of the angle of your spray; holding it too close can lead to damage. I recommend maintaining a distance of about two feet from the foliage. This distance provides enough power to clean without harming the plant structure. The key is to maintain a steady hand and a controlled motion.
After you finish, take a moment to inspect for any stubborn areas that may need a second pass. Often, a little extra attention is all that’s needed to achieve a pristine finish. My personal tip? Consider using a biodegradable detergent if you’re dealing with particularly tough stains; this can enhance the cleaning power without risking harm to your plants or local wildlife.
Spraying Foliage with a High-Pressure Device
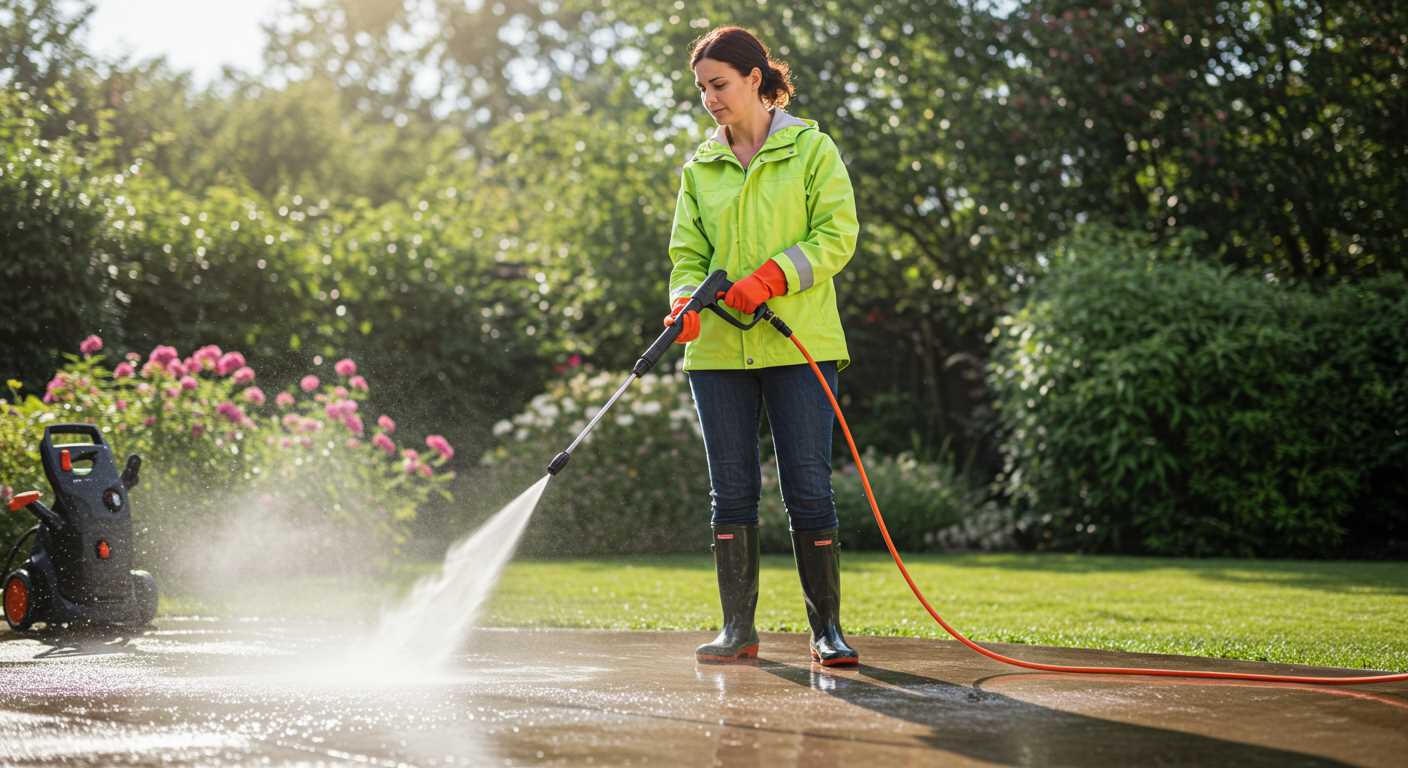
Begin by selecting a nozzle with a wide spray pattern, ideally a 25-degree or 40-degree tip. This reduces the risk of damaging delicate bark or leaves. Adjust the distance from the foliage–keeping it around two to three feet away helps maintain control over the stream.
Prior to tackling any greenery, ensure that you have removed any debris from the area, as this prevents clogging and allows for a smoother operation. I’ve found that working in the early morning or late afternoon yields the best results, as the foliage is less likely to be stressed by heat.
When you’ve got the right settings, start from the base and work your way up. This technique allows you to effectively wash away dirt and pests without forcing debris into the plant. I recall one instance where a stubborn aphid infestation was dramatically reduced just by using a high-pressure tool at the right angle.
Be mindful of the pressure setting; a lower pressure is often more suitable for softer plants. I typically don’t exceed 1500 PSI for delicate species. Higher pressures can cause more harm than good, stripping away protective layers or even breaking branches.
After cleaning, inspect the foliage for any signs of damage or remaining pests. A thorough check ensures that nothing has been overlooked. If pests persist, consider integrating a safe organic solution post-cleaning to help in managing infestations. In my experience, a combination of washing and targeted treatment can be highly effective.
Finally, always follow up with a deep watering session. This helps the plants recover from the cleaning process and promotes healthy growth. Keeping an eye on the foliage for a few days after treatment will allow you to gauge how well they’ve responded.
Choosing the Right Pressure Washer for Tree Spraying
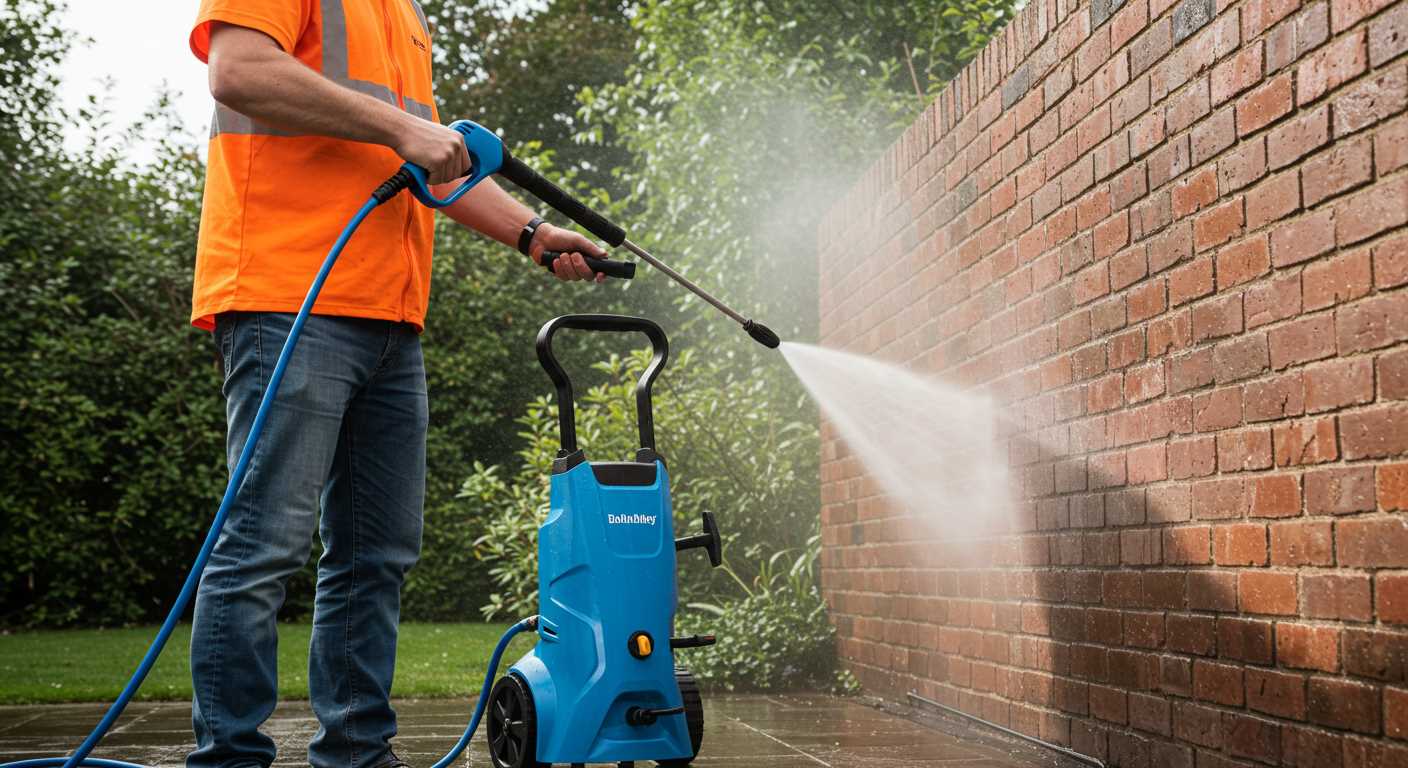
For optimal results, select a unit with a minimum of 2000 PSI and 1.5 GPM. This combination ensures sufficient force to remove dirt and debris without damaging the bark. I’ve found that electric models are quieter and easier to handle, while gas-powered units offer portability and more power. My personal favourite for this kind of task is a reliable electric washer that balances performance and ease of use.
Look for a nozzle that provides a fan spray pattern. This allows for an even distribution of water and cleaning solution, which is vital for thorough coverage. I once experimented with various nozzle types, and the fan option consistently delivered the best results, especially for larger canopies.
Incorporating a cleaning solution can enhance the process significantly. I recommend using a car wash detergent for pressure washer as it’s specifically formulated to break down grime without harming plants. Always check compatibility to ensure it won’t affect your greenery negatively.
Lastly, consider the weight and manoeuvrability of the machine. A lighter model makes it easier to navigate around the garden. I’ve had my share of struggling with heavy units, which can be a hassle during longer tasks. Choose one that feels comfortable and manageable for extended use.
Preparing Trees for Pressure Washing
Before tackling the task of cleansing greenery, ensure you clear the area around the trunk. Remove any debris, such as fallen leaves or branches, which could obstruct access and affect the results. A tidy workspace is key to an effective clean.
Assessing the Condition
Examine the bark and foliage for any signs of damage or disease. If you notice cracked bark or wilting leaves, reconsider the approach. Cleaning compromised plants may exacerbate their condition. In such cases, a gentler method might be more appropriate.
Protecting Surroundings
Shield the base and surrounding soil with a tarp. This prevents any concentrated water or cleaning solutions from seeping into the ground and affecting nearby plants. Cover any delicate flora nearby to avoid unintentional harm from the force of the stream.
Selecting the Appropriate Nozzle and Pressure Settings
Choosing the right nozzle and adjusting pressure settings can significantly influence the outcome of your task. Based on my years of experience, here are some specific recommendations.
Nozzle Types
- Fan Nozzle (25° – 40°): Ideal for delicate surfaces. I often use a 40-degree fan nozzle when cleaning softer bark or foliage. It disperses water over a wider area, reducing the risk of damage.
- Rotary Nozzle: This offers a concentrated spray that rotates, which is useful for tougher grime. In my experience, it can be too intense for sensitive areas, so use it cautiously.
- Soap Nozzle: If you need to apply a cleaning solution, a dedicated soap nozzle is essential. It creates a low-pressure flow, allowing detergent to adhere effectively.
Pressure Settings
- Low Pressure (1000 – 1500 PSI): Perfect for delicate vegetation. I usually start at the lower end to test how the surface responds.
- Medium Pressure (1500 – 2500 PSI): This range works for general cleaning tasks. I often find it useful for removing dirt and mild stains without causing harm.
- High Pressure (2500 – 3000 PSI): Use this sparingly and only on robust surfaces. I recall a time when I accidentally used too much pressure and stripped the bark off a tree. Lesson learned!
Always remember to adjust the pressure based on the condition of the surface. Testing on a small, inconspicuous area first is a practice I recommend to avoid any mishaps. By carefully selecting your nozzle and pressure, you’ll achieve optimal results while preserving the health of your plants.
Step-by-Step Guide to Spraying Trees Safely
Always begin by ensuring the area is clear of obstacles and people. This prevents accidents and ensures a smooth working process.
Next, protect the surrounding environment. Cover any nearby plants and the soil with tarps to prevent damage from the water and any detergent that may be used. It’s crucial to use eco-friendly cleaning solutions to minimise impact.

Preparing the Equipment
Check your machine for any leaks or malfunctions before use. Fill the tank with water and connect it to a suitable power source. Adjust the settings based on the type of foliage you are working on. Lower pressure for delicate plants and higher for sturdier ones is advisable.
| Type of Foliage | Recommended Pressure (PSI) | Nozzle Type |
|---|---|---|
| Delicate Plants | 1200-1500 | 25-degree |
| Sturdy Plants | 2000-2500 | 15-degree |
| Heavy Dirt Build-Up | 2500-3000 | 0-degree |
Executing the Cleaning Process
Begin from the top and work your way down. This approach prevents dirty water from running onto already cleaned areas. Maintain a safe distance, usually about 2-3 feet, from the foliage to avoid damage. Move the nozzle in a sweeping motion to ensure even coverage.
After completing the task, assess the surrounding area for any remaining debris. Properly dispose of any waste and remove the protective covers from the soil and plants. If you’re interested in related cleaning techniques, check out this guide on how to clean oven with steam cleaner.
Post-Spraying Care and Maintenance for Trees
After the cleaning session, assess the condition of your greenery. Look for any signs of damage, such as broken branches or stripped bark, as high-pressure cleaning can sometimes be too harsh. If you spot any issues, address them immediately by trimming damaged areas to prevent disease from spreading.
Water your plants thoroughly. High-pressure cleaning can strip away protective layers of dirt and debris, leaving them vulnerable. Ensure the soil is moist, especially after a thorough wash. If your area is experiencing dry weather, consider applying a layer of mulch to retain moisture and regulate soil temperature.
Fertilization and Nutrient Boost
Providing nutrients is crucial after a thorough cleaning. A balanced fertiliser will help replenish what might have been washed away during the process. Look for slow-release options that won’t overwhelm the plants immediately. Apply according to the manufacturer’s instructions, focusing on the root zone for maximum effect.
Pest and Disease Monitoring
Keep an eye out for any signs of pests or diseases that might emerge after the wash. The disturbance of soil and foliage can sometimes expose underlying issues. Regularly inspect leaves and stems for unusual spots or insects. If you notice any problems, treat them promptly with appropriate organic or chemical solutions. Taking these steps will ensure your greenery remains healthy and vibrant long after the cleaning is done.
Video:

.jpg)


