


Ensure fuel is fresh and oil is at the right level before proceeding. I recall a time when I neglected to check these details, resulting in a frustrating delay. Always double-check these basics; it saves time and hassle.
Next, attach the garden hose securely to the water inlet. I’ve seen too many people struggle with leaks because they didn’t tighten the connection properly. Once the hose is connected, turn on the water supply to flush out any debris. This step is crucial for maintaining optimal performance.
Before you pull the trigger, connect the nozzle of your choice to the spray wand. I prefer using a wider spray for delicate surfaces; it reduces the risk of damage. After securing the nozzle, give the trigger a brief squeeze to release any air trapped in the system. This ensures a steady flow right from the start.
Now, locate the ignition switch or button, depending on your model. I’ve found that a quick glance at the manual can clarify any uncertainties regarding the starting mechanism. Once you’re familiar with this, you can proceed with confidence.
Lastly, engage the choke if your model requires it. I’ve often seen this overlooked by beginners. After ensuring everything is in place, pull the starter cord or press the ignition button. With a bit of luck, you’ll hear the reassuring roar of the engine coming to life, ready for action.
Starting a Briggs and Stratton Cleaning Device
Ensure the fuel tank is filled with fresh petrol. Old fuel can cause starting issues, so always use fuel that’s no more than 30 days old. I remember a time when I had a unit that wouldn’t ignite simply because I overlooked this detail. It’s a common rookie mistake.
Check the oil level before proceeding. Low oil can lead to engine damage. I’ve seen machines fail due to neglecting this crucial step. If the oil is dirty or low, change it according to the manufacturer’s recommendations.
Engage the choke if the engine is cold. This helps to enrich the fuel mixture. I’ve found that this little trick can make all the difference on those chilly mornings when the engine seems reluctant to roar to life.
Set the throttle to the ‘Fast’ position. This ensures that the engine runs at an optimal speed for operation. I’ve had instances where a device ran sluggishly simply because I forgot this adjustment. It can be frustrating, especially when you’re eager to get started on a task.
With everything in place, pull the starter cord firmly. A steady, swift motion is key. If it doesn’t catch after a few attempts, don’t panic. Double-check the choke and throttle settings. Sometimes it’s just a minor oversight that holds everything back.
Once the engine purrs to life, allow it to warm up for a minute or two. This helps the components settle into their rhythm. I’ve learned to be patient during this phase, as rushing can lead to unnecessary strain on the machine.
Finally, gradually release the choke once the engine is running smoothly. This adjustment helps the engine transition into its regular operating state. I’ve seen many users forget this step, causing unnecessary stalling or rough idling.
Checking Fuel and Oil Levels Before Starting
Ensure your machine is well-equipped for operation by inspecting the fuel and oil levels. Begin with the fuel tank. Use fresh, clean petrol and avoid old or contaminated fuel, which can lead to performance issues. I recall a time when I was eager to pressure wash my driveway, only to find that stale petrol had gummed up the carburettor. A simple check beforehand could have saved me the hassle of cleaning it out.
Inspecting Fuel Levels
Open the fuel cap and visually confirm the level. If the tank is low, add petrol until it reaches the recommended fill line, ensuring you don’t overfill, as this can cause spillage and affect performance. Always use a funnel to avoid mess. In my experience, keeping a dedicated fuel canister for pressure washers ensures that the petrol is always fresh and ready when needed.
Assessing Oil Levels
Next, check the oil. Locate the dipstick, remove it, and wipe it clean before reinserting it to gauge the oil level accurately. The oil should be between the minimum and maximum marks. If it’s low, top it up with the appropriate grade of oil specified in the manual. I’ve learned the hard way that neglecting oil can lead to engine wear, so make this a regular part of your maintenance routine.
By performing these checks, you can avoid unnecessary complications and ensure your equipment runs smoothly. Trust me, a little preparation goes a long way in prolonging the life of your machine.
Connecting the Washer to a Water Supply
Attach the garden hose to the inlet on the unit. Ensure a tight fit to prevent leaks. I always recommend using a hose that is at least 5/8 inch in diameter for optimal water flow. If you’re using a longer hose, check for kinks or blockages. A clear path is essential for efficient operation.
Water Source Considerations
It’s best to connect to a water supply that provides a steady flow. Municipal water systems typically suffice, but if you’re drawing from a well or tank, ensure the water level is adequate. A pressure drop can affect performance, leading to inconsistent results.
Testing for Leaks
After connection, turn on the water supply and check for leaks around the fittings. If you notice any, tighten the connections or use plumber’s tape for a better seal. A reliable connection is key to keeping your cleaning tasks smooth and uninterrupted.
If you’re considering using this equipment for canning, you might find useful information on how to can carrots with a pressure cooker.
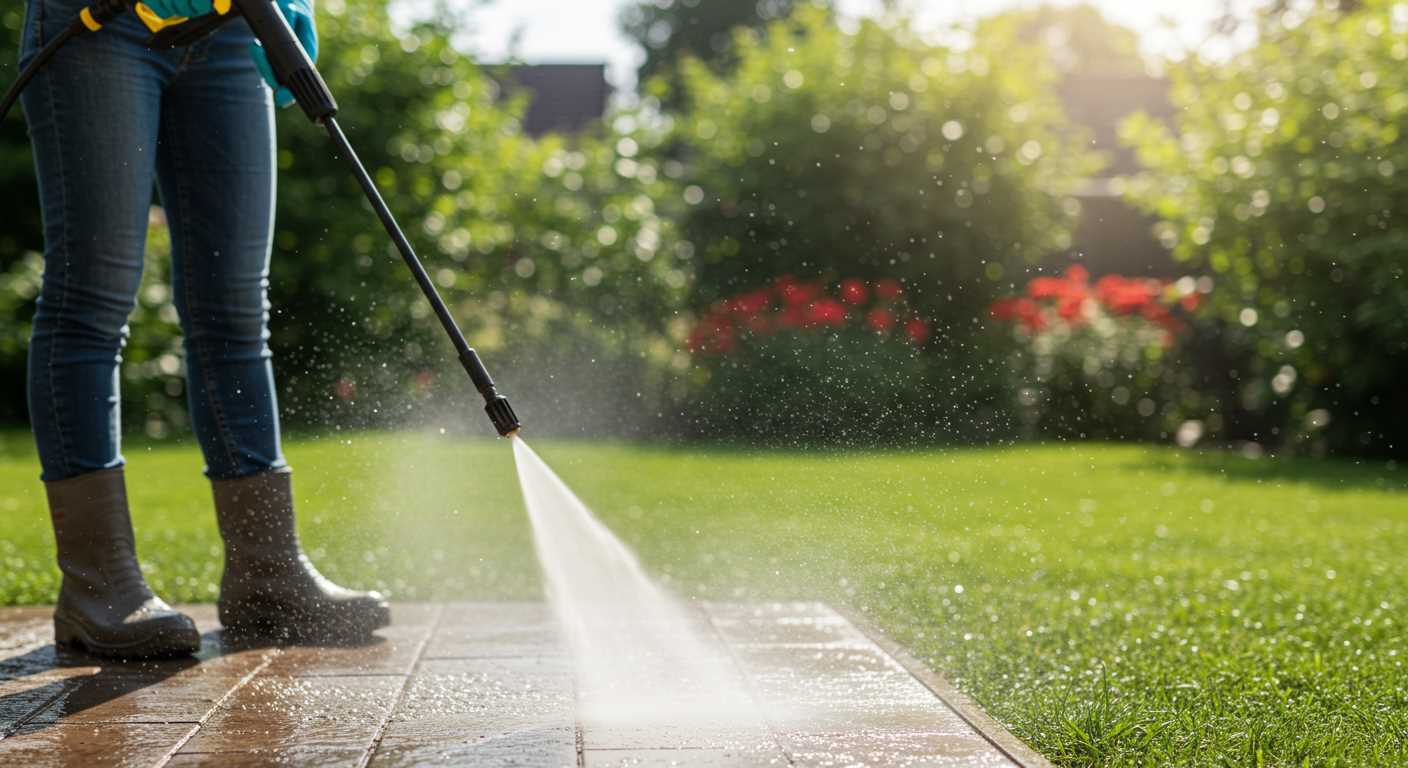
Setting Up the Spray Wand and Nozzle
Begin by selecting the appropriate nozzle for your task. Different nozzles provide varying spray patterns and pressure levels; for example, a 0-degree nozzle offers a concentrated jet for tough stains, while a 40-degree nozzle is ideal for wider coverage on delicate surfaces. Always refer to the user manual for guidance on nozzle selection specific to your equipment.
Attaching the Wand
Once you’ve chosen the right nozzle, connect it to the spray wand. Insert the nozzle into the wand’s end and twist until it clicks into place. Ensure it’s secure to prevent any leaks during operation. I’ve seen many users overlook this step, leading to frustrating spray mishaps.
Testing the Setup
Before you begin the cleaning task, it’s wise to test the setup. With the water supply connected, turn on the machine without pulling the trigger. This will allow you to check for leaks at the connections. If everything is secure, pull the trigger briefly to clear the system of air and ensure a steady flow. I remember a time when I neglected this step and ended up with a puddle of water instead of a clean driveway.
| Nozzle Type | Spray Angle | Recommended Use |
|---|---|---|
| Red (0°) | 0° | Heavy-duty cleaning, stubborn stains |
| Yellow (15°) | 15° | Removing paint, grime, and mildew |
| Green (25°) | 25° | General cleaning, patios, decks |
| White (40°) | 40° | Washing cars, windows, and delicate surfaces |
| Black (Soap) | Soap | Applying soap for cleaning |
For optimal performance, ensure your garden hose diameter for pressure washer is compatible with your unit. A hose that is too narrow can restrict water flow, affecting efficiency. I’ve experienced a noticeable difference in cleaning power when using the right hose size.
Locating and Engaging the Engine Choke
To ensure smooth ignition of the engine, locate the choke control, typically found on the carburettor or as a lever on the control panel. Engage the choke before attempting to fire up the machine, especially in cooler conditions.
Steps to Locate the Choke
- Inspect the area near the air filter or carburettor for a lever or knob.
- Refer to the user manual for specific diagrams that illustrate the choke’s position.
- Look for a symbol or label indicating ‘choke’ on the control panel.
Engaging the Choke
- Pull the choke lever or turn the knob to the ‘on’ position.
- Ensure it is fully engaged; you should feel some resistance.
- Once the engine fires up, gradually return the choke to the ‘off’ position for optimal performance.
In my experience, failing to engage the choke properly can lead to difficulty in ignition, especially in colder temperatures. Always remember to adjust it back once the engine is running smoothly to prevent stalling.
Starting the Engine: Step-by-Step Instructions
To get that engine running, follow these precise steps. First, ensure the choke is engaged. This is crucial for cold starts. Pull the recoil starter handle firmly until you hear the engine fire. If it doesn’t catch on the first pull, give it another go. A few pulls may be necessary, especially if the machine hasn’t been used in a while.
Once the engine starts, let it idle for a moment. This allows the oil to circulate and the components to warm up. After around 30 seconds, gradually disengage the choke. You’ll notice the engine running smoother as it adjusts to the open choke position.
Adjusting the Throttle and Engaging the Trigger

Now, locate the throttle control. If your model has a variable throttle, set it to a medium position. This provides a balanced output while you’re preparing to use the wand. After adjusting the throttle, grab the spray wand and pull the trigger. This will release any trapped air in the system and prime the pump, ensuring efficient water flow. Keep the trigger pulled for a few seconds until a steady stream of water comes out.
Final Checks Before Use
Before you begin your task, listen closely to the engine. It should run steadily without any unusual noises. If you hear anything off, it’s wise to check the oil level again or inspect for any loose components. Once satisfied, you’re ready to tackle your cleaning project.
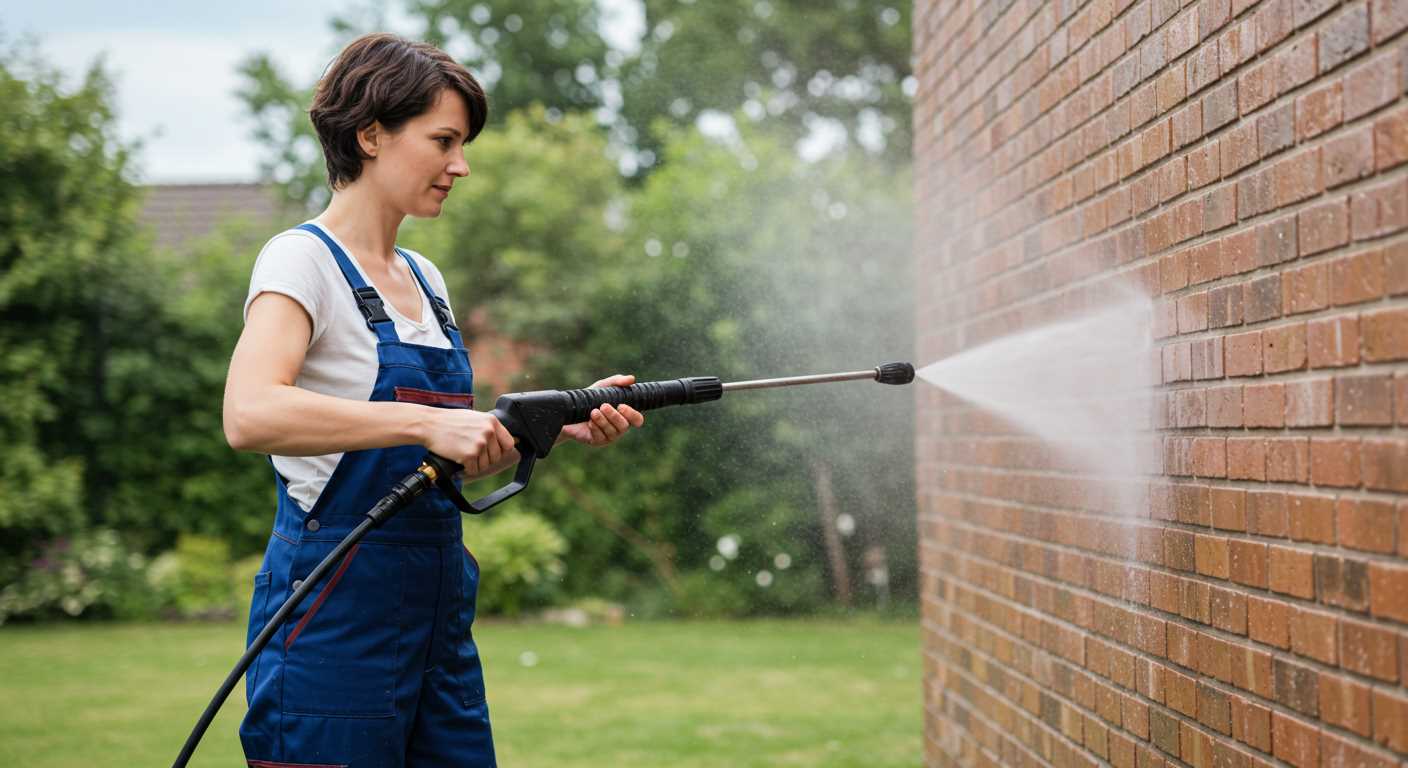
Safely Operating the Pressure Washer After Starting
Always maintain a firm grip on the wand while operating. A sudden surge in pressure can cause the machine to jerk, leading to loss of control.
Before using, check the area for any bystanders or pets. It’s crucial to keep a safe distance from others to prevent accidents. Ideally, maintain a minimum of 10 feet distance from anyone nearby.
Adjust the nozzle according to the task at hand. Use a wider spray for delicate surfaces and a narrow jet for tougher grime. Switching nozzles can be done easily, but ensure the machine is off when doing so.
- Begin with a low-pressure setting for initial cleaning.
- Gradually increase the pressure as needed.
Keep the spray wand at a consistent angle to avoid damage to surfaces. A flat angle may cause streaking or abrasion, especially on painted or wooden surfaces.
Maintain a consistent distance from the surface being cleaned. Generally, 18 to 24 inches is recommended for optimal results without damaging the surface.
- Monitor the water flow; if you notice a reduction, stop and check for blockages.
- Never point the wand at yourself or others, even when the unit is off.
After completing the task, turn off the water supply before shutting down the engine. This prevents back pressure that could cause leaks or damage.
Disconnect the water supply and relieve any remaining pressure in the system by squeezing the trigger on the wand. This step is crucial for safe handling afterwards.
Finally, store the equipment in a dry place, ensuring it’s protected from freezing temperatures which can damage the components. Regular maintenance checks will prolong the lifespan of the unit and ensure safety during operation.
.jpg)


