


Fill the fuel tank with fresh gasoline, ensuring you use the correct octane rating specified in the manual. This simple yet critical step guarantees smooth operation right from the get-go. I recall a time when I overlooked this detail, resulting in frustrating sputtering that delayed my cleaning project.
Next, check the oil level in the engine. A well-lubricated engine not only runs more efficiently but also extends the lifespan of the equipment. I’ve seen machines fail prematurely due to neglecting this routine maintenance. If the oil looks dirty or is below the recommended level, change it before proceeding.
Connect the water supply to the inlet, making sure to secure it tightly to prevent leaks. It’s also wise to run the water for a minute to clear out any impurities that could clog the system. I learned this the hard way after a minor blockage caused unnecessary interruptions in my work.
Once everything is in place, engage the safety lock on the trigger gun and turn on the water supply. This prevents any accidental spray while you’re preparing the equipment. I often remind myself of this step, as it ensures safety and provides peace of mind during operation.
With all preparations complete, it’s time to engage the ignition. Pull the recoil starter gently and consistently until the engine roars to life, bringing that satisfying sound of power and readiness. Trust me, there’s nothing quite like the feeling of having your gear prepped and ready to tackle any mess that comes your way.
Checking the Oil Level in Your Machine
Always inspect the oil level before operating your equipment. This simple step can prevent major issues and ensure smooth functioning. Locate the oil dipstick, typically found near the engine. Remove it and wipe it clean with a cloth.
Steps to Check Oil Level
- Ensure the unit is on a flat surface.
- Remove the dipstick and wipe it clean.
- Reinsert the dipstick without screwing it in.
- Pull it out again and observe the oil level.
The oil should sit between the minimum and maximum markers. If it’s low, top it up with the recommended oil type, usually specified in the user manual. Always use a funnel to avoid spills.
Signs of Oil Issues
- Oil appears dark or gritty.
- Strange noises from the engine.
- High oil consumption.
If you notice any of these signs, consider an oil change. Regular maintenance extends the life of your equipment and keeps it running optimally. Always dispose of old oil properly, following local regulations.
Filling the Fuel Tank Correctly
Always use fresh fuel to prevent engine issues. I recall a time when I filled a machine with fuel that had been sitting for weeks; it caused starting problems that could have been avoided. Keep a 2-stroke oil to petrol ratio of 50:1 for optimal performance.
Before refuelling, ensure the engine is off and cool. I’ve seen too many people make the mistake of refilling immediately after use, leading to spills and potential fire hazards. Position the unit on a flat surface to avoid any fuel sloshing out during the process.
Remove the fuel cap slowly to release any pressure. Use a funnel to avoid messy spills, as even a small amount of fuel on the casing can damage the paint. I often keep a rag handy to wipe off any drips that might occur.
Fill the tank to about 90% capacity. Leaving some air space allows for fuel expansion when the engine heats up. After filling, securely replace the cap and wipe the area clean to prevent any fuel residue from causing problems later.
Regularly check for fuel leaks and the condition of fuel lines. I had a friend who ignored a small leak, and it turned into a costly repair. Keeping everything sealed and intact ensures reliability during use.
Connecting the Water Supply to the Unit

Ensure the water source is turned on before making any connections. A steady flow is essential for optimal operation. Locate the garden hose, and check for any kinks or leaks that could disrupt water flow.
Attach the garden hose to the water inlet on the machine. It’s crucial to secure the connection tightly to prevent any leakage during use. I’ve seen too many units fail because of loose fittings. Always double-check that the hose is firmly attached.
Next, consider the water quality. If you’re using tap water, it’s generally fine, but avoid using water from sources that contain high sediment levels. I once had a colleague who didn’t heed this advice, and the internal components of his equipment became clogged, leading to costly repairs.
Make sure the water supply is sufficient – at least 5-7 litres per minute is recommended. A handy way to check this is to fill a 10-litre bucket and time how long it takes. If it takes longer than two minutes, you might have an issue with your supply.
Here’s a quick reference table for water supply requirements:
| Water Supply Type | Recommended Flow Rate |
|---|---|
| Tap Water | 5-7 litres/minute |
| Rainwater Collection | 5-7 litres/minute |
| Well Water | Min. 5 litres/minute |
Once the hose is connected and the water supply is confirmed, turn on the water to fill the system. You should see water flow from the nozzle briefly before it stabilises. This indicates that the unit is primed and ready for action.
Finally, check for any leaks around the hose connections. If you notice any, disconnect and reattach to ensure a proper seal. This step can save you from unexpected downtime later on.
Attaching the Hose Securely
Ensure the hose is firmly attached to prevent leaks and maintain optimal performance during operation. Begin by aligning the hose connector with the outlet on the unit. Rotate the connector clockwise until it is snug. A tight fit is crucial; otherwise, water pressure may cause the hose to detach.
Steps to Secure the Connection
- Check the rubber gasket inside the connector for any wear or damage. If it’s not in good condition, replace it before proceeding.
- Moisten the gasket slightly with water to enhance the seal.
- Insert the connector fully into the outlet and twist it to the right until it feels tight.
- Give the hose a gentle tug to verify that it is secure; there should be no movement.
Preventing Future Issues
- Store the hose properly after each use to avoid kinks and damage.
- Inspect the connection and hose regularly for signs of wear, especially before significant cleaning tasks.
- Avoid over-tightening, as this can damage the threads or the unit.
During my years of experience, I’ve encountered many situations where a loose connection led to unexpected interruptions. Taking a few moments to ensure the hose is properly secured can save you a lot of hassle later on.
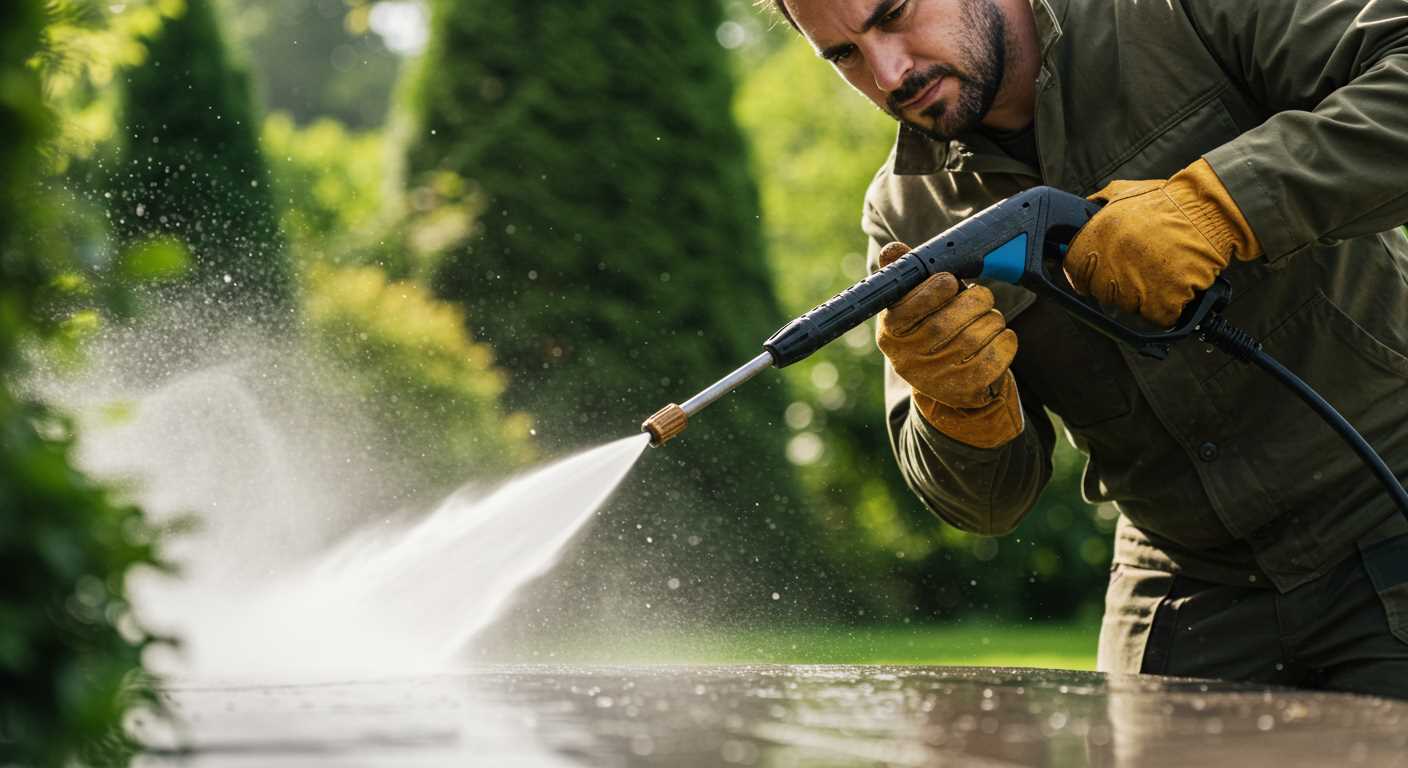
Selecting the Right Nozzle for Your Task
Choosing the appropriate nozzle can make a significant difference in your cleaning results. Each nozzle has a specific purpose, and using the wrong one can lead to damage or ineffective cleaning. Let’s break down the options.
Adjustable Nozzle
An adjustable nozzle is versatile, allowing you to switch between different spray patterns easily. I often use this type for various tasks around the house. For instance, when cleaning my driveway, I prefer a narrow spray to tackle stubborn stains, while a wider spray works wonders for rinsing off debris from wider surfaces.
Specific Nozzles
Some nozzles are designed for particular jobs. The 0-degree nozzle produces a concentrated stream ideal for removing tough grime, like oil stains on concrete. I recall a time when I had to clean a heavily soiled patio; the 0-degree nozzle cut right through the dirt, making the task much simpler. Conversely, the 40-degree nozzle is perfect for gentle cleaning on delicate surfaces, such as wooden decks or painted fences. Using the wrong one can lead to unwanted damage, so always assess the material you’re working with.
Always test your nozzle on a small, inconspicuous area before tackling the entire surface. This approach helps you gauge the effectiveness and prevent potential damage. Nozzle selection is not just about cleaning; it’s about ensuring the longevity of the surfaces you’re working on.
Remember, the right nozzle will enhance your cleaning efficiency and safeguard your equipment. Always keep an assortment handy for various tasks around your property!
Priming the Pump Before Starting
Before you fire up your machine, ensure the pump is primed properly. This step is crucial for optimal performance and longevity. First, locate the water inlet on the unit and connect your water supply securely. Once that’s done, open the water valve fully to allow a steady flow.
Next, engage the trigger on the gun to release any trapped air. You’ll notice water starting to flow from the nozzle as air escapes. Keep the trigger pulled until a steady stream of water emerges, indicating that the pump is fully primed. This process usually takes a minute or so, but it’s worth it to avoid damage to the pump.
After priming, check for any leaks around the connections. Address any issues before powering on the engine. This simple step can prevent unnecessary repairs down the line and ensure your cleaning tasks are completed smoothly.
Finally, once everything is secure and water is flowing freely, you’re ready to engage the unit. Following this method not only boosts efficiency but also enhances the overall cleaning experience, making it much more enjoyable.
Starting the Engine Safely
Before you engage the ignition, ensure you’re wearing safety goggles and gloves. I recall a time when I neglected to wear my goggles and ended up with debris in my eyes. A simple precaution can save you from discomfort and potential injuries.
Check the Environment
Ensure you’re in a well-ventilated area, away from flammable materials. I once had a near-miss when starting a machine in a cramped garage filled with old rags. The fumes can build up quickly, so moving outdoors or to a spacious area is wise. Always be aware of your surroundings and maintain a safe distance from people and pets.
Stabilise the Unit
Place your equipment on a flat, stable surface to prevent any movement while operating. I recall a friend who had his unit tip over during startup because it was on an uneven patch of grass. This not only damaged the device but also posed a hazard. Make sure everything is secure before you proceed.
For those looking for a robust option, check out this petrol pressure washer for cleaning patios. It offers reliability and power for your outdoor tasks.
Adjusting the Pressure Settings for Different Surfaces
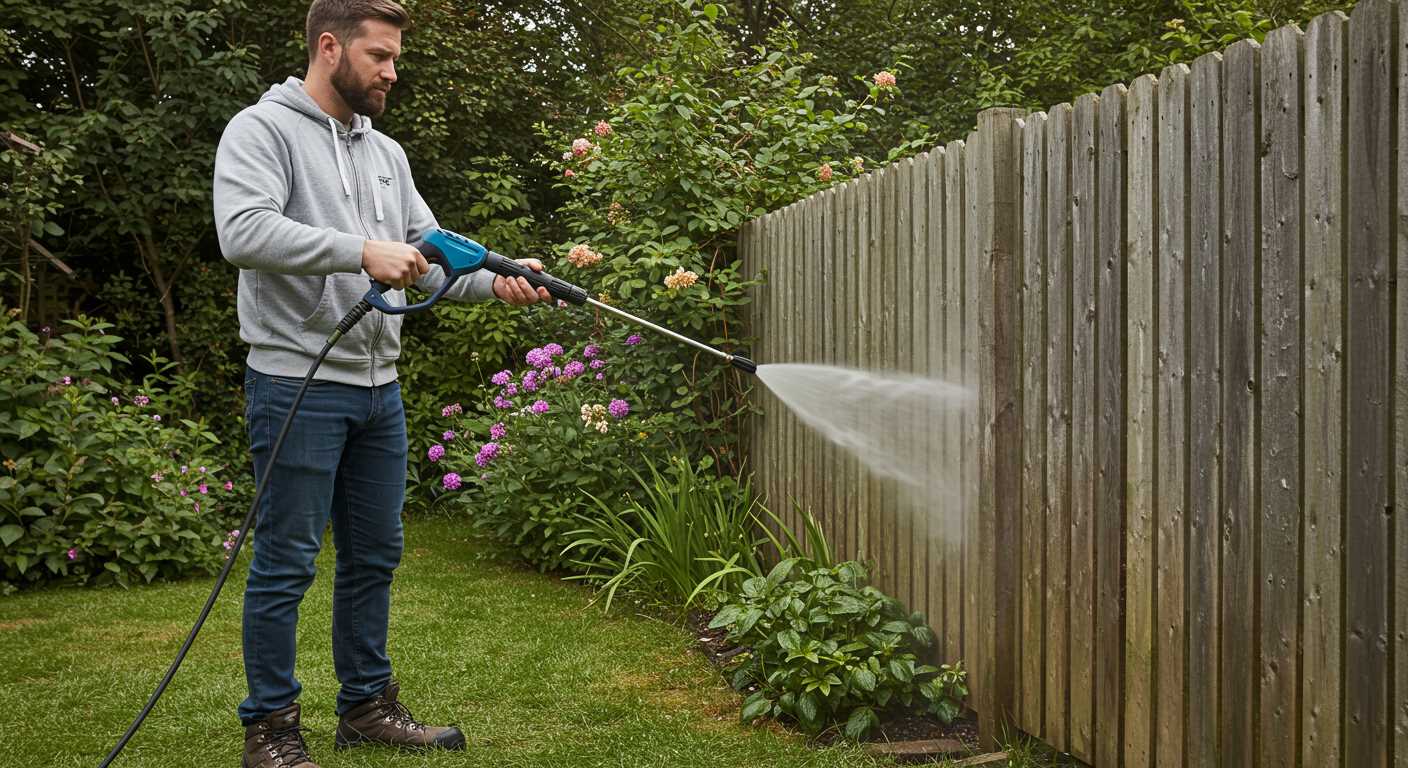
To achieve optimal cleaning results, adjusting the pressure settings based on the surface you’re working with is paramount. For delicate surfaces like wood decks or painted walls, dial down the pressure to avoid damage. I often set my machine to around 1200 PSI for these tasks. This setting allows for effective cleaning without stripping paint or damaging the wood grain.
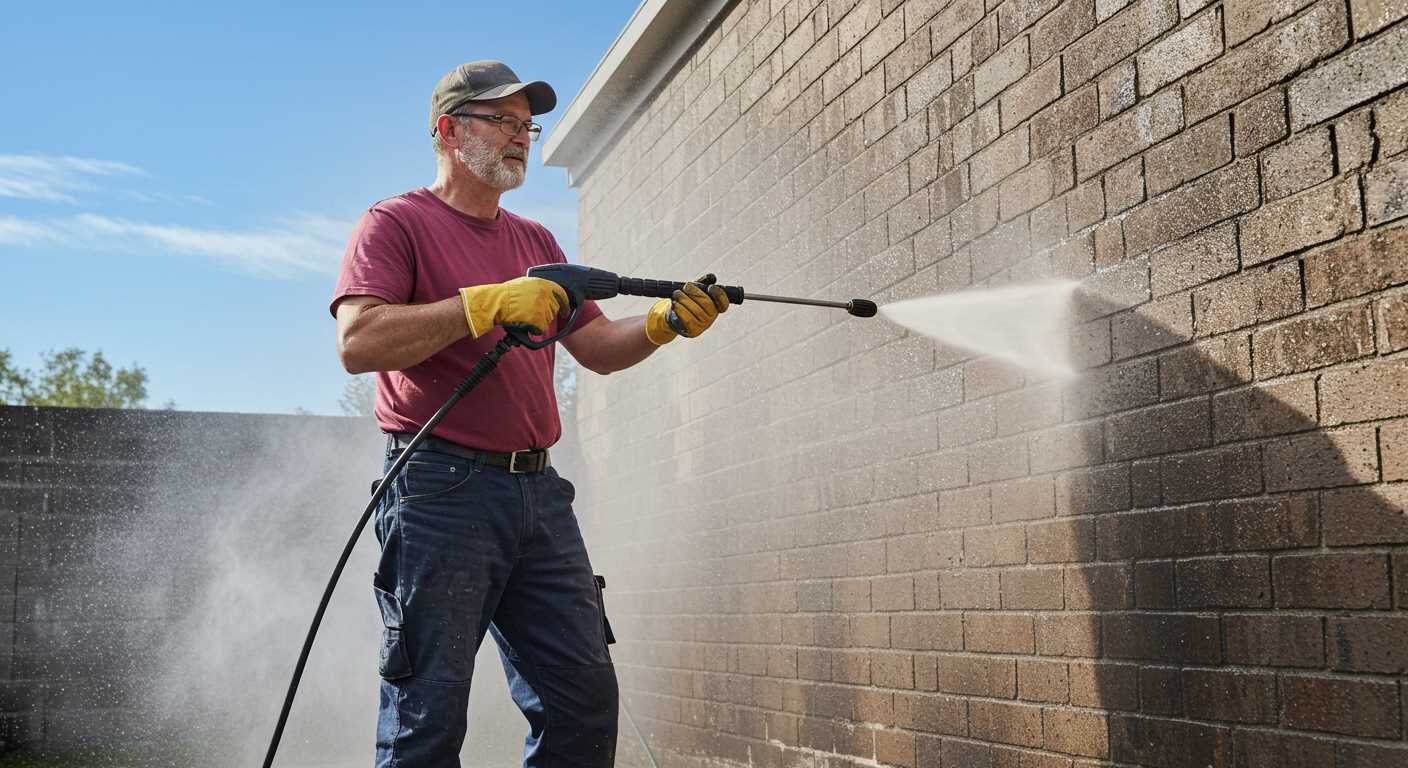
Concrete and Brick
When tackling tough grime on concrete or brick, increase the pressure to around 2500 PSI. This level effectively removes embedded dirt and stains without requiring excessive scrubbing. During one job, I had a patio covered in years of moss and grime; cranking up the pressure made a world of difference. I used a 15-degree nozzle, which focuses the stream and enhances cleaning power.
Vehicles and Outdoor Furniture
For cars and outdoor furniture, a moderate setting of about 1500 PSI is ideal. This balances cleaning efficiency with safety, preventing damage to sensitive surfaces. I remember cleaning my car with a lower pressure setting and being frustrated with the stubborn spots. Once I adjusted the pressure, the dirt lifted effortlessly, leaving my vehicle spotless.
Always assess the surface material and condition before adjusting the pressure. Testing a small area first can prevent mishaps. By tailoring the pressure to the task at hand, you ensure effective cleaning while preserving the integrity of the surfaces.
Shutting Down the Equipment Properly
To ensure longevity and optimal performance of your cleaning device, follow these steps for a proper shutdown. First, turn off the engine using the appropriate switch or lever. This prevents unnecessary wear on the motor.
Next, relieve the pressure in the system. Squeeze the trigger on the spray gun to release any residual water and pressure. This is crucial to avoid any accidental discharge while disconnecting hoses.
Drain the water from the unit by disconnecting the water supply and allowing the residual water to flow out. This step helps prevent freezing or damage during storage.
After draining, inspect the hose and gun for any leaks or damage. If you notice issues, address them before storing the equipment to avoid problems in the future.
Clean the nozzle and any attachments thoroughly. I’ve learned from experience that even small debris can affect performance when you next use it. A quick rinse can save you headaches later.
Finally, store the device in a dry place, preferably indoors, to protect it from harsh weather conditions. Keeping it covered or in a dedicated storage area can prolong its lifespan significantly.
| Step | Description |
|---|---|
| Turn Off Engine | Use the switch or lever to stop the motor. |
| Relieve Pressure | Squeeze the trigger on the spray gun. |
| Drain Water | Disconnect the water supply and let it flow out. |
| Inspect Hoses | Check for leaks or damage before storage. |
| Clean Nozzle | Rinse to remove debris and maintain performance. |
| Store Properly | Keep indoors and protected from elements. |
For those looking to expand their skills in related areas, consider exploring how to can corn with a pressure cooker. It’s a great way to maximise your equipment use and enhance your home maintenance routine.
FAQ:
What are the first steps to take before using a Homelite pressure washer?
Before starting your Homelite pressure washer, it’s important to prepare properly. First, read the user manual thoroughly to understand the specific model’s features and safety instructions. Next, check the oil level and add oil if necessary, as this ensures the engine runs smoothly. Fill the fuel tank with fresh, unleaded gasoline, and inspect the power cord and hose for any damage. Finally, connect the pressure washer to a water source, ensuring the hose is securely attached, and check for any leaks.
How do I safely connect the pressure washer to a water supply?
To safely connect your Homelite pressure washer to a water supply, begin by ensuring the machine is turned off. Attach the garden hose to the water inlet on the pressure washer, making sure it is tightly secured to prevent leaks. Then, connect the other end of the hose to a water tap. Before turning on the water, check that the pressure washer is in a stable position to avoid any accidents. Once everything is secured, turn on the water supply gradually to fill the system without causing pressure spikes.
What should I do if the pressure washer fails to start?
If your Homelite pressure washer does not start, first check that there is fuel in the tank and that the fuel is fresh. Next, ensure the choke is in the correct position, typically fully closed when starting a cold engine. Inspect the spark plug for any signs of wear or damage and replace it if necessary. If the washer still won’t start, check the power source for electric models or the oil level for gas models. If all else fails, consult the user manual for troubleshooting tips or contact customer support for assistance.
Can I use detergent with my Homelite pressure washer? If so, how?
Yes, you can use detergent with your Homelite pressure washer to enhance cleaning effectiveness. First, ensure you have a detergent that is compatible with pressure washers. Attach a soap nozzle to the spray wand, which allows for a wider spray pattern suitable for applying detergent. Fill the detergent tank with the appropriate cleaning solution, following the manufacturer’s dilution recommendations. Once everything is set, apply the detergent to the surface you’re cleaning, allowing it to sit for a few minutes before rinsing it off with the high-pressure water setting.
What maintenance should I perform on my pressure washer after use?
After using your Homelite pressure washer, it’s important to carry out some basic maintenance to ensure its longevity. Start by emptying the water from the pump to prevent any freezing or damage if stored in cold conditions. Clean the nozzle and spray wand to remove any debris or clogs. If you used detergent, flush the system with clean water to prevent residue buildup in the pump. Regularly check the oil level and change it according to the manufacturer’s recommendations. Store the pressure washer in a dry place to protect it from the elements and prolong its lifespan.
What are the steps to start a Homelite pressure washer?
To start a Homelite pressure washer, first ensure that the unit is on a stable surface and that you are wearing appropriate safety gear. Check the fuel level; if needed, fill the gas tank with fresh fuel. Next, ensure that the oil level is adequate by checking the oil dipstick. Once these preparations are complete, turn the fuel valve to the ‘on’ position. If your model has a choke, set it to ‘choke’ for a cold start. Pull the starter cord firmly until the engine fires. After it starts, adjust the choke to ‘run’ and let the engine warm up for a few minutes before using the washer.
What should I do if my Homelite pressure washer won’t start?
If your Homelite pressure washer won’t start, first check the fuel level to ensure there is enough gas in the tank. If the fuel is old, consider draining it and adding fresh fuel. Inspect the oil level and top it up if necessary. Examine the spark plug for any signs of wear or damage and replace it if needed. Additionally, ensure that the fuel valve is in the ‘on’ position and that the choke is correctly set for the starting conditions. If these steps do not resolve the issue, consulting the user manual for troubleshooting tips specific to your model is advisable. If problems persist, seeking professional assistance may be necessary.
.jpg)


