


Before you do anything, ensure the fuel tank is filled with fresh gasoline. Stale fuel can cause starting issues, so use what’s in your tank wisely. I remember a time when I tried to fire up my own machine after letting it sit for months. It took me far too long to figure out that the old fuel was the culprit. Always check your fuel first.
Next, connect a garden hose to the intake. The water supply must be steady; otherwise, the equipment won’t function properly. Trust me, running it dry can lead to damage. Once, I made the mistake of not checking the water pressure and ended up with a burnt-out pump. Avoid that headache by ensuring your hose is securely attached and the water is flowing freely.

After that, inspect the connections and the nozzle. Make sure everything is tightly fastened to prevent any leaks during operation. I once had a loose nozzle that sprayed water everywhere but where I wanted it. A quick check can save you from an unexpected shower!
Finally, engage the choke if your model has one. This simple step can make a significant difference in getting the engine running smoothly. I’ve learned that a little attention to detail can save time and frustration. Once everything is in place, give the pull cord a firm tug. If done correctly, you should hear the reassuring roar of the motor coming to life.
Understanding the Components of Your Cleaning Machine
Familiarity with the components enhances your experience and ensures effective operation. Let’s break down the key parts.
Motor or Engine: This is the heart of the system. Electric motors provide quiet operation, while gas engines deliver higher pressure levels. I’ve found that gas models are great for heavy-duty tasks, especially when mobility is a concern. They often require more maintenance, so keep that in mind.
Pump: The pump pressurises the water, and its type greatly influences performance. Axial pumps are common in residential units and are sufficient for light cleaning. However, triplex pumps, found in commercial models, handle tougher jobs with ease. I once had a friend who used a triplex model to clean a fleet of trucks; the results were impressive.
Gun and Nozzle: The gun controls water flow, and different nozzles dictate spray patterns. A variable nozzle is versatile for various tasks, while a turbo nozzle increases power for stubborn grime. I remember tackling a particularly challenging oil stain with a turbo nozzle; it made a world of difference.
Hose: The hose must withstand high pressure, and its length affects your reach. I recommend a 25-foot hose for general use; it strikes a balance between reach and manageability. Longer hoses can be cumbersome, but they’re essential for larger areas.
Water Supply: Access to a steady water source is critical. Ensure your unit is connected to a garden hose with adequate flow. I’ve encountered situations where low water pressure led to poor performance, so check this before you begin.
Accessories: Various attachments, such as surface cleaners and brushes, expand your cleaning capabilities. Investing in a good surface cleaner can save time and effort, especially for patios and driveways. I’ve used one to clean a large deck, cutting my cleaning time in half.
Understanding these components makes troubleshooting easier and optimises performance. Each part plays a role in achieving the best results, so take the time to familiarise yourself with them. It’s well worth the effort.
Preparing the Water Supply and Fuel
Ensure your water source is ready before engaging the equipment. Connect a suitable garden hose to the water inlet of the unit, making sure the connection is tight to prevent leaks. Run the water for a minute to clear out any debris that may be in the line. This simple step can save you from potential clogs during use.
Water Supply Tips
Check the water pressure; it should ideally be between 20 and 100 psi. If your home has low water pressure, consider using a booster pump. Also, avoid using a hose longer than 50 feet, as excessive length can reduce water flow, impacting performance.
Fuel Preparation
For gas models, use fresh fuel mixed with the appropriate oil, following the manufacturer’s specifications. It’s advisable to use non-ethanol gasoline for better engine performance and longevity. Fill the tank carefully to prevent spills, and always check for leaks after refuelling before turning the engine on.
Connecting hoses and accessories correctly
Ensure a secure fit by checking that all connections are tight and free from debris. A loose hose can lead to leaks or reduced water flow, which affects performance. I remember a day when I rushed through the setup and ended up with a loose connection; it wasted time and water. Always start by attaching the high-pressure hose to the outlet of the machine. Make sure it clicks into place securely.
Hose and accessory compatibility
Verify that your accessories, such as nozzles and brushes, are compatible with the hose diameter. Mismatches can result in inefficient operation. In my experience, using the wrong size nozzle can significantly alter the spray pattern, affecting cleaning effectiveness. I once used a narrower nozzle on a wider hose, thinking it would increase pressure, but it only created an erratic spray that made the task harder.
Water supply connection
Connect the garden hose to the water supply before attaching it to the machine. Ensure the hose is straight and not kinked to prevent water flow issues. I learned this the hard way during a particularly busy weekend; a kinked hose led to frustrating delays. Always check your water source for adequate pressure and flow rate to ensure smooth operation.
For additional cleaning tasks, consider incorporating air tools. If you’re interested in enhancing your cleaning arsenal, explore the best air compressor for computer cleaning. It can provide versatility for various applications beyond just high-pressure cleaning.
Starting the Engine Safely and Properly
Ensure the equipment is on a flat, stable surface before you proceed. This simple step prevents unexpected movements that can lead to accidents. I recall a day when I neglected this and ended up with a minor spill. A firm footing is crucial.
Fueling and Priming
Before igniting the engine, check the fuel level. Use only the recommended type of fuel as per the manual. I’ve seen engines fail simply due to improper fuel. Next, engage the choke if the engine is cold. This helps in achieving a smooth start. Remember to disengage it once the engine is running to avoid stalling.
Starting Procedure
With your hand on the starter, maintain a firm grip. Begin with the ignition switch in the “on” position. Pull the starter cord slowly until you feel resistance, then yank it sharply. I’ve found that a confident motion often yields better results. Once the engine roars to life, let it warm up for a couple of minutes. This allows the oil to circulate properly and prepares the machine for operation.
Always keep a safe distance from the nozzle while starting. I’ve seen instances where the spray unexpectedly activated, leading to minor injuries. Safety gear is also a wise investment; goggles and gloves can save you from unforeseen splashes or debris. Taking these precautions ensures a hassle-free and safe experience.
Adjusting Pressure Settings for Specific Tasks
For optimal results, tailor the pressure settings based on the job at hand. Here are some guidelines drawn from my years of experience:

General Recommendations
- Light Cleaning: For delicate surfaces like wood or painted areas, set the pressure between 1000 to 1500 PSI. This prevents damage while still providing adequate cleaning.
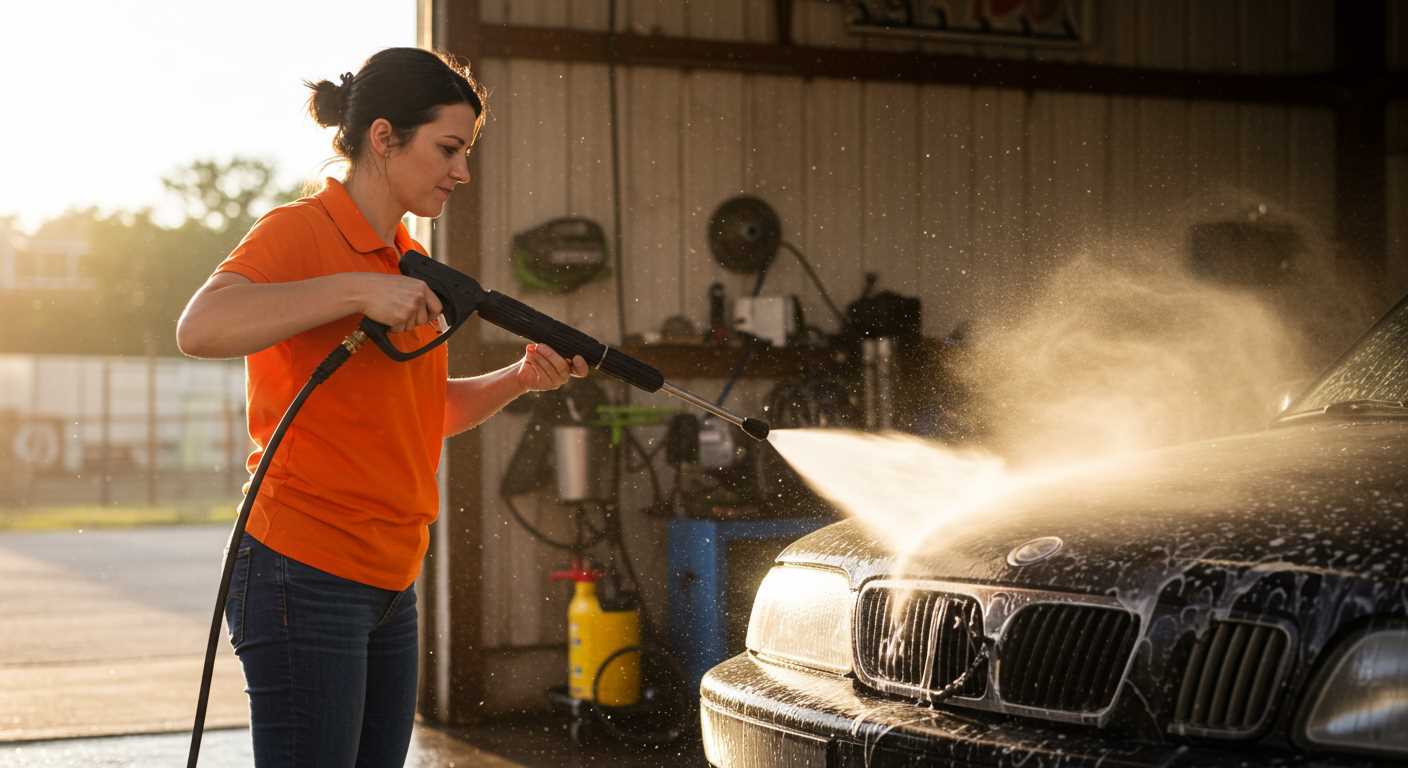
- Medium Cleaning: Tasks such as cleaning patio furniture or vehicles require a pressure range of 1500 to 2500 PSI. This is effective for most common dirt and grime.
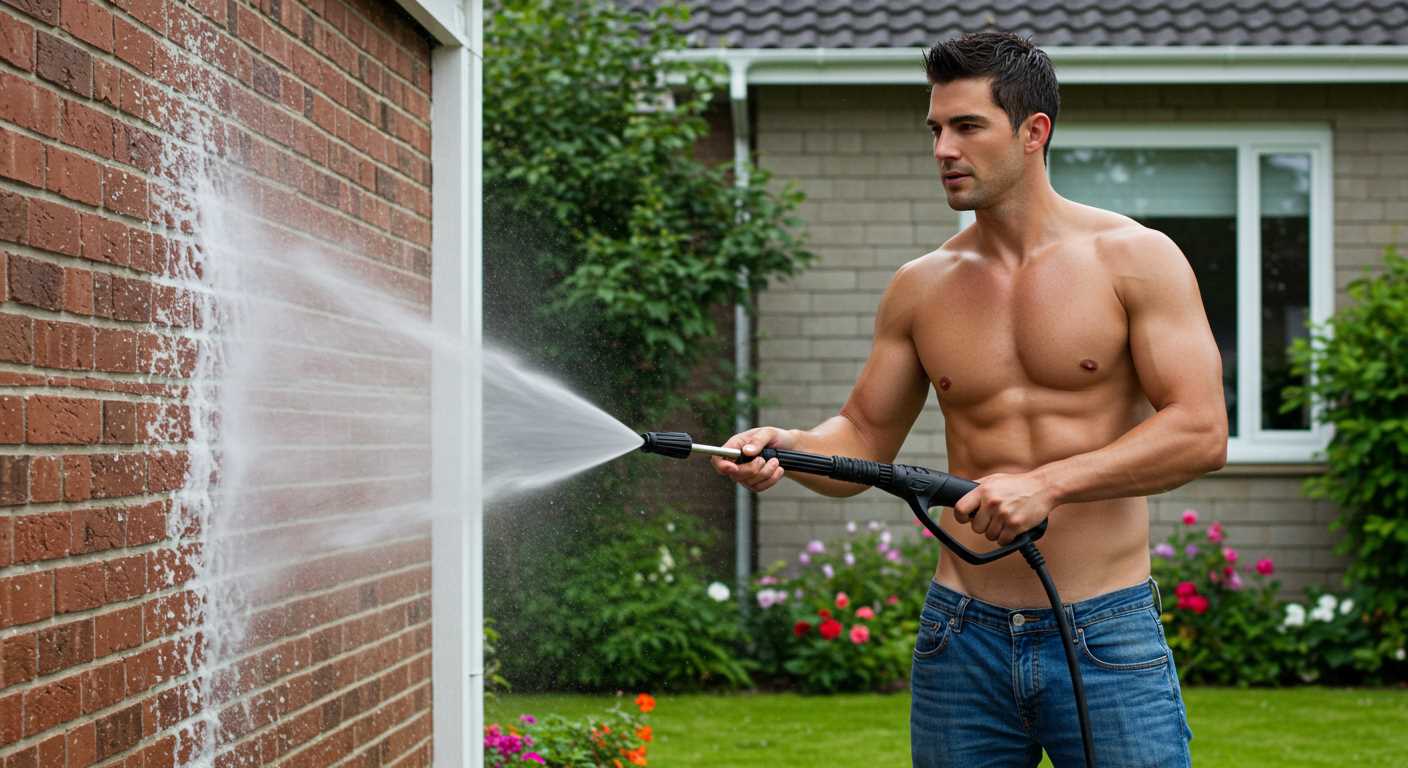
- Heavy Cleaning: For concrete or brick surfaces, increase the pressure to between 2500 to 3000 PSI. This setting is necessary to tackle stubborn stains and ingrained dirt. For detailed guidance on suitable PSI for concrete, refer to pressure washer psi for concrete.
Adjusting the Nozzle
Besides altering the pressure, swapping nozzles is crucial. Different nozzles create varying spray patterns:
- 0-degree nozzle: Produces a concentrated jet for tough stains.
- 15-degree nozzle: Good for stripping paint or removing mildew.
- 25-degree nozzle: Ideal for general cleaning tasks.
- 40-degree nozzle: Best for rinsing and delicate surfaces.
Always test the pressure on a small, inconspicuous area first to ensure no damage occurs. Adjust settings as needed based on the surface condition and type of dirt. Remember, balance between pressure and nozzle type can significantly impact cleaning effectiveness.
.jpg)
.jpg)


