


Before anything else, ensure that the machine is on a flat, stable surface. This simple step prevents any mishaps during operation. I recall a time when I neglected this and ended up with a rather unpleasant mess. Trust me, a solid base makes all the difference.
Next, check the water source. Connect a garden hose to the inlet and make certain there are no leaks. I’ve seen many users struggle because they overlooked this detail. A tight connection not only saves water but also optimises performance. Additionally, it’s wise to clear any debris from the inlet filter to avoid clogs.

Now, let’s talk about the power supply. Verify that the electrical outlet is functional and rated for the required voltage. Using an extension cord? Ensure it’s heavy-duty and rated for outdoor use. I had a close call once with an inadequate cord, which led to a frustrating interruption mid-clean. Safety first!
Finally, before turning the unit on, inspect the nozzle and wand assembly. Make sure everything is secure and free of blockages. I can’t stress enough how often I’ve seen people overlook this step, only to face performance issues later on. A quick visual check can save you a lot of hassle.
Understanding the Power Source Requirements
Ensure the electrical outlet provides the correct voltage. Most models require a standard 120V outlet. Always check your device’s specifications to avoid any mismatches. Using a lower voltage can lead to underperformance or even damage.
Inspect the power cord for any signs of wear or damage. A frayed or broken cord can cause safety hazards and affect the unit’s functionality. If you notice any issues, replace the cord before use.
Utilise a grounded outlet. This is crucial for safety to prevent electrical shocks. If you’re unsure about the grounding of your outlet, consider consulting a licensed electrician.
Avoid using extension cords whenever possible, as they can lead to voltage drops, impacting the performance. If you must use one, ensure it is rated for outdoor use and can handle the required amperage. A heavy-duty cord with a minimum gauge of 12 is often recommended for these applications.
For gas-powered models, check the fuel type indicated in the manual. Using the wrong fuel can cause engine failure. Always use fresh fuel, as old or stale fuel can lead to starting issues.
Regularly check the oil level in gas models before operation. Maintaining proper oil levels ensures the engine runs smoothly and prolongs its lifespan. Change the oil according to the manufacturer’s schedule to keep everything in top condition.
Preparing Your Cleaner for Use
Before you get down to business, ensure the unit is on a flat, stable surface. I’ve seen too many people start their work on uneven ground, leading to spills and accidents. Position the device so that the hose and power cord have ample space to extend without any kinks or twists.
Next, inspect the water intake filter. A clean filter is crucial for optimal performance. I often found debris clogging the filter, which led to reduced water flow. Simply remove it and rinse under running water. If it’s damaged, replace it before proceeding.
Attach the high-pressure hose securely to both the appliance and the spray gun. A loose connection can result in unwanted leaks, which not only waste water but can also be hazardous. I recommend tightening connections by hand, but avoid using tools as they can cause damage.
Check the nozzle selection based on the task at hand. I’ve learned that using the wrong nozzle can lead to ineffective cleaning or, worse, damage to surfaces. For delicate areas, opt for a wider spray pattern to avoid etching or stripping paint.
Before turning the unit on, ensure the safety lock on the spray gun is engaged. I’ve seen many accidents occur simply because someone forgot this critical step. It’s a small but significant precaution that can prevent injuries.
Fill the water tank or connect the garden hose, ensuring there are no leaks. I’ve had moments where I mistakenly started without making sure the water supply was sufficiently connected, leading to a frustrating interruption in the process.
Finally, perform a quick visual inspection of the power cord for any signs of wear or damage. Safety should always be your top priority. I’ve learned the hard way that even a small fray can lead to a larger issue if not addressed before use.
Connecting the Water Supply Correctly
Ensure a secure and leak-free connection to the water source. Use a quality hose with a minimum diameter of 5/8 inches to provide adequate water flow. Check for any kinks or blockages that could impede water supply before attaching it to your machine.
Choosing the Right Hose
Opt for a hose rated for pressure applications, as this will handle the demands of your cleaning equipment. I’ve come across many situations where a standard garden hose simply couldn’t keep up. Always attach the hose firmly to the water inlet on the device to prevent any accidental disconnections during operation.
Water Source Considerations
Utilise a clean water supply. Contaminants can cause damage to internal components. If you’re using a water tank or alternative source, ensure it’s free of debris. In my experience, using a filter can be beneficial, especially when pulling water from a well or other non-standard sources. For those exploring options in the market, check out this list of electric pressure washers that might suit your needs.
Lastly, remember to turn on the water supply fully before starting your equipment to avoid running the pump dry. This simple step can save you from costly repairs down the line. Always be attentive to the setup process, as it lays the groundwork for successful cleaning sessions.
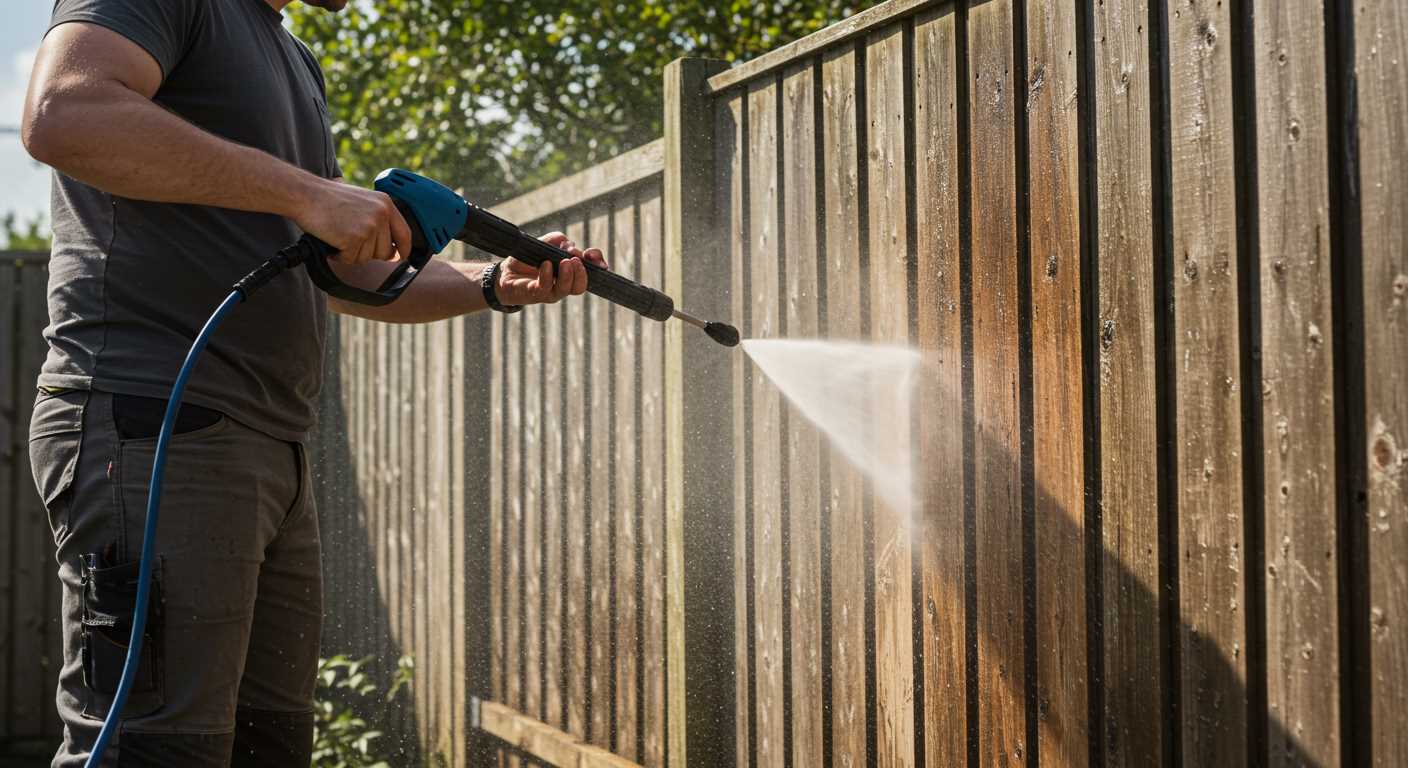
Choosing the Right Nozzle for Your Task
Selecting the appropriate nozzle can make a significant difference in your cleaning results. I remember the first time I tackled a particularly stubborn patio stain; I switched through various nozzles until I found the perfect match. Here’s a breakdown of the types available and their specific uses.
Types of Nozzles

- 0-degree nozzle: This nozzle delivers a concentrated stream of water, ideal for tough stains on hard surfaces like concrete. Use it for removing deep grime or mud.
- 15-degree nozzle: Slightly wider than the 0-degree, this option works well for stripping paint or cleaning surfaces where you need more power but less precision.
- 25-degree nozzle: A versatile choice, perfect for general cleaning tasks such as driveways, patios, and vehicles. It balances pressure and coverage.
- 40-degree nozzle: This nozzle offers a gentle spray suited for delicate surfaces like wood decks and cars. It’s effective for rinsing and washing without causing damage.
- Soap nozzle: Designed specifically for applying detergent, this nozzle has a wider spray pattern that helps distribute soap across surfaces evenly.
Choosing Based on Task
For each cleaning job, consider the surface material and the type of grime. Here are some tips based on my experience:
- For heavy-duty jobs like oil stains on a garage floor, start with the 0-degree nozzle, then switch to the 25-degree for a thorough rinse.
- Cleaning vehicles? Use the 40-degree nozzle to avoid scratches, and follow up with the soap nozzle for a thorough wash.
- If you’re working on wooden surfaces, always stick to the 40-degree nozzle to prevent damage.
- For large areas like patios, the 25-degree nozzle allows you to cover more ground efficiently.
Remember, testing different nozzles on a small, inconspicuous area can help you find the best option without risking damage. This approach saved me from making mistakes early on and led to better results each time I cleaned.
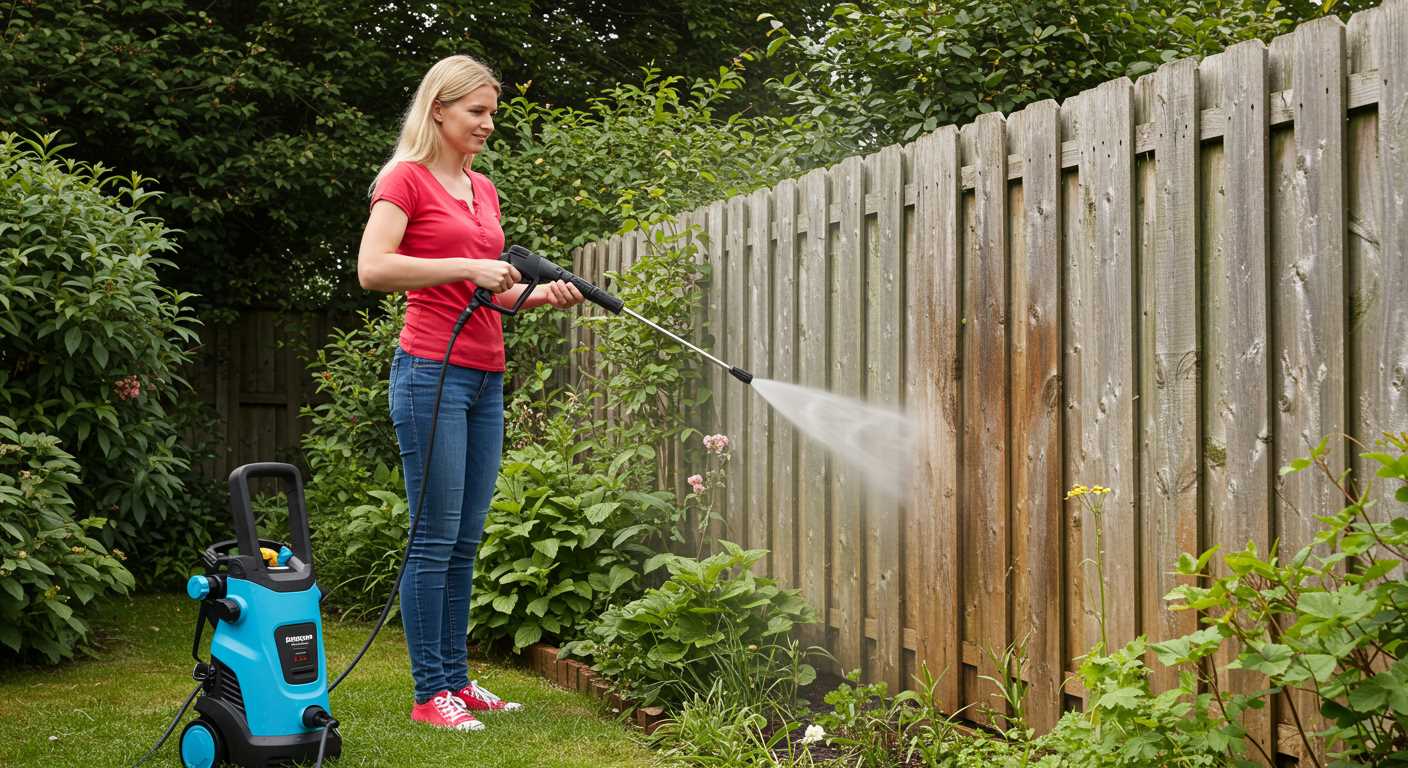
Setting the Pressure Level for Different Surfaces
Choosing the right pressure setting for each surface is critical to avoid damage while ensuring effective cleaning. Here’s a breakdown based on my experience.

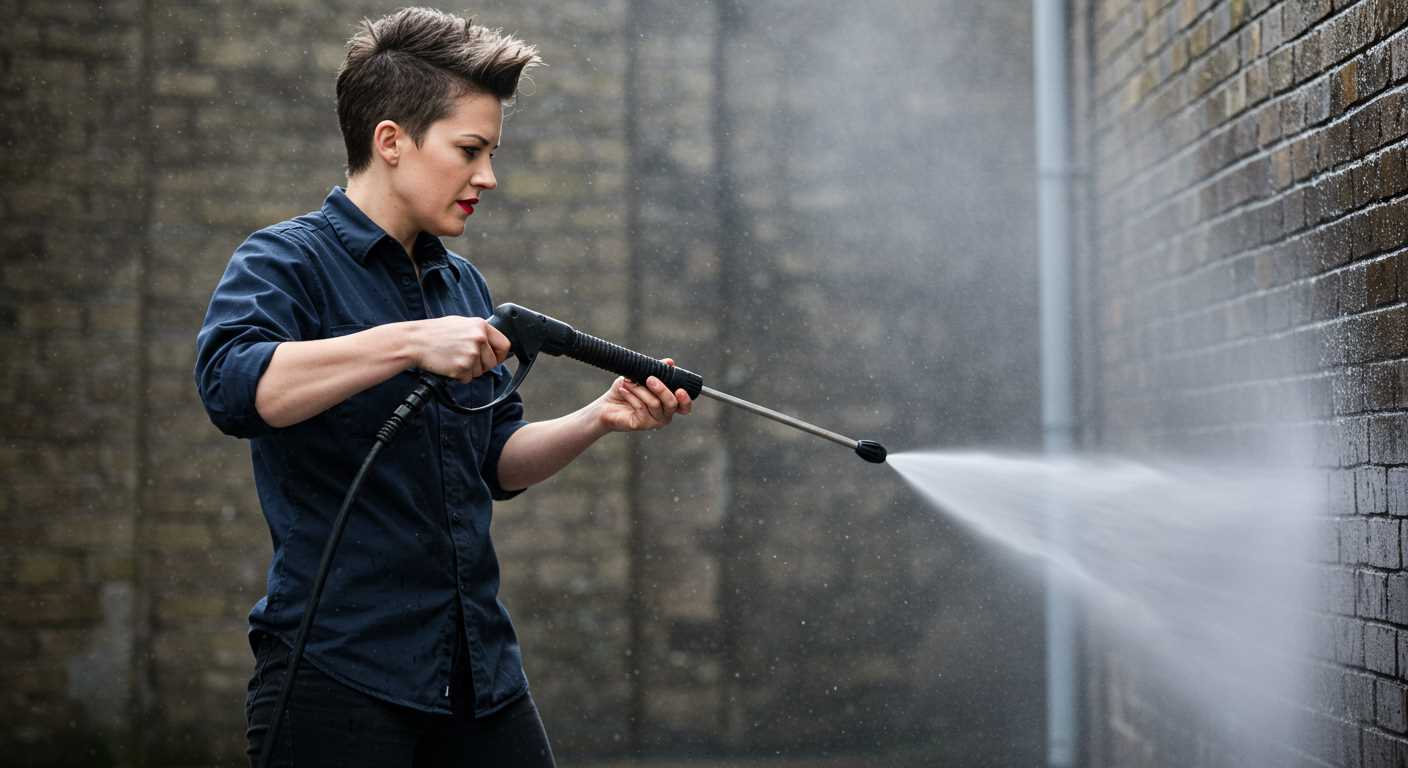
Hard Surfaces
- Concrete: A high setting around 2500-3000 PSI works best to remove tough stains, oil, or grime.
- Brick: Use 2000-2500 PSI. This provides sufficient force without risking chipping the bricks.
- Decking (Wood): Keep it at 1200-1500 PSI. A gentler approach prevents splintering.
Soft Surfaces
- Cars: A low setting of 1200-1900 PSI is ideal for washing vehicles. It prevents scratches on the paint.
- Fencing (Vinyl or Wooden): Use 1500-2000 PSI, taking care not to damage the material.
- Patio Furniture: Maintain a low pressure of around 1500 PSI to clean without damaging finishes.
Adjusting the pressure correctly not only enhances the cleaning process but also prolongs the life of your surfaces. Always test a small, inconspicuous area first to ensure compatibility.
Starting the Equipment Safely
Before engaging the machine, ensure that you are dressed appropriately. Use sturdy footwear, gloves, and protective eyewear. This simple step can significantly reduce the risk of injury while handling high-pressure equipment.

Check the area around you. Clear any debris, tools, or other objects that might create a hazard during operation. A tidy workspace is essential for safe functioning.
Inspect the power cord and water connections. Look for any signs of wear or damage. A frayed cord can lead to electric shocks, while loose connections might cause leaks or reduced performance. If you notice any issues, address them before proceeding.
Ensure the safety lock is engaged before connecting the trigger gun. This prevents accidental activation while you prepare the machine. I’ve seen too many close calls where people forget this step, leading to sudden bursts of water that catch them off guard.
Once everything is in place, do a quick functionality check. With the unit off, pull the trigger on the gun to release any residual pressure. This will ensure that when you switch it on, you have a smooth start without any unexpected spouts of water.
Never operate the apparatus in wet conditions or on wet surfaces. I recall a time when I underestimated the slippery ground, and it led to a nasty slip. Always aim to work in dry conditions for both your safety and the equipment’s longevity.
| Safety Tip | Description |
|---|---|
| Wear Protective Gear | Use footwear, gloves, and goggles to shield against debris and water. |
| Clear Work Area | Remove obstacles to prevent tripping or accidents during use. |
| Inspect Equipment | Check cords and connections for damage before activating the unit. |
| Engage Safety Lock | Ensure the trigger gun is locked to prevent accidental discharge. |
| Avoid Wet Conditions | Working on wet surfaces can lead to slips and equipment failure. |
Being mindful of these safety practices can make a significant difference in your experience with the machinery. I’ve learned that a few moments spent preparing can prevent mishaps and ensure a successful cleaning session.
Maintaining Your Cleaning Equipment After Use
After each session, it’s crucial to disconnect the water supply and power source immediately. I once neglected this step, leading to a minor leak that could have been avoided. Always ensure that the hose is drained completely to prevent water from freezing in colder months, which can cause damage to the internal components.
Next, clean the nozzle thoroughly. I’ve made the mistake of leaving debris in the nozzle, which resulted in uneven spray patterns. A simple rinse under water usually does the trick. For stubborn blockages, a small pin can help clear any stubborn clogs.
Checking the oil level, if applicable, is another important step. I remember skipping this during one of my early uses, and it led to some frustrating performance issues. Keeping an eye on the oil ensures smooth operation and extends the life of the motor.
Storing the unit properly also makes a difference. I’ve always kept mine in a dry, shaded area, away from direct sunlight. This prevents wear on the plastic components. Additionally, coiling the power cord and hose without kinks reduces strain on them for future use.
Lastly, consider a routine inspection before the next use. I’ve found that dedicating a few minutes to check for wear and tear, such as frayed cables or cracked hoses, saves a lot of headaches later on. Regular maintenance is the key to prolonging the life of your cleaning equipment and ensuring it performs at its best.
FAQ:
What are the initial steps to take before using a Greenworks pressure washer?
Before operating a Greenworks pressure washer, ensure you read the user manual thoroughly to understand the specific features of your model. Check that all the components are present and in good condition, including the hose, nozzle, and any attachments. It’s also important to find a suitable outdoor area to work in, away from windows and delicate surfaces, and ensure that you have access to a water supply. Additionally, wear appropriate safety gear such as goggles and gloves to protect yourself during use.
How do I connect the hose and accessories to the Greenworks pressure washer?
To connect the hose to your Greenworks pressure washer, first, ensure the unit is turned off and unplugged. Locate the water inlet on the machine, and attach the hose securely, ensuring a tight fit to prevent leaks. For accessories, such as nozzles or brushes, simply slide them onto the spray wand until they click into place. Make sure to check for a secure connection before turning on the machine to avoid accidents.
What type of detergent should I use with my Greenworks pressure washer?
When using a Greenworks pressure washer, it’s advisable to use a detergent specifically designed for pressure washers. These detergents are formulated to work effectively with the pressure and water flow of the machine. Avoid using harsh chemicals or household cleaners, as they can damage the washer or create excessive foam. Always follow the manufacturer’s recommendations for dilution and application to achieve the best cleaning results.
How can I adjust the pressure settings on my Greenworks pressure washer?
To adjust the pressure settings on your Greenworks pressure washer, locate the pressure adjustment knob or dial, which is typically found on the machine’s body. Turn the dial to increase or decrease the pressure according to your cleaning task. For delicate surfaces, such as vehicles or painted areas, a lower pressure setting is recommended, while more robust surfaces, like concrete, may require higher pressure. Always test the pressure on a small, inconspicuous area first to ensure safety.
What maintenance is required for a Greenworks pressure washer after use?
After using your Greenworks pressure washer, it’s important to perform some basic maintenance to prolong its life. Begin by disconnecting the water supply and removing the hose. Run the machine for a minute without water to clear the system of any remaining detergent. Once cooled, clean the exterior of the machine with a damp cloth. Store the pressure washer in a dry place, and check for any signs of wear or damage to the hoses and connections. Regularly inspect the nozzle for clogs and clean it to ensure optimal performance.
What are the steps to start a Greenworks pressure washer?
To start a Greenworks pressure washer, first ensure that the machine is on a stable surface and that you have the necessary attachments ready. Connect the garden hose to the water inlet on the pressure washer. Make sure the hose is securely fastened to prevent leaks. Next, turn on the water supply to the hose. Once the water is flowing, plug the pressure washer into a power outlet if it is electric, or ensure that the fuel tank is filled if it is gas-powered. If using an electric model, press the power button to turn it on. For gas models, you may need to set the choke and pull the starter cord to ignite the engine. After starting, adjust the nozzle as needed for your cleaning task. Always refer to the user manual for specific instructions and safety guidelines related to your model.
.jpg)


